How to Add Assets to a Session
Within our Workout Software, you have the ability to add assets to sessions. Follow the step-by-step instructions below.
This guide will walk you through adding assets to a session and how to delete assets in existing sessions.
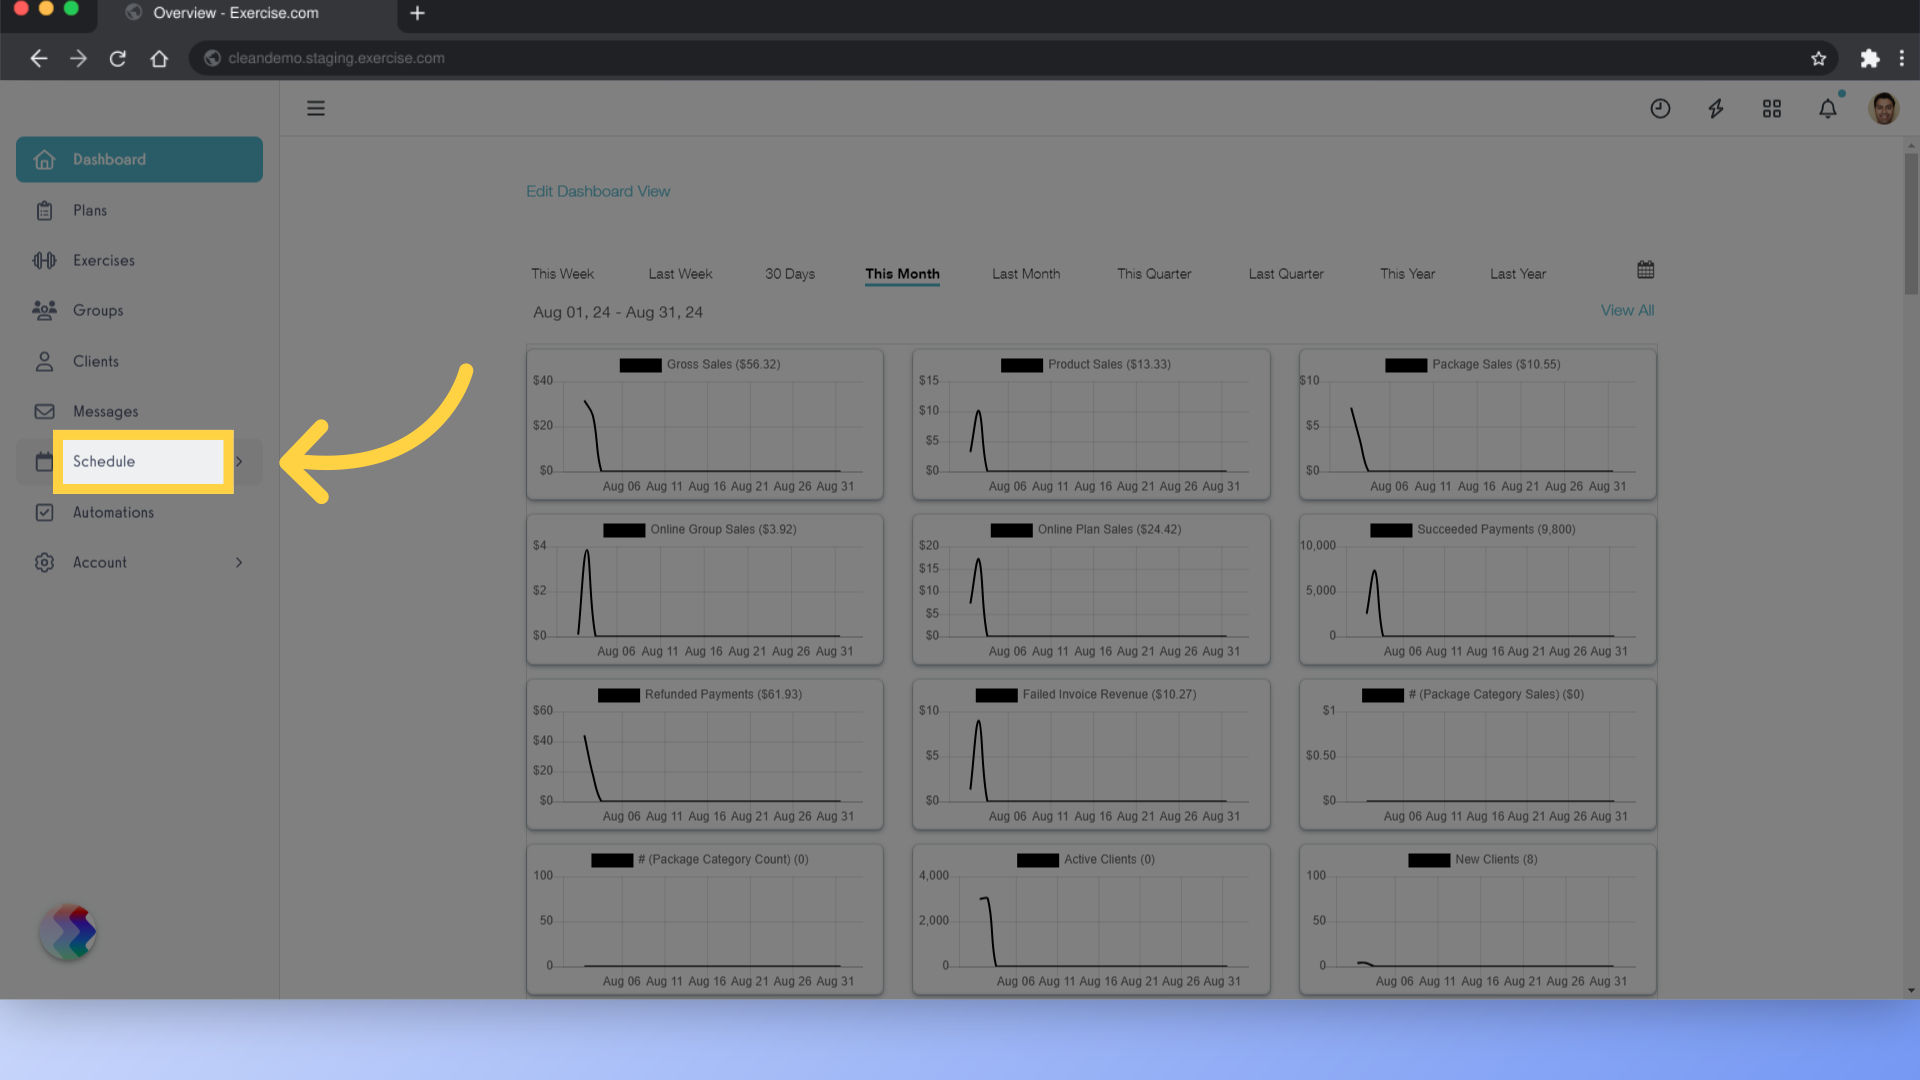
1. Schedule
Navigate to the “Schedule” tab.
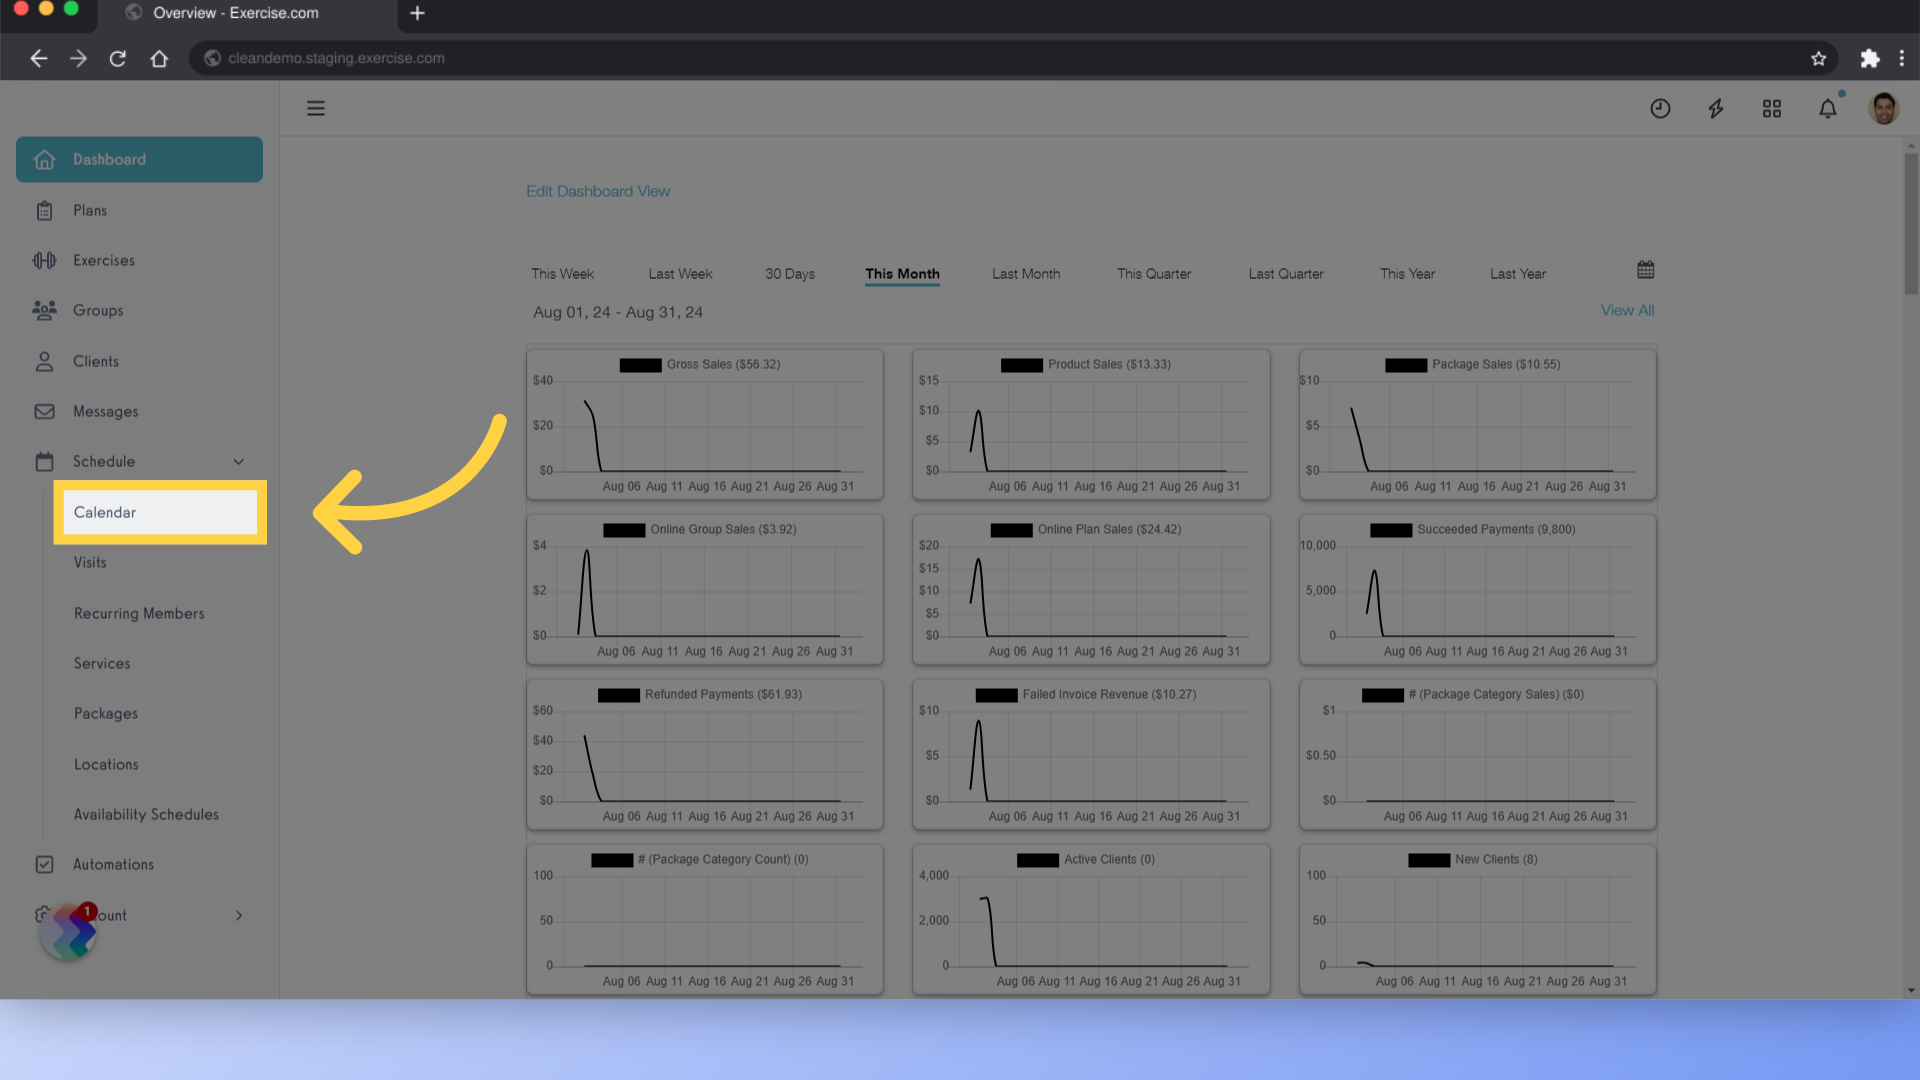
2. Calendar
Click on the calendar view.
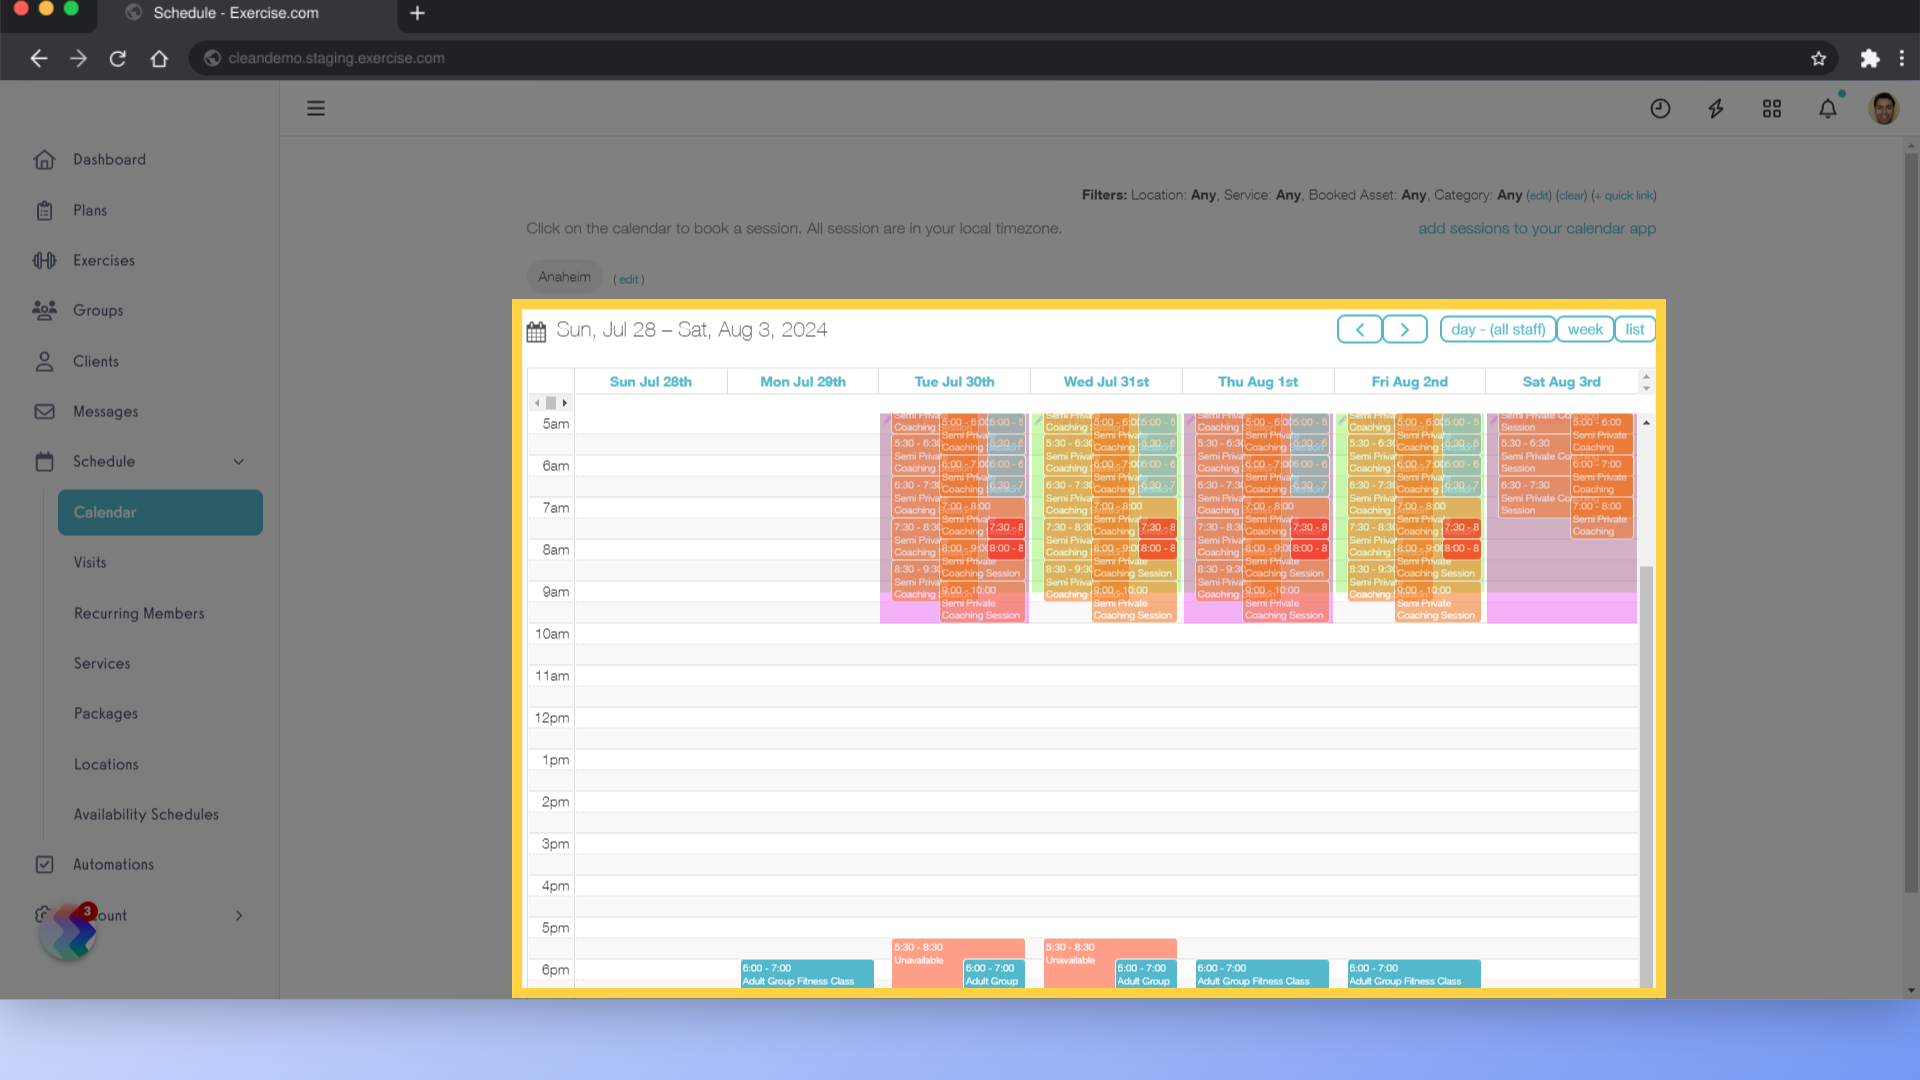
3. Select Date and Time
Click on the time and date you want to schedule a session.
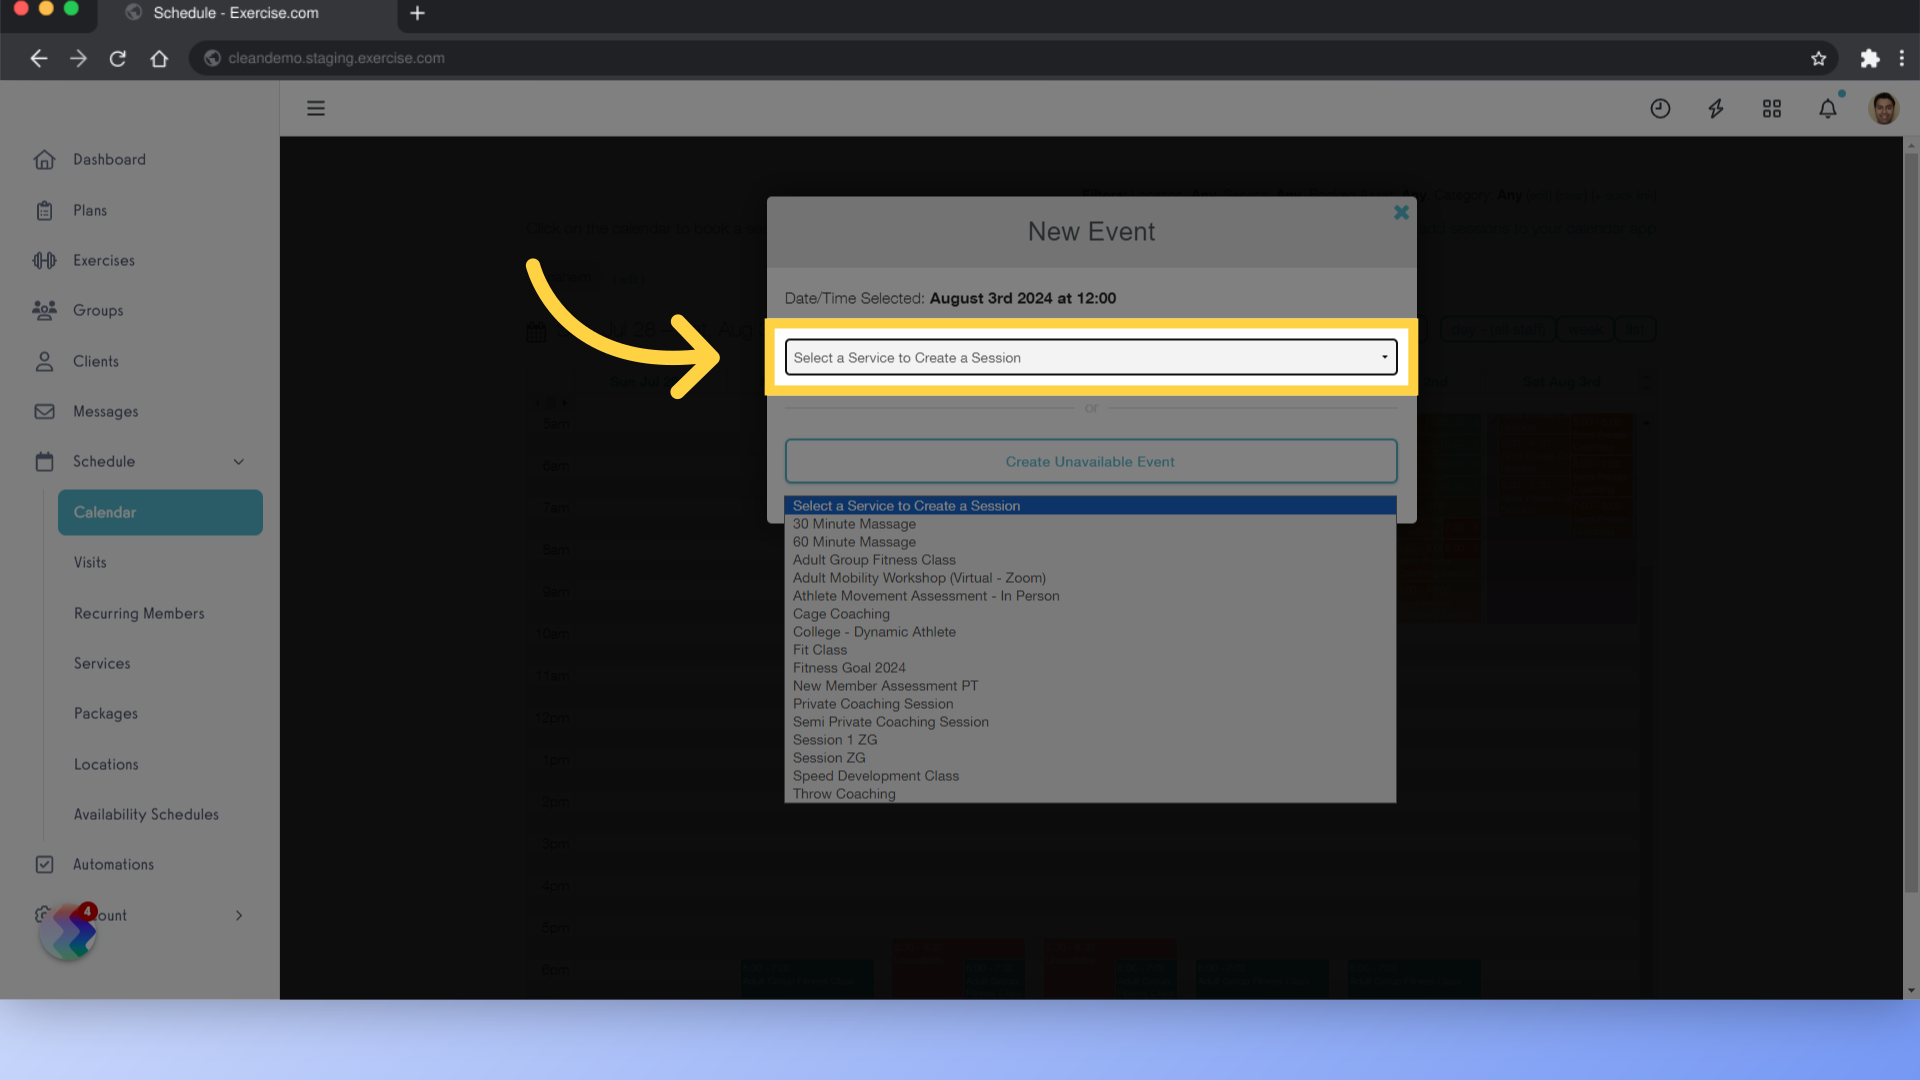
4. Select a Service
Select a service for the session.
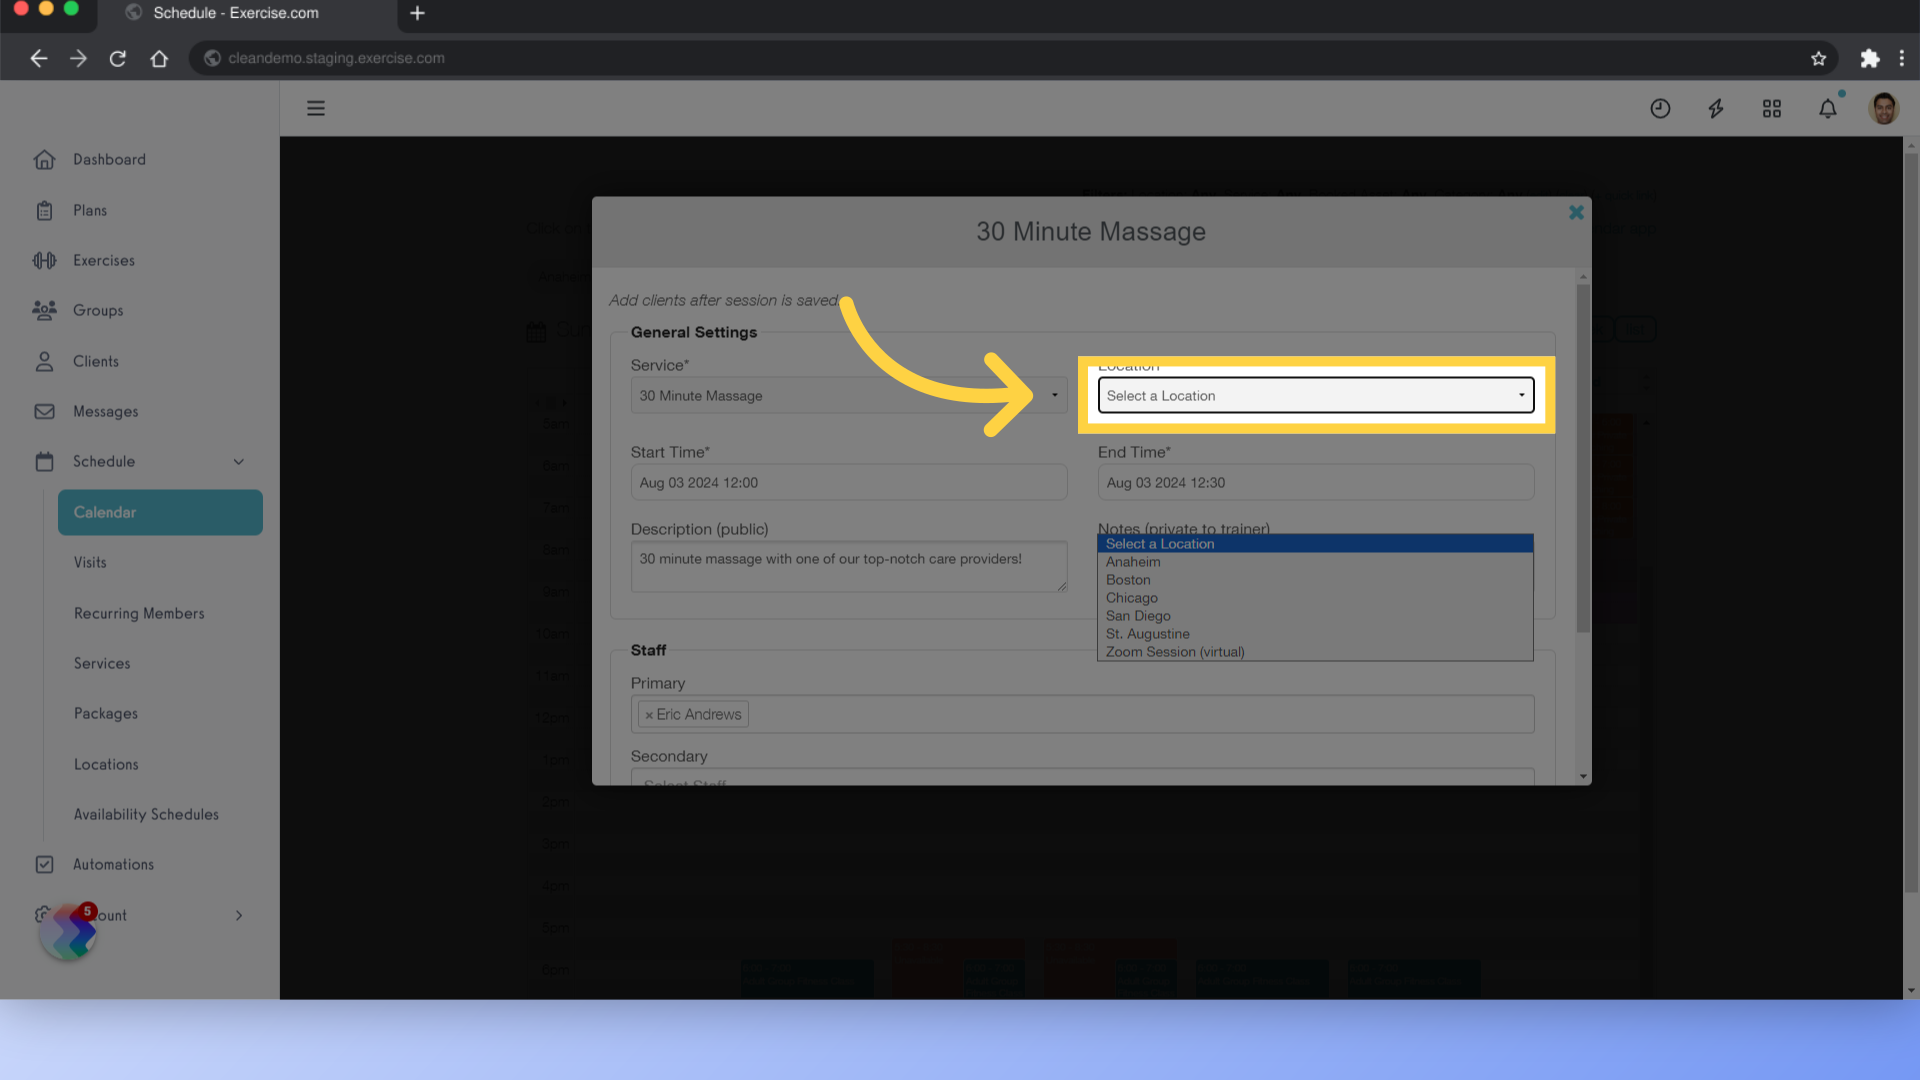
5. Select Location
Select a location that has assets available.
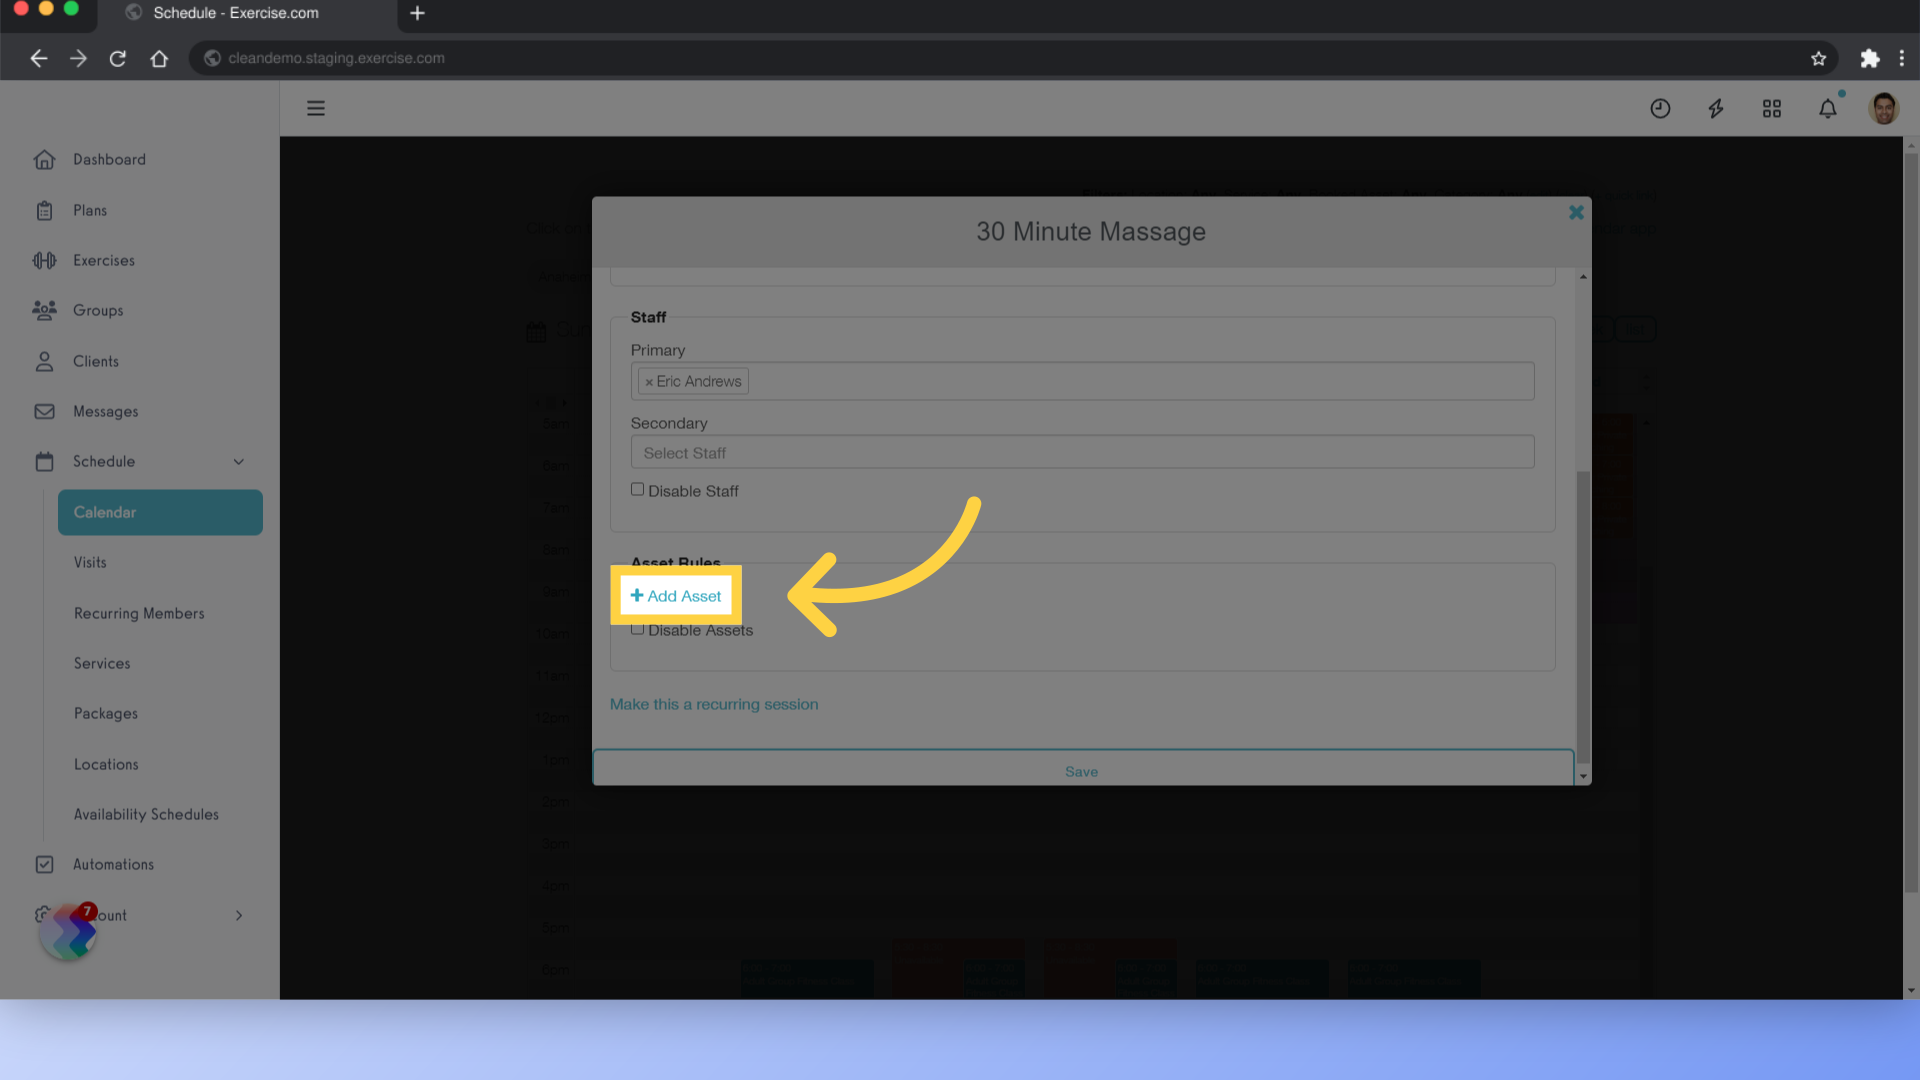
6. Add Asset
Click on the “Add Asset” link
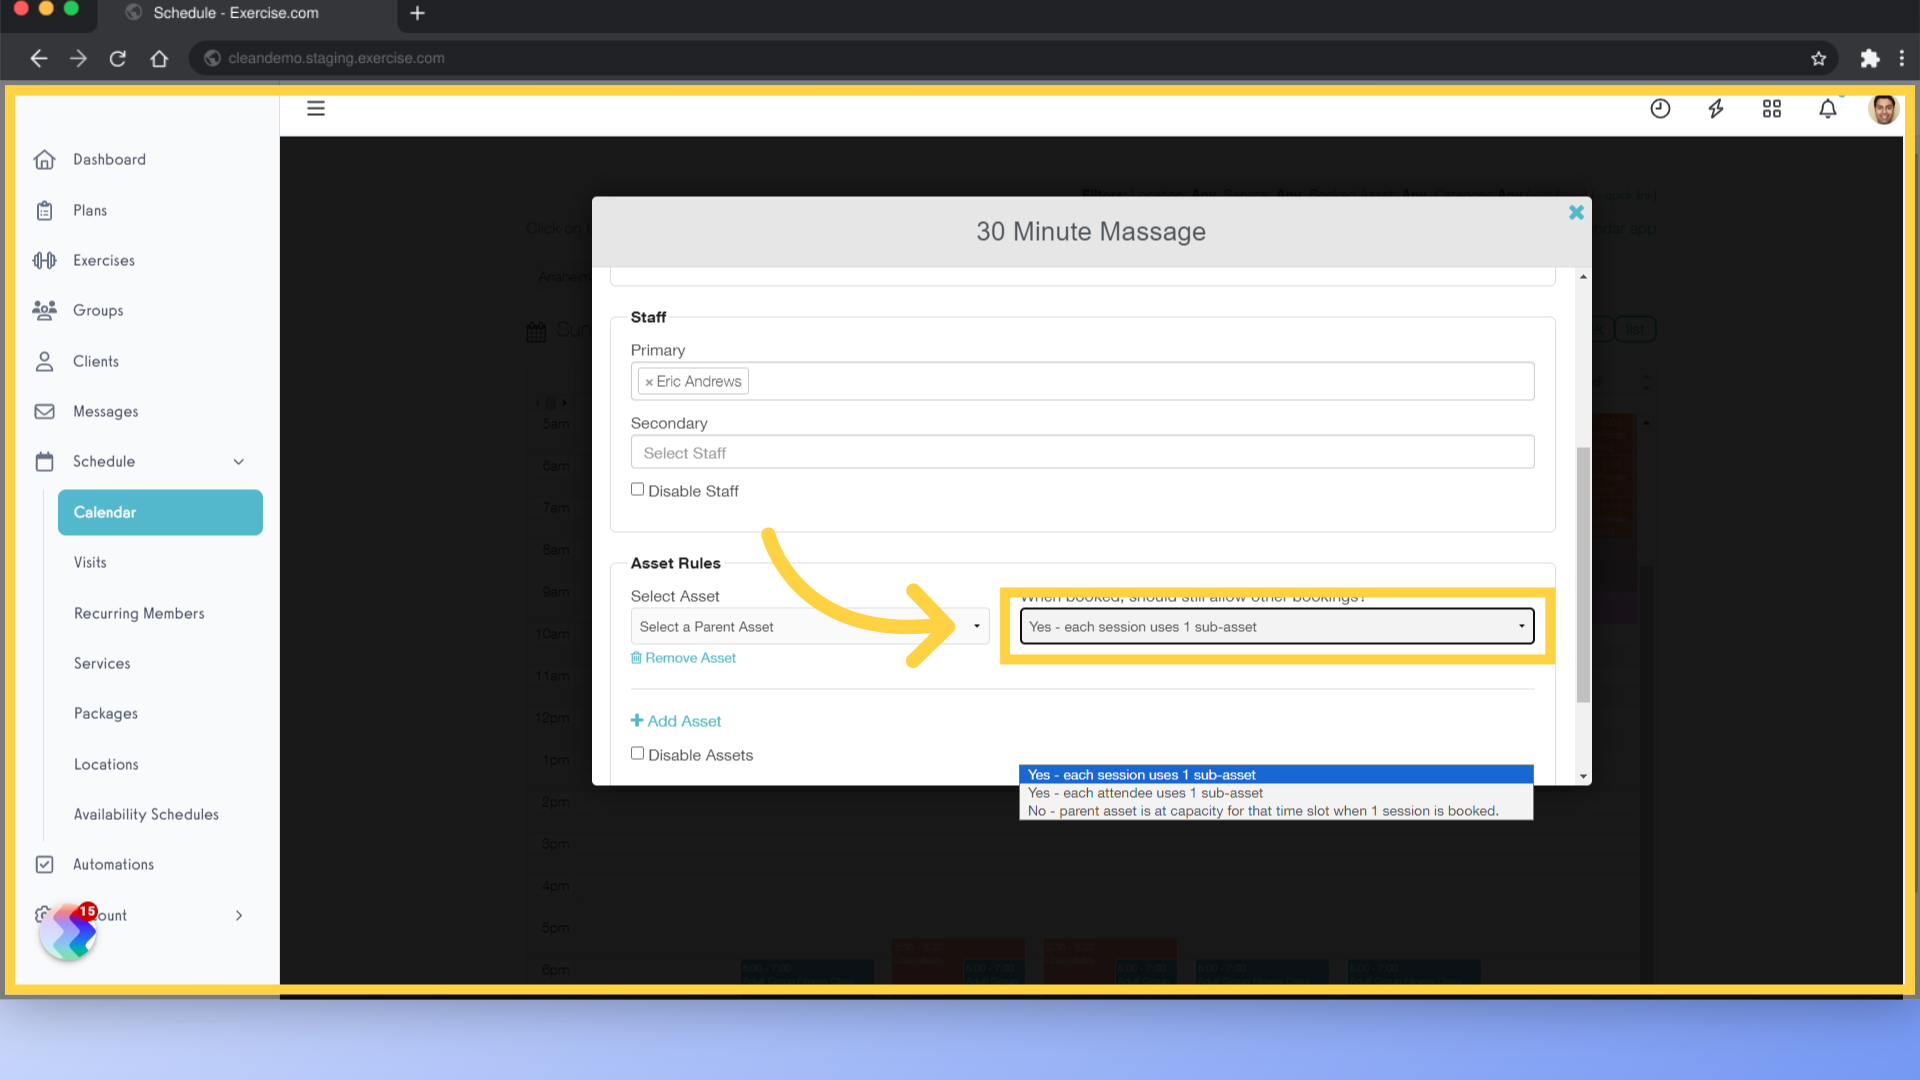
7. Select Option
Select an option from the “When booked, should still allow other bookings” drop down list.
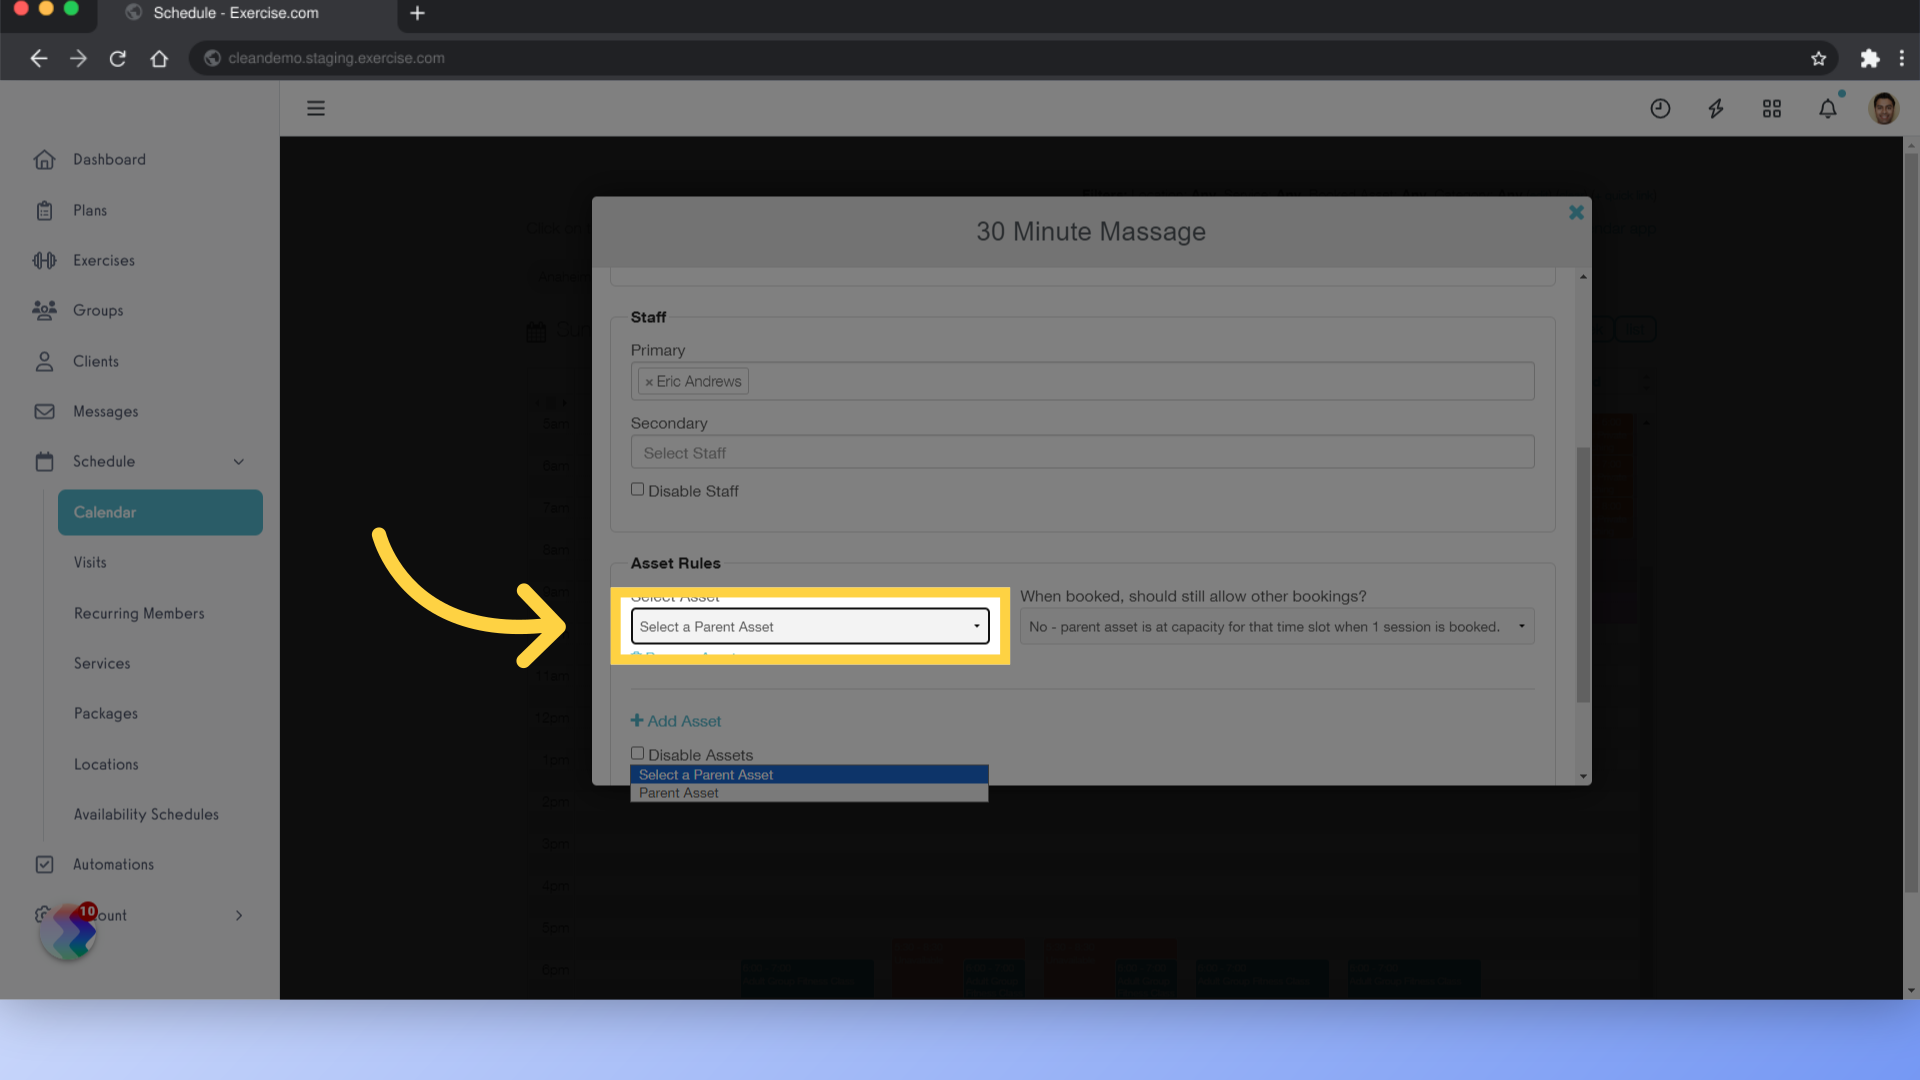
8. Select a Parent Asset
Select a parent asset.
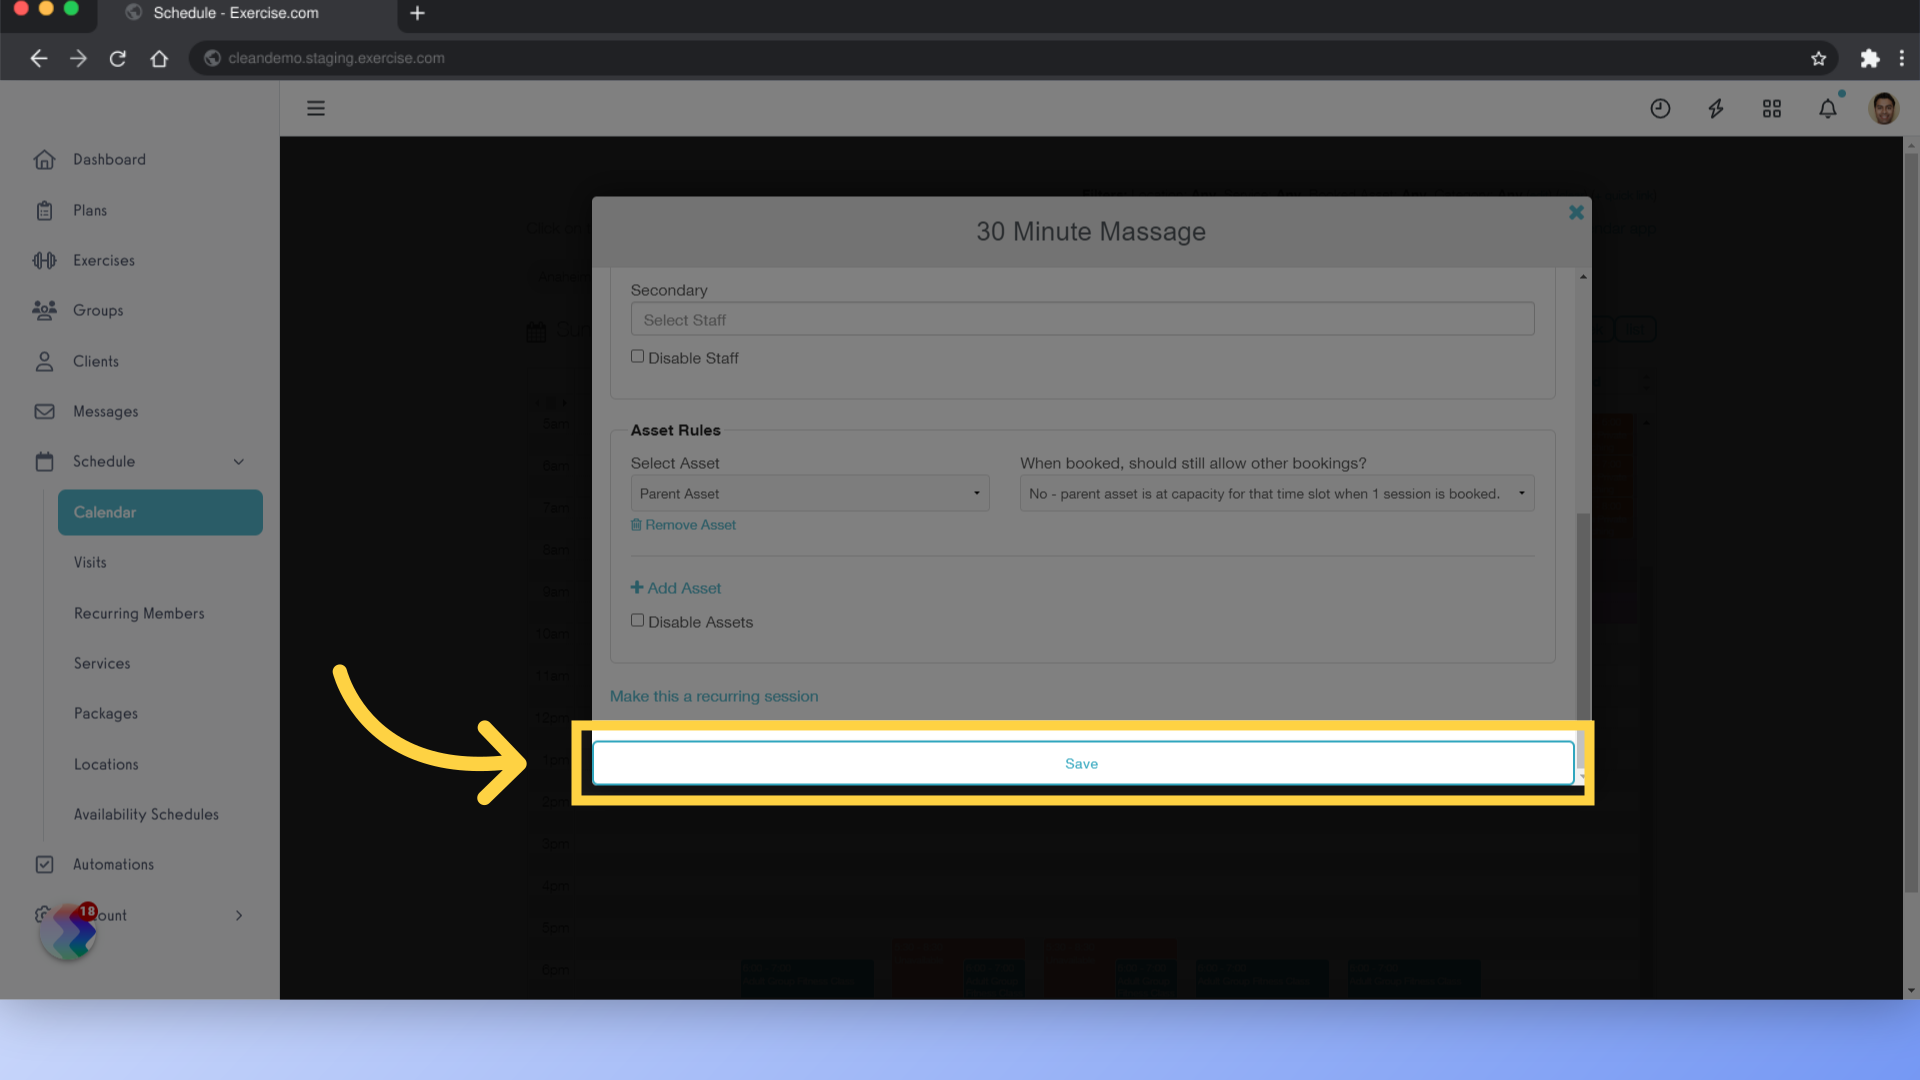
9. Save the Session
Save the session.
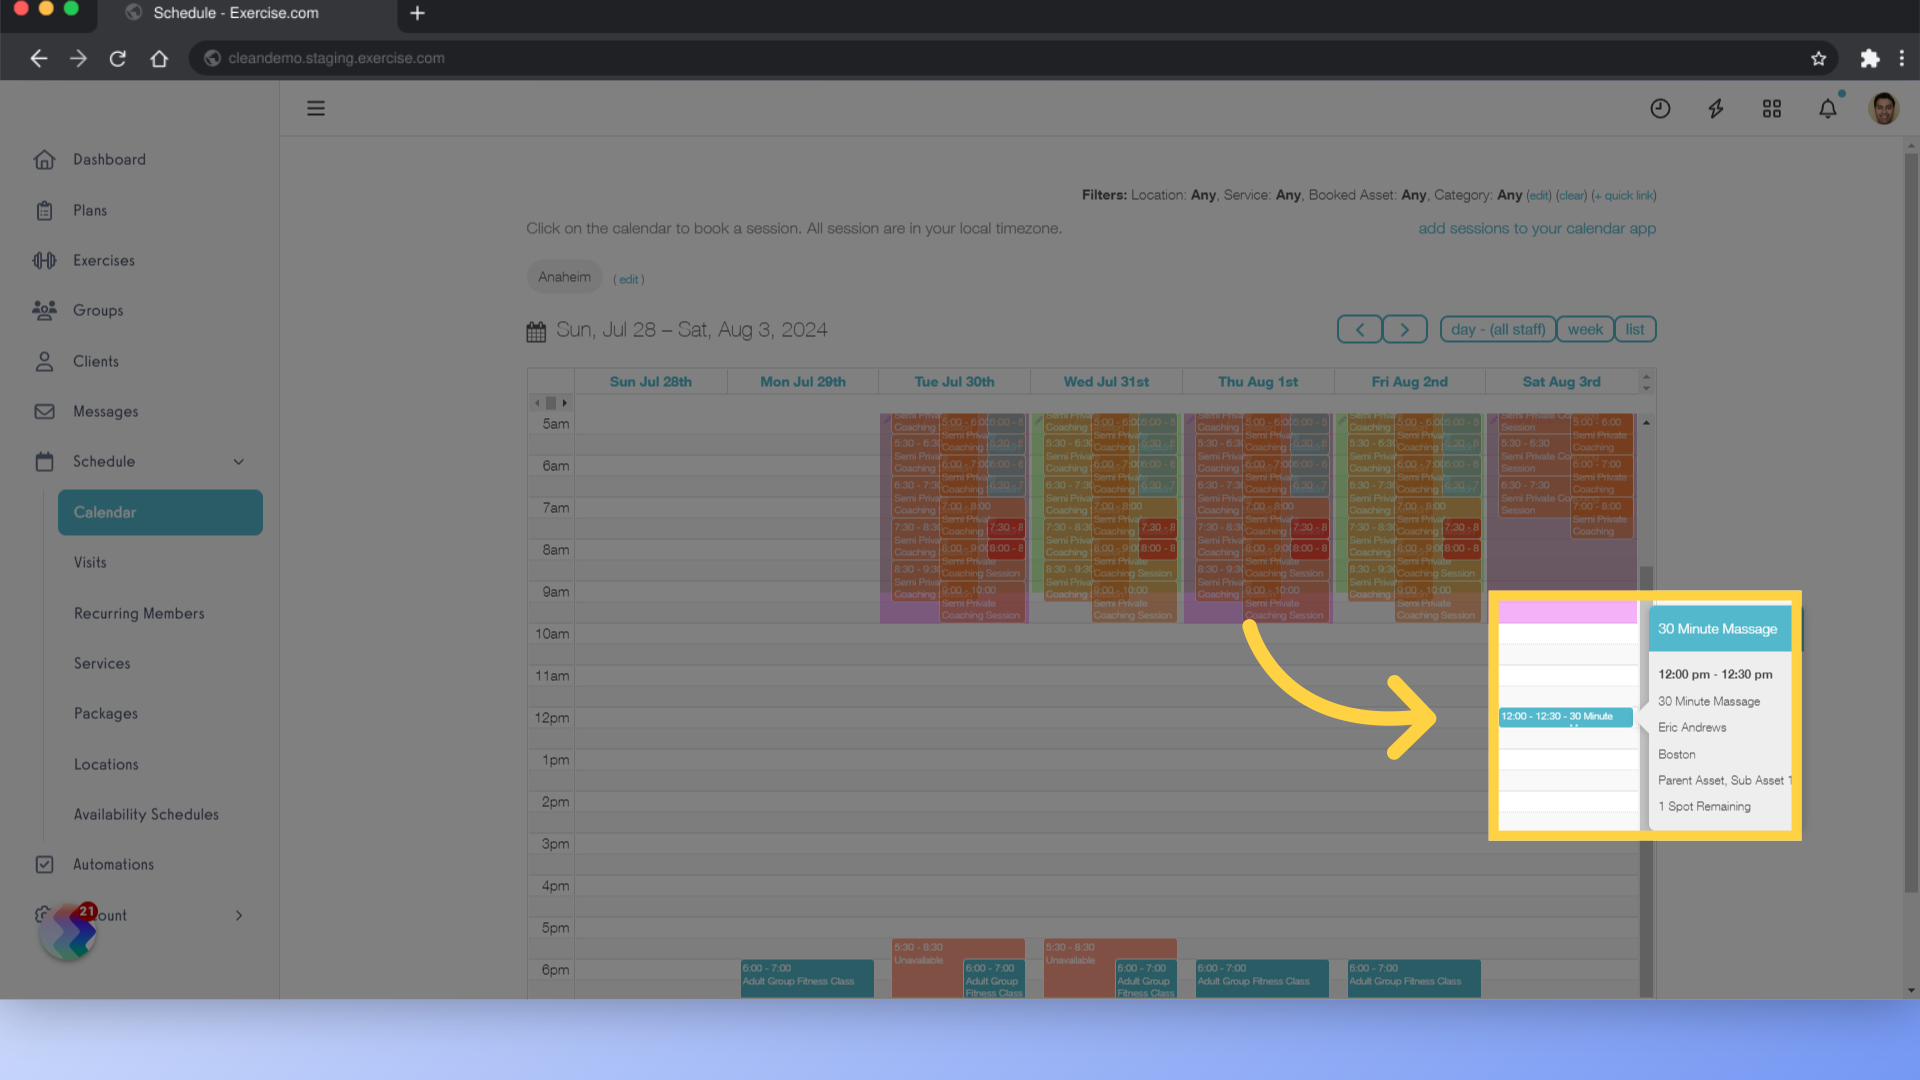
10. Review Session
Back on the calendar view, hover over the created session. The asset should be listed.
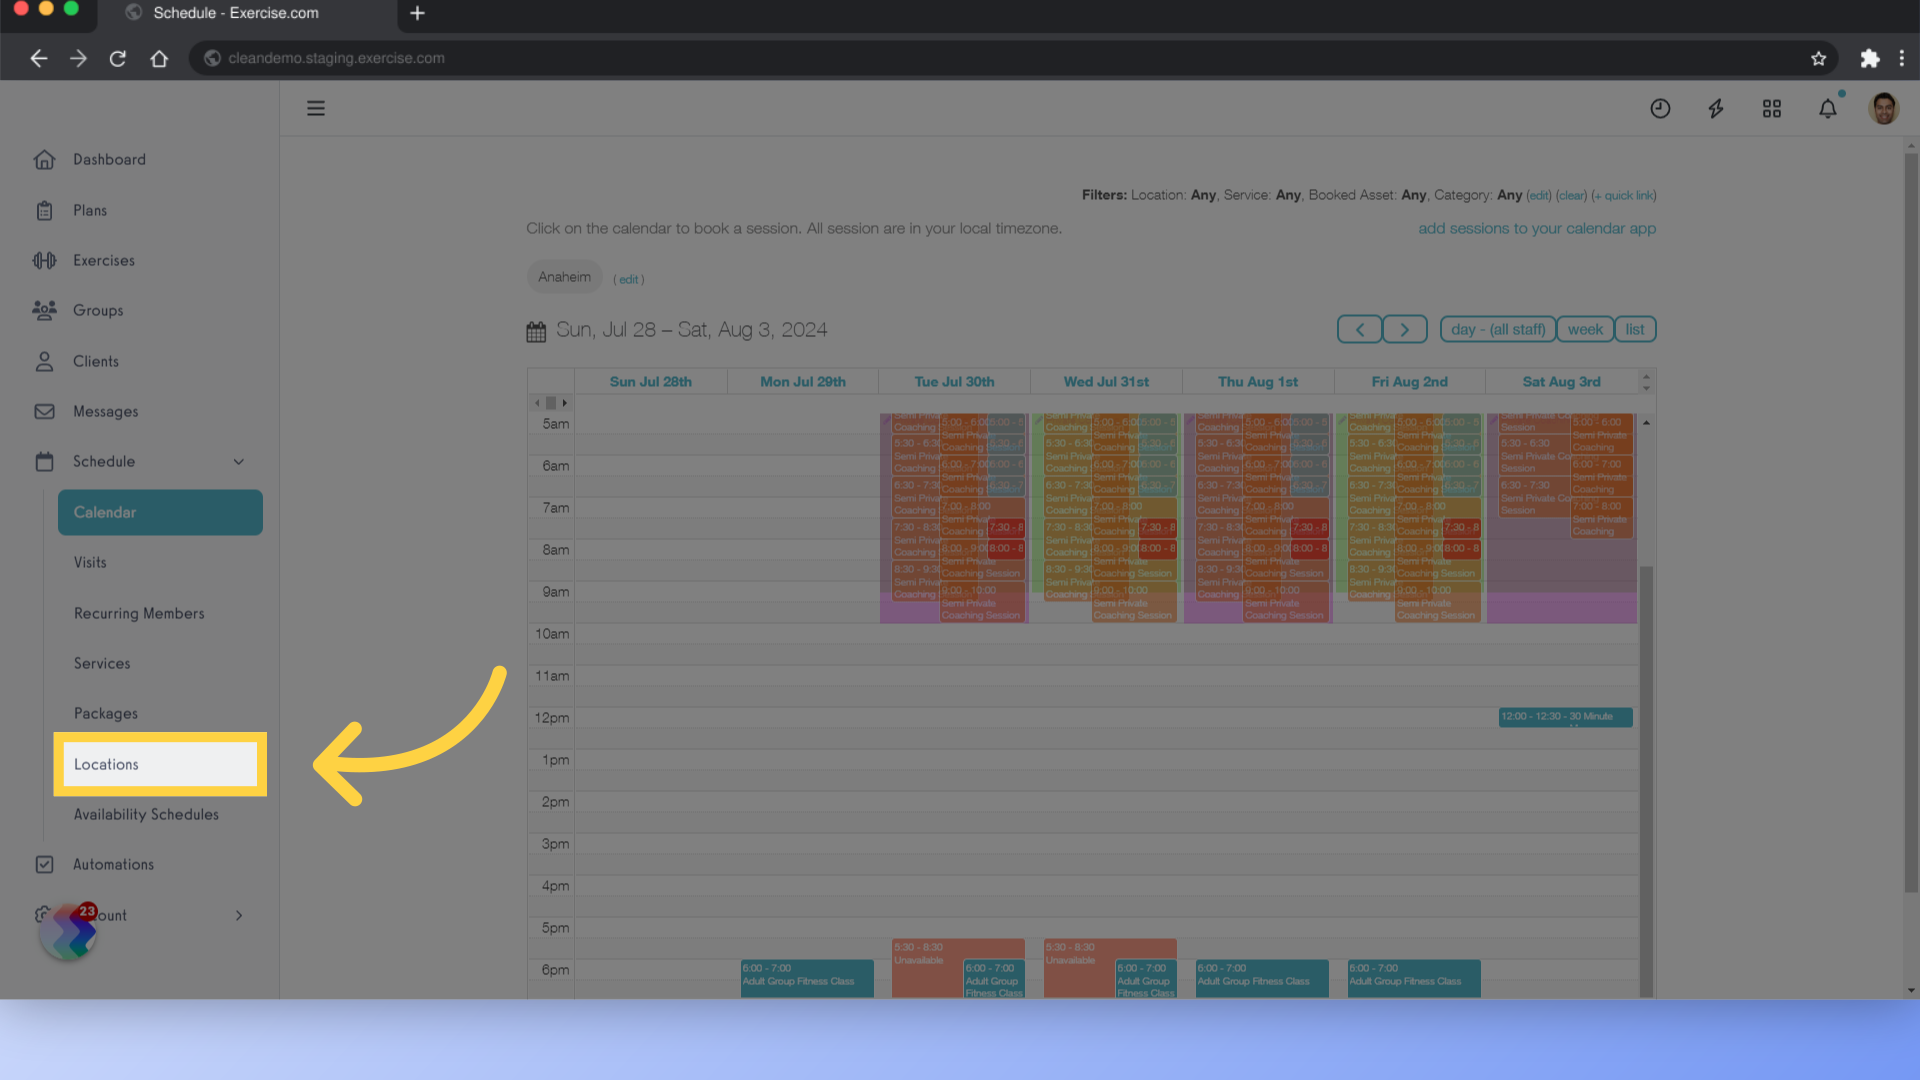
11. Locations
To delete an asset from existing sessions, navigate to the locations tab.
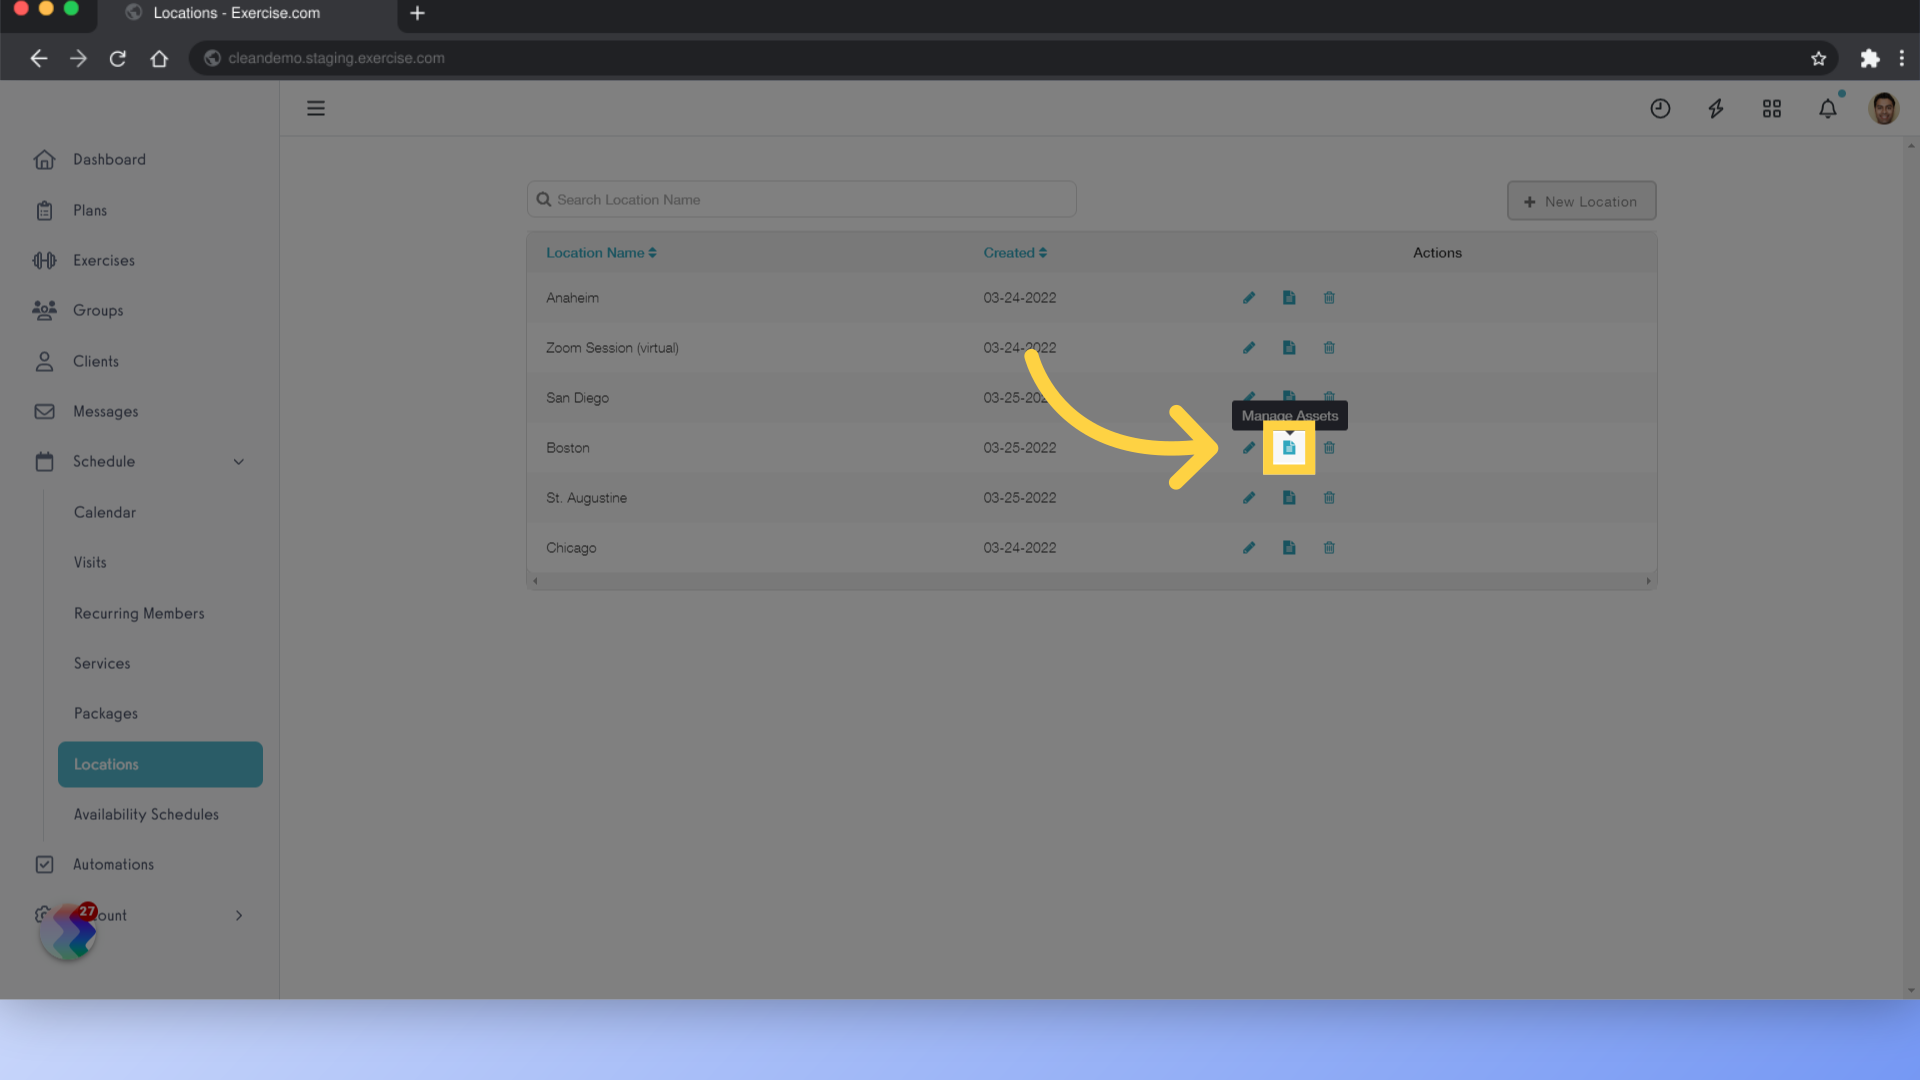
12. Manage Assets
Click on the “Manage Assets” icon.
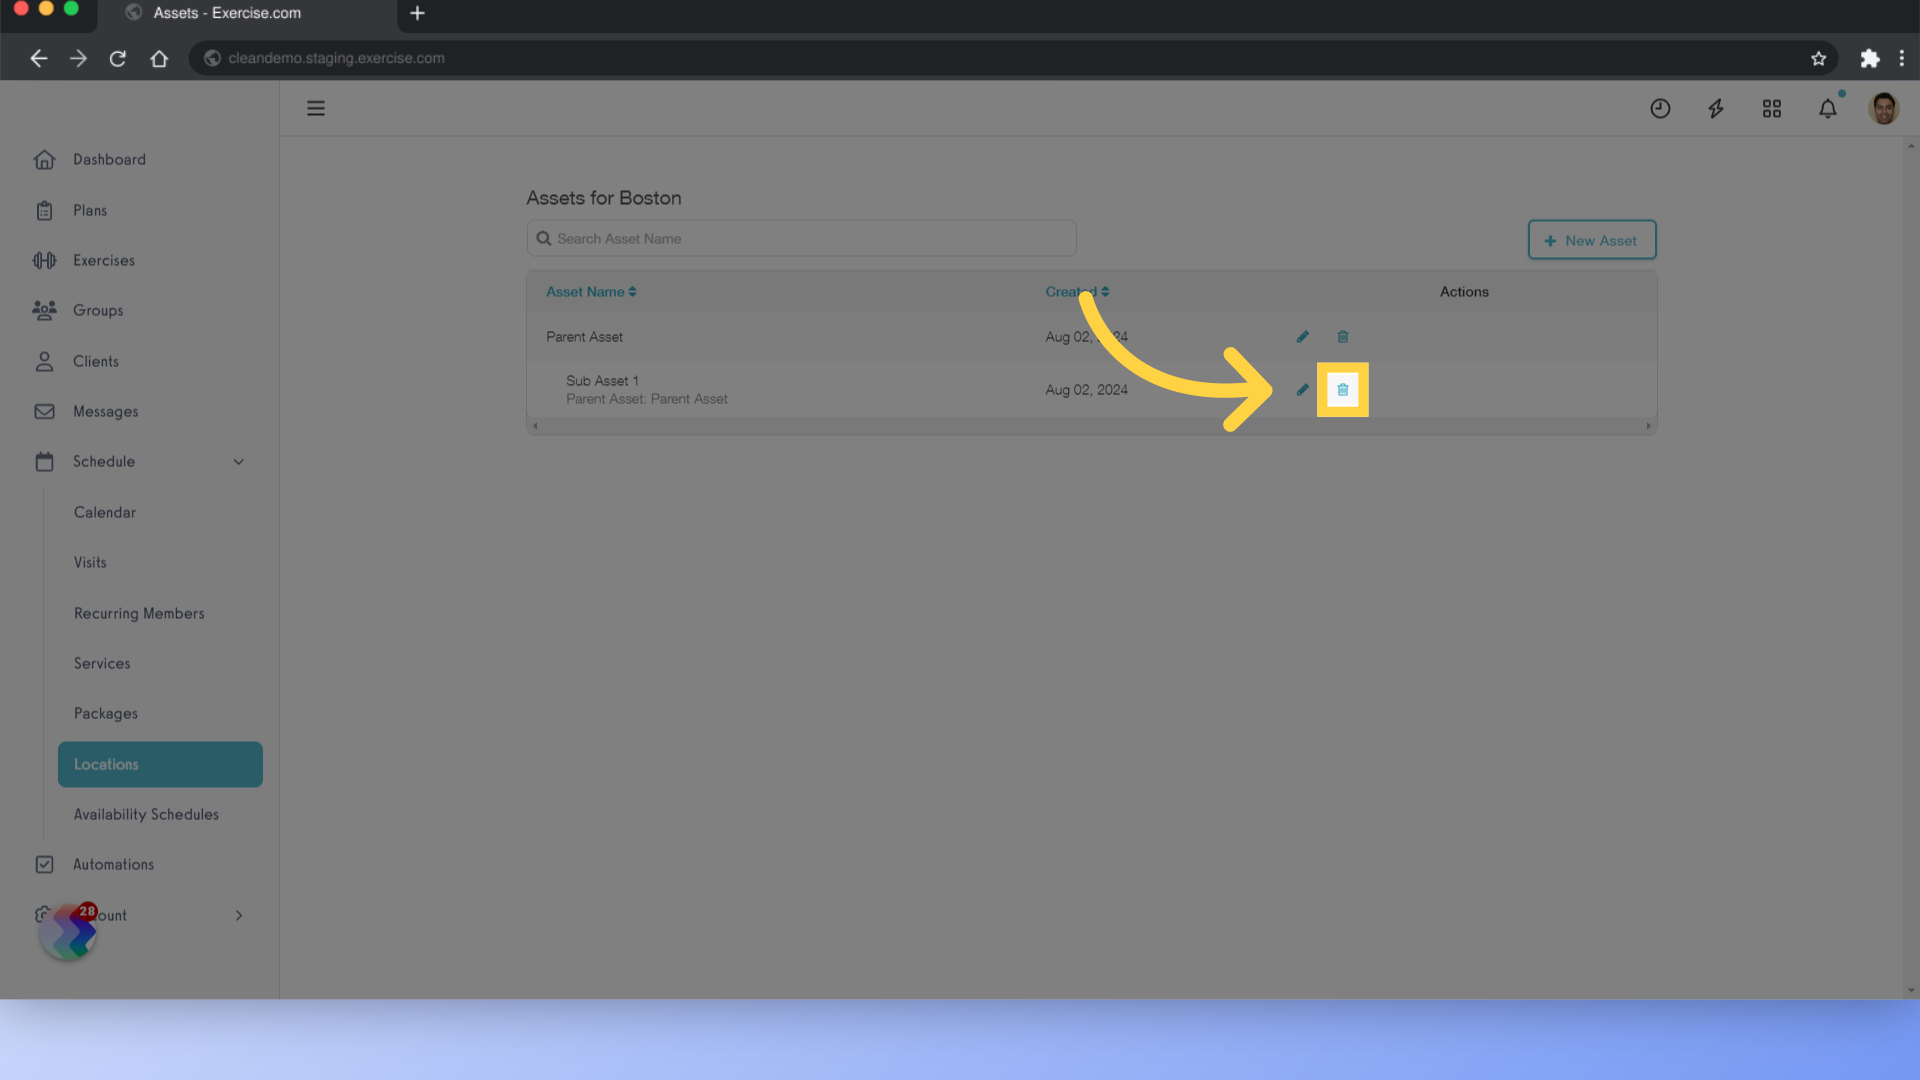
13. Delete
Click on the delete icon next to the asset you would like to delete.
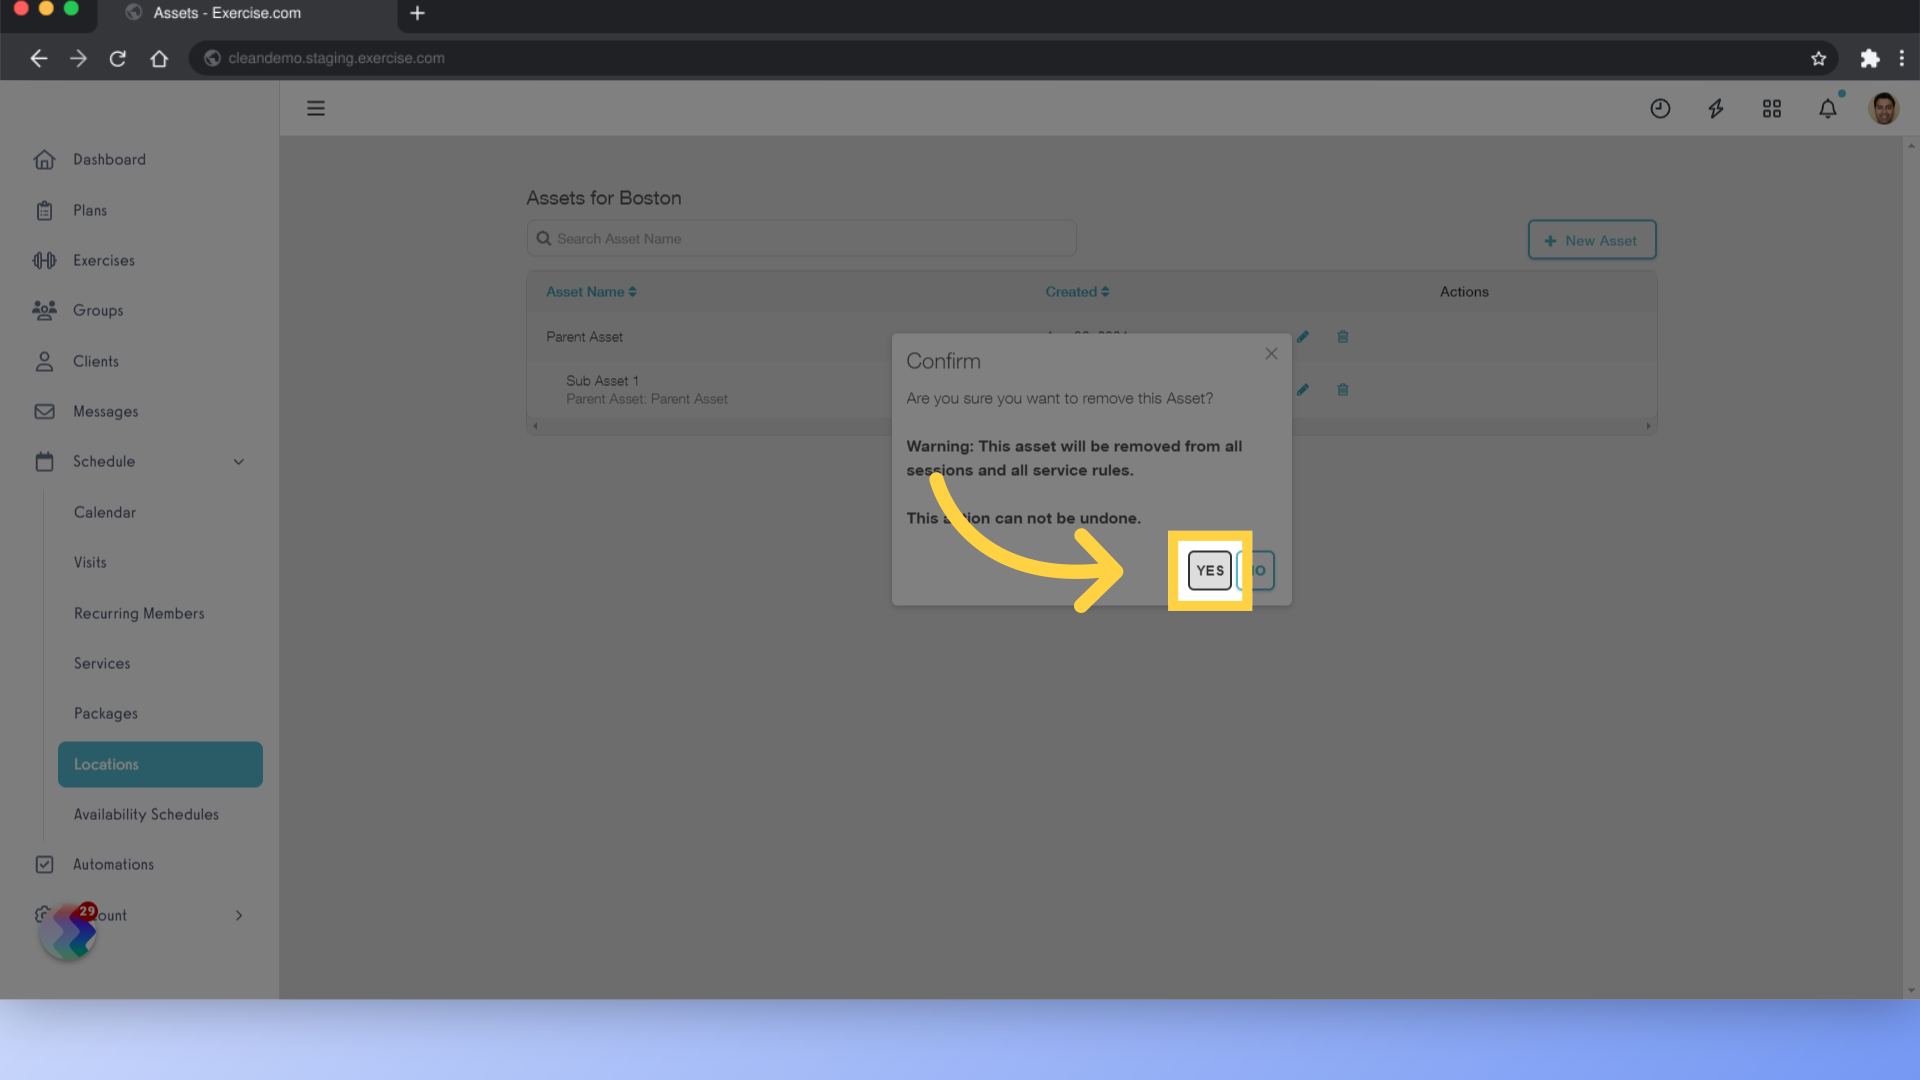
14. Confirm
Confirm the deletion.
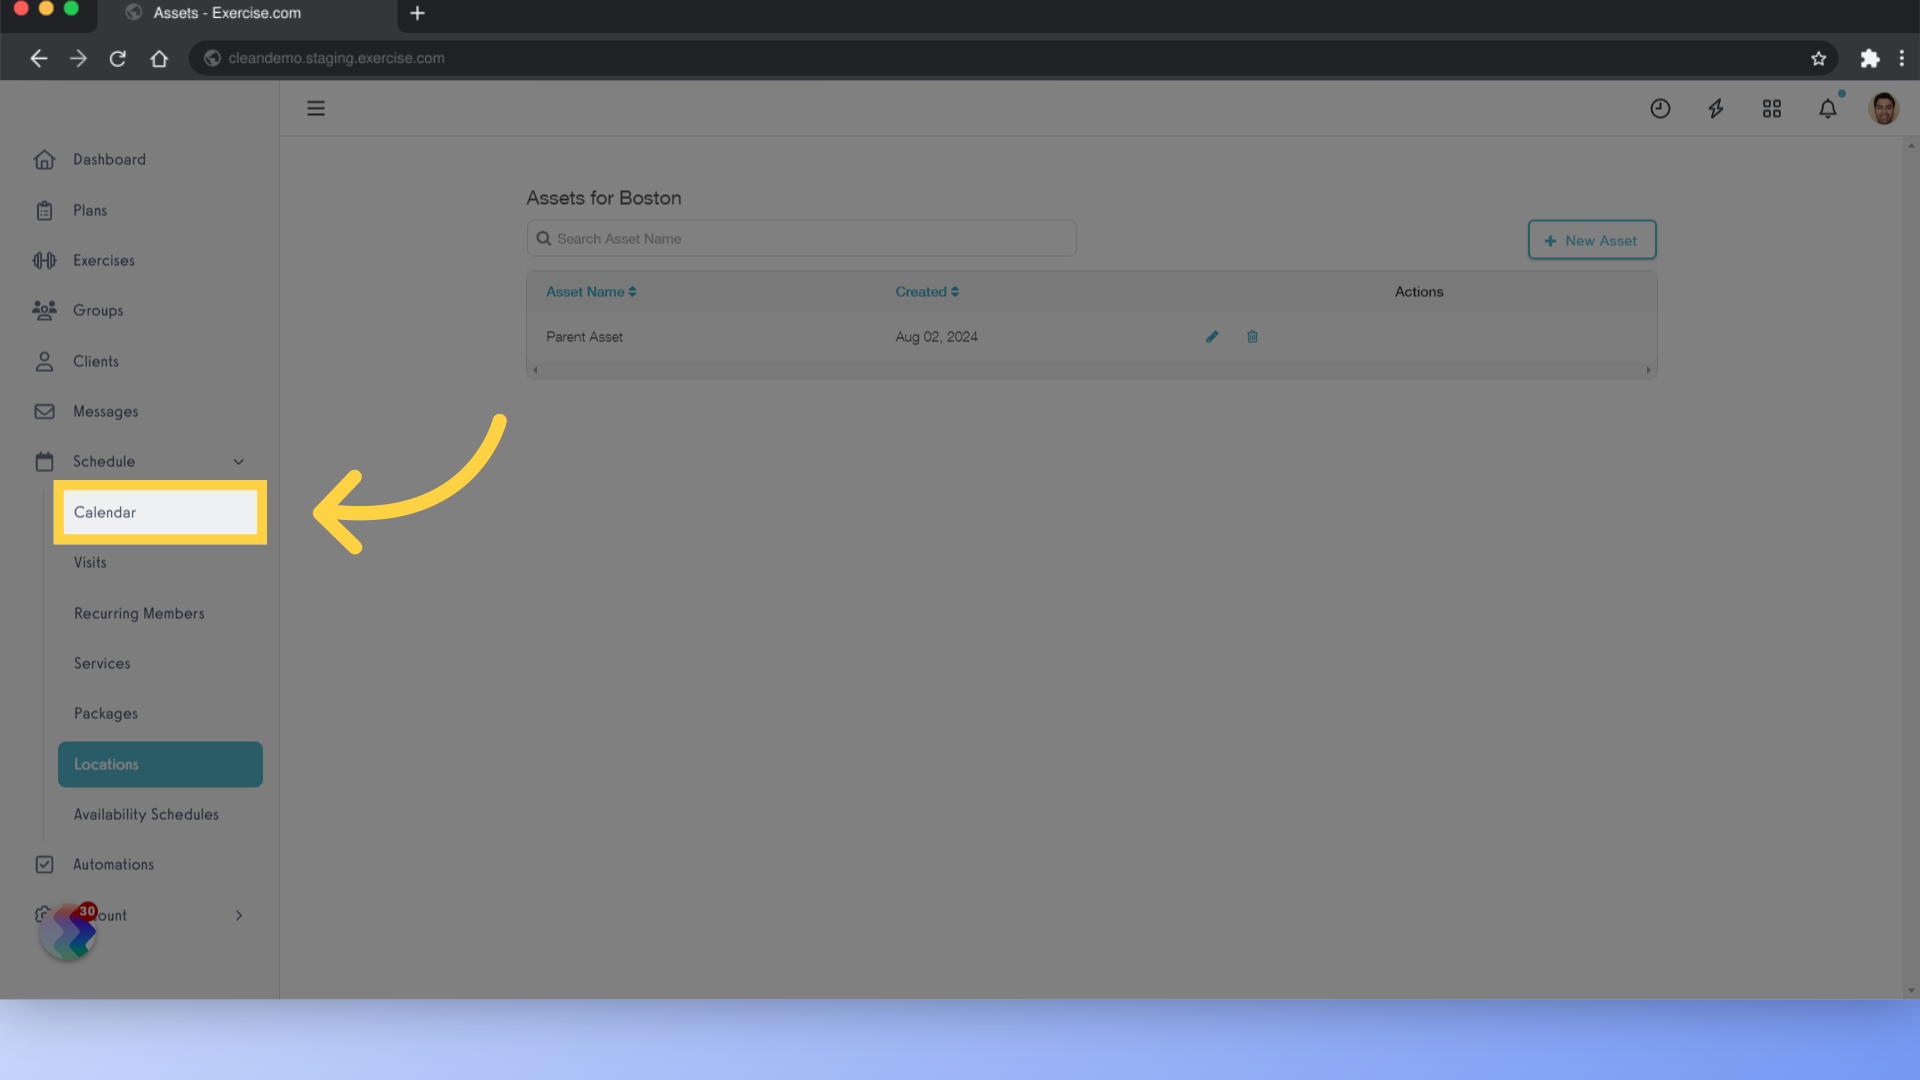
15. Calendar View
Go back to the calendar view.
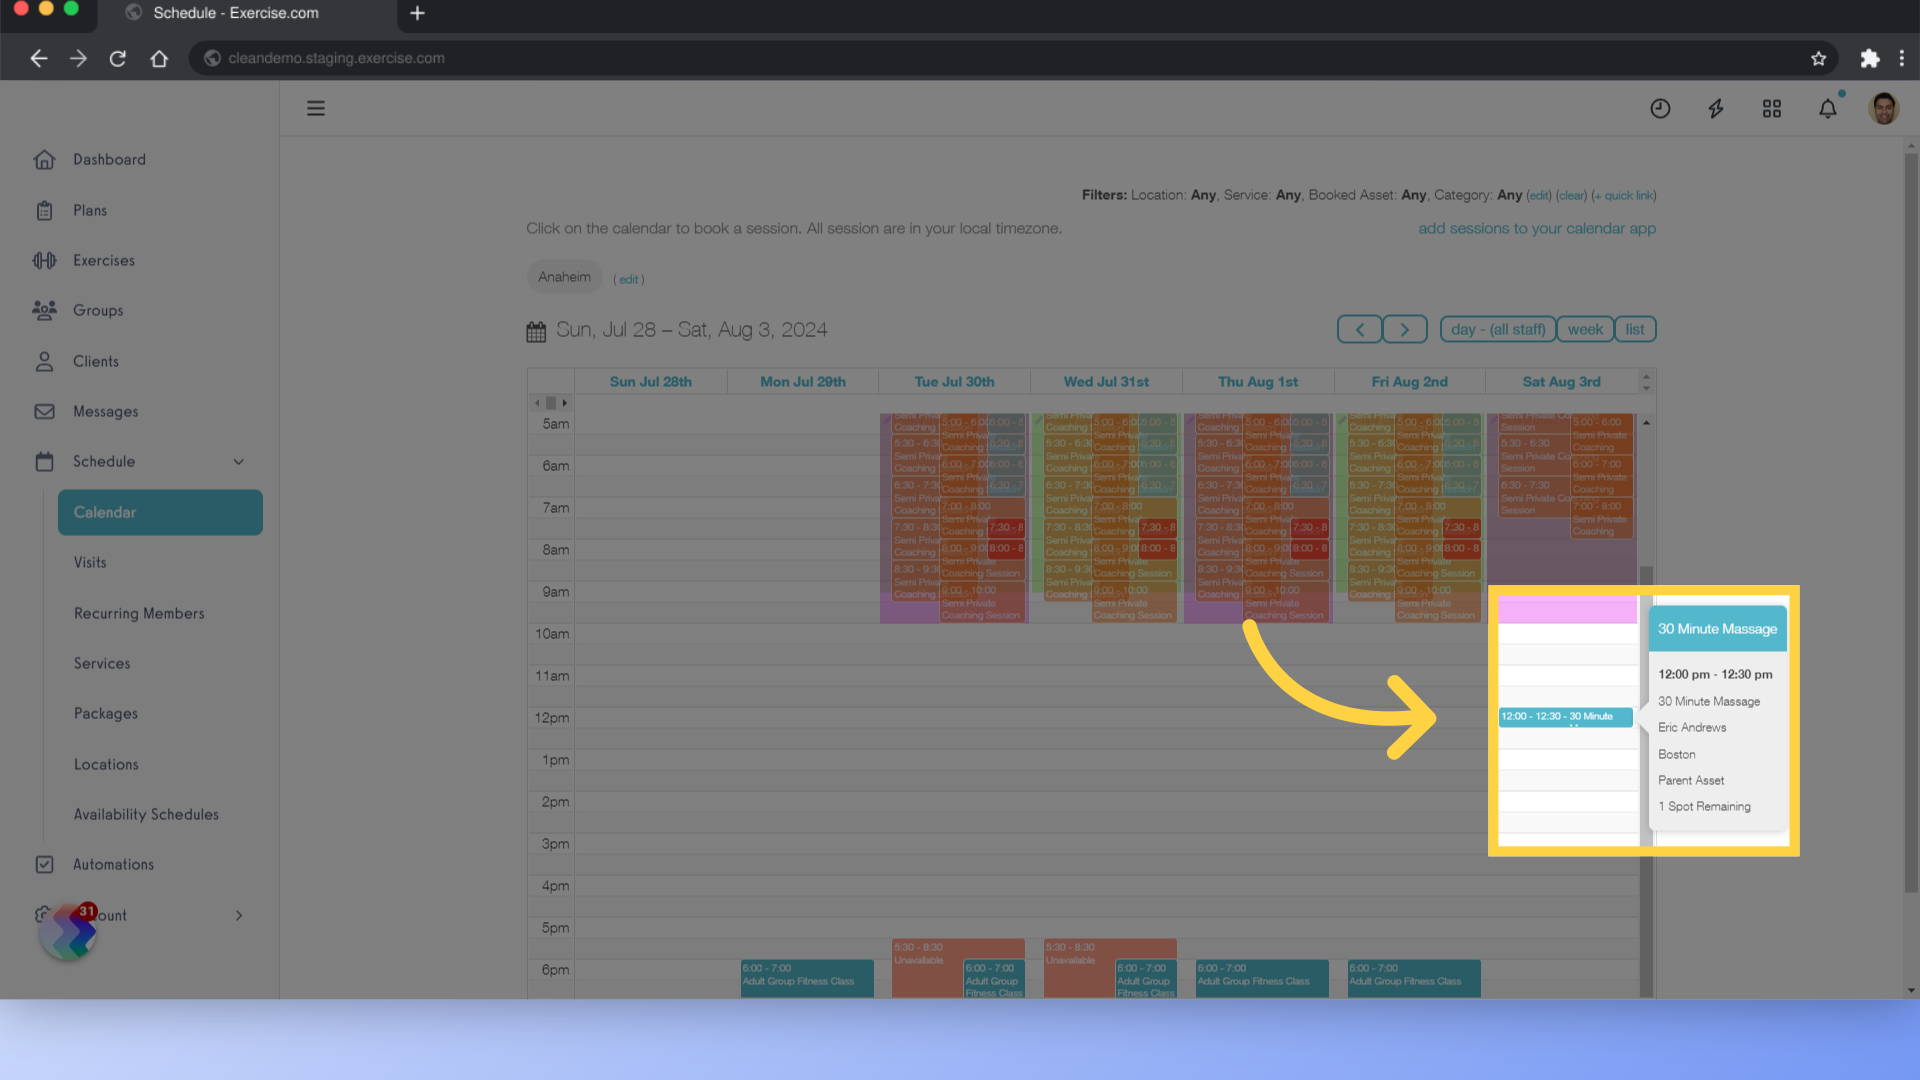
16. Review Session
Hover over the session, notice that the deleted asset is no longer displayed.
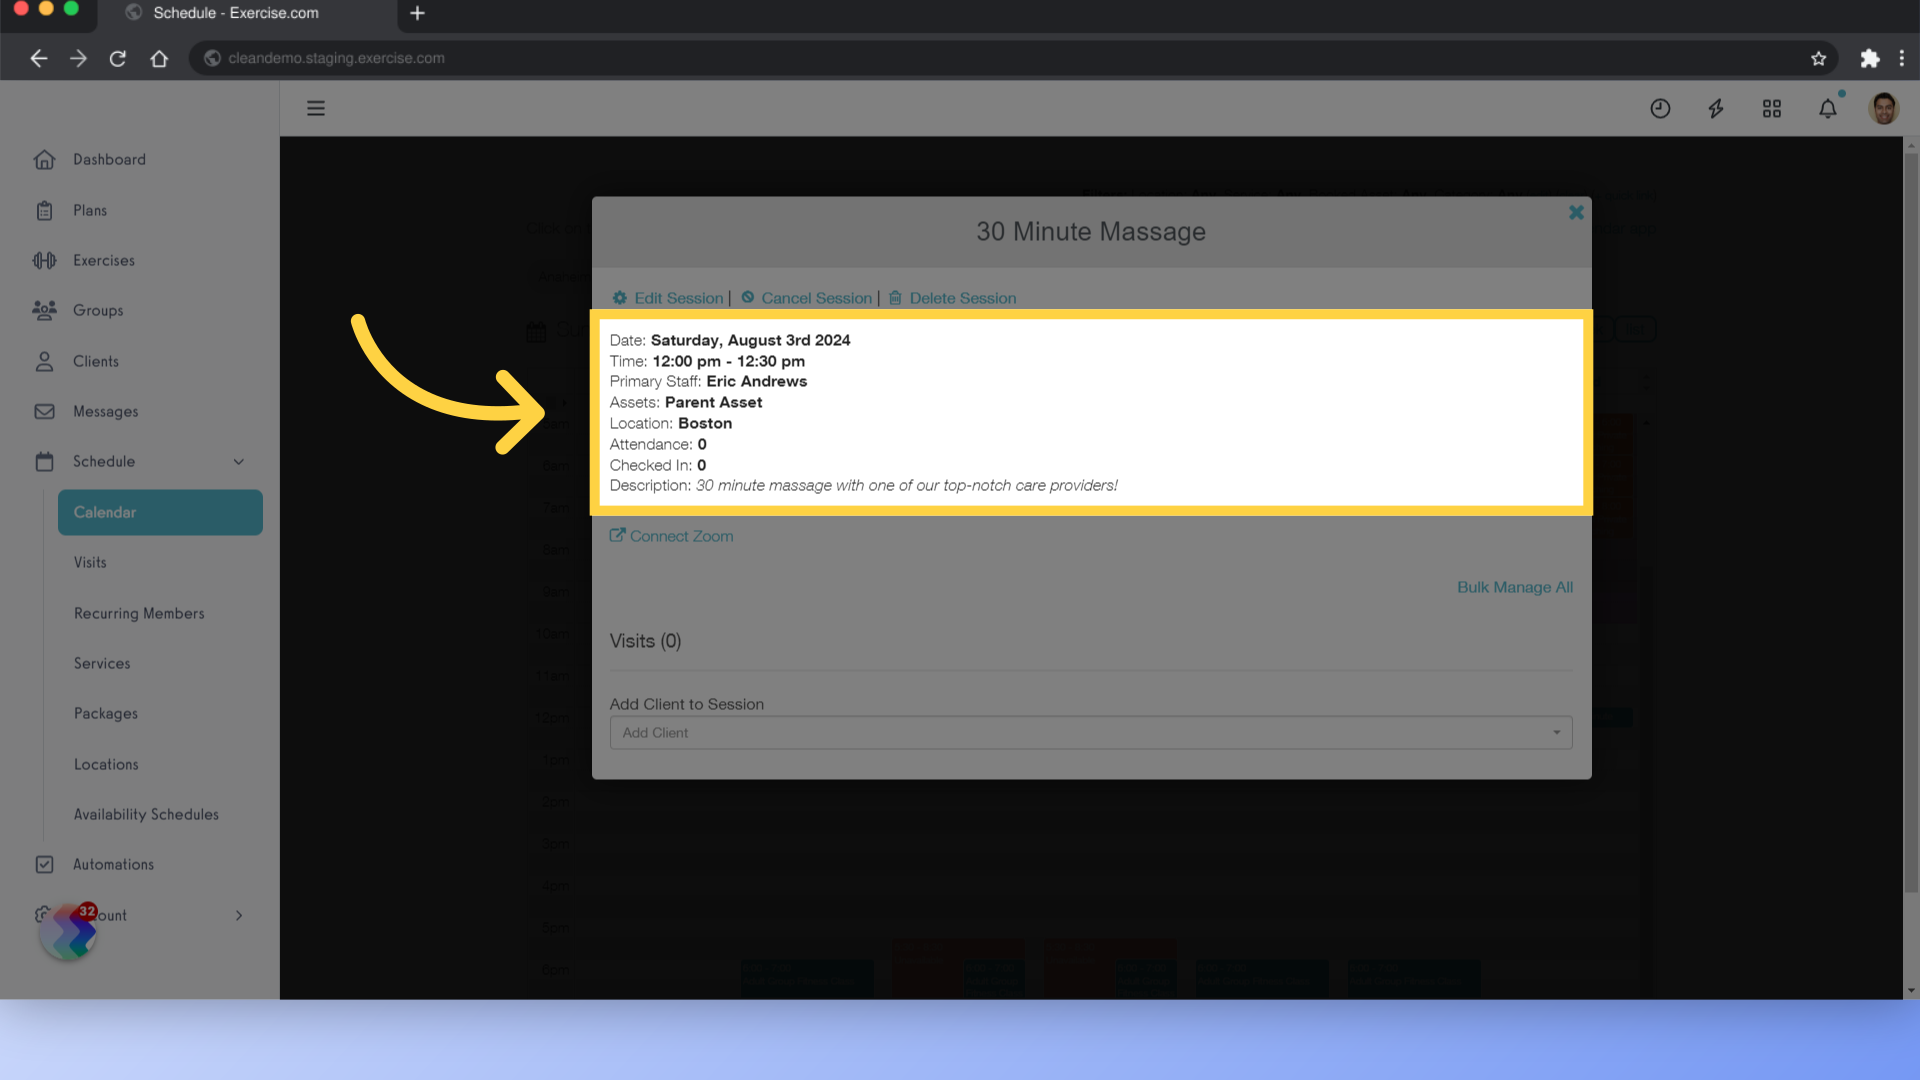
17. Check Details
Click into the session and review the details. Note that the deleted asset has been removed.
This guide covered adding assets to a session and deleting assets from existing sessions.


