How to Add or Remove Client Tag via Automation Based on Last Visit
To add or remove client tags via automation based on the user’s last visit within your fitness business management software platform, follow the instructions below.
In this guide, you will learn how to automate the process of adding or removing client tags based on their last completed visit.
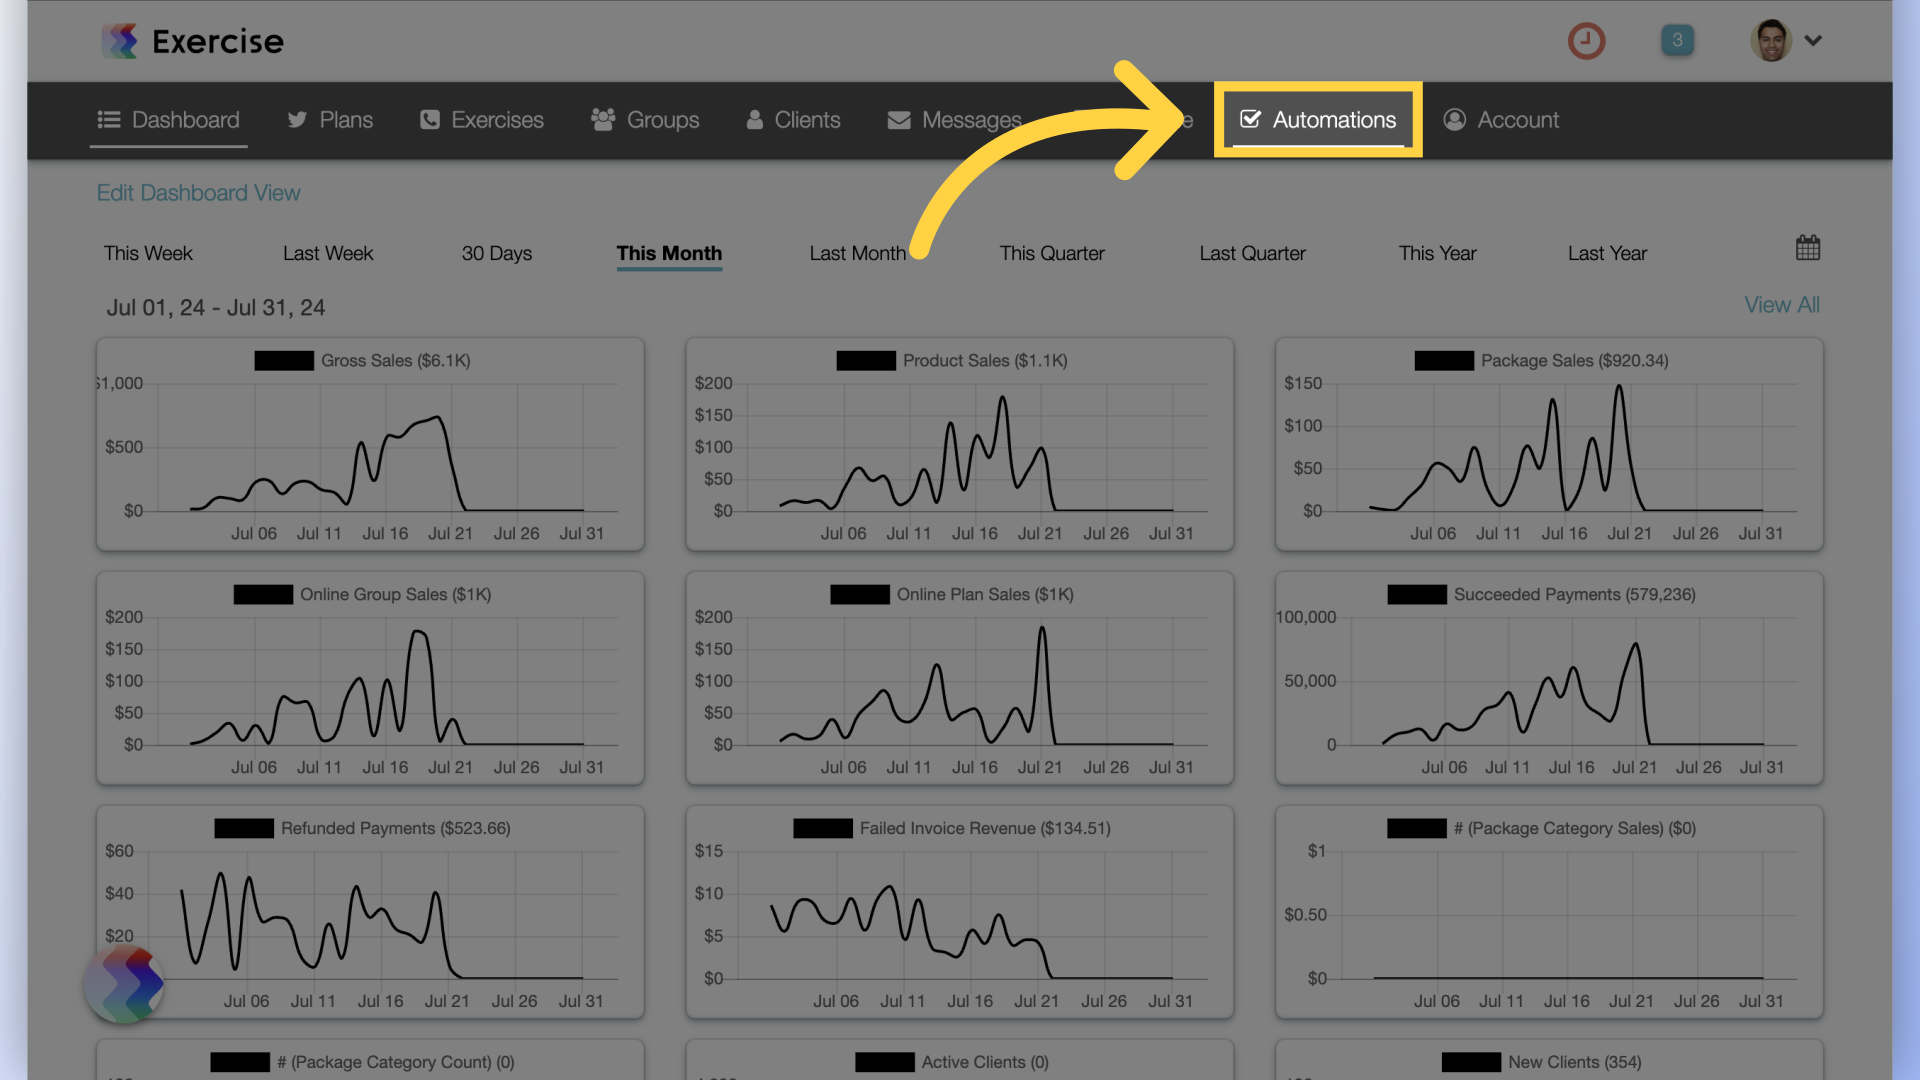
1. Automations Tab
Navigate to the “Automations” tab.
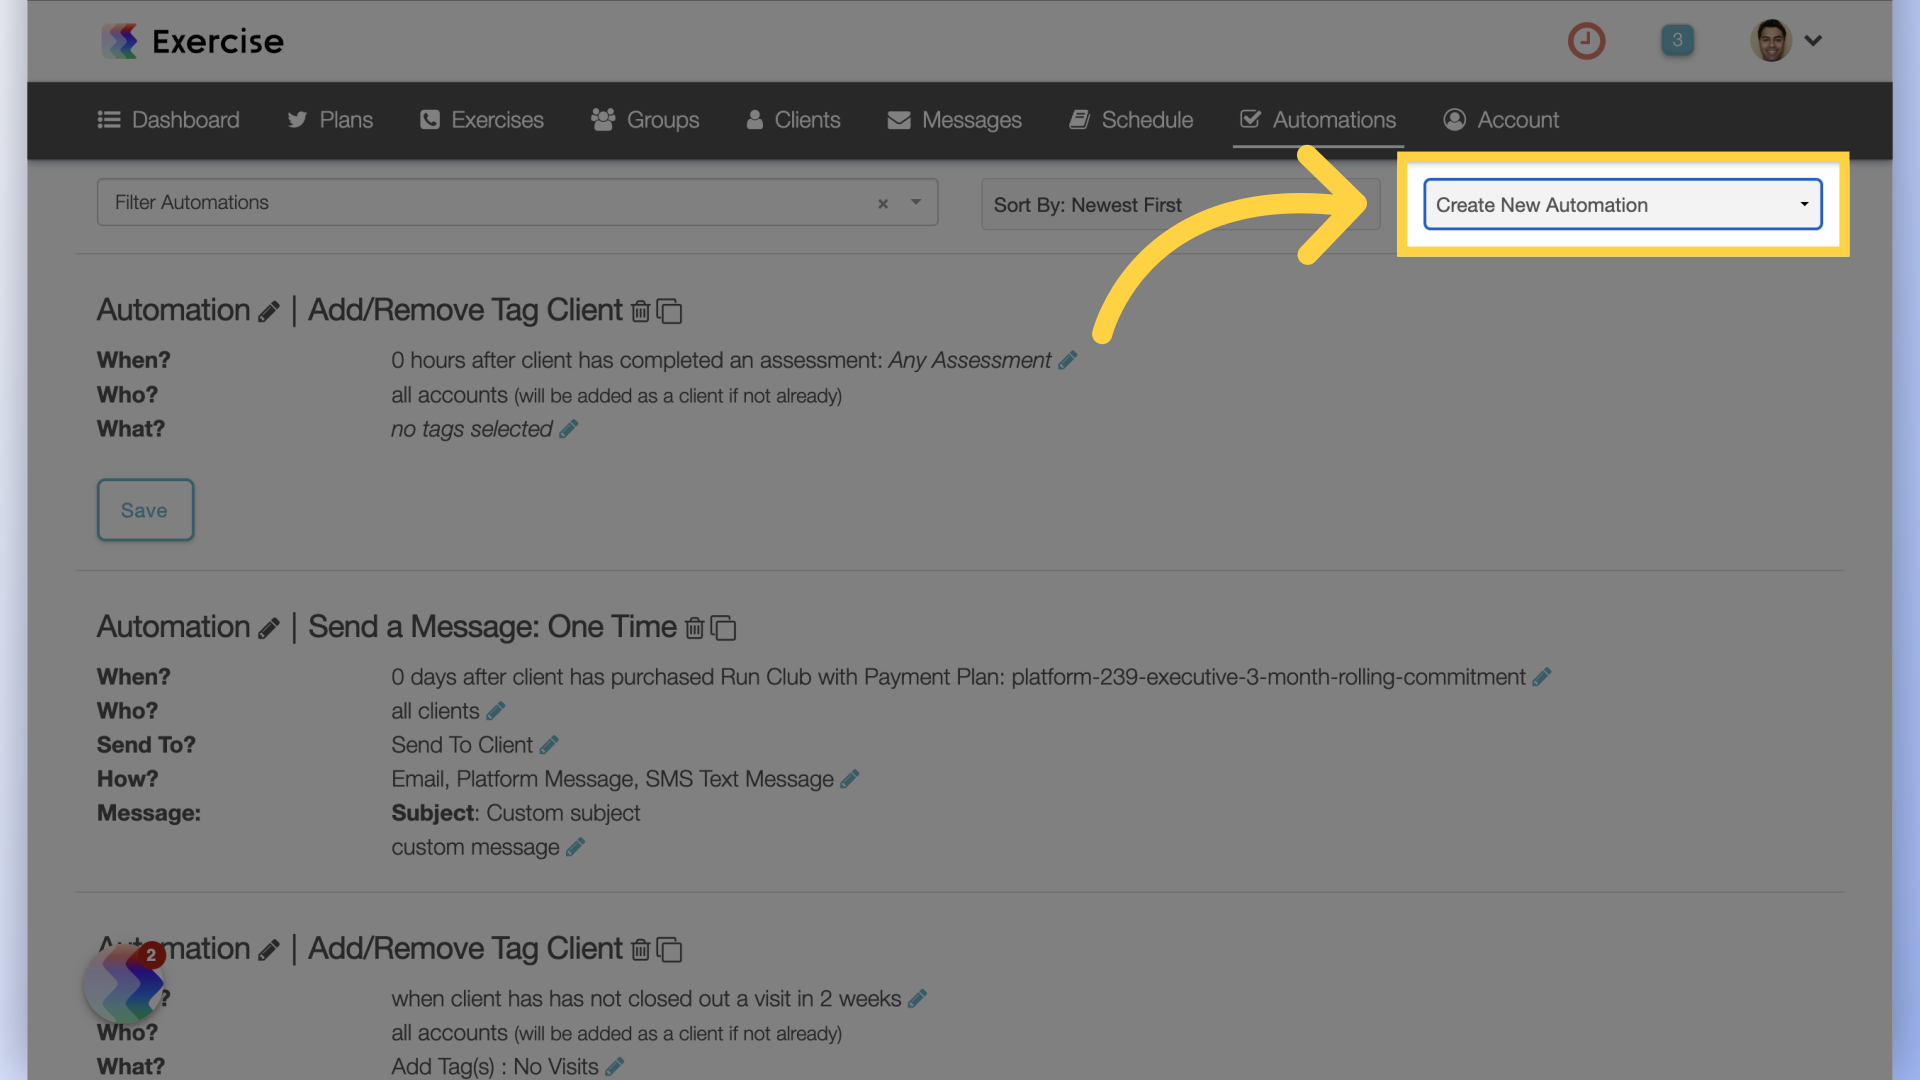
2. Create New Automation
Select “Add or Remove Tag” from the Create New Automation drop down.
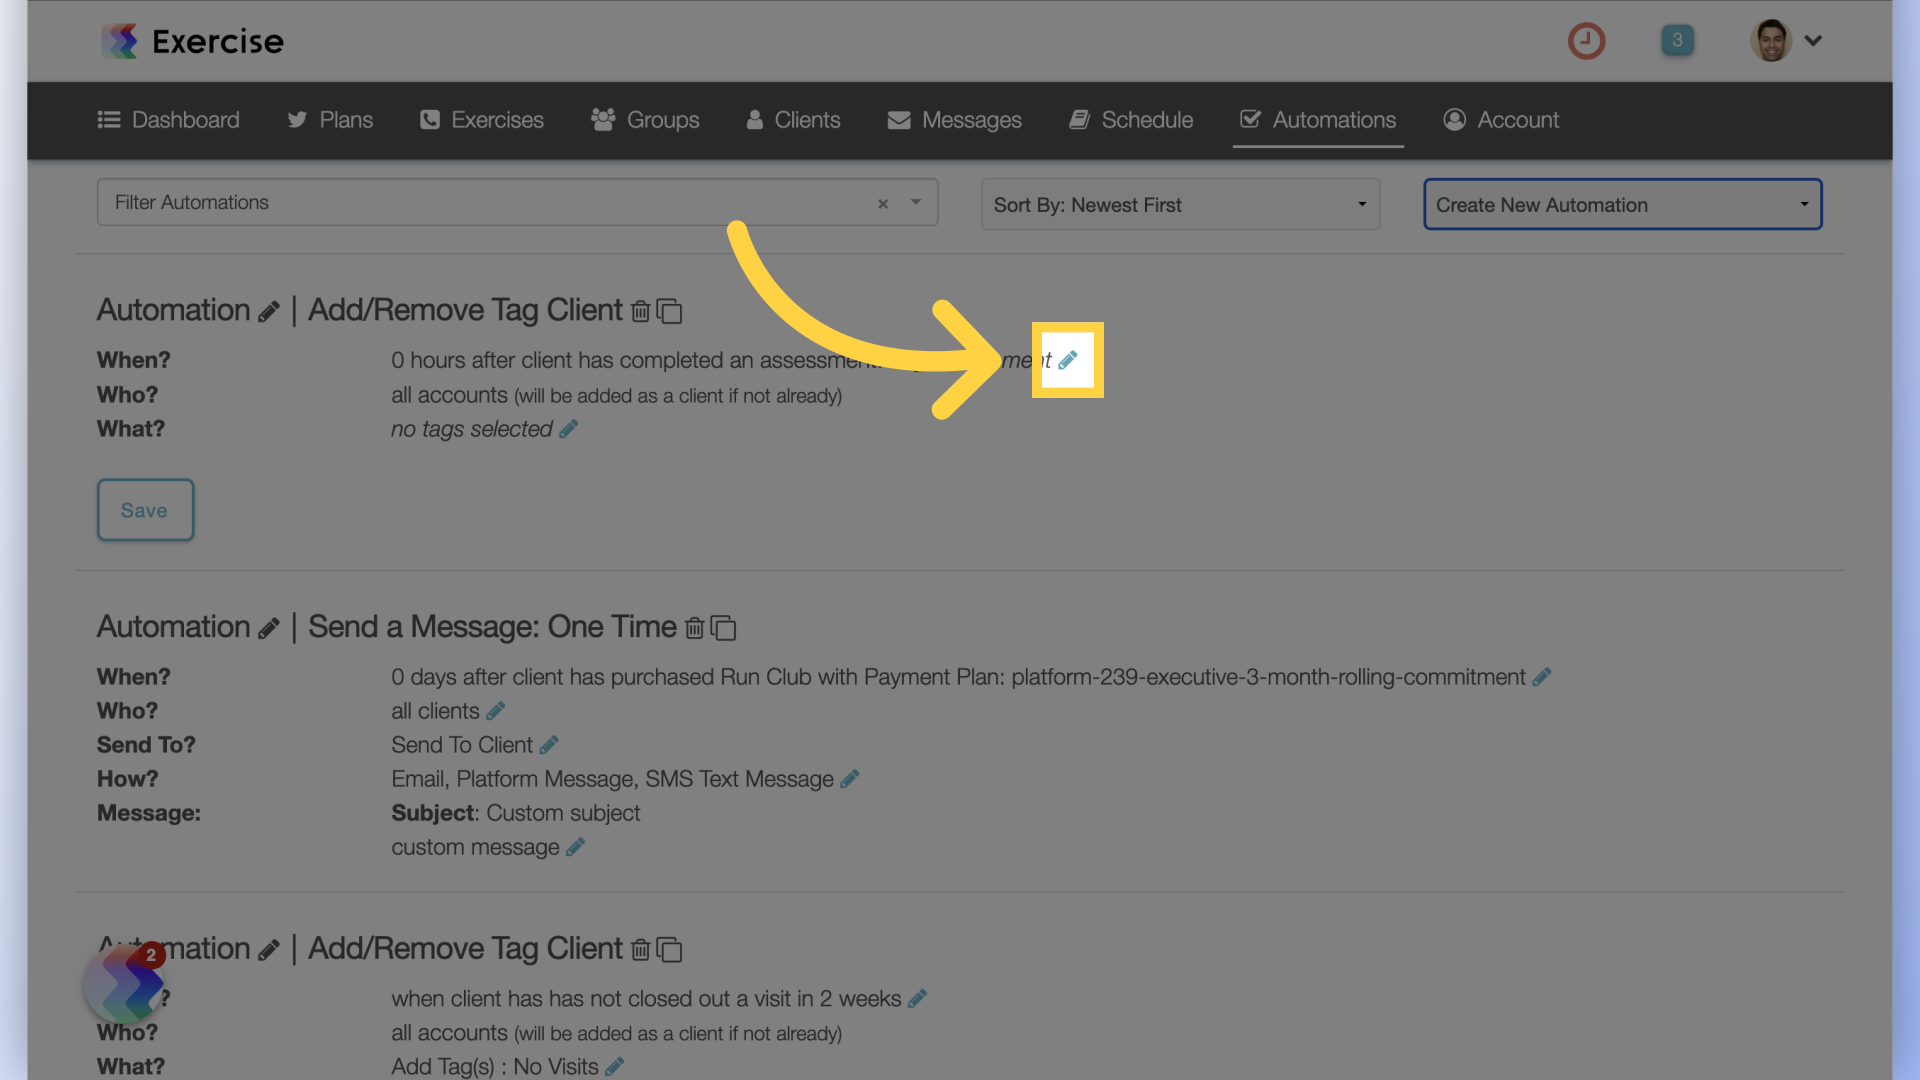
3. Edit the Automation
Customize the “When?” setting by clicking on the edit icon.
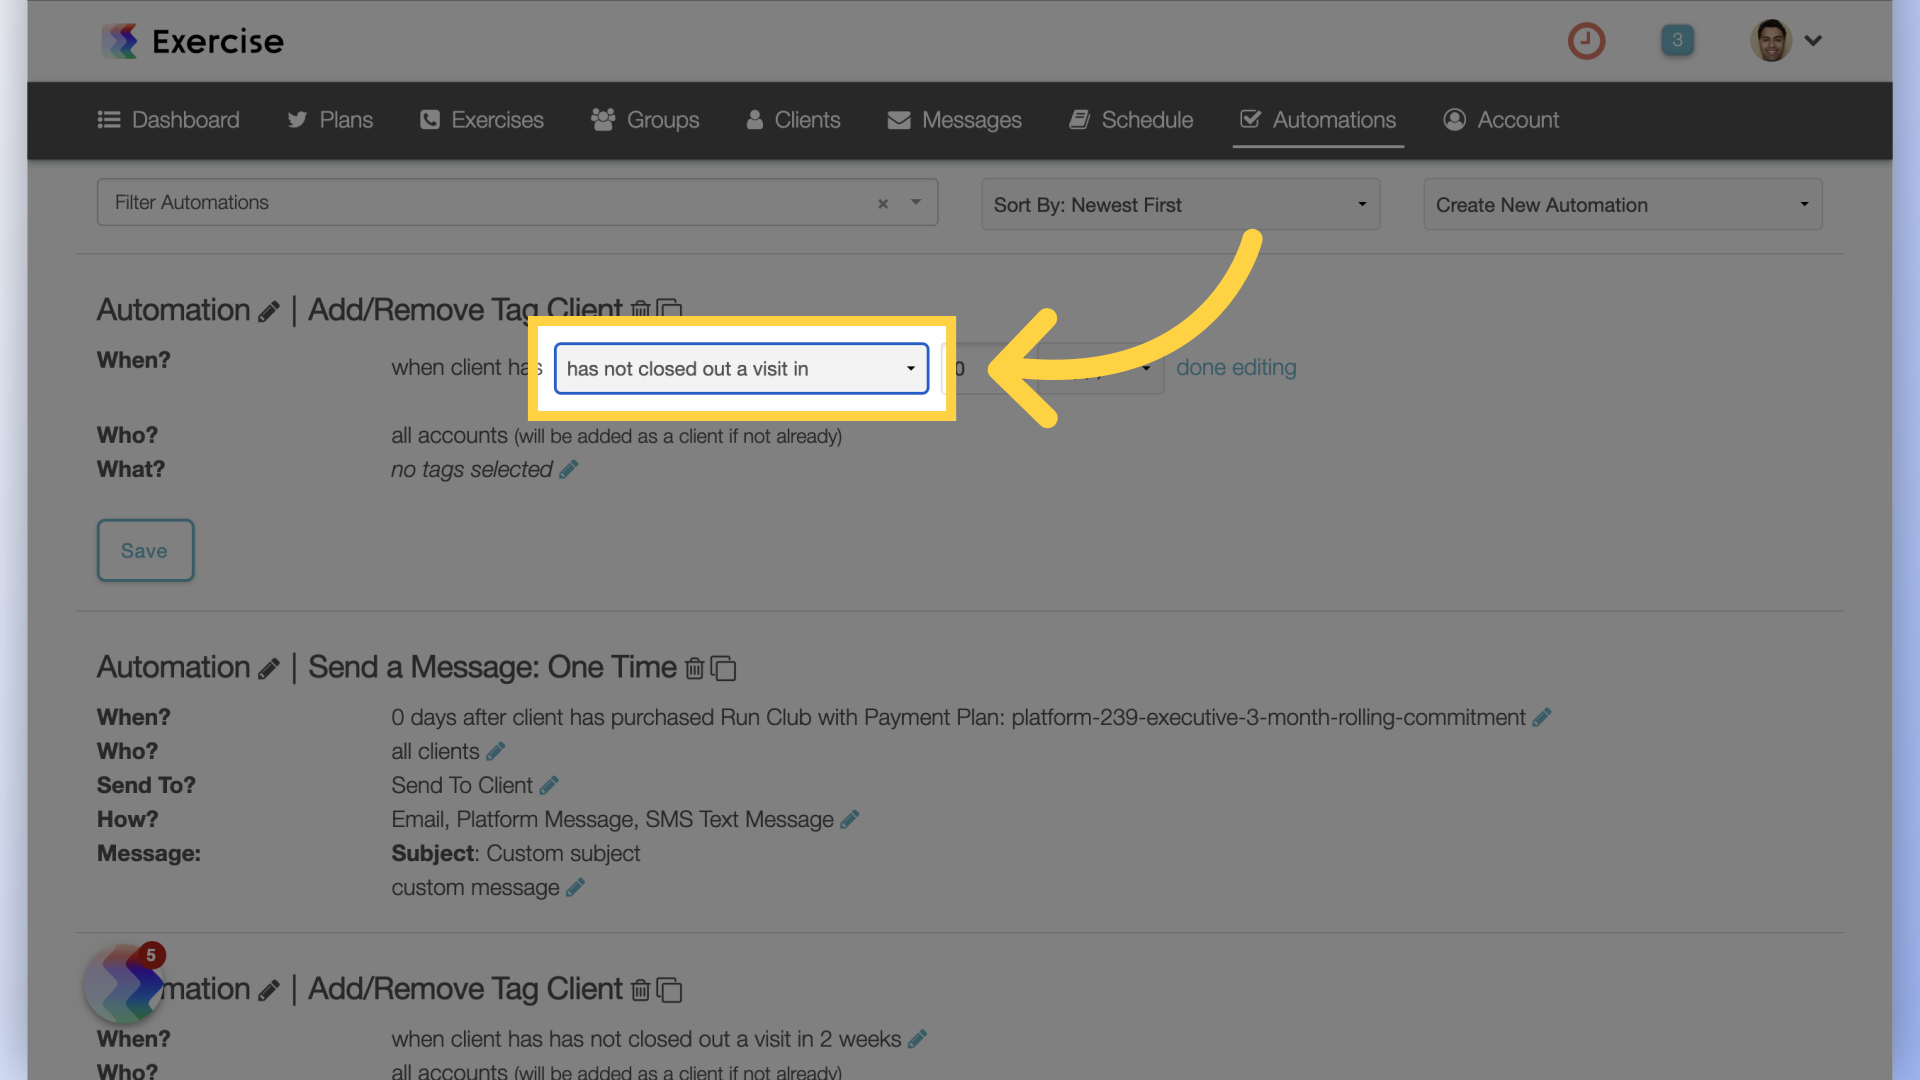
4. Select Automation Trigger
From the drop down list, select “has not closed out a visit in” option.
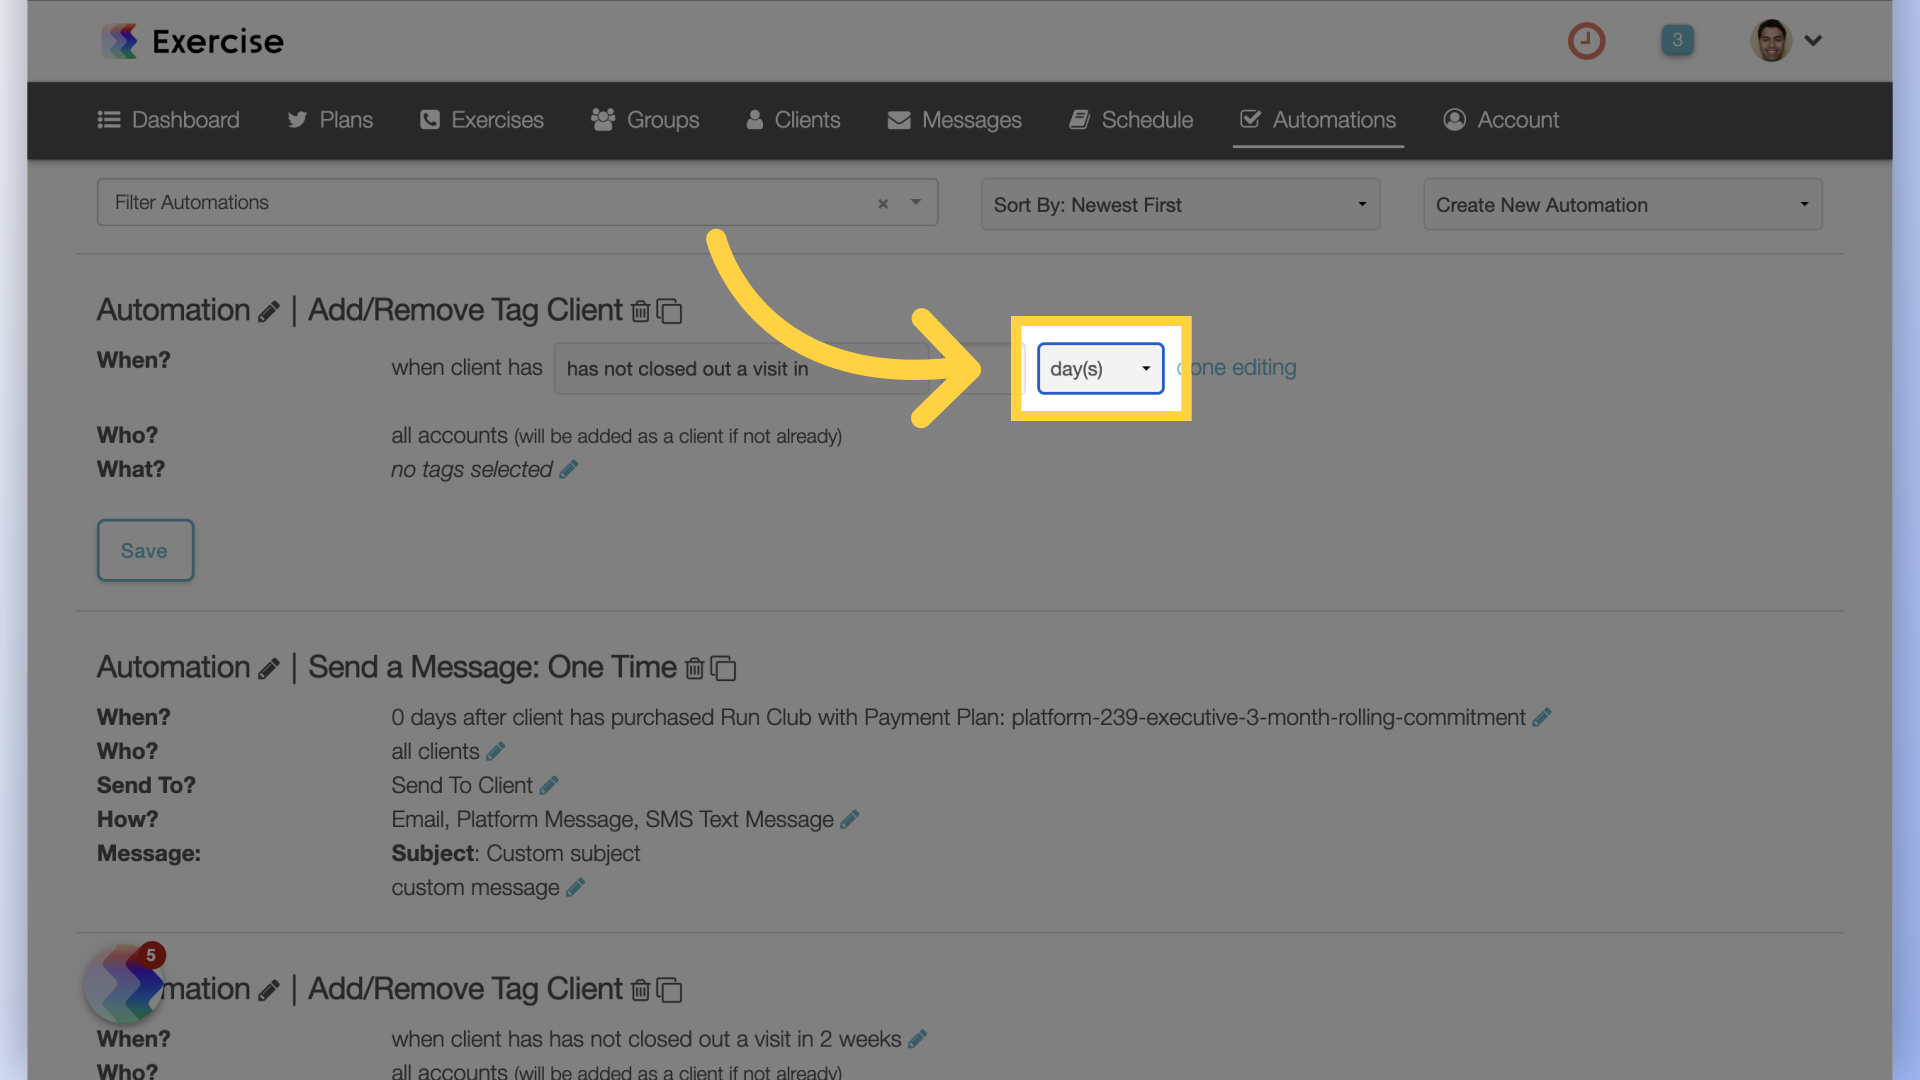
5. Enter Time Frame
Choose a time frame. You can select from days, weeks or months.
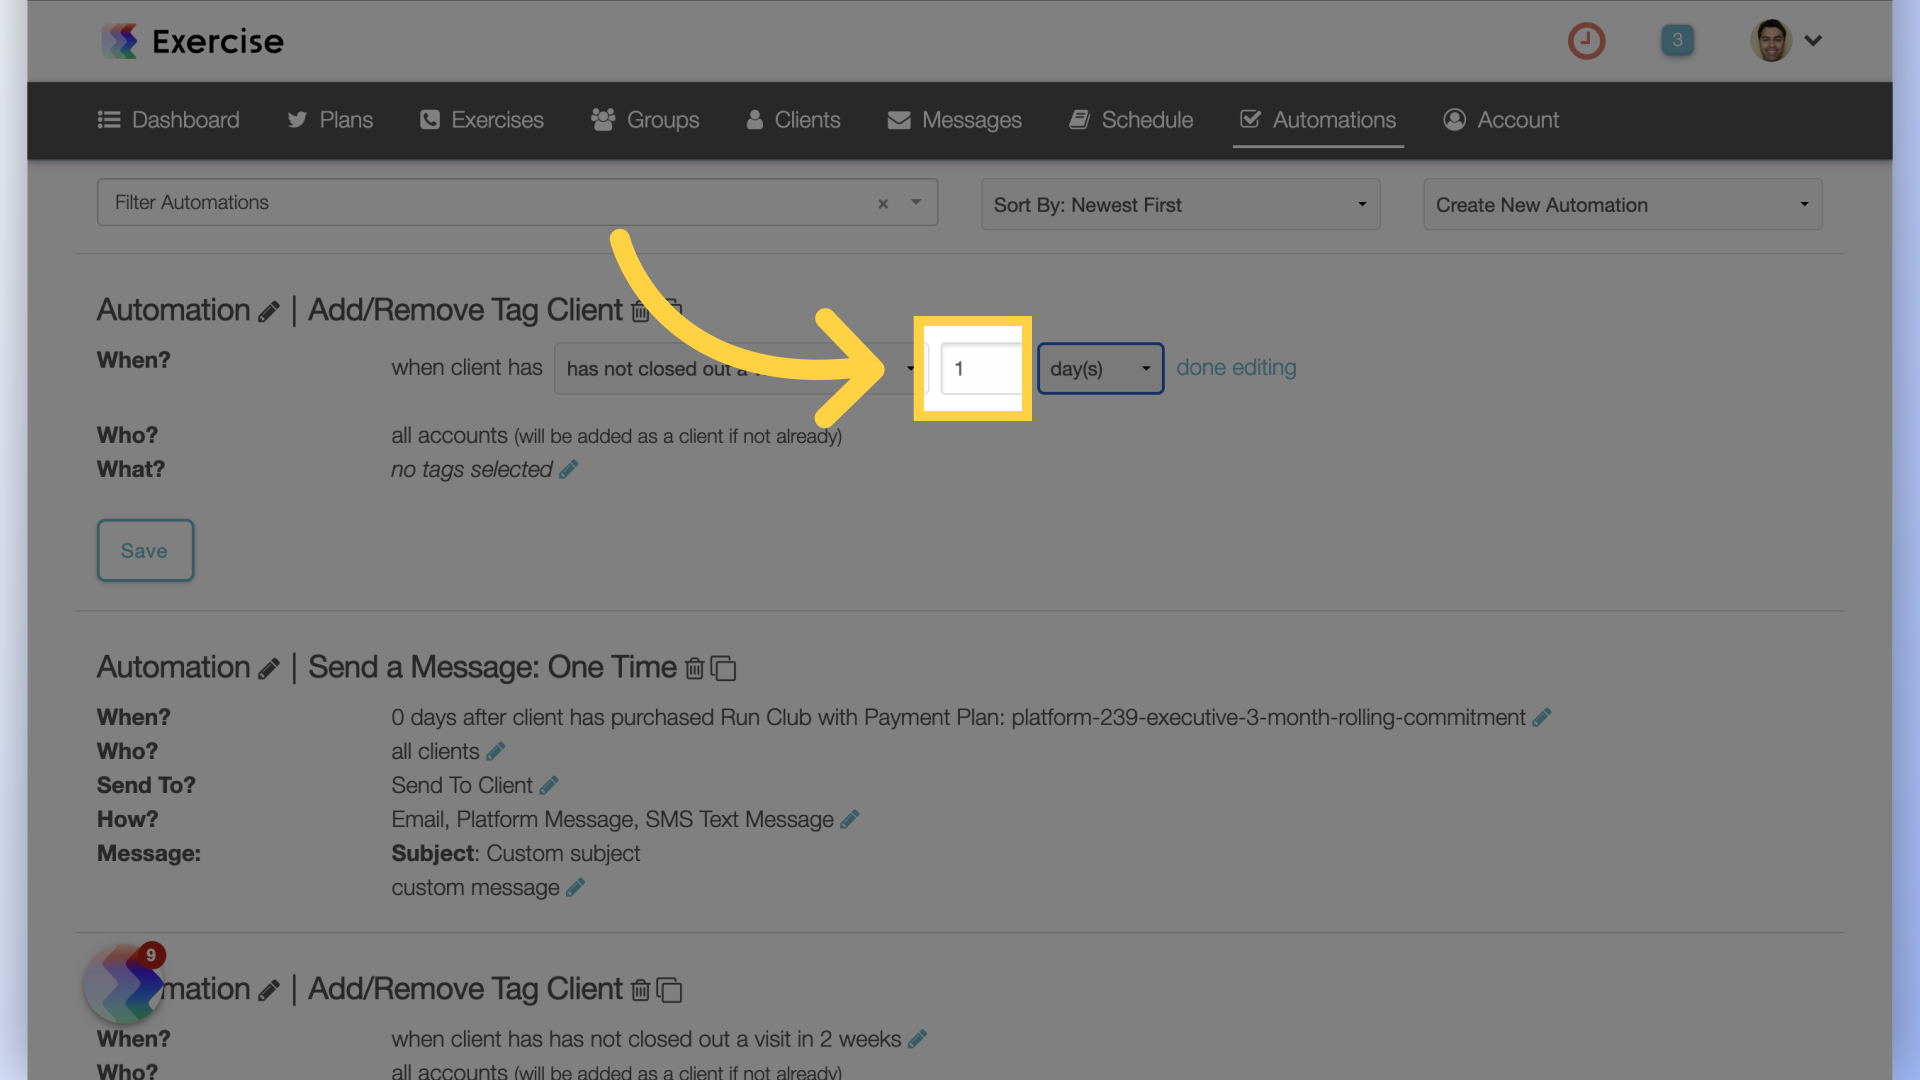
6. Enter Value
Enter the value.
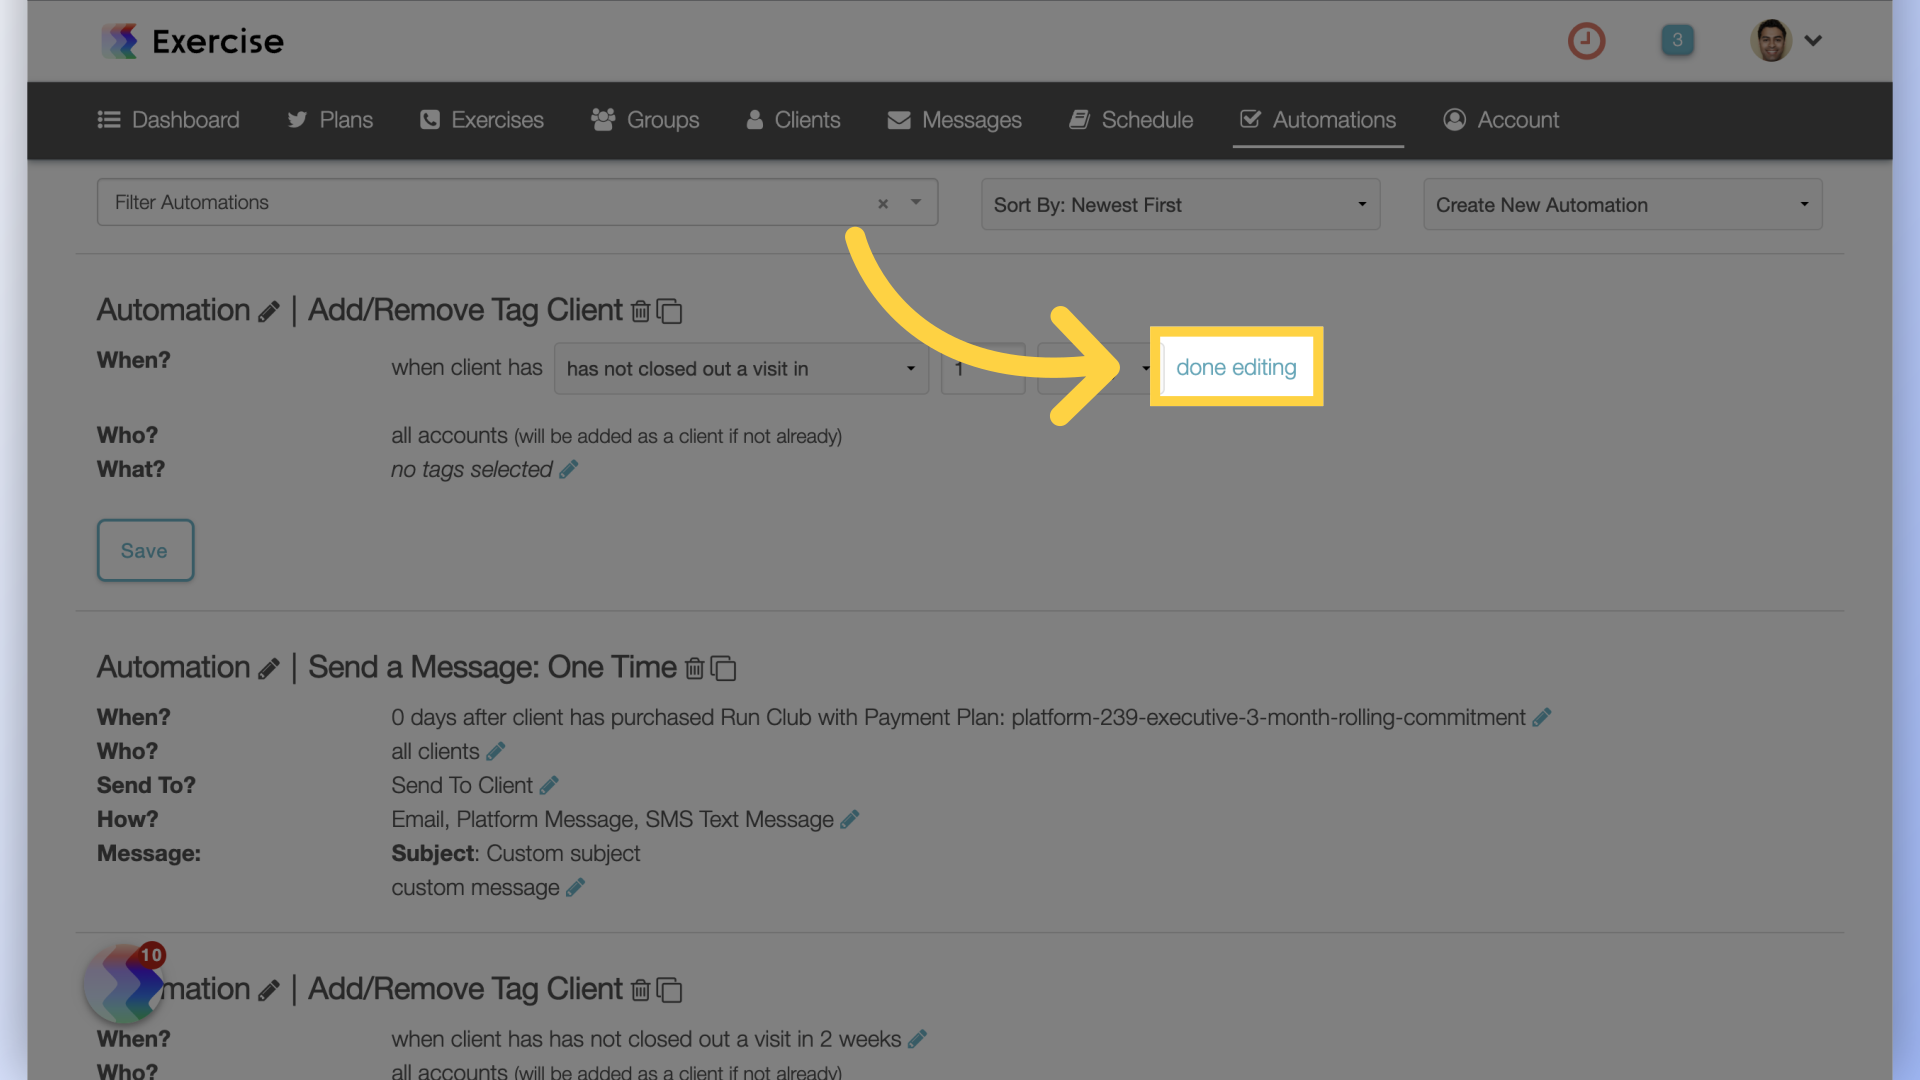
7. Complete Editing
Complete the editing process by clicking on the “done editing” link.
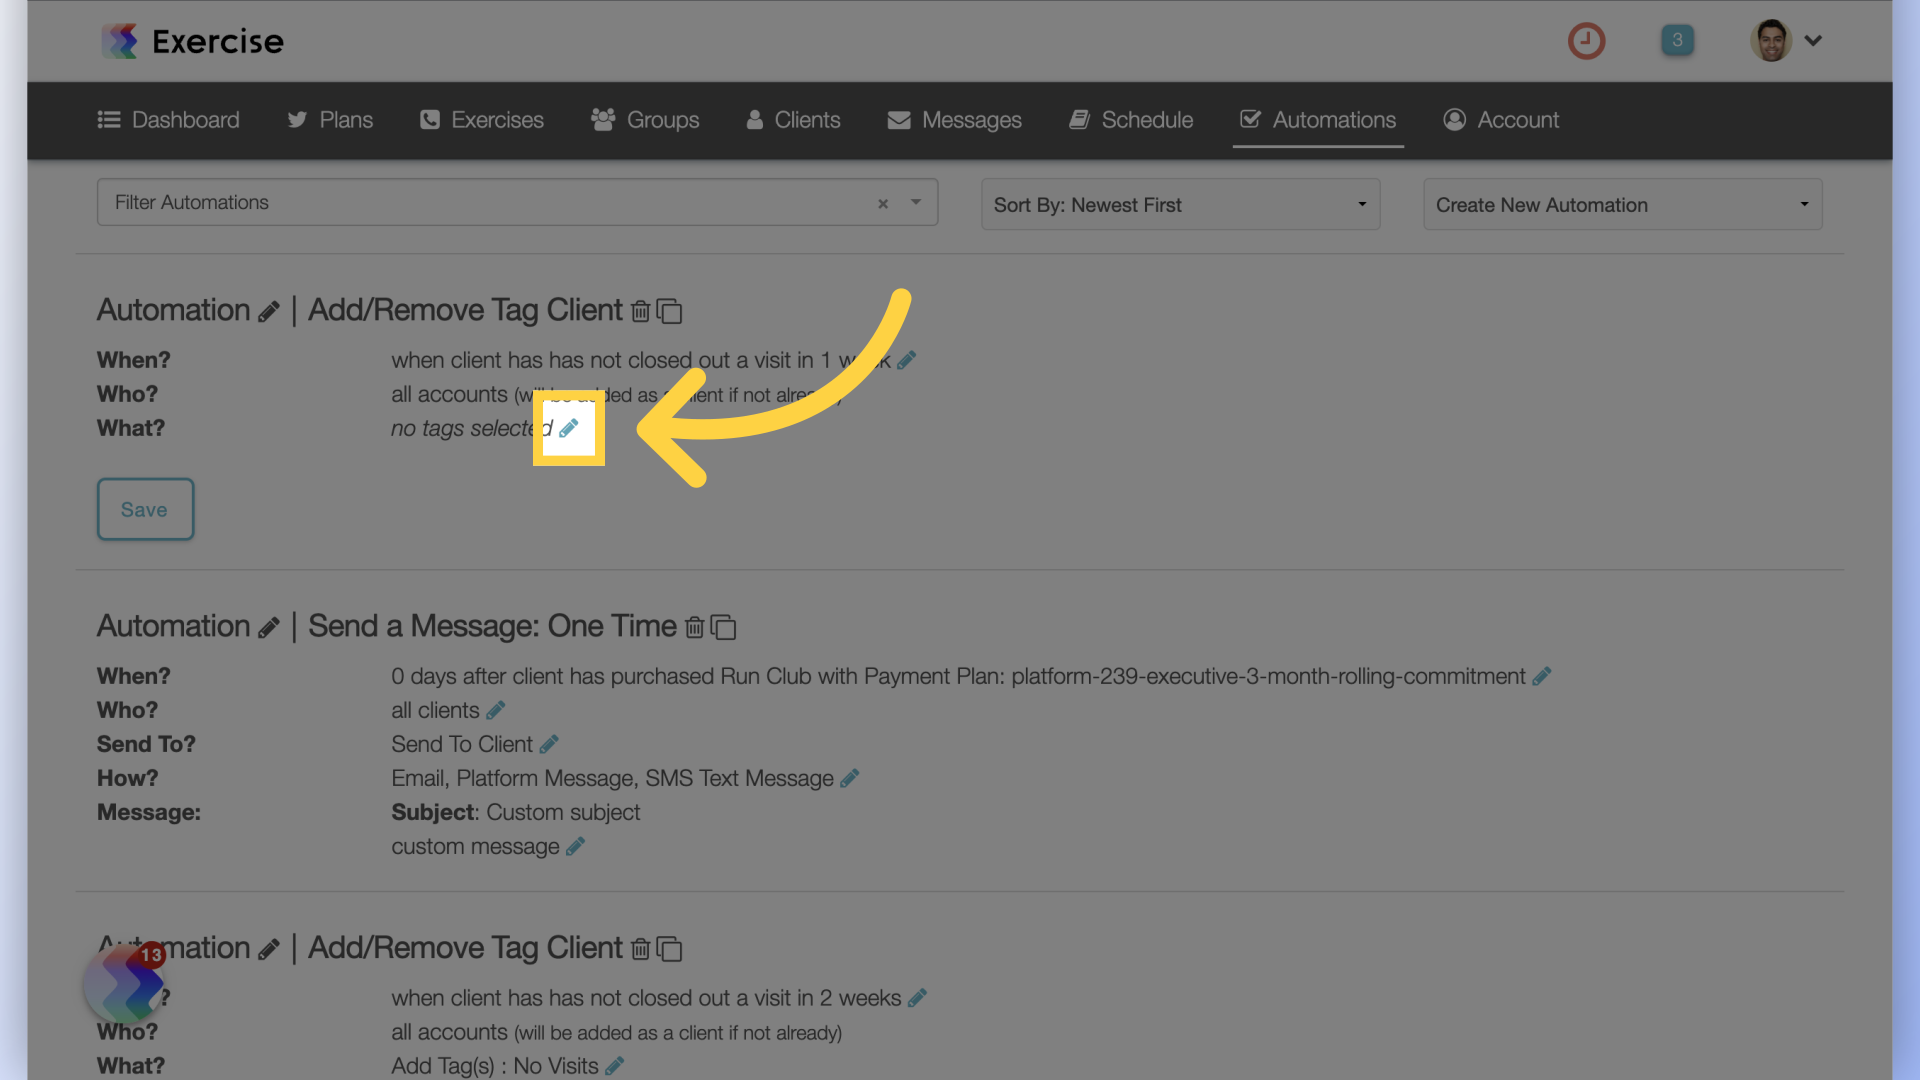
8. Edit What?
Customize the “What?” setting by clicking on the edit icon.
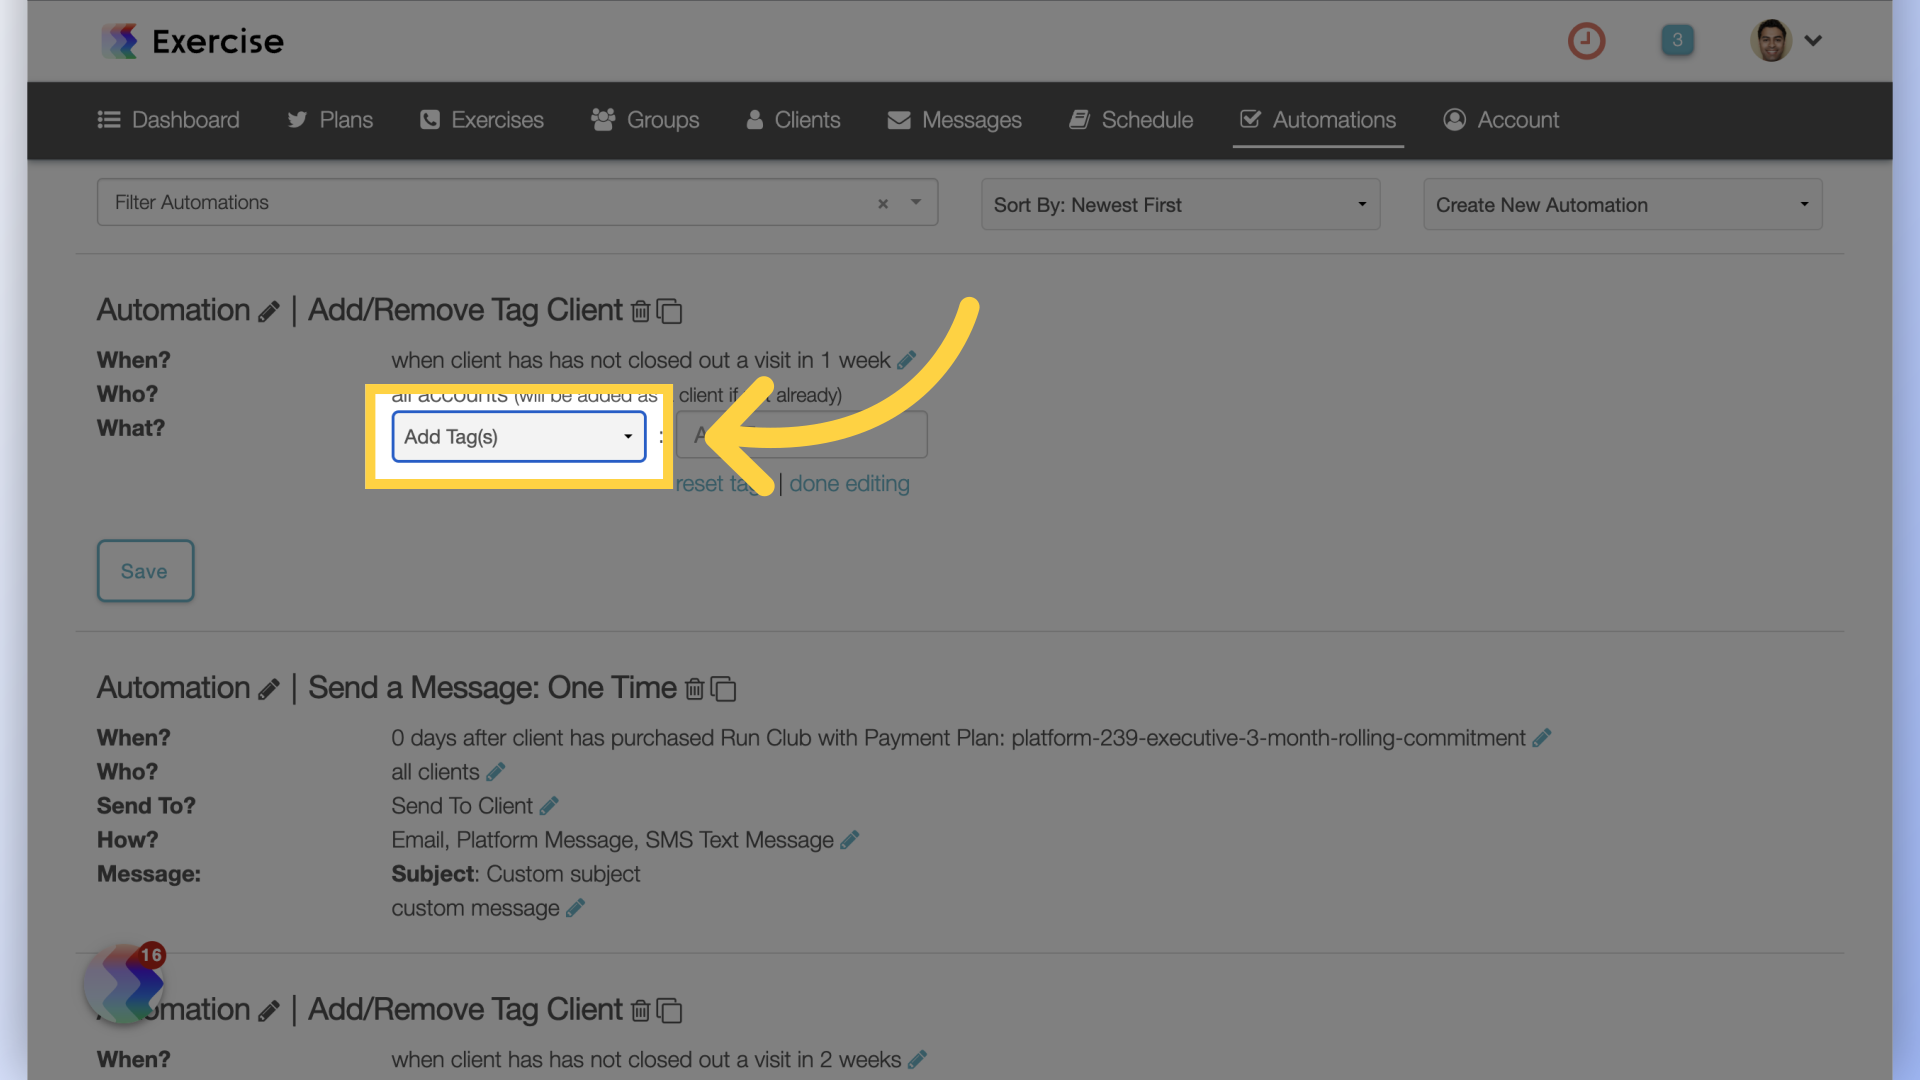
9. Add Tag(s)
Select to add tags or remove tags.
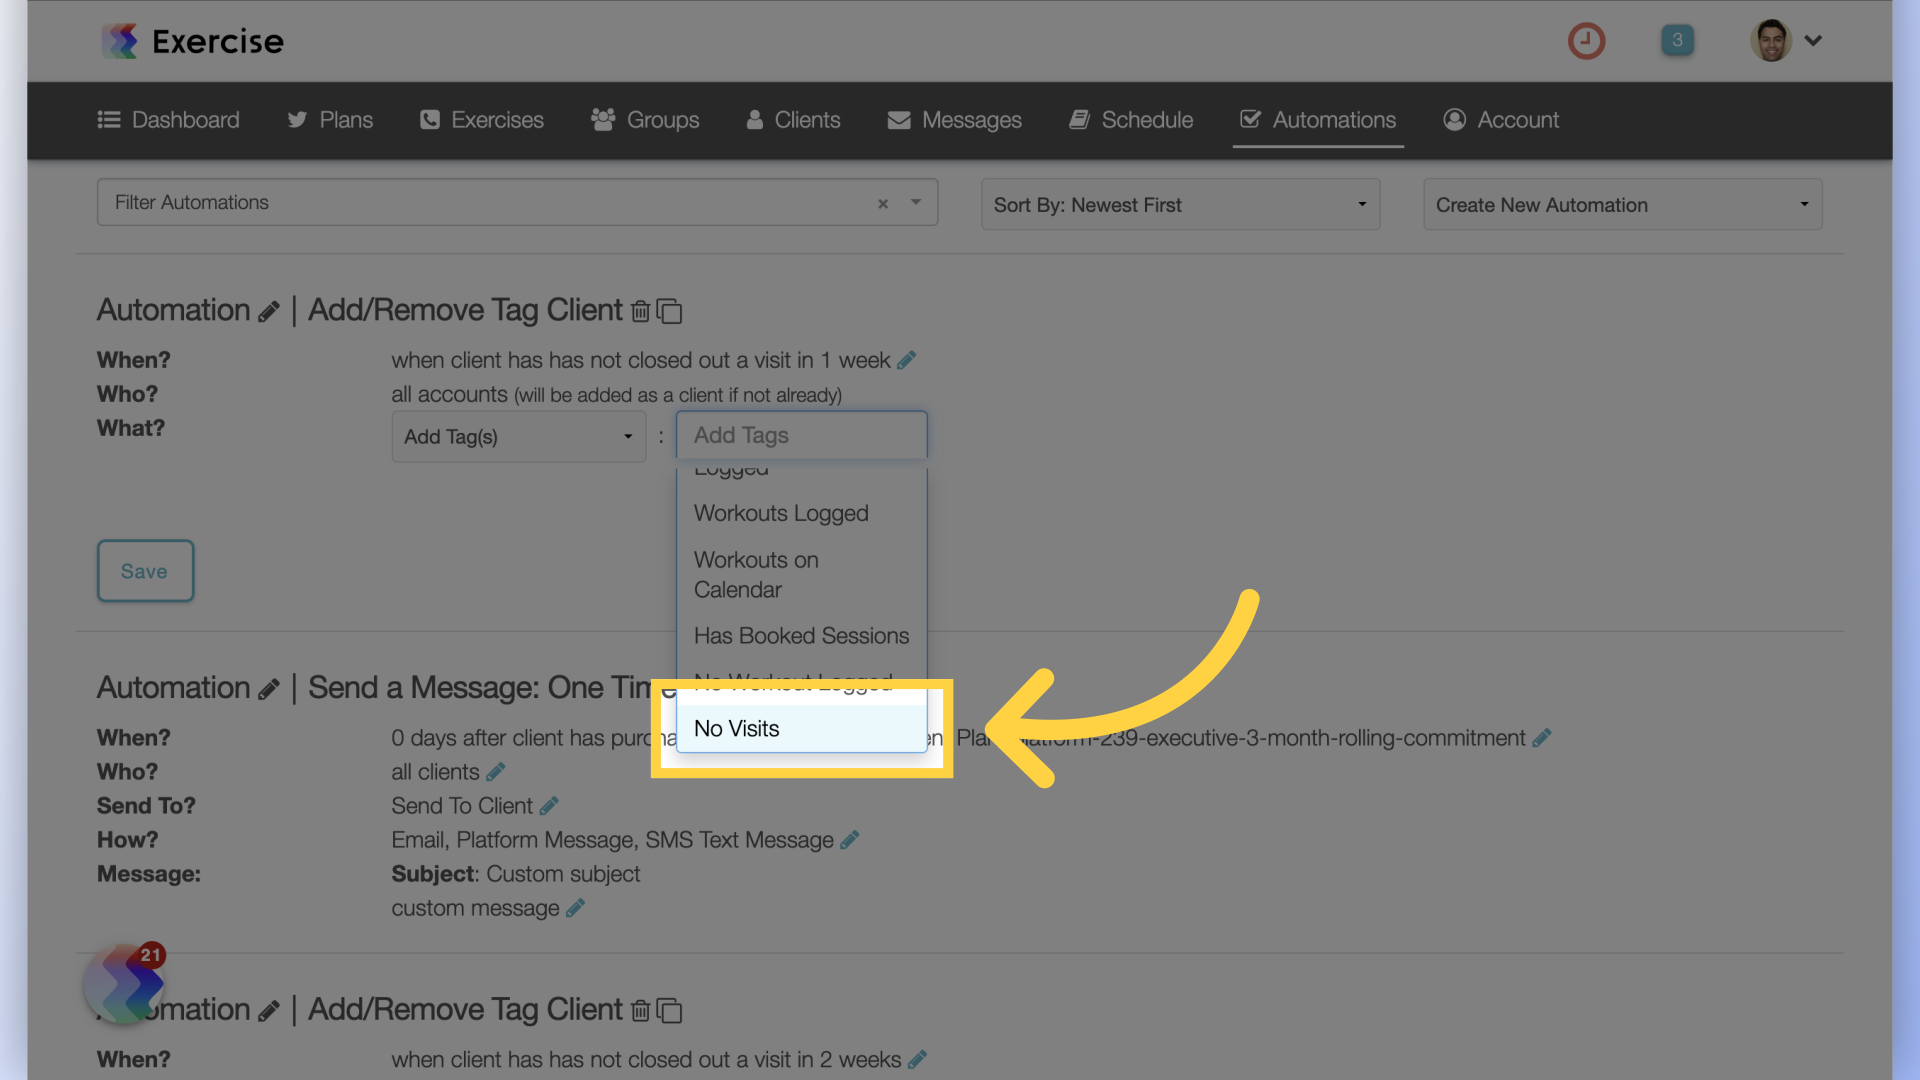
10. Select Tags
Select the tags to be added from the drop down.
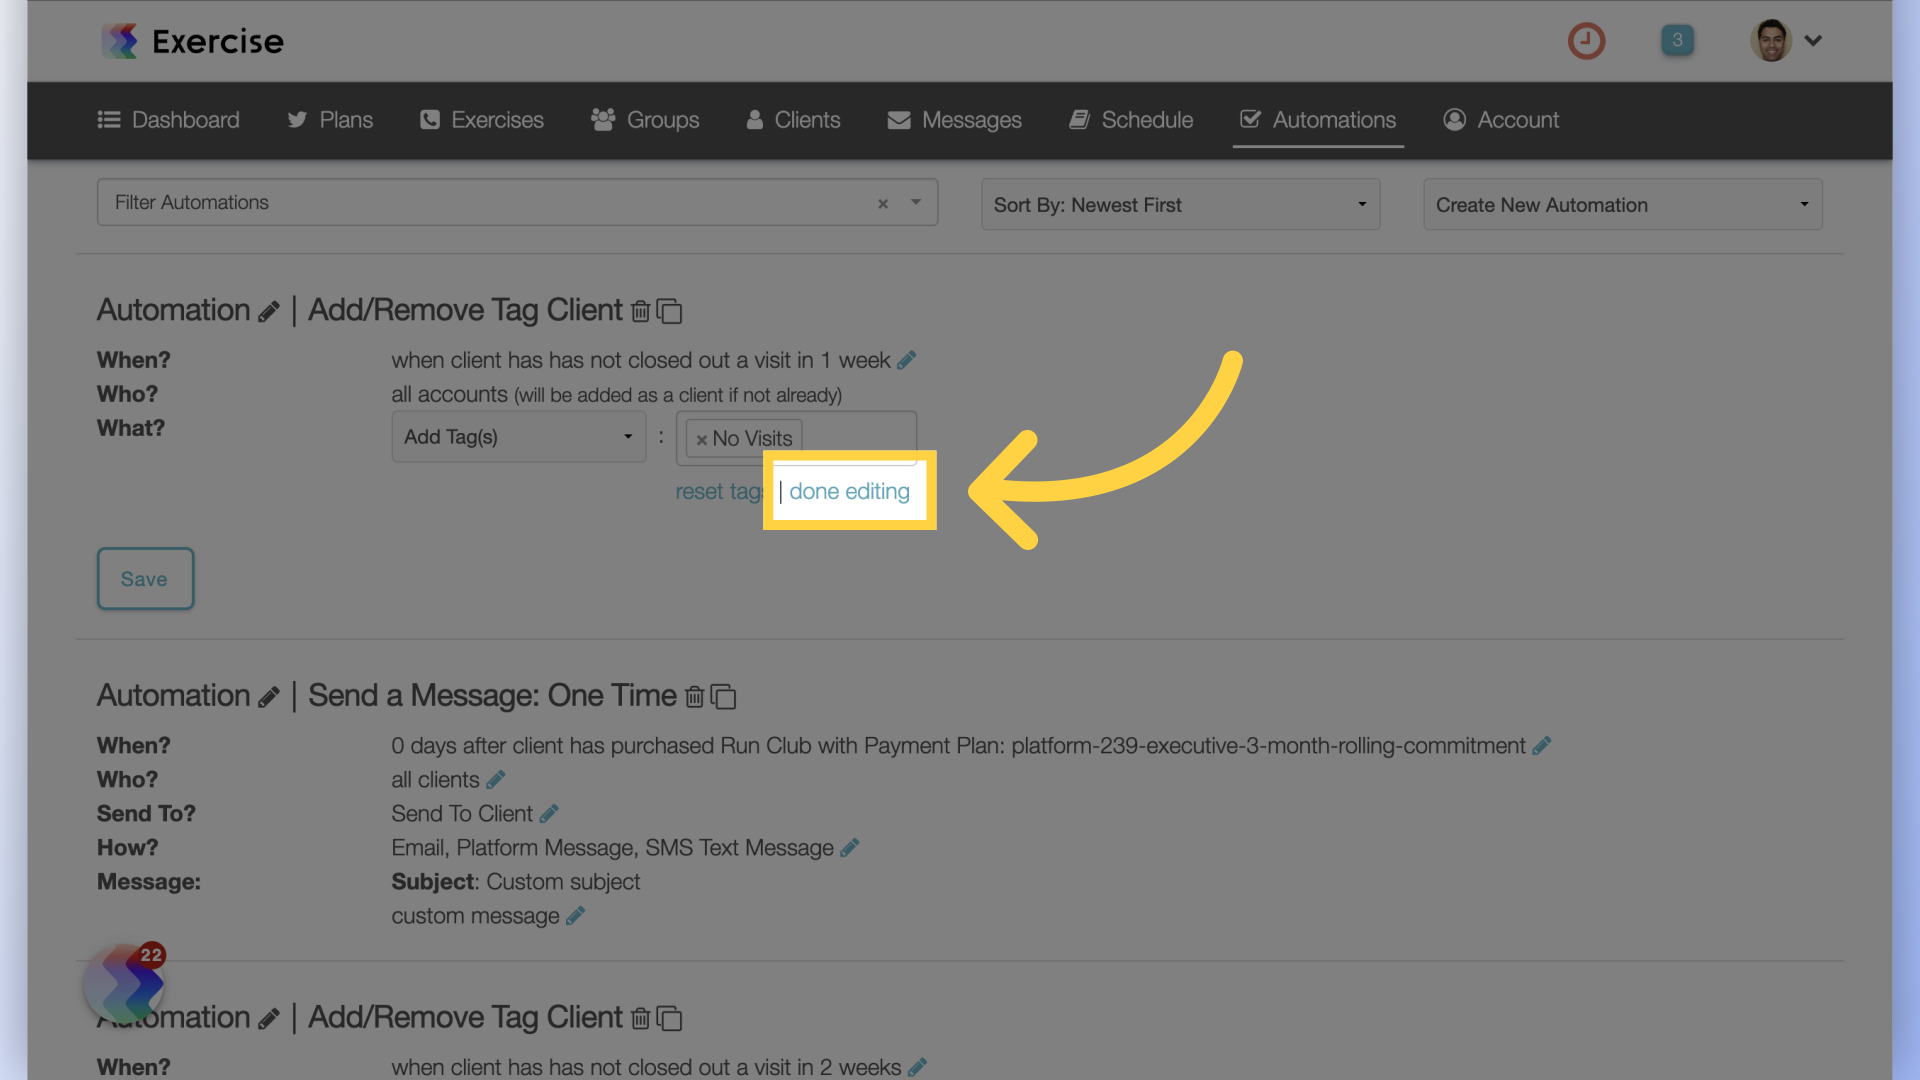
11. Complete Editing
Complete the editing process by clicking on the “done editing” link.
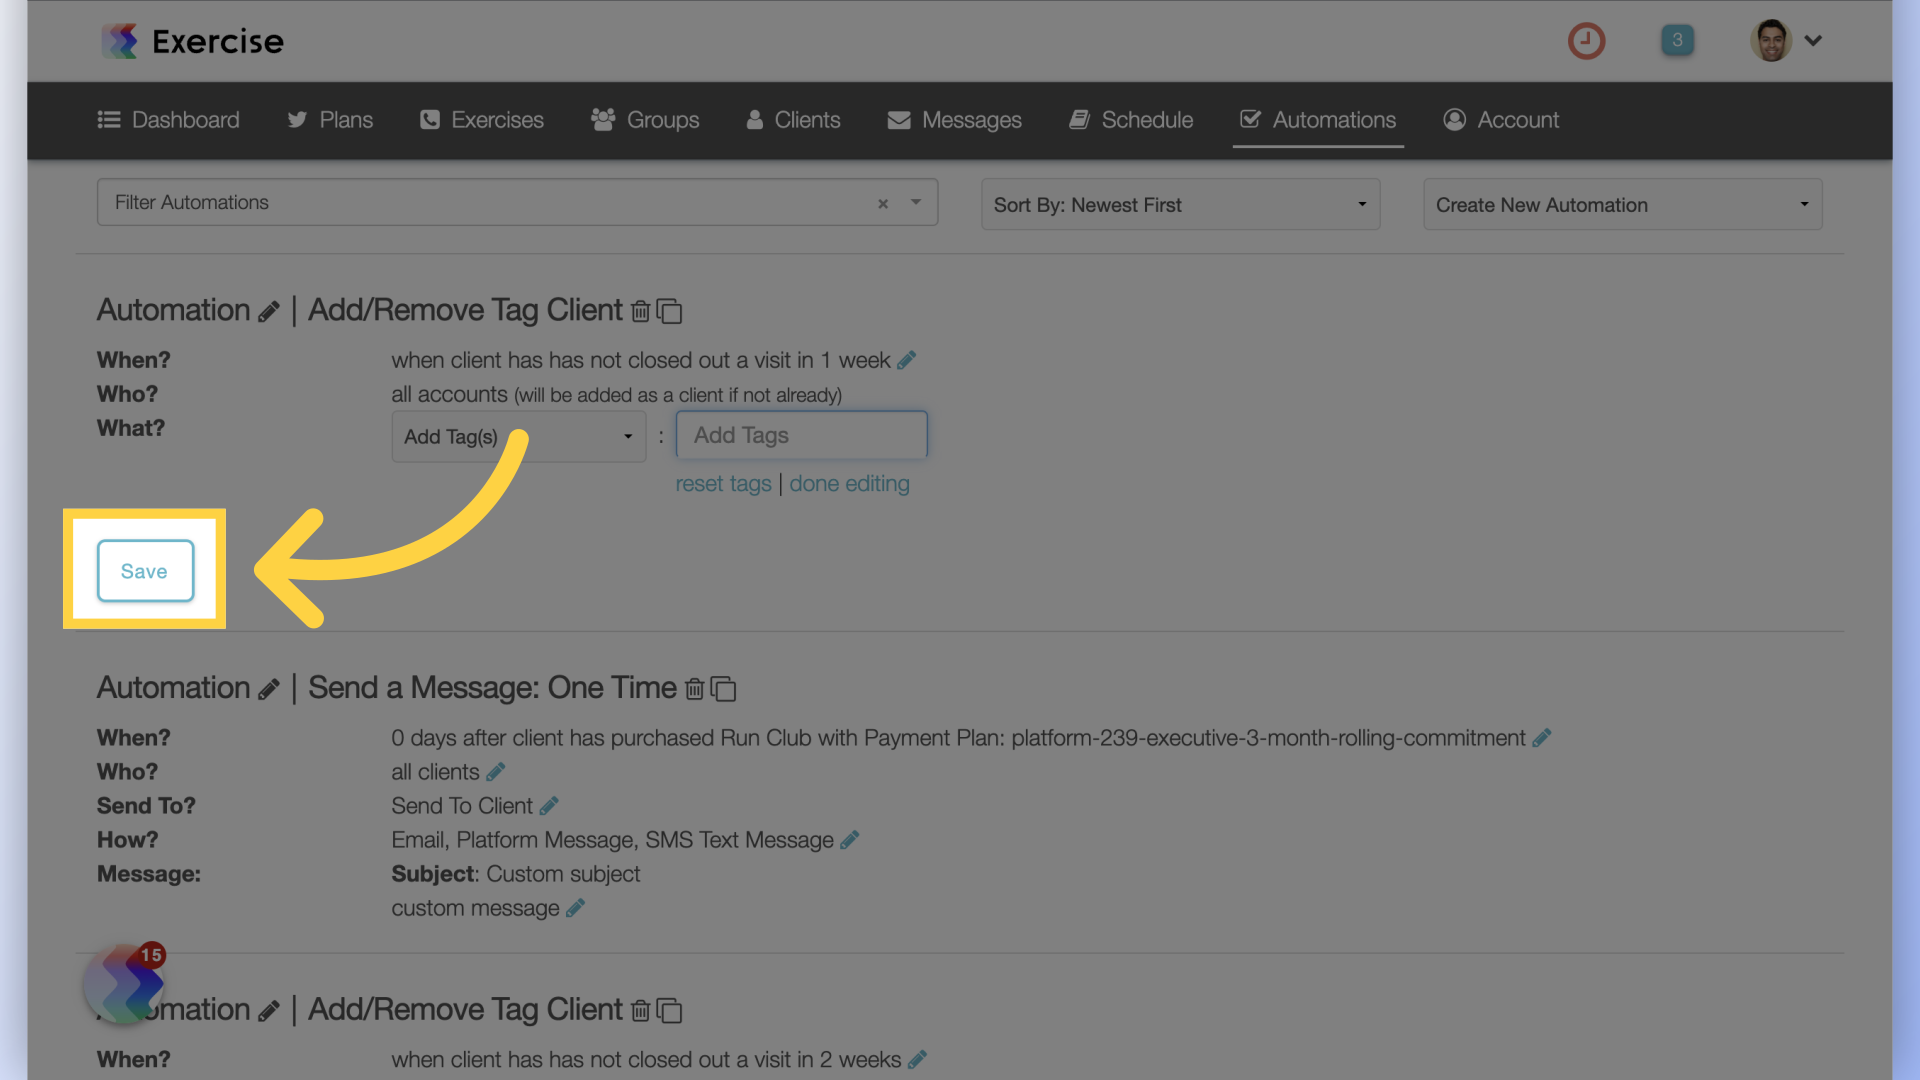
12. Save Automation
Save the automation.
This guide covered the process of creating an automation to add or remove client tags based on the user’s last visit.


