Booking Filters
Posted by
Support Team
on
October 23, 2024
— Updated on
October 23, 2024
Within our Workout Software, you have the ability to customize the filters for your public booking page. Follow the instructions below.
This guide will walk you through customizing the booking filters as a trainer and how it will display to your users.
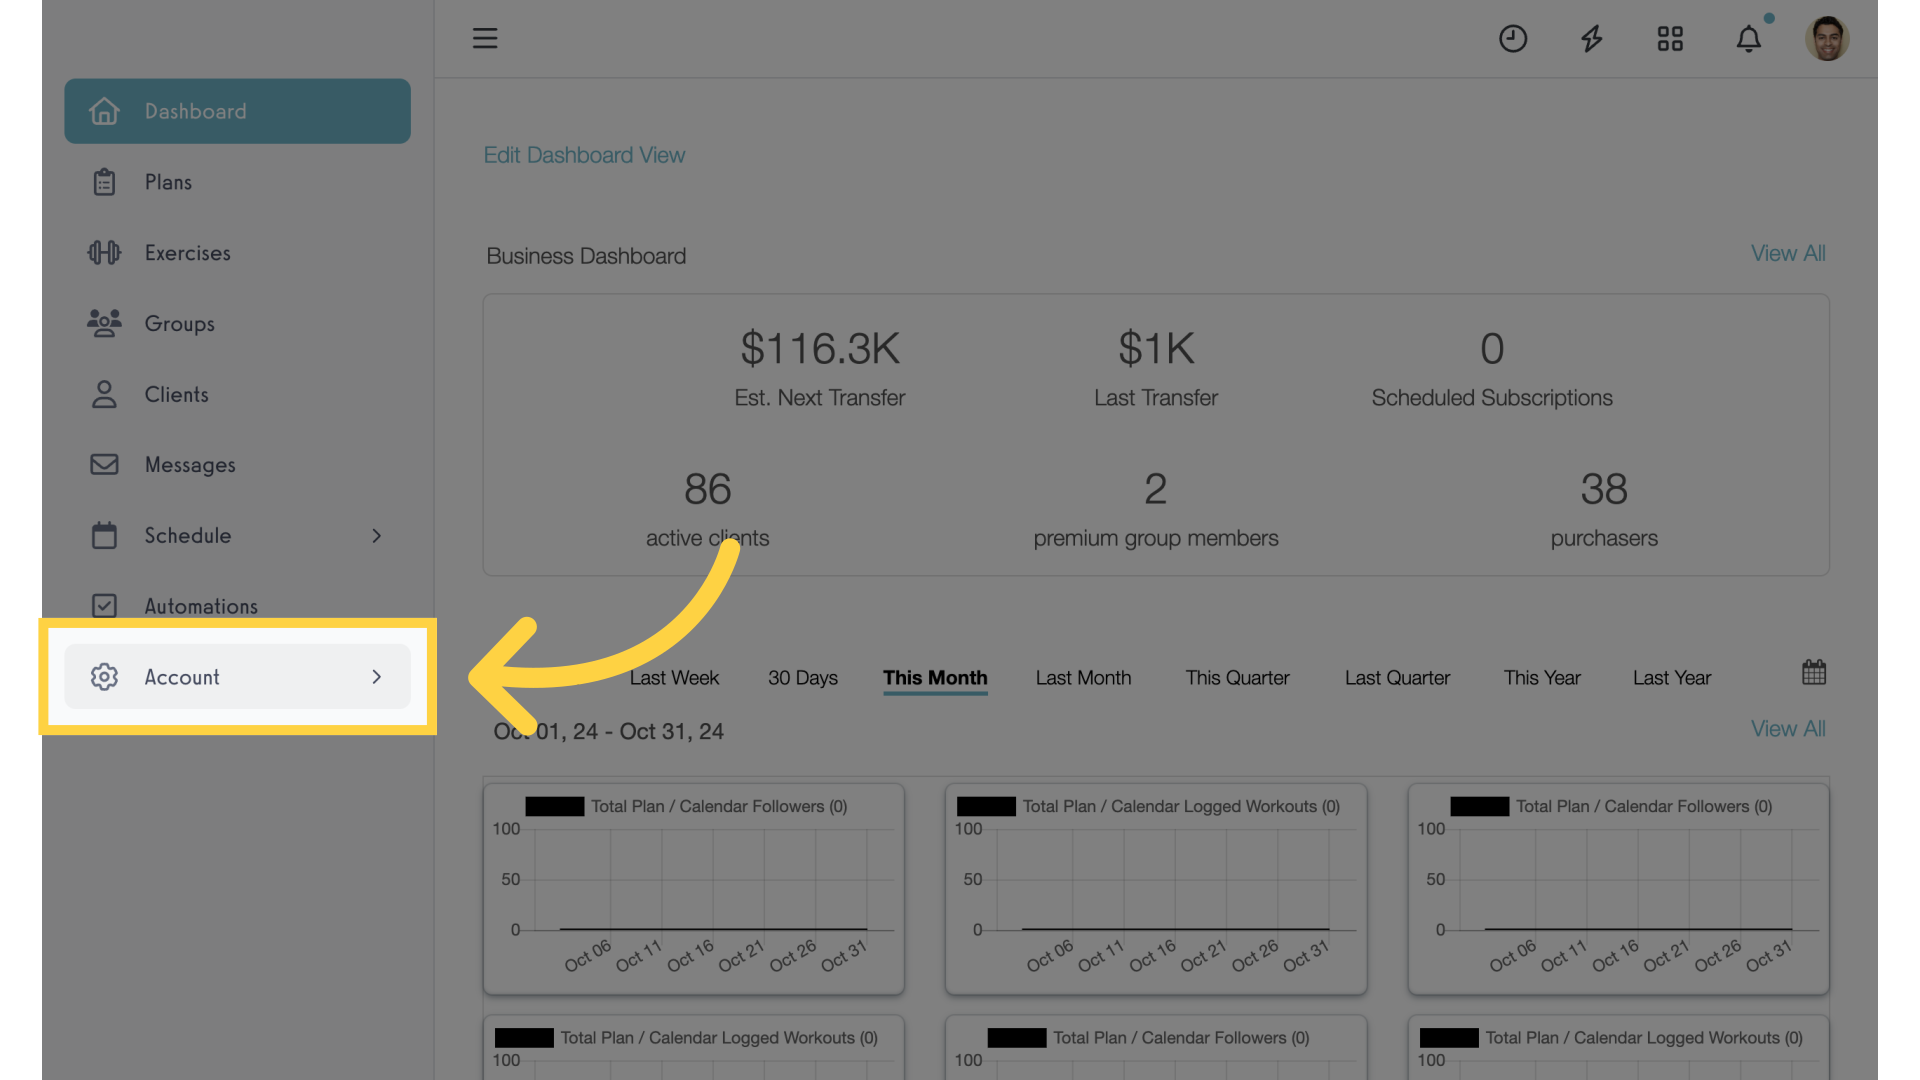
1. Account
Access the “Account” section.
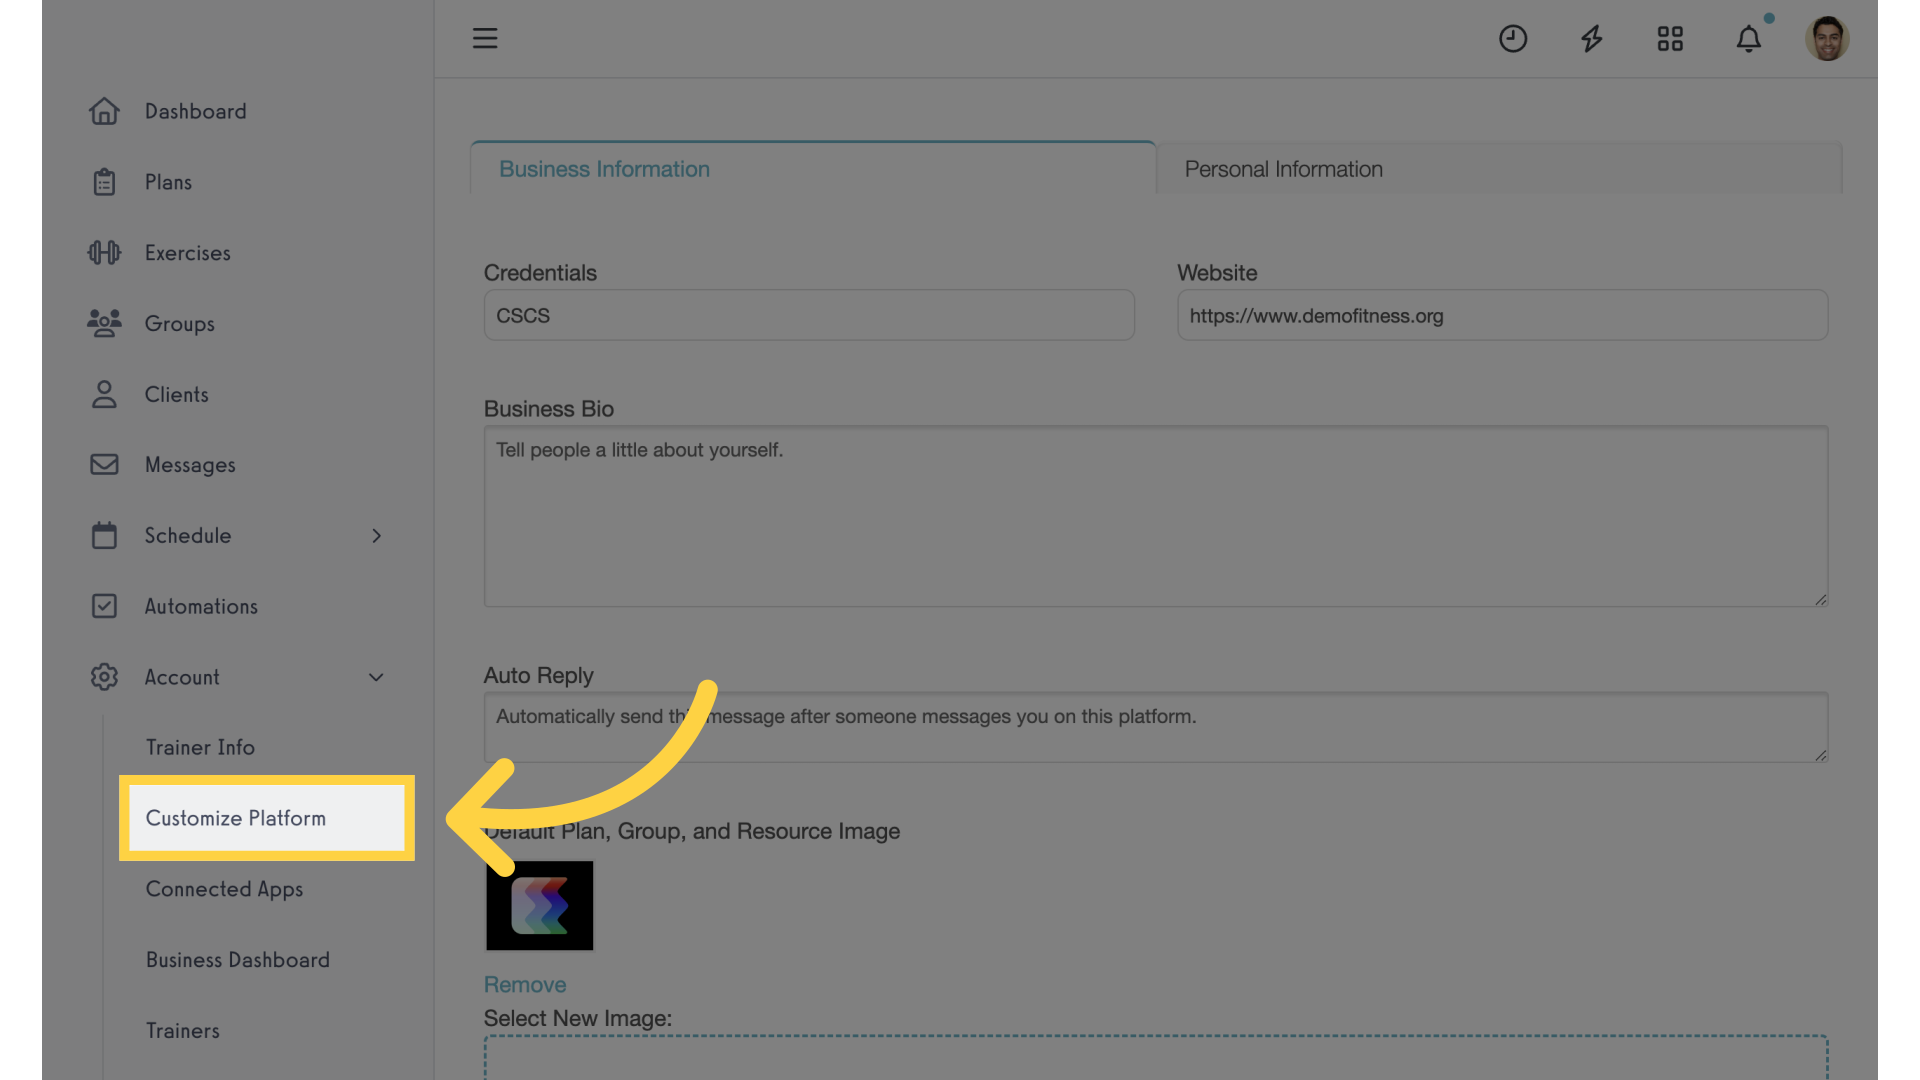
2. Customize Platform
Select “Customize Platform”.
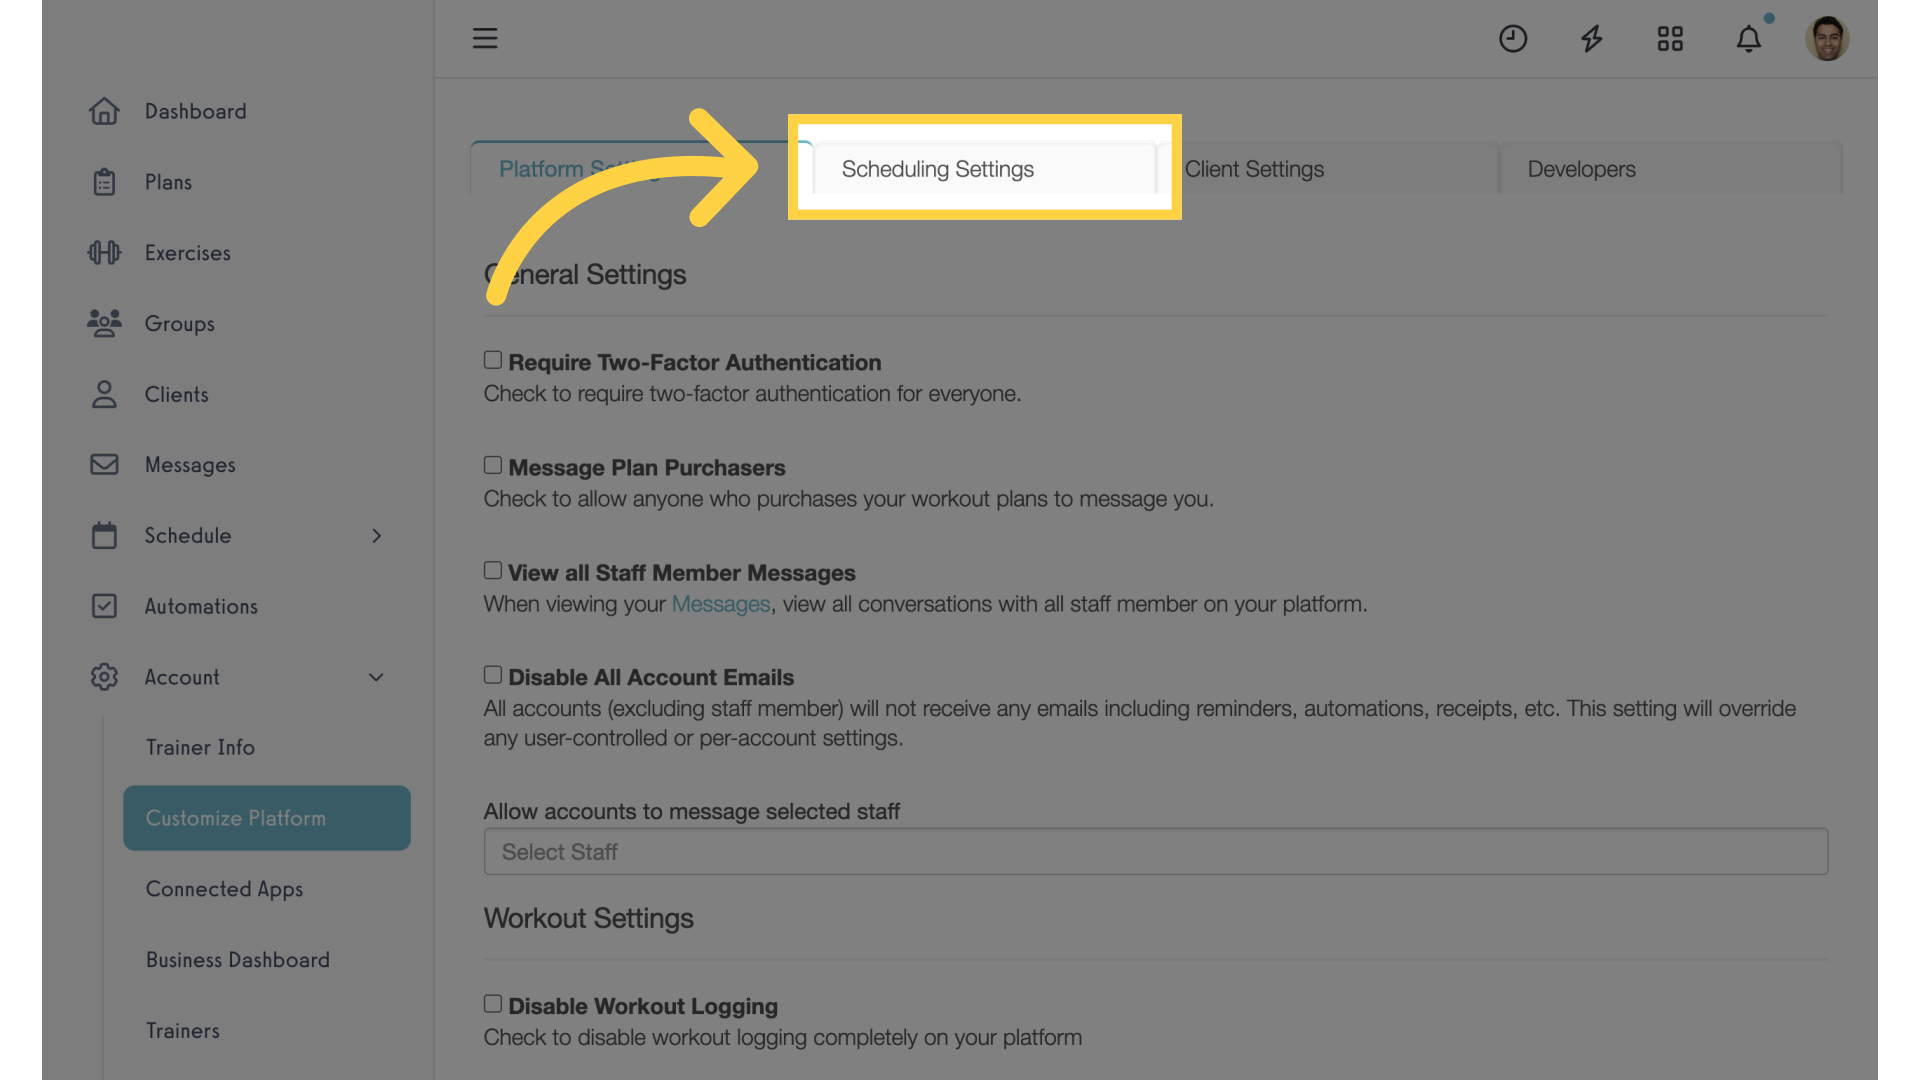
3. Scheduling Settings
Click on the”Scheduling Settings” tab.
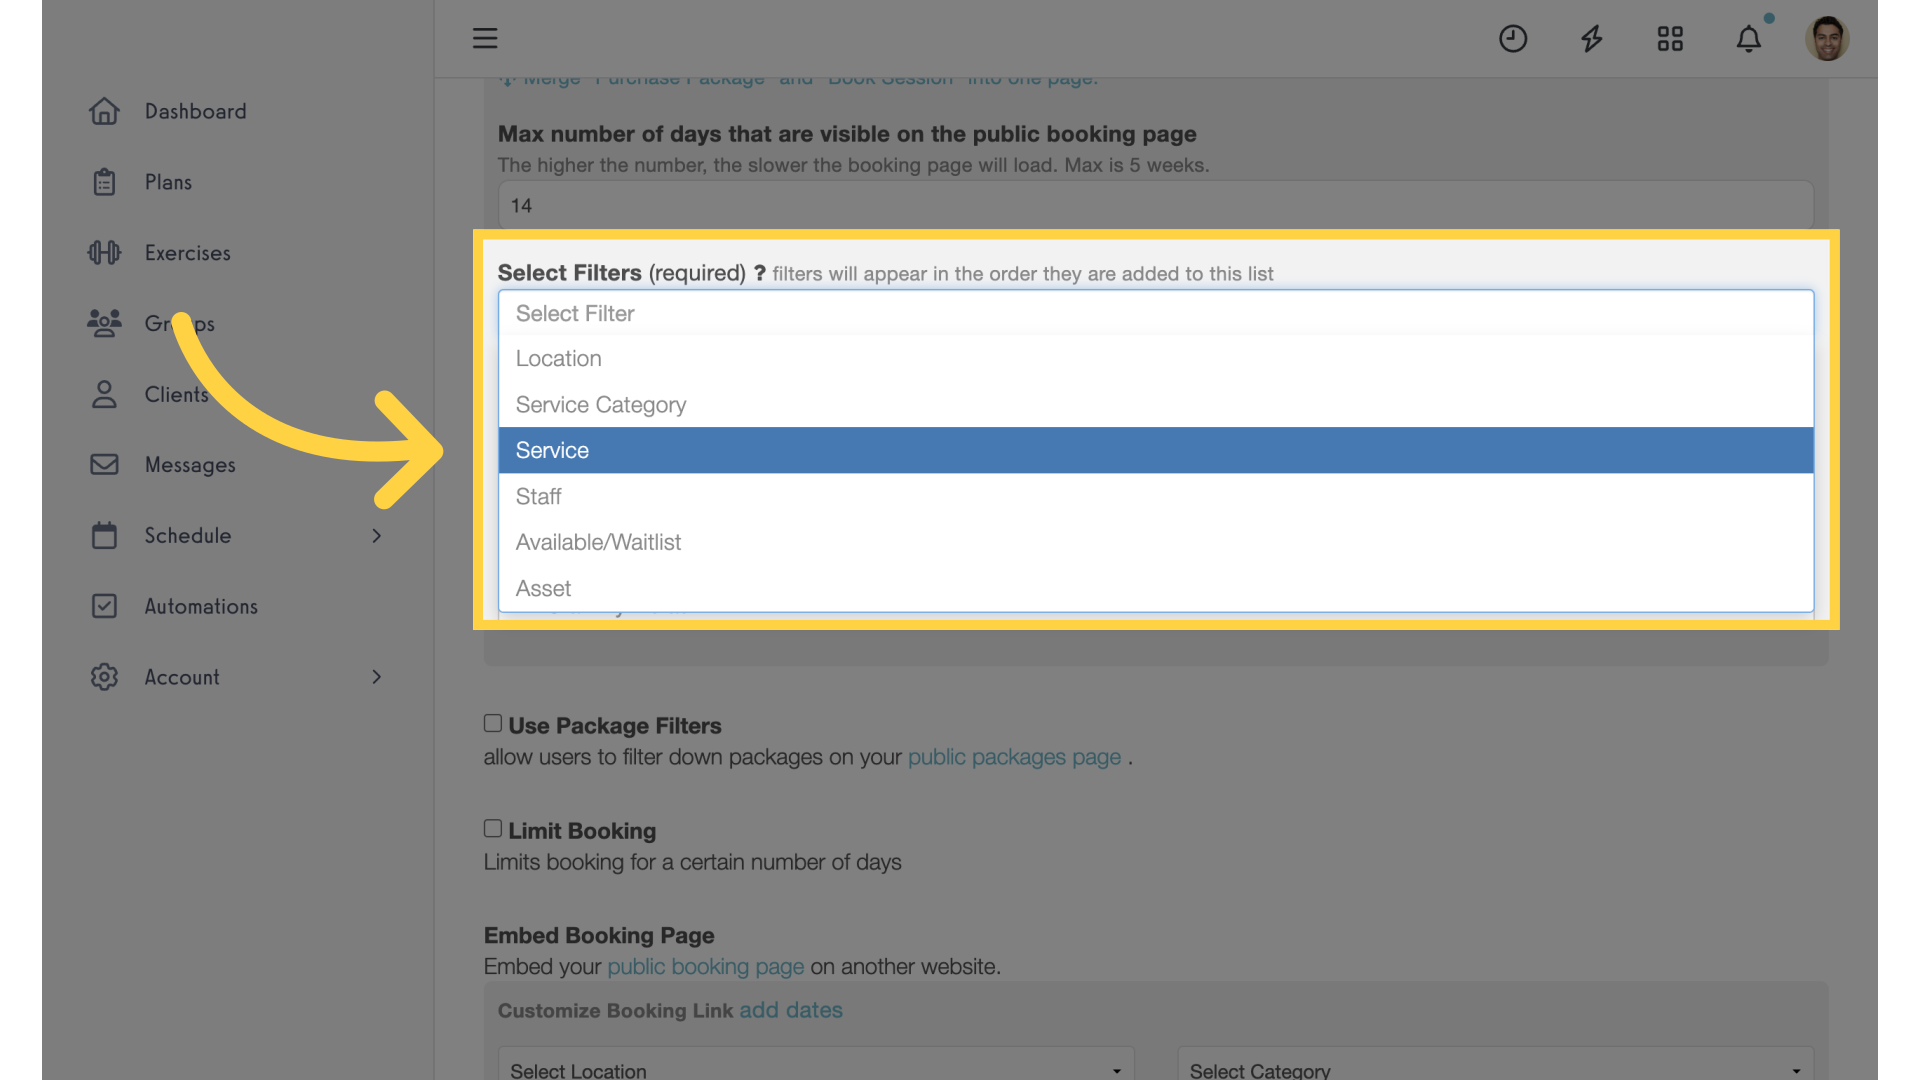
4. Select Filters
Under “Customize Public Booking Flow”, click into the “Select Filters” field and select the filters you want available to your users.
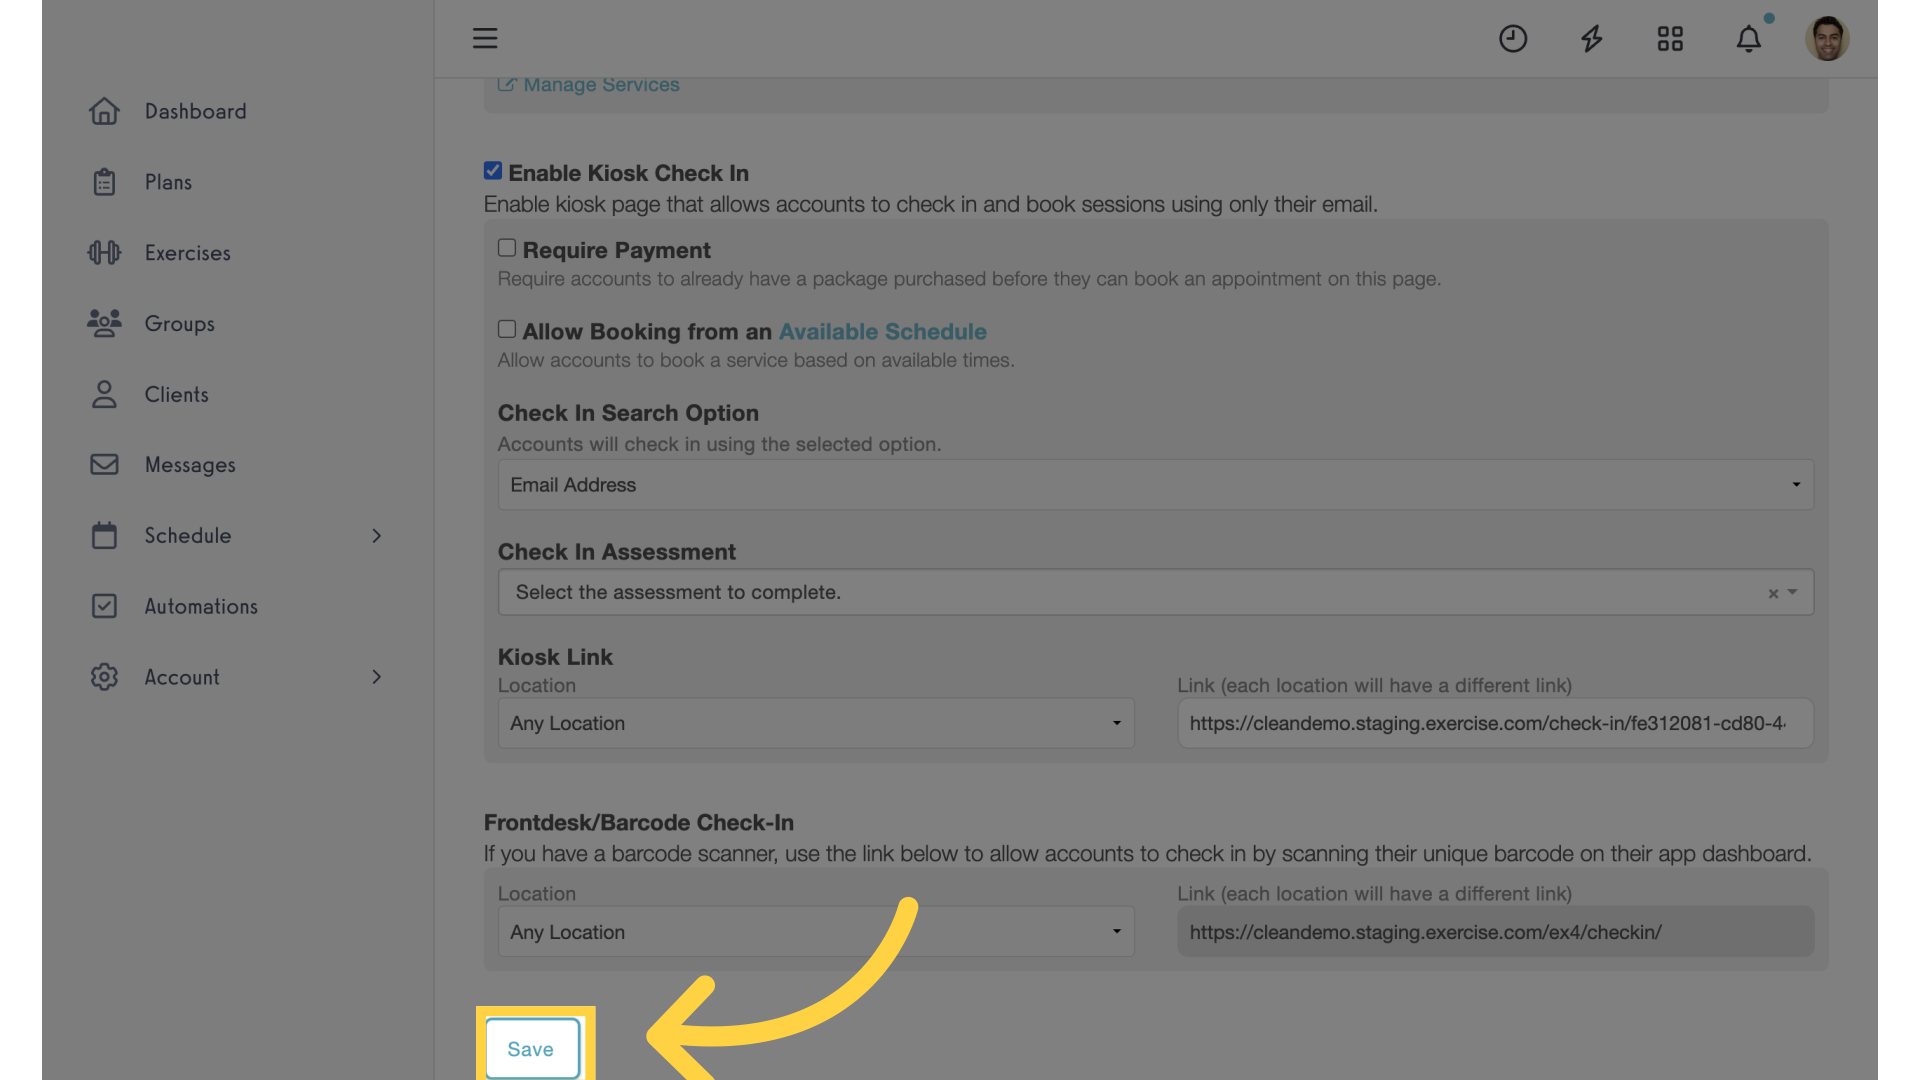
5. Save Settings
Scroll down and save your settings.
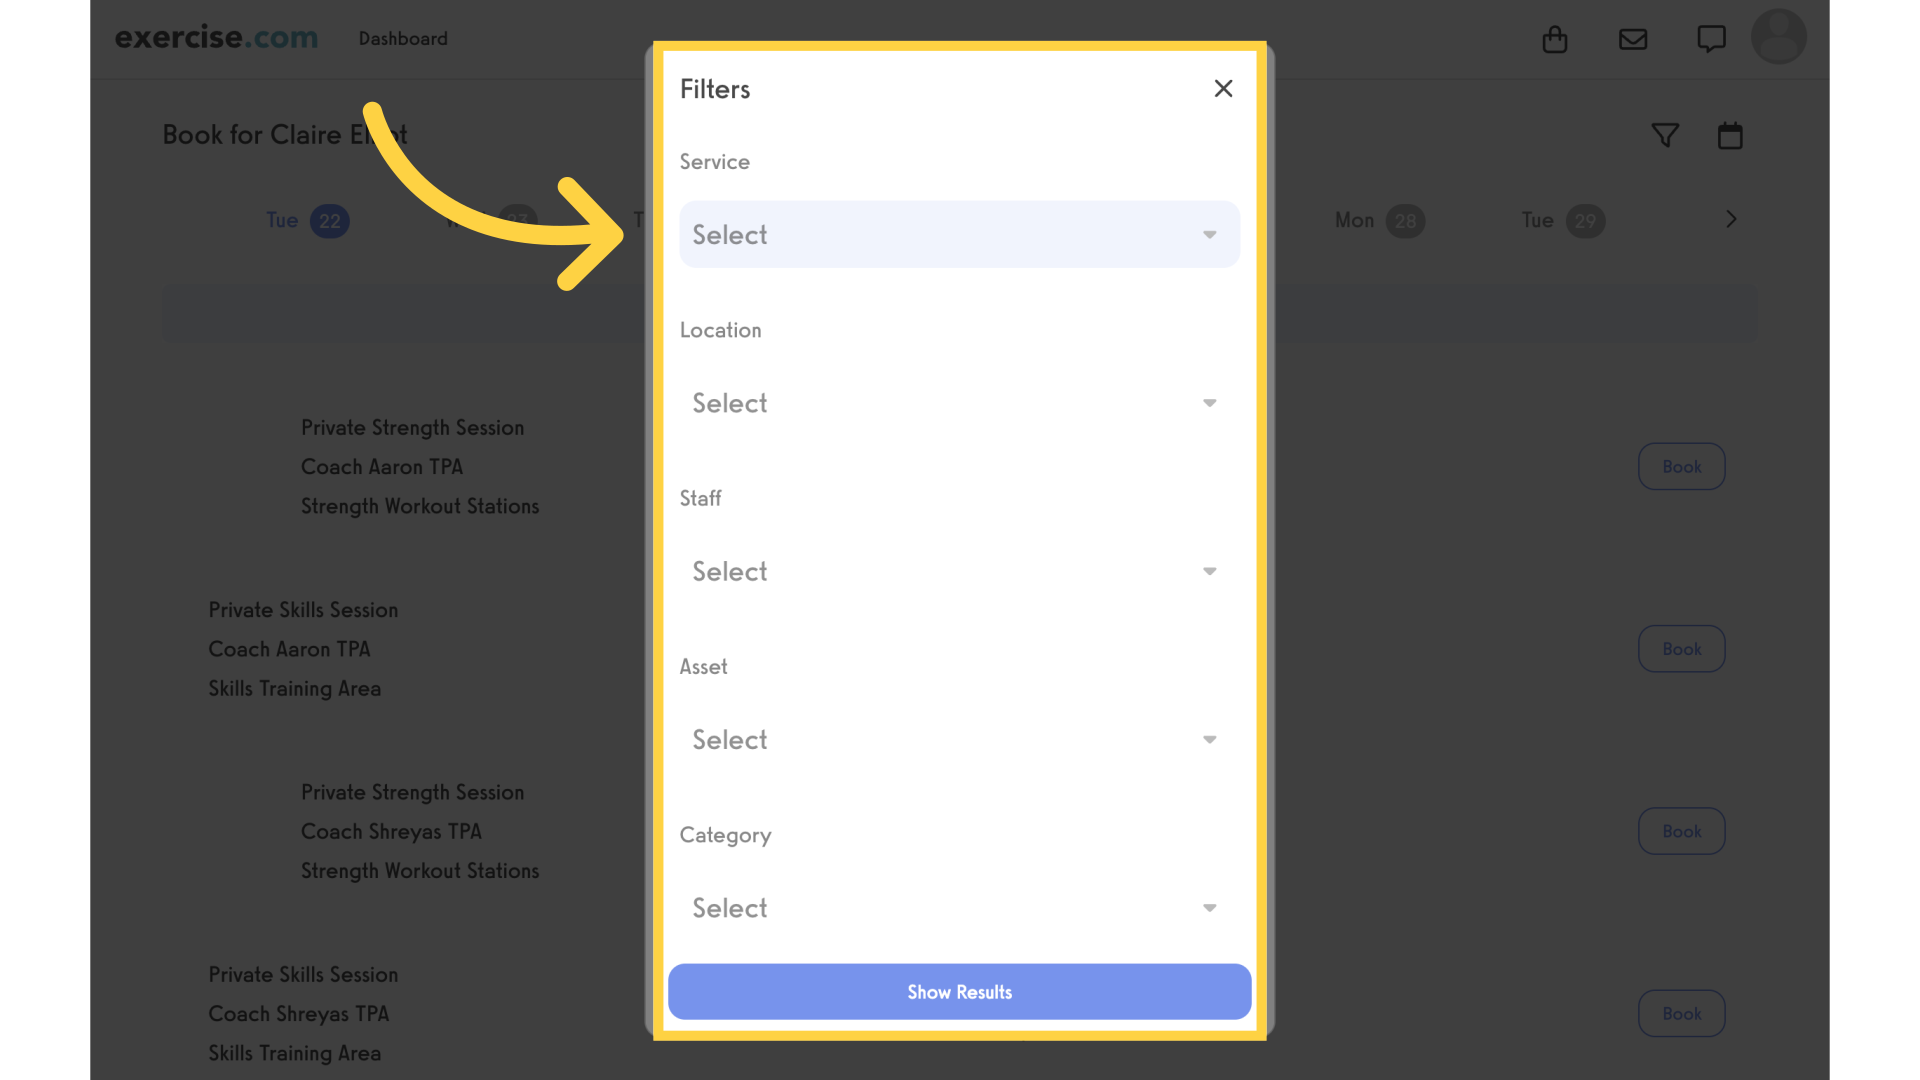
6. Client View – Select Filters
The filters selected on customize platform will be available here on the booking page filters for the client to select from.
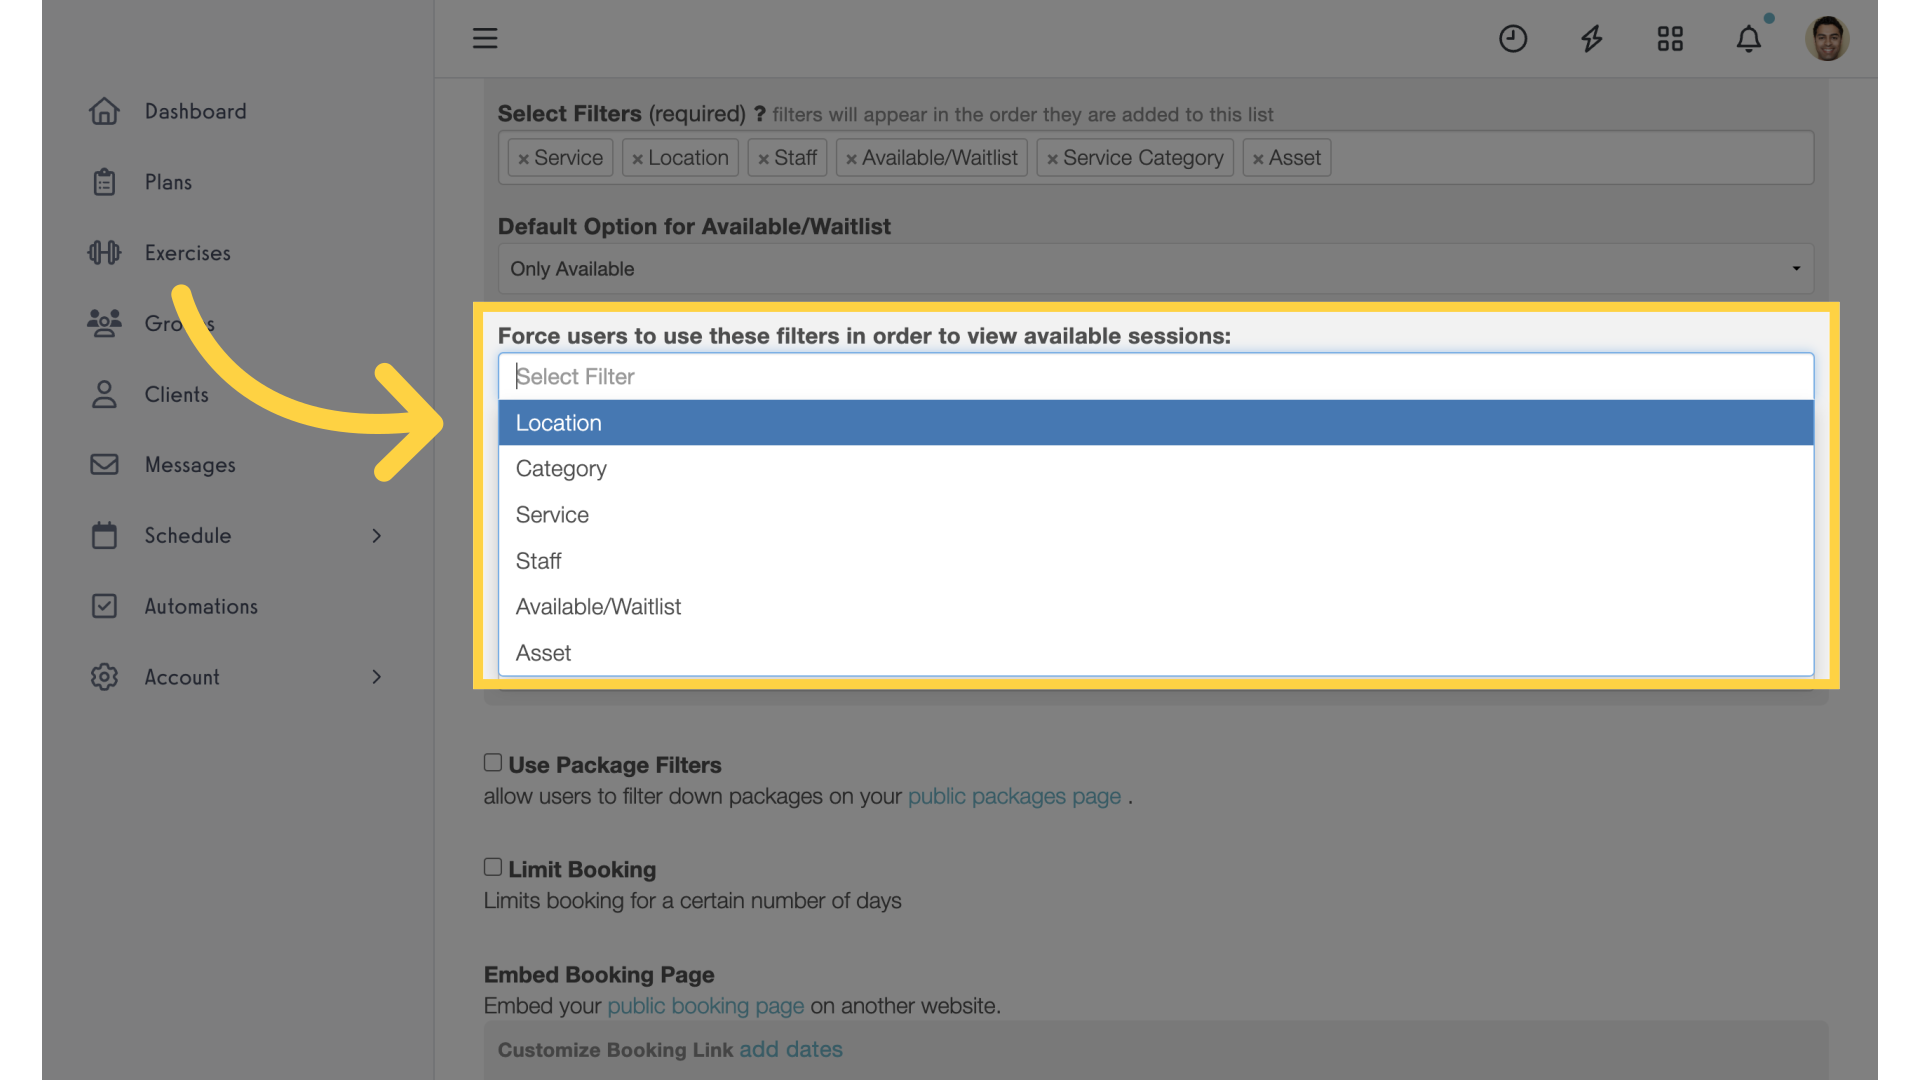
7. Force Filters
Back on “Customize Platform” select any filters that will be required to view available sessions.
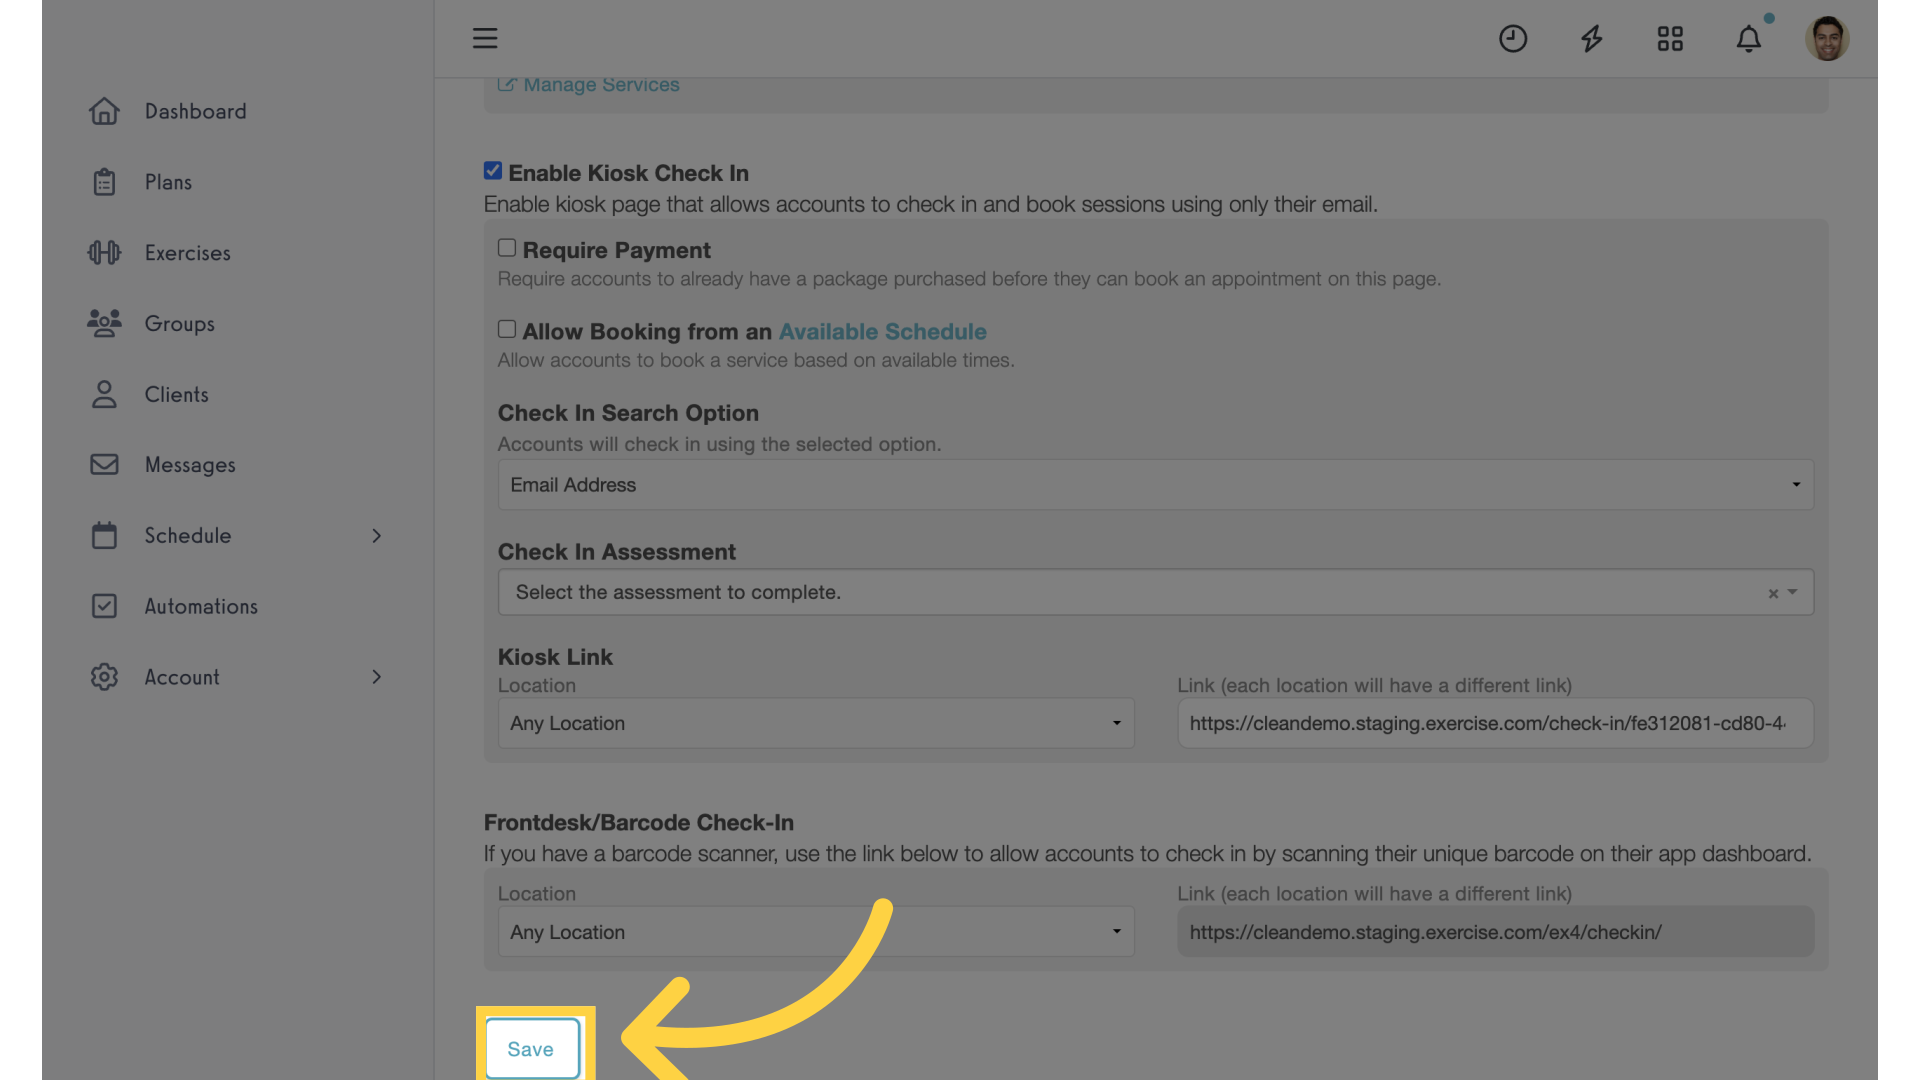
8. Save Settings
Save your settings.
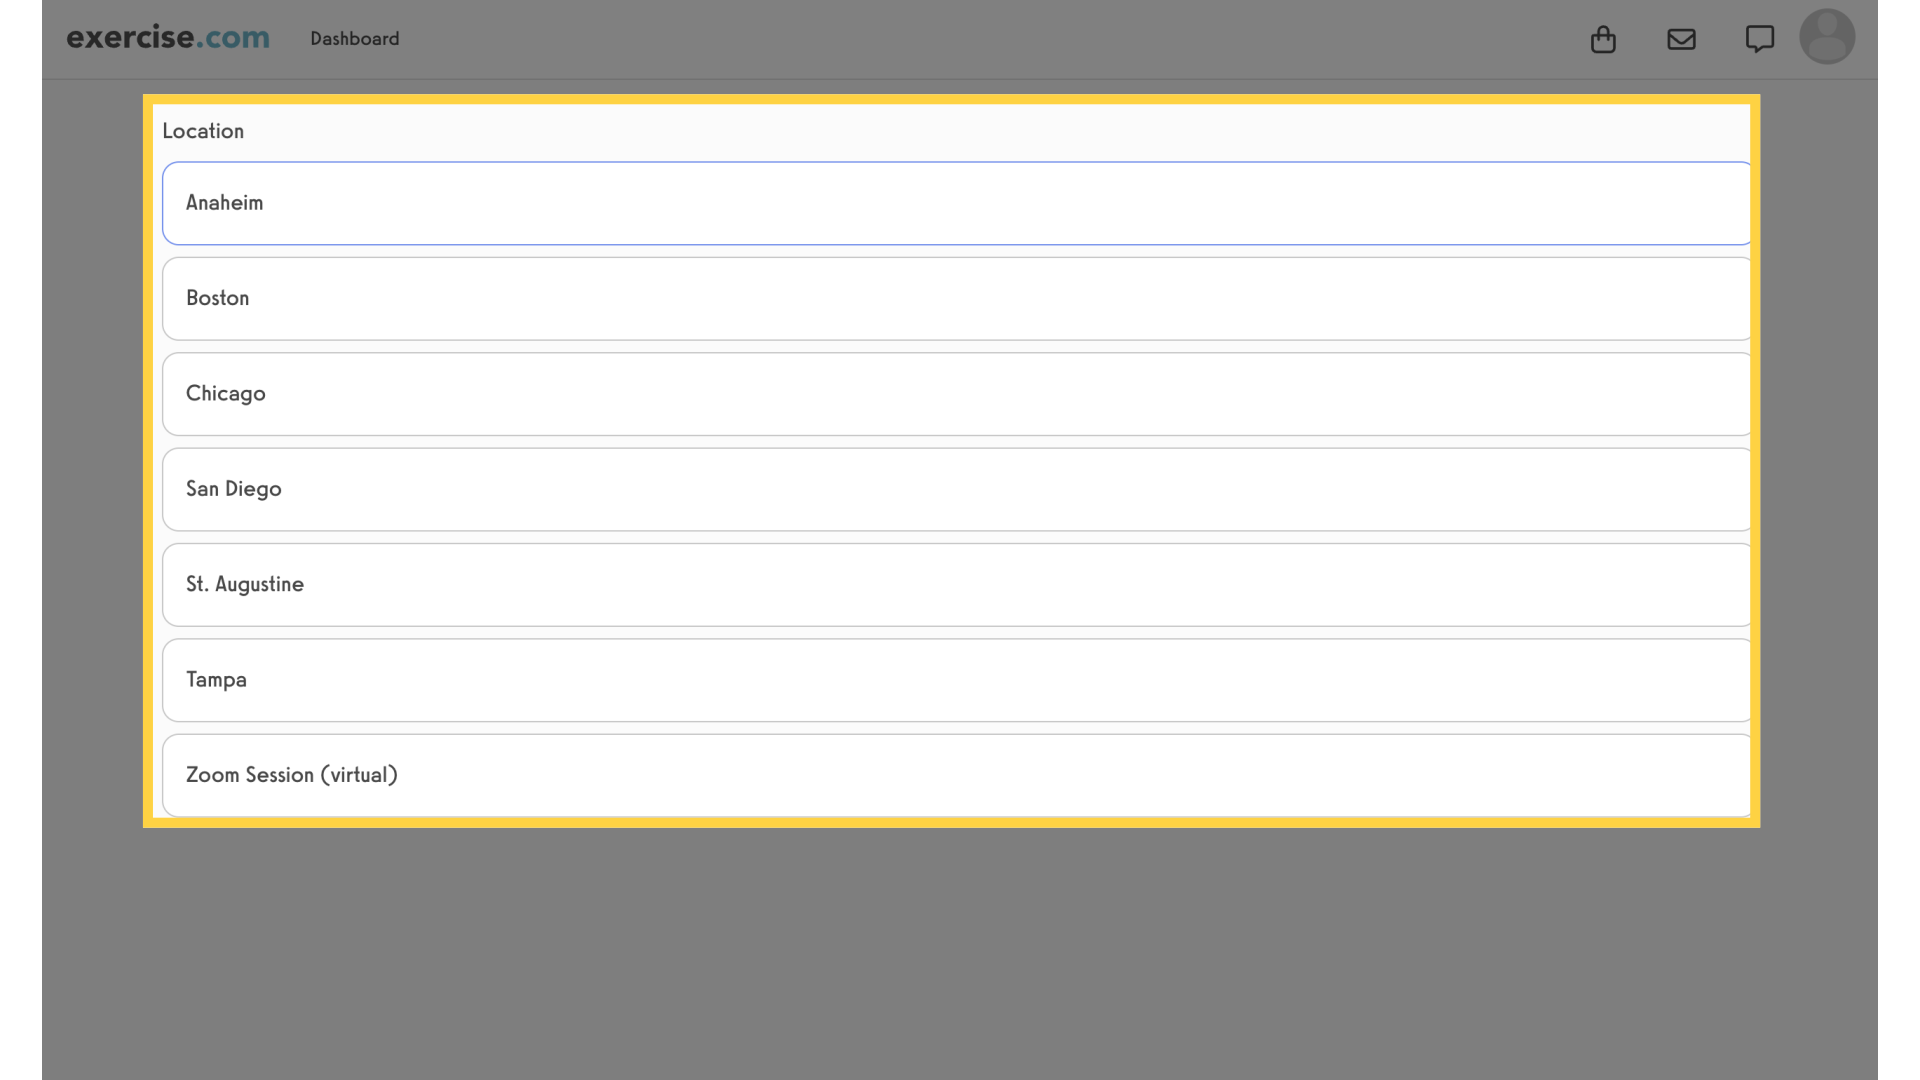
9. Client View – Required Filter Location
Now when a client initially views the booking page, they will be required to select filters before accessing available sessions.
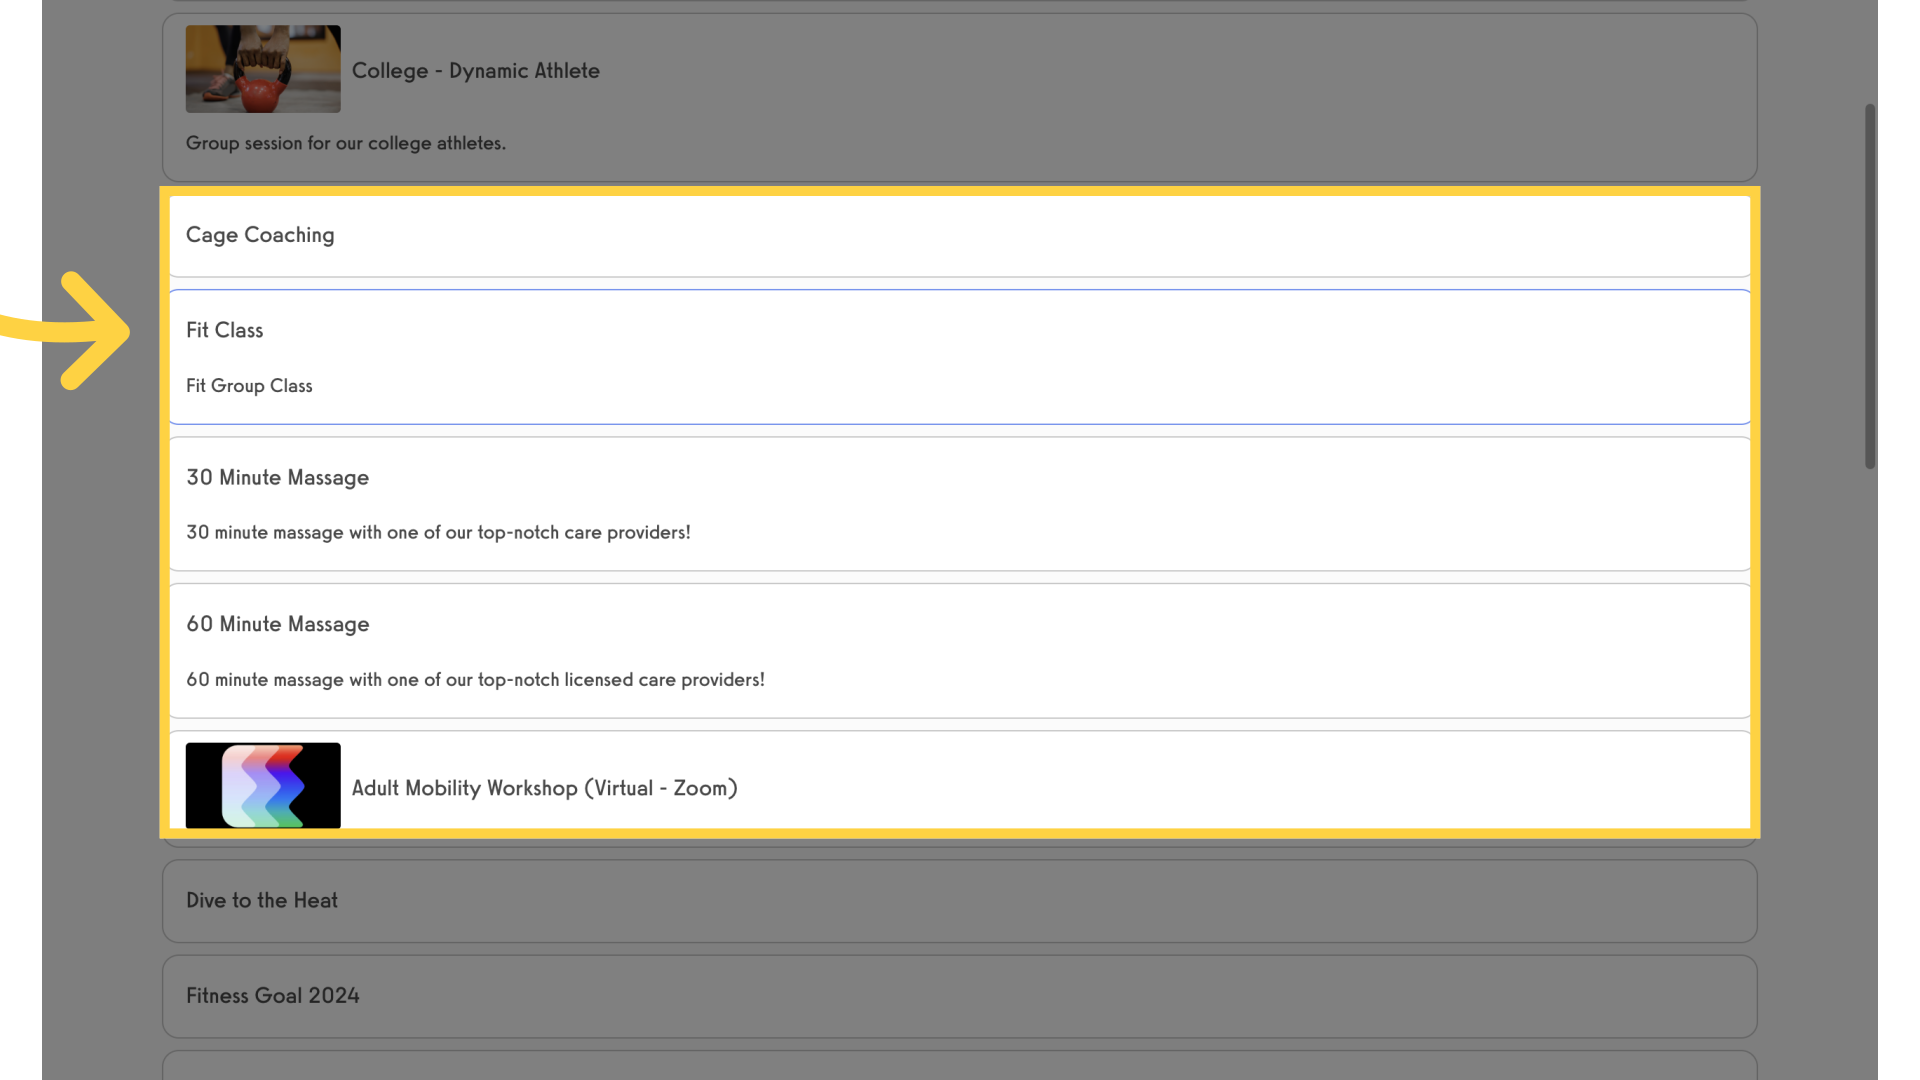
10. Client View – Required Filter Service
Each required filter will be displayed in the order set on customize platform.
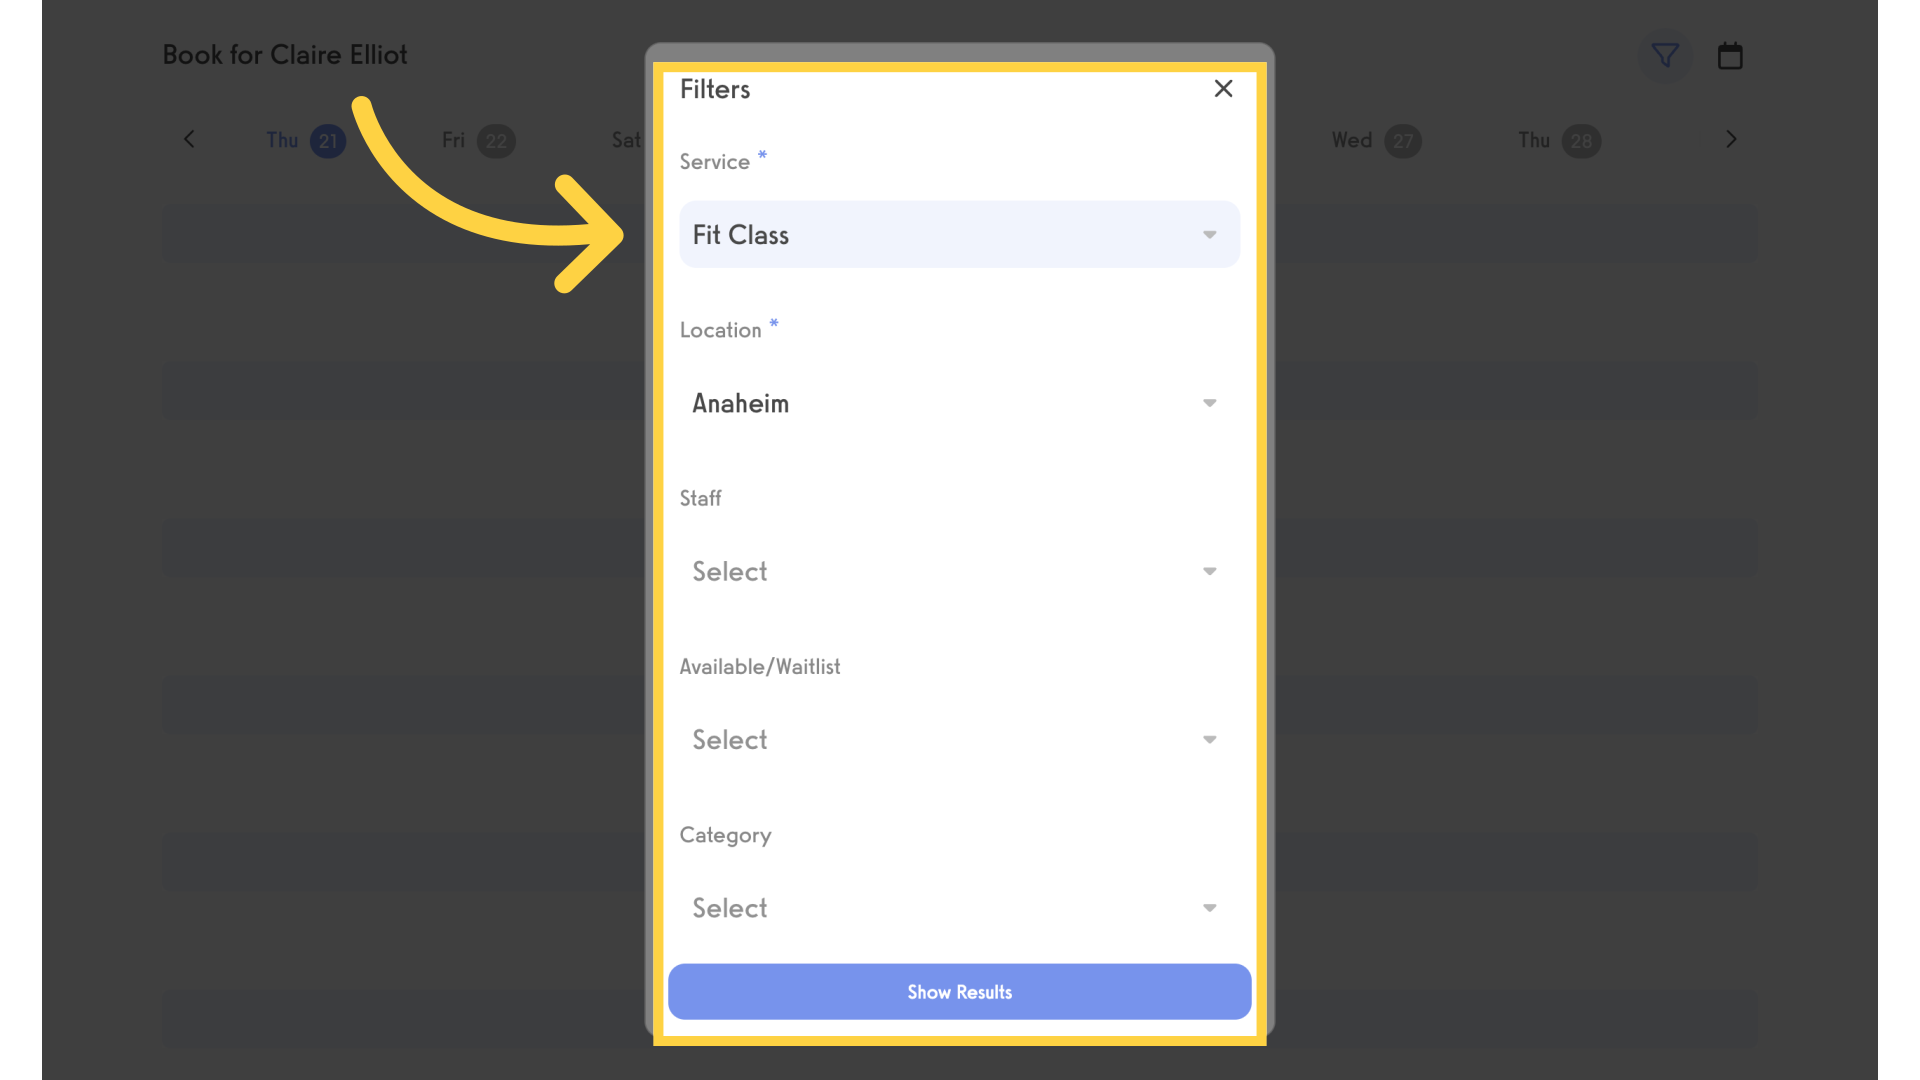
11. Client View Required Filters
Required filters will be indicated with an asterisk.
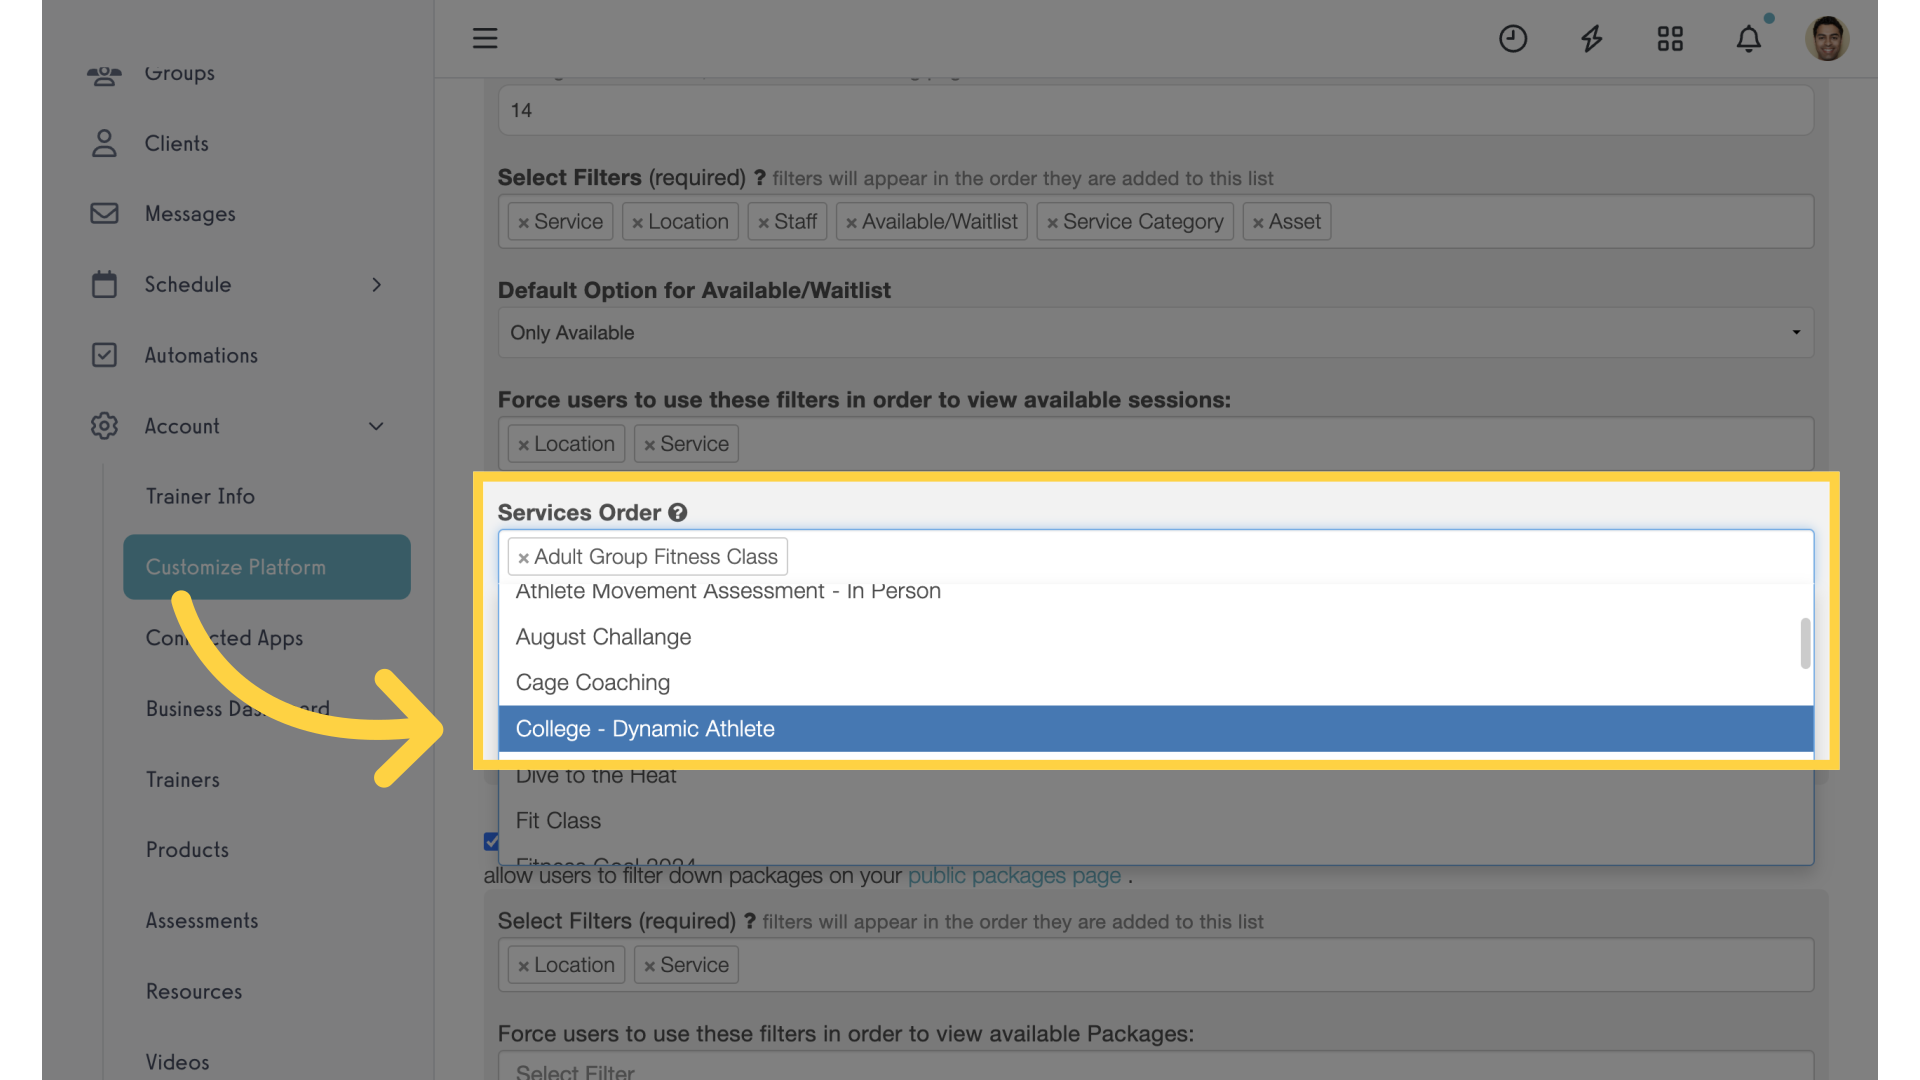
12. Services Order
As a trainer, you can customize even further by selecting the services in the order they will be listed. Any unselected services will be listed at the bottom.
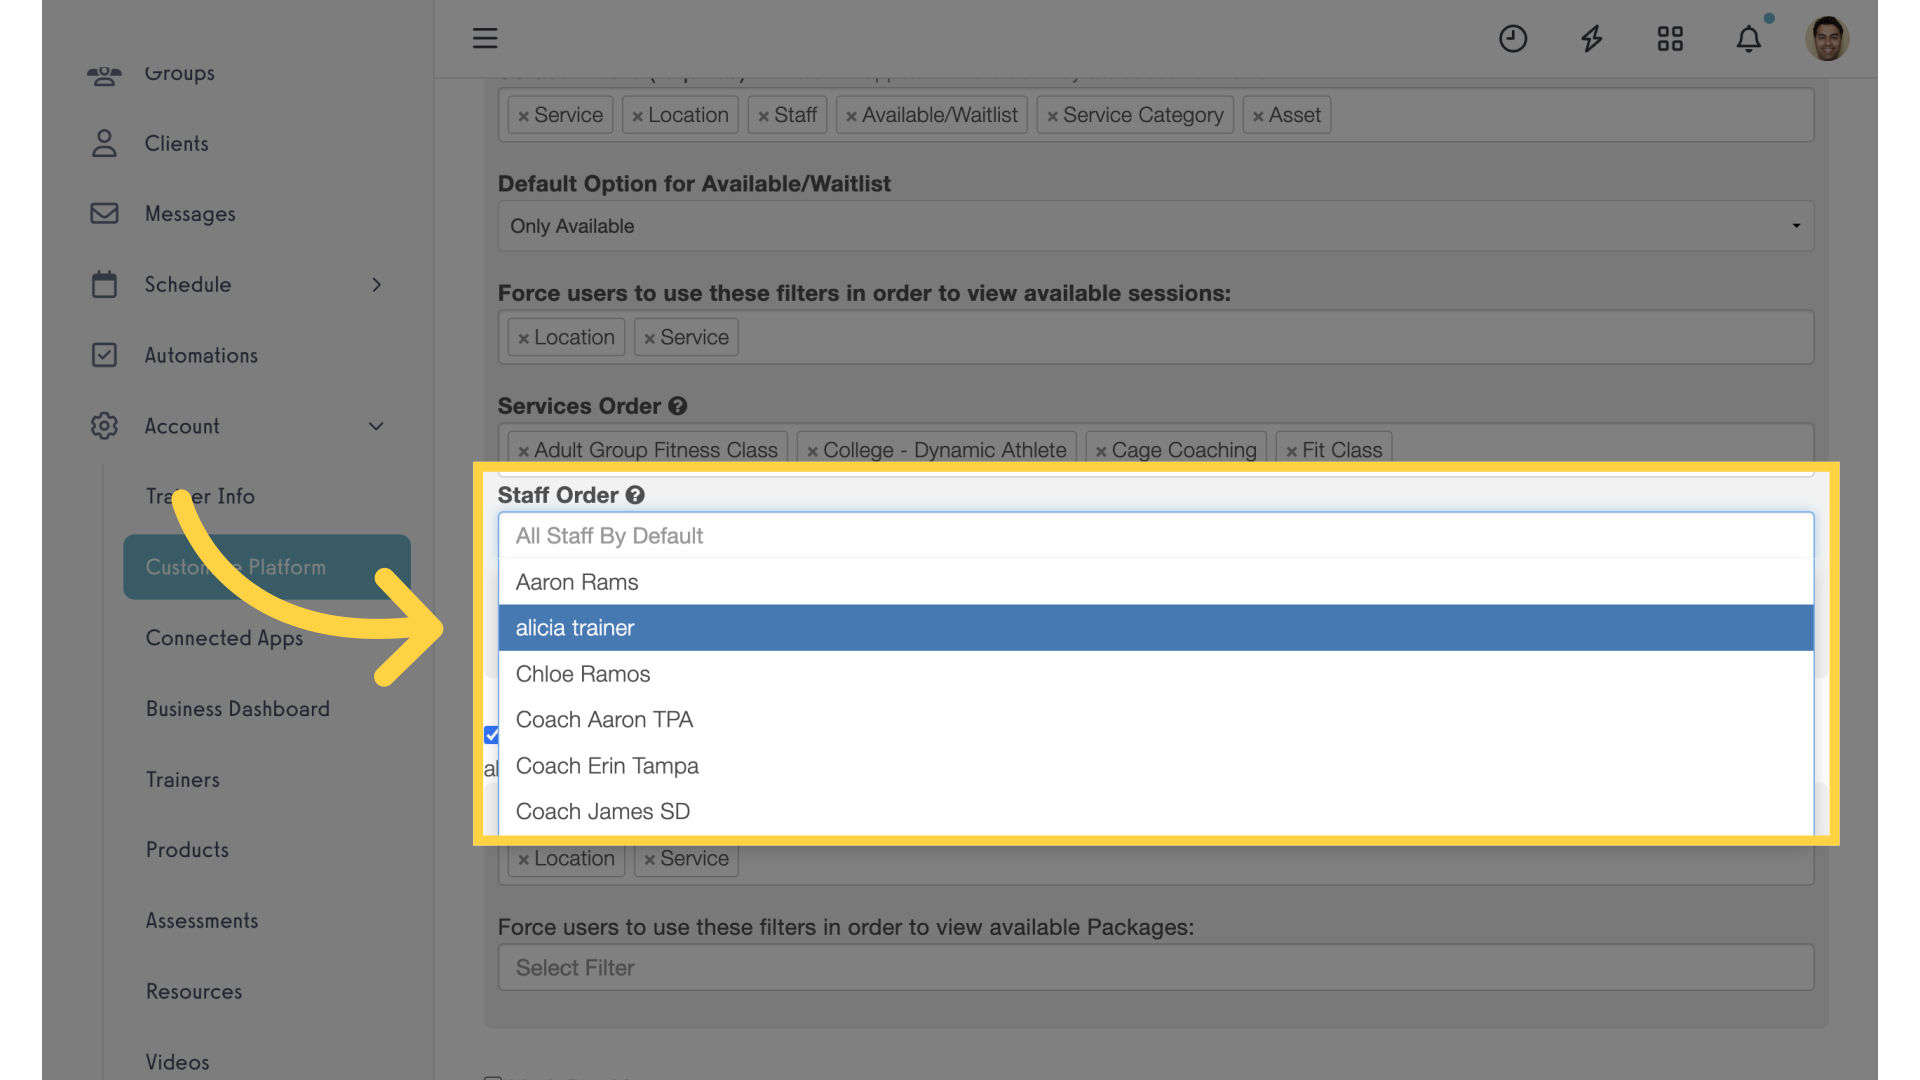
13. Staff Member Order
You can also select the order of your staff members.
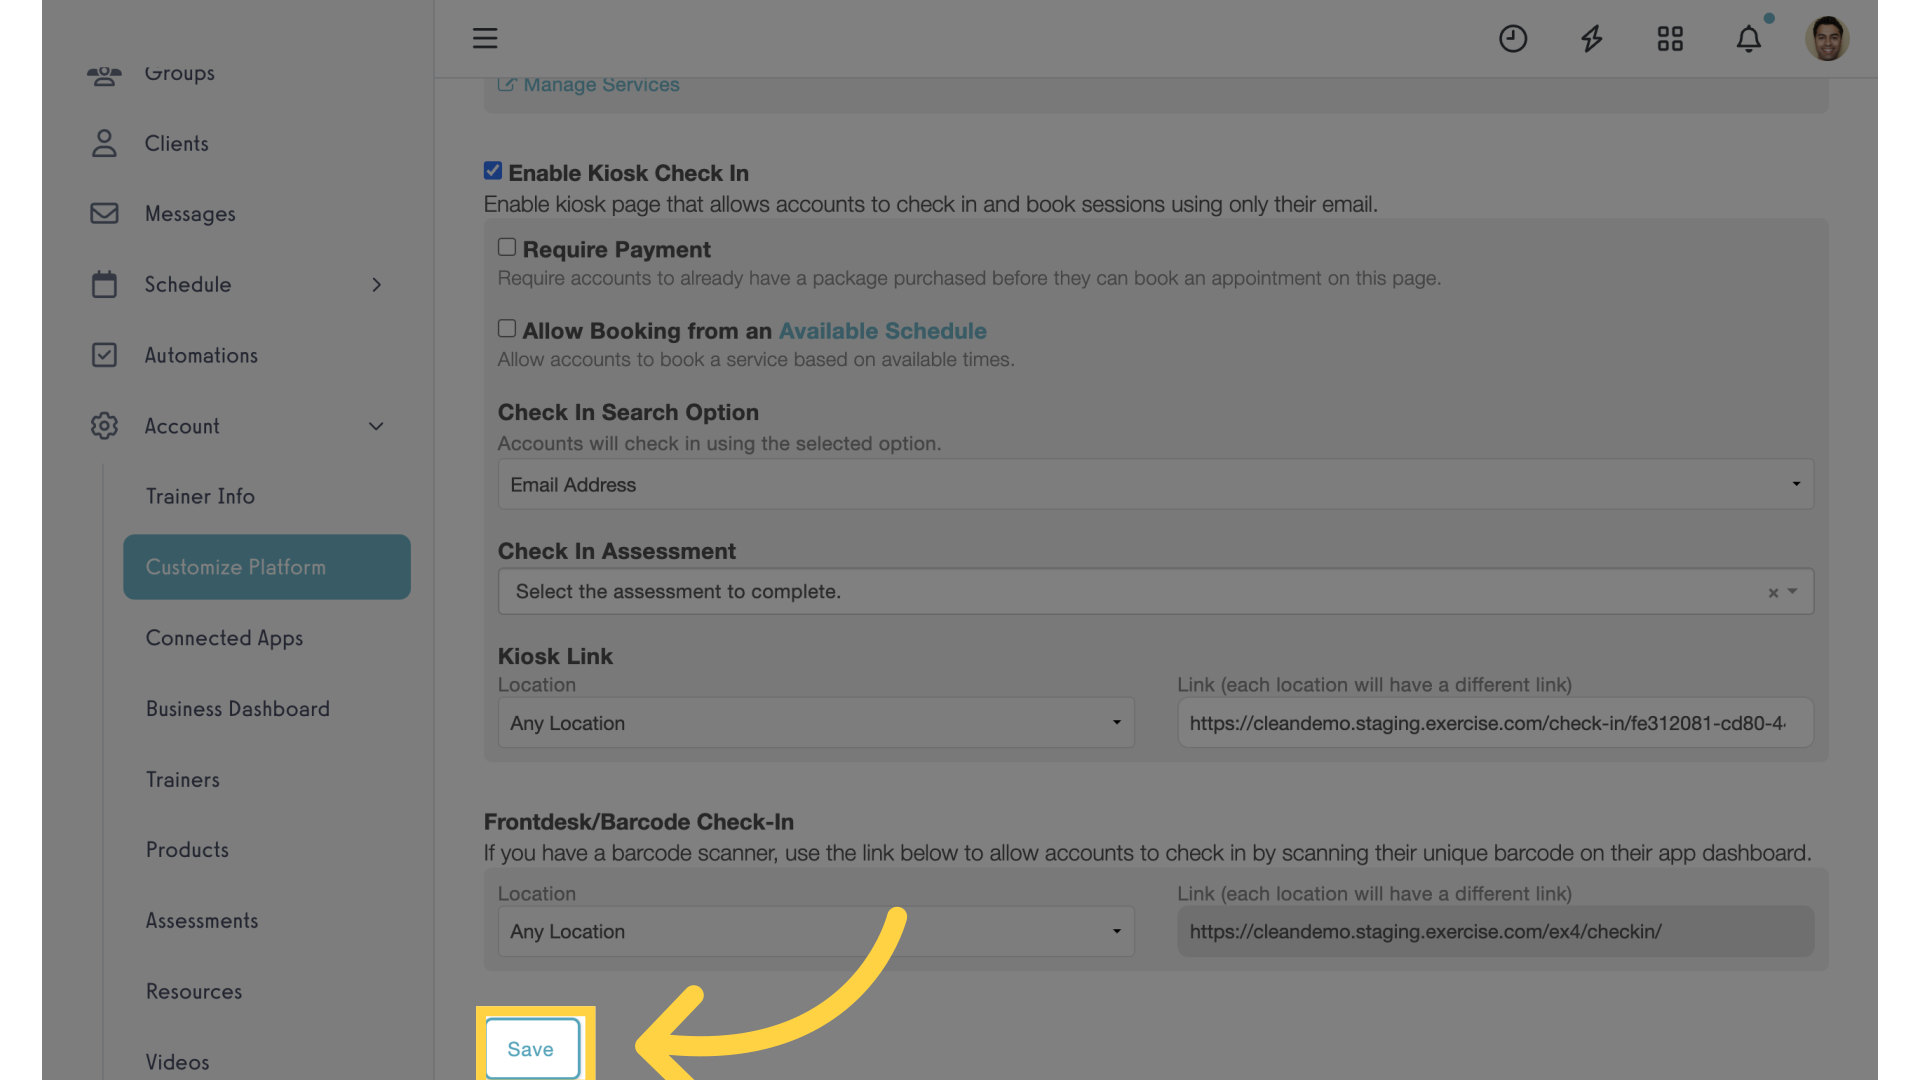
14. Save Settings
Save your settings.
The guide covered setting up booking filters on customize platform.


