How to connect to Stripe
Within our Gym Management Software, you have the ability to connect to Stripe to collect payments. This guide will walk you through setting up a new Stripe Express account for seamless payments integration with your custom branded platform. From connecting Stripe to entering your legal business information, follow these steps to complete the process effectively and prevent any account verification issues.
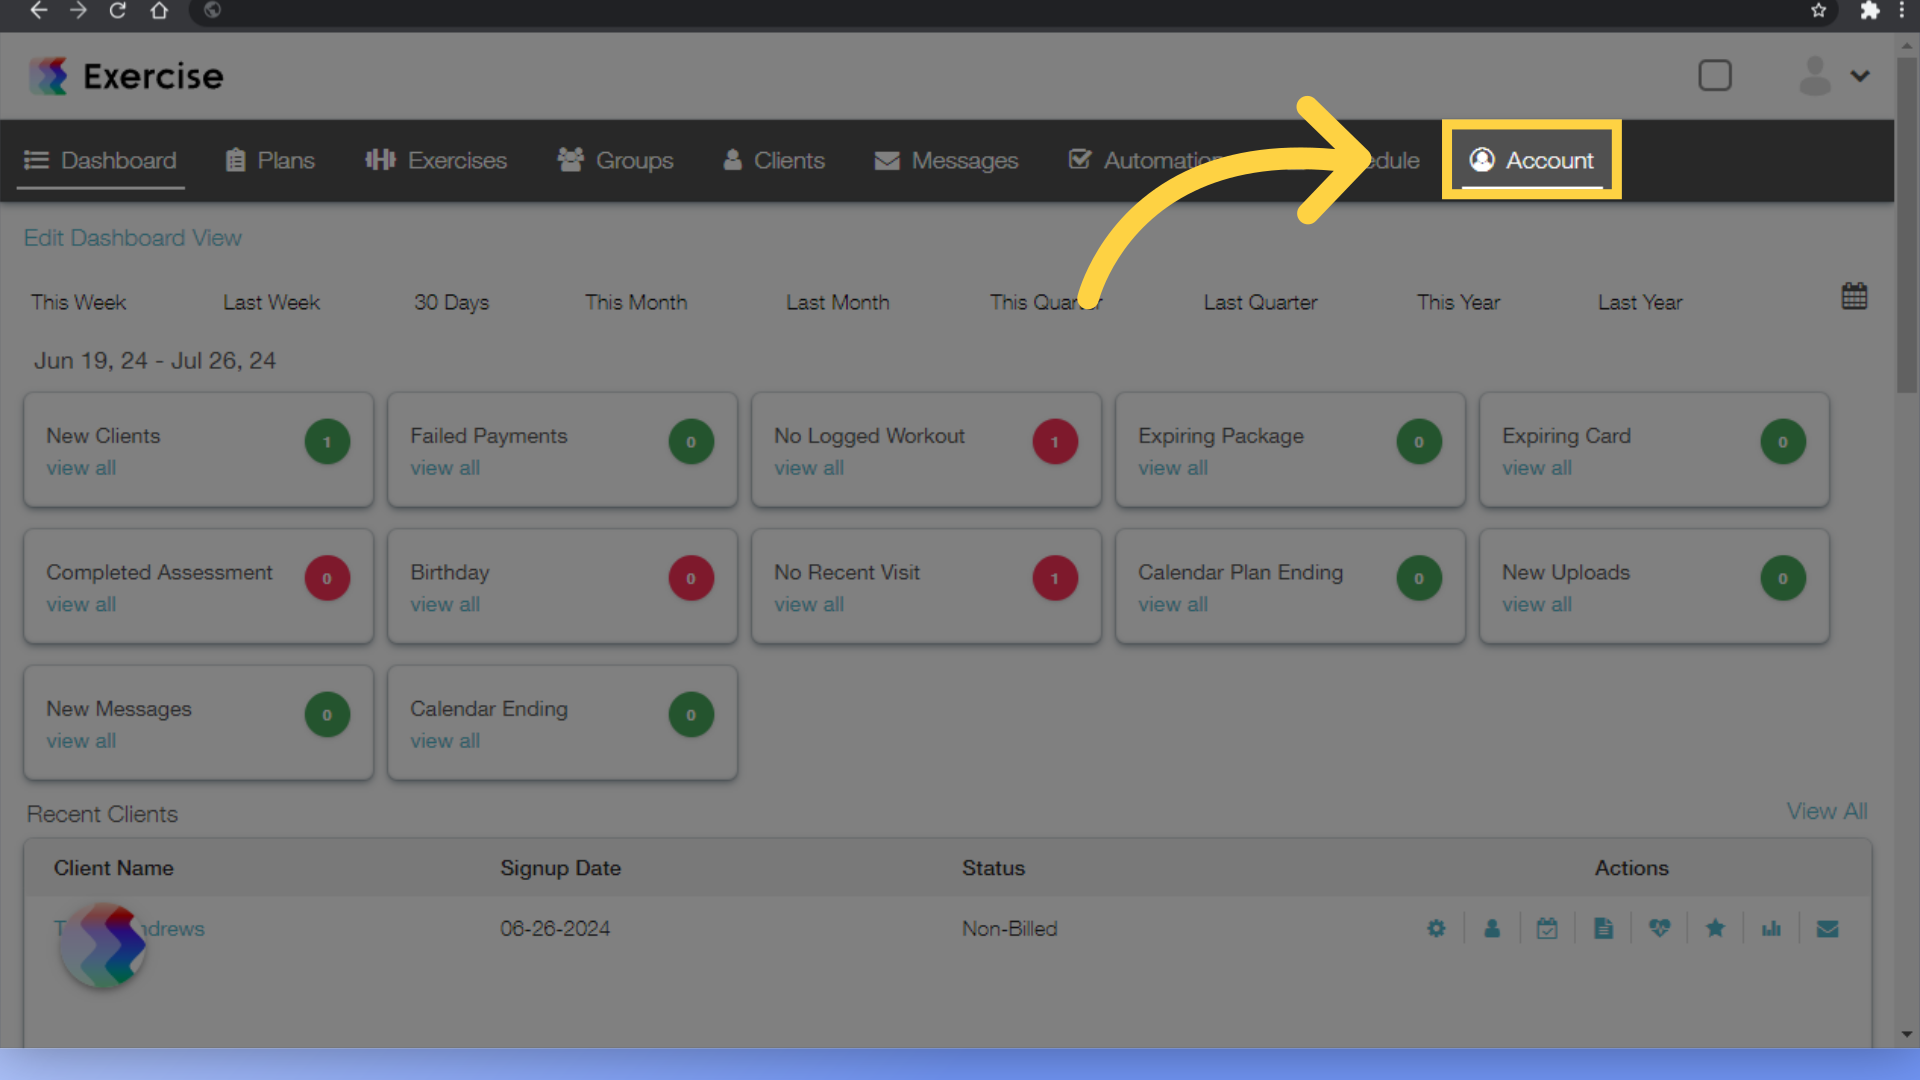
1. Click the “Account” tab.
Once you’re signed in to your platform with the admin account, click on the Account tab.
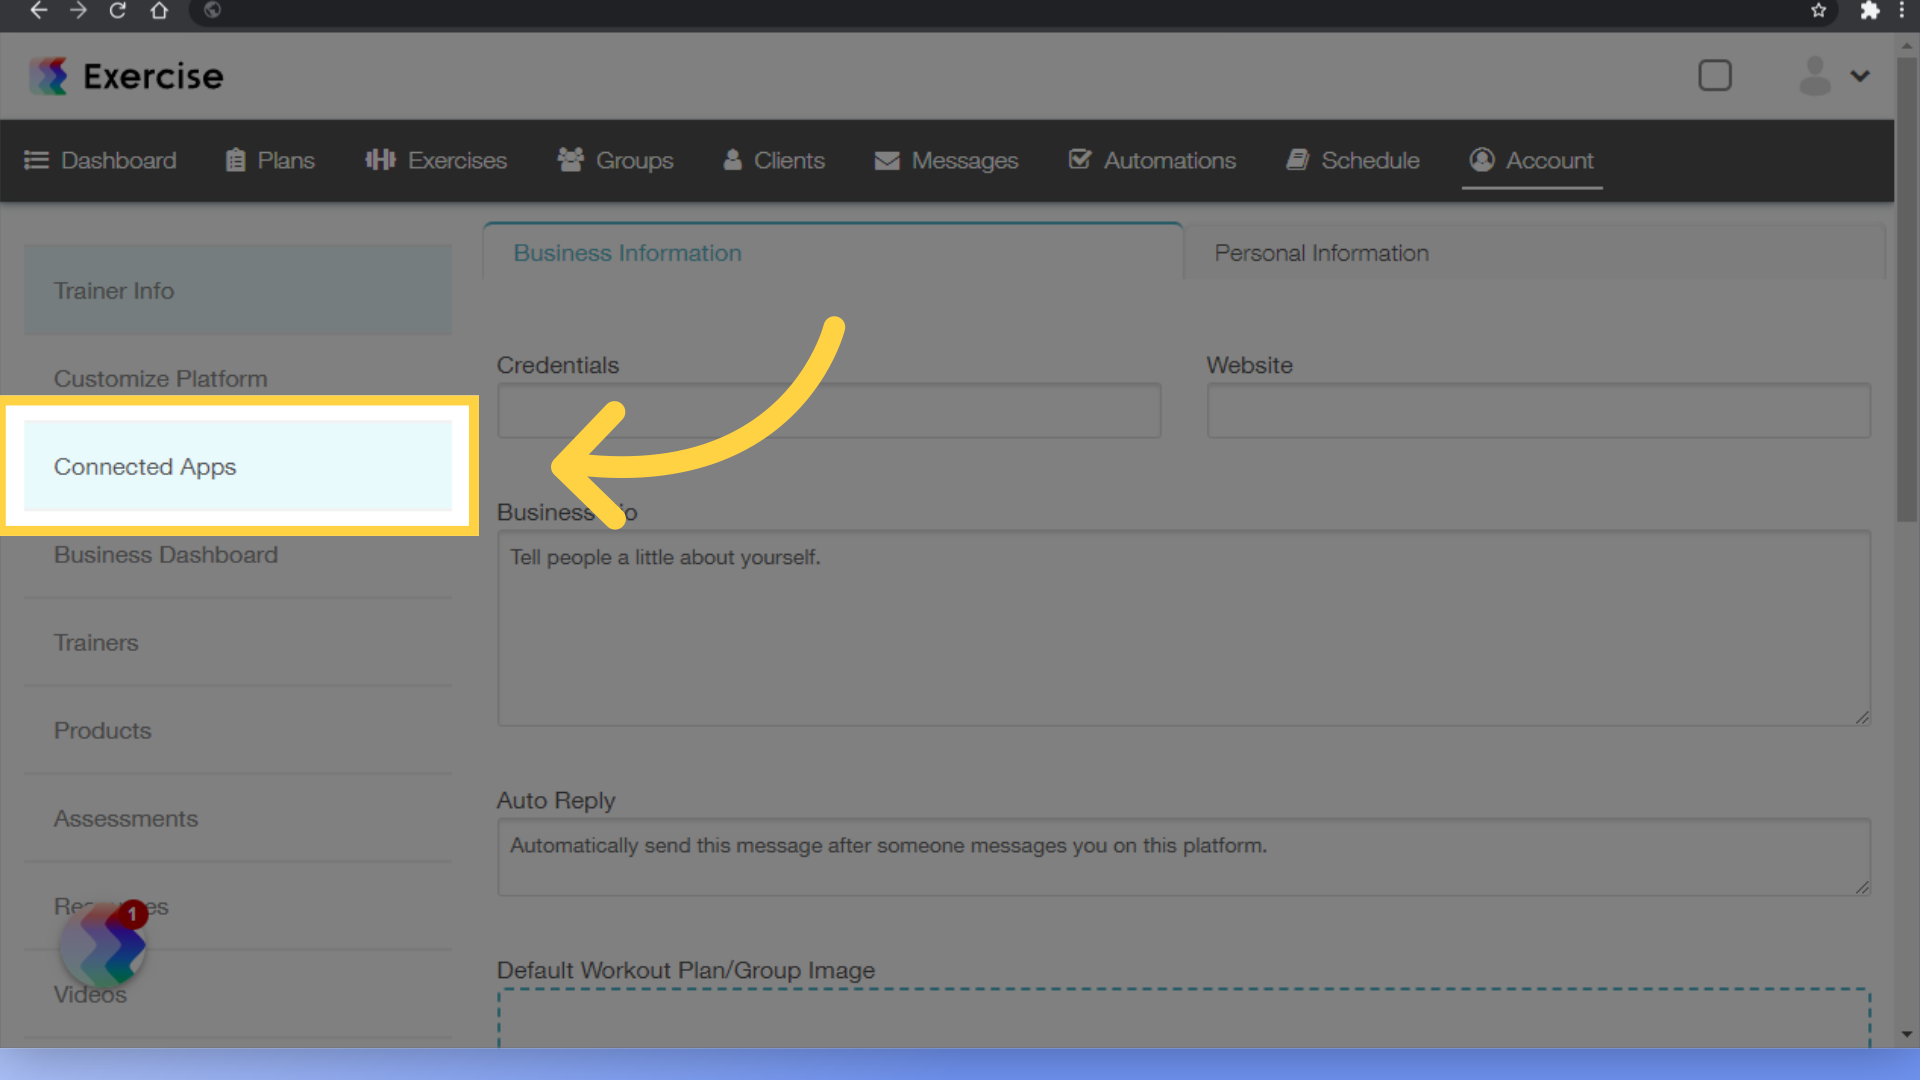
2. Click “Connected Apps”
Navigate to Connected Apps on the left side menu.
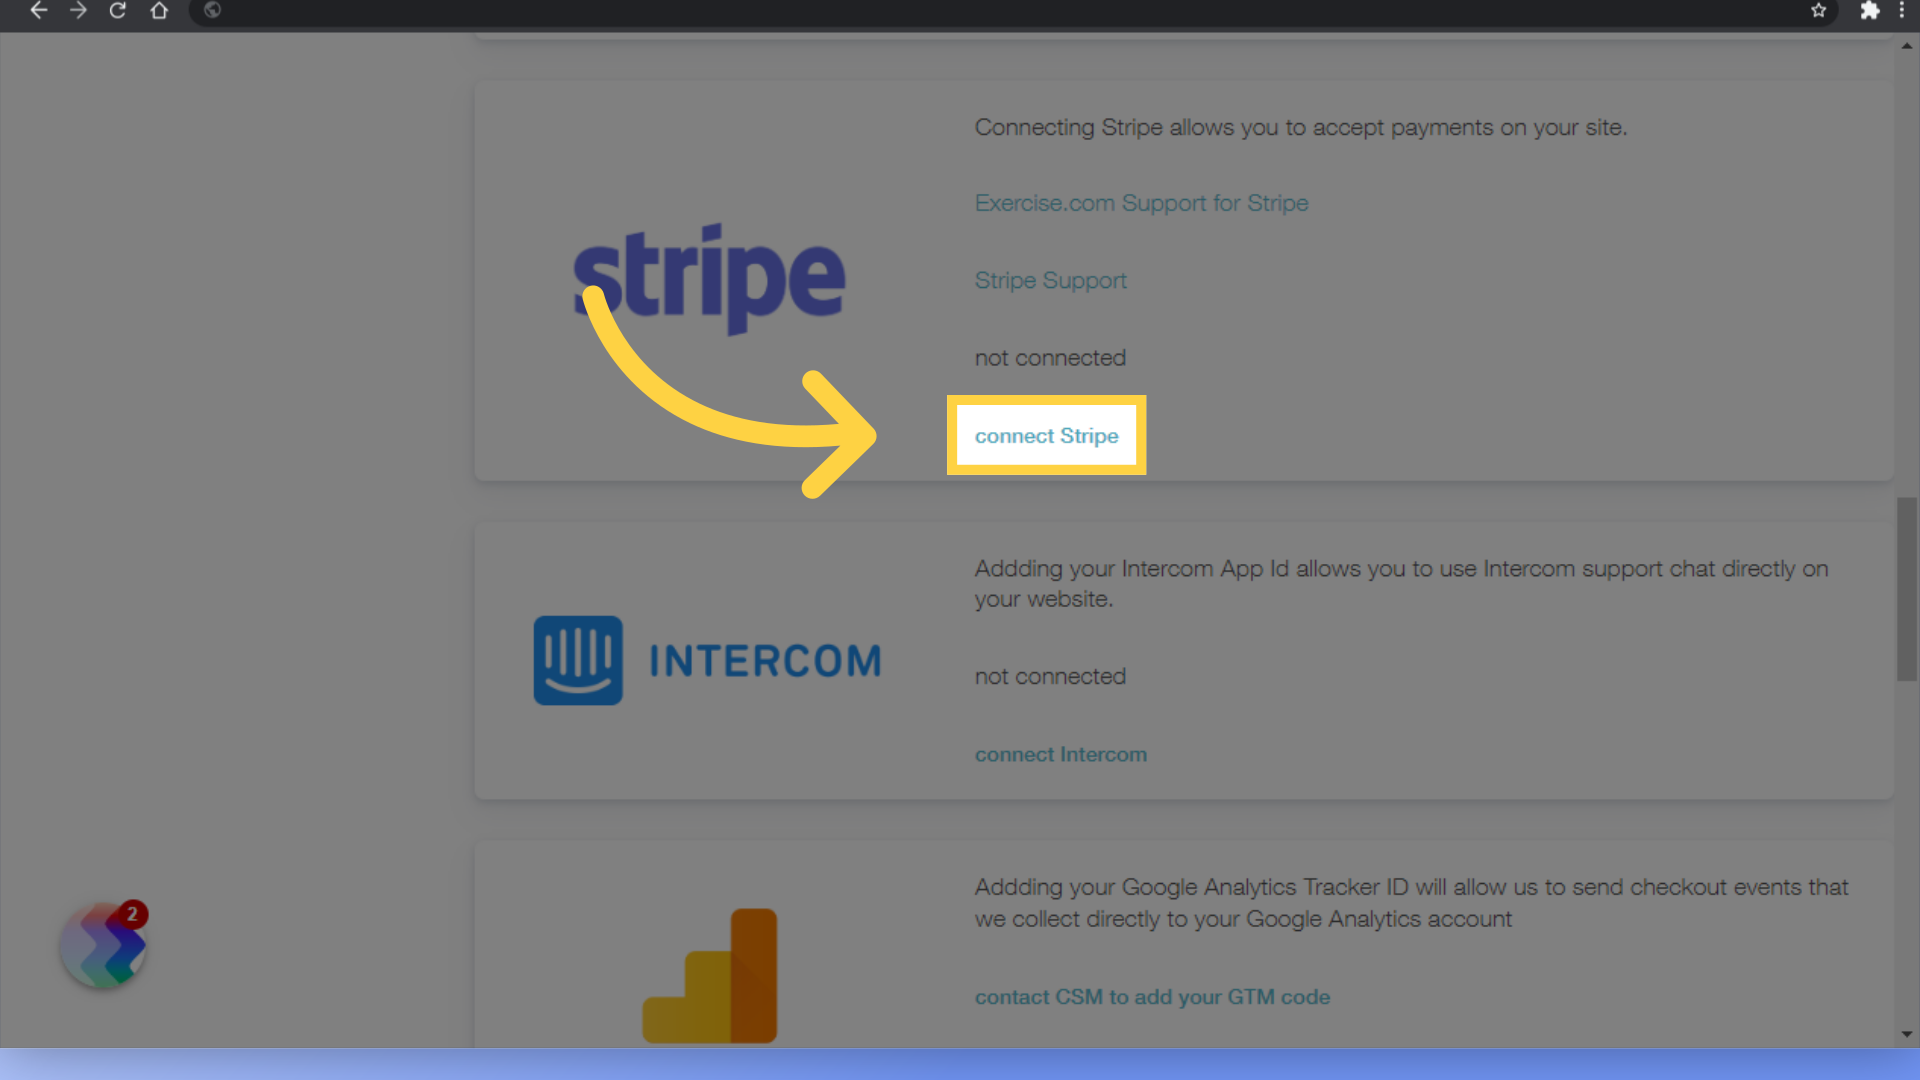
3. Click “connect Stripe”
Click the connect Stripe link to start setting up your new Stripe Express account.
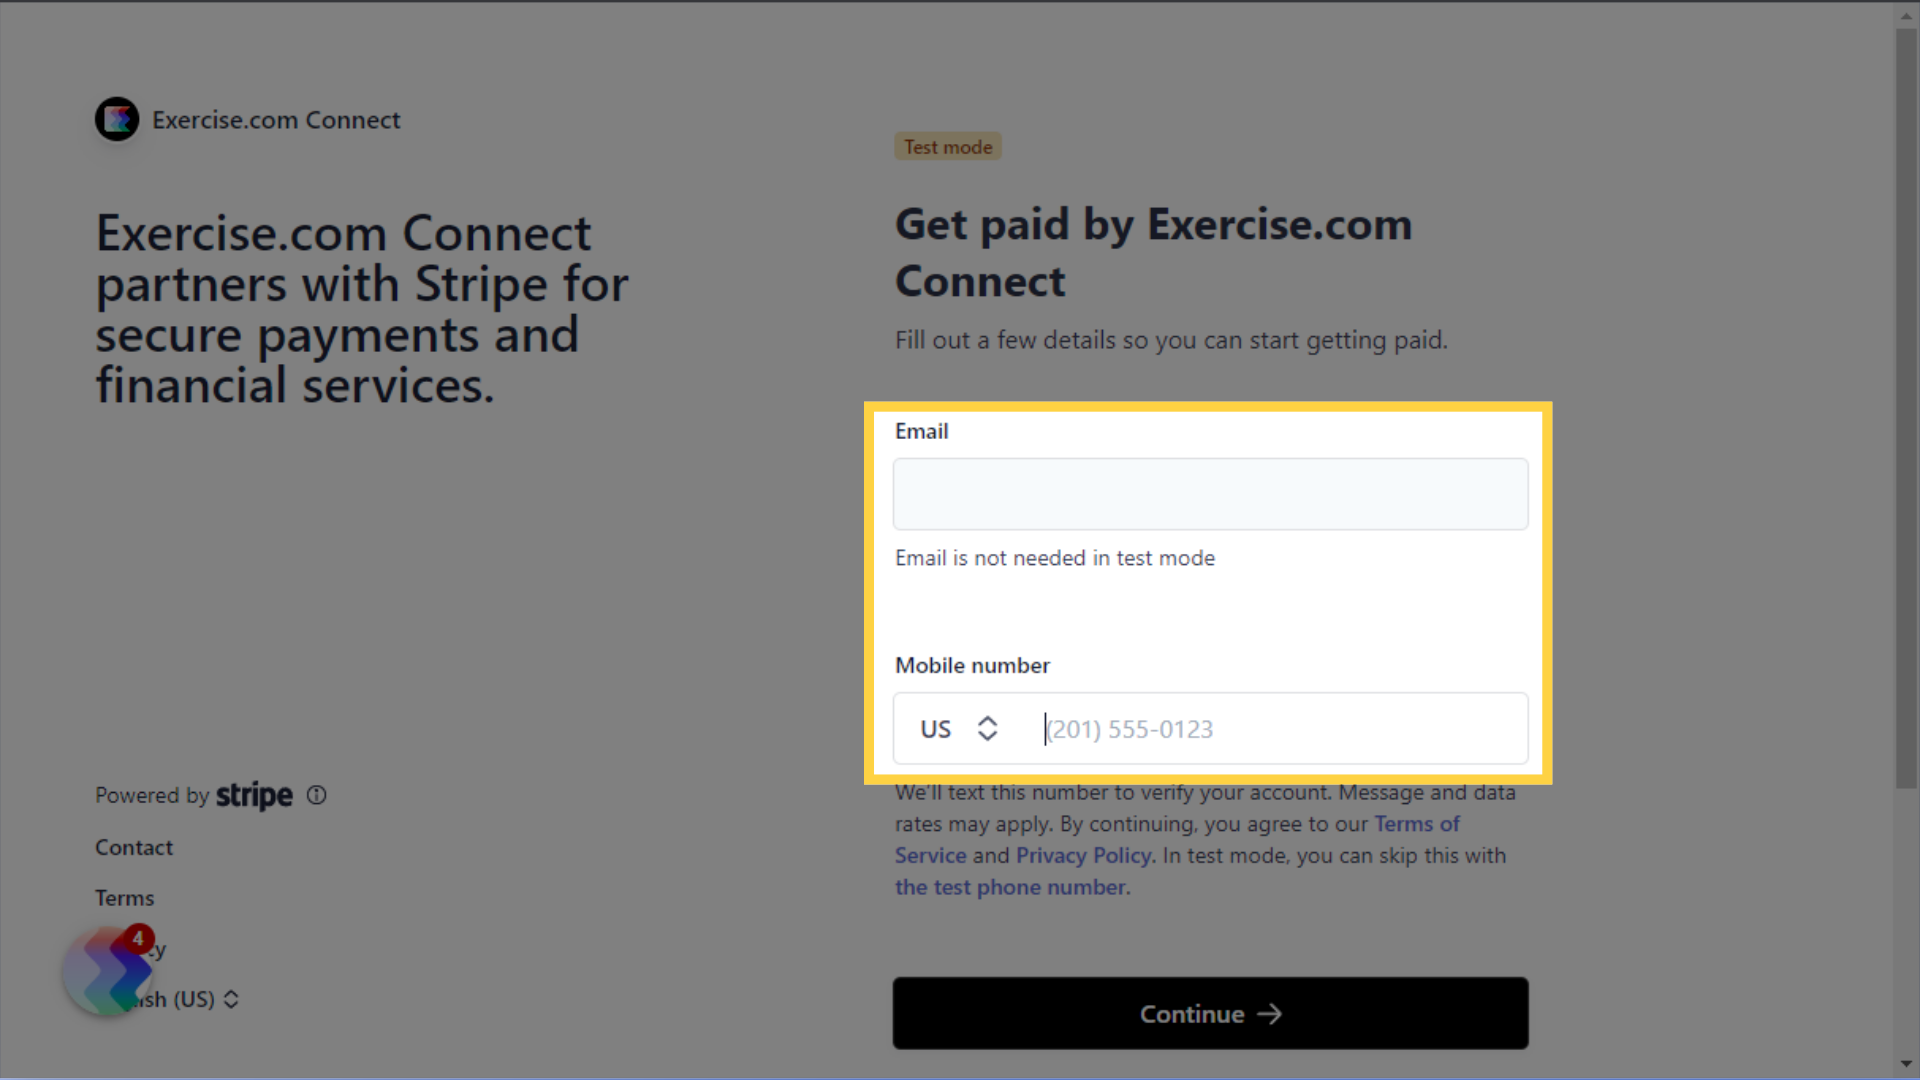
4. Enter your Email and Phone Number
Enter the email address and phone number that you will use to access this Stripe account. Then Click the button to Continue.
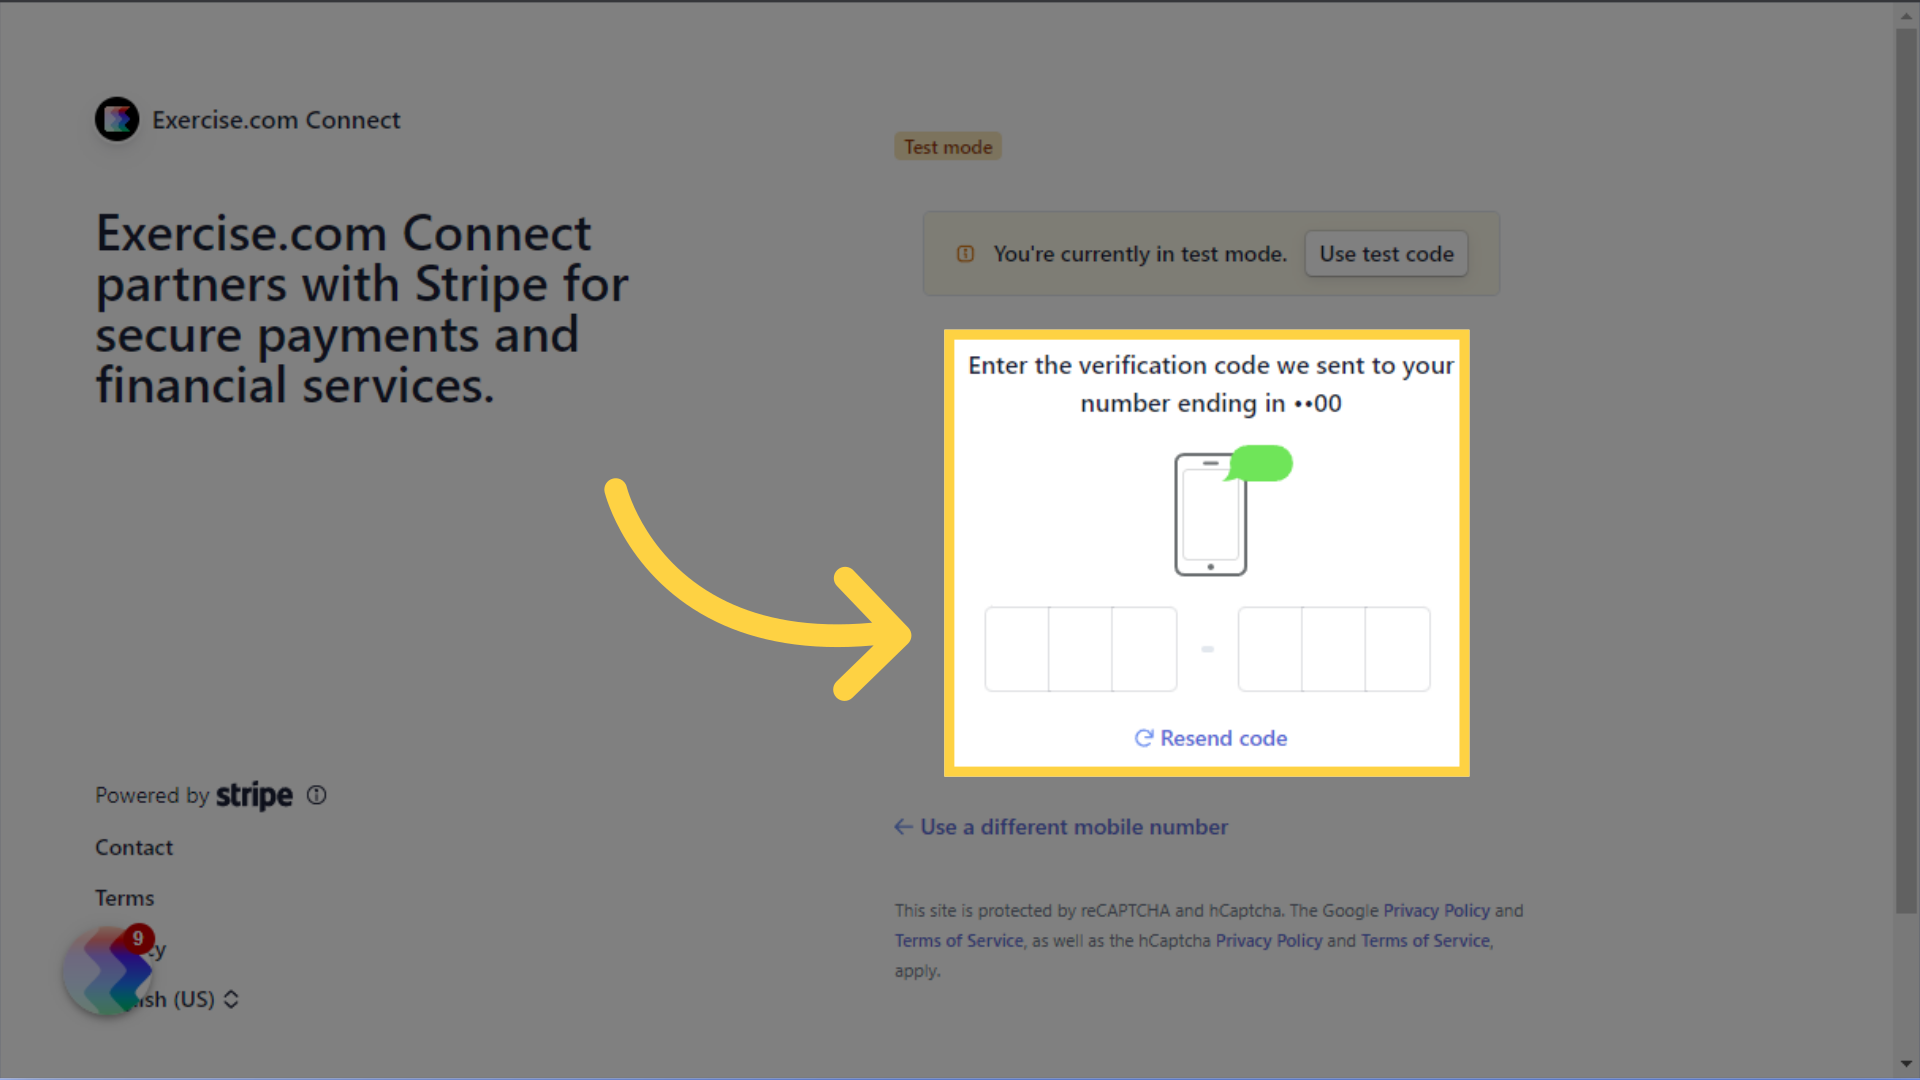
5. Enter the verification code to confirm your phone number.
Stripe will send a verification code to your phone number that you can enter here.
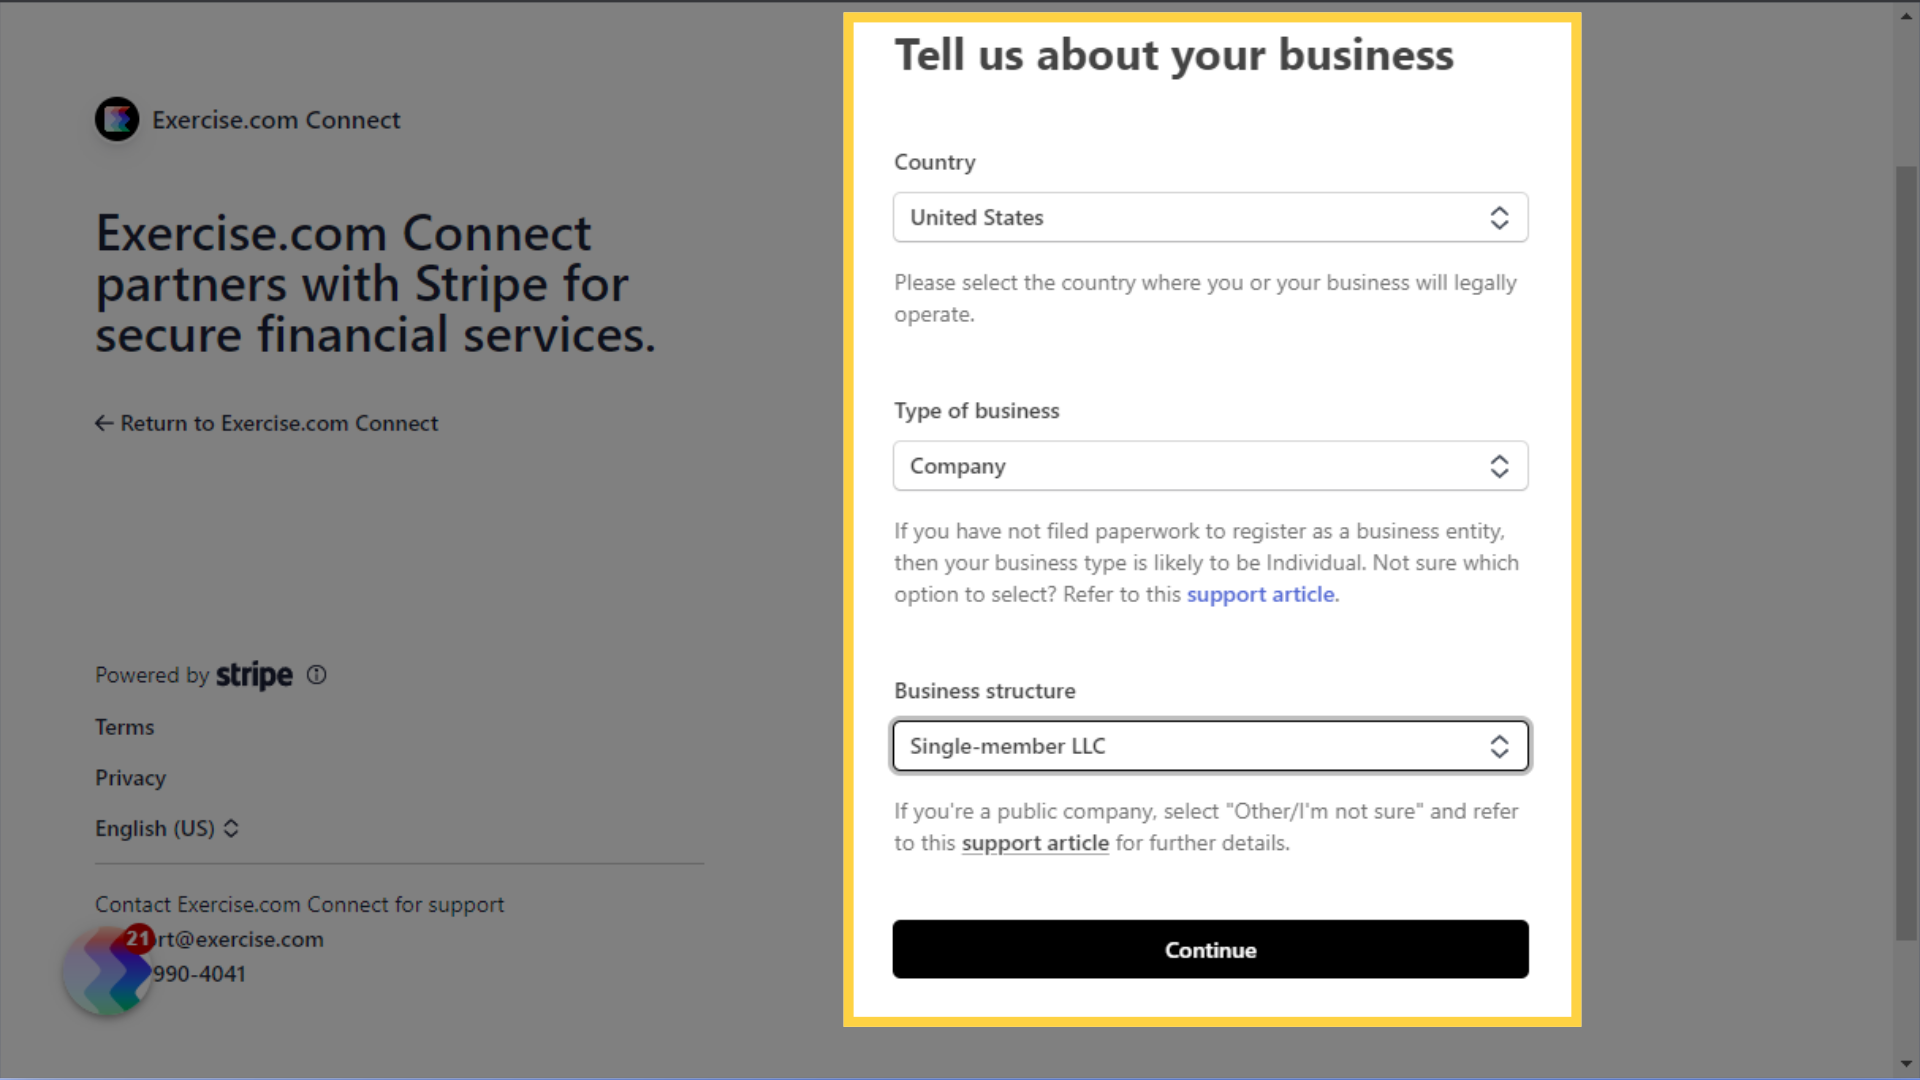
6. IMPORTANT: Select the business type and structure that matches your legal business entity.
Select the business type and structure that matches your legal business entity. It’s important to set this up accurately in order to prevent delays in account verification.
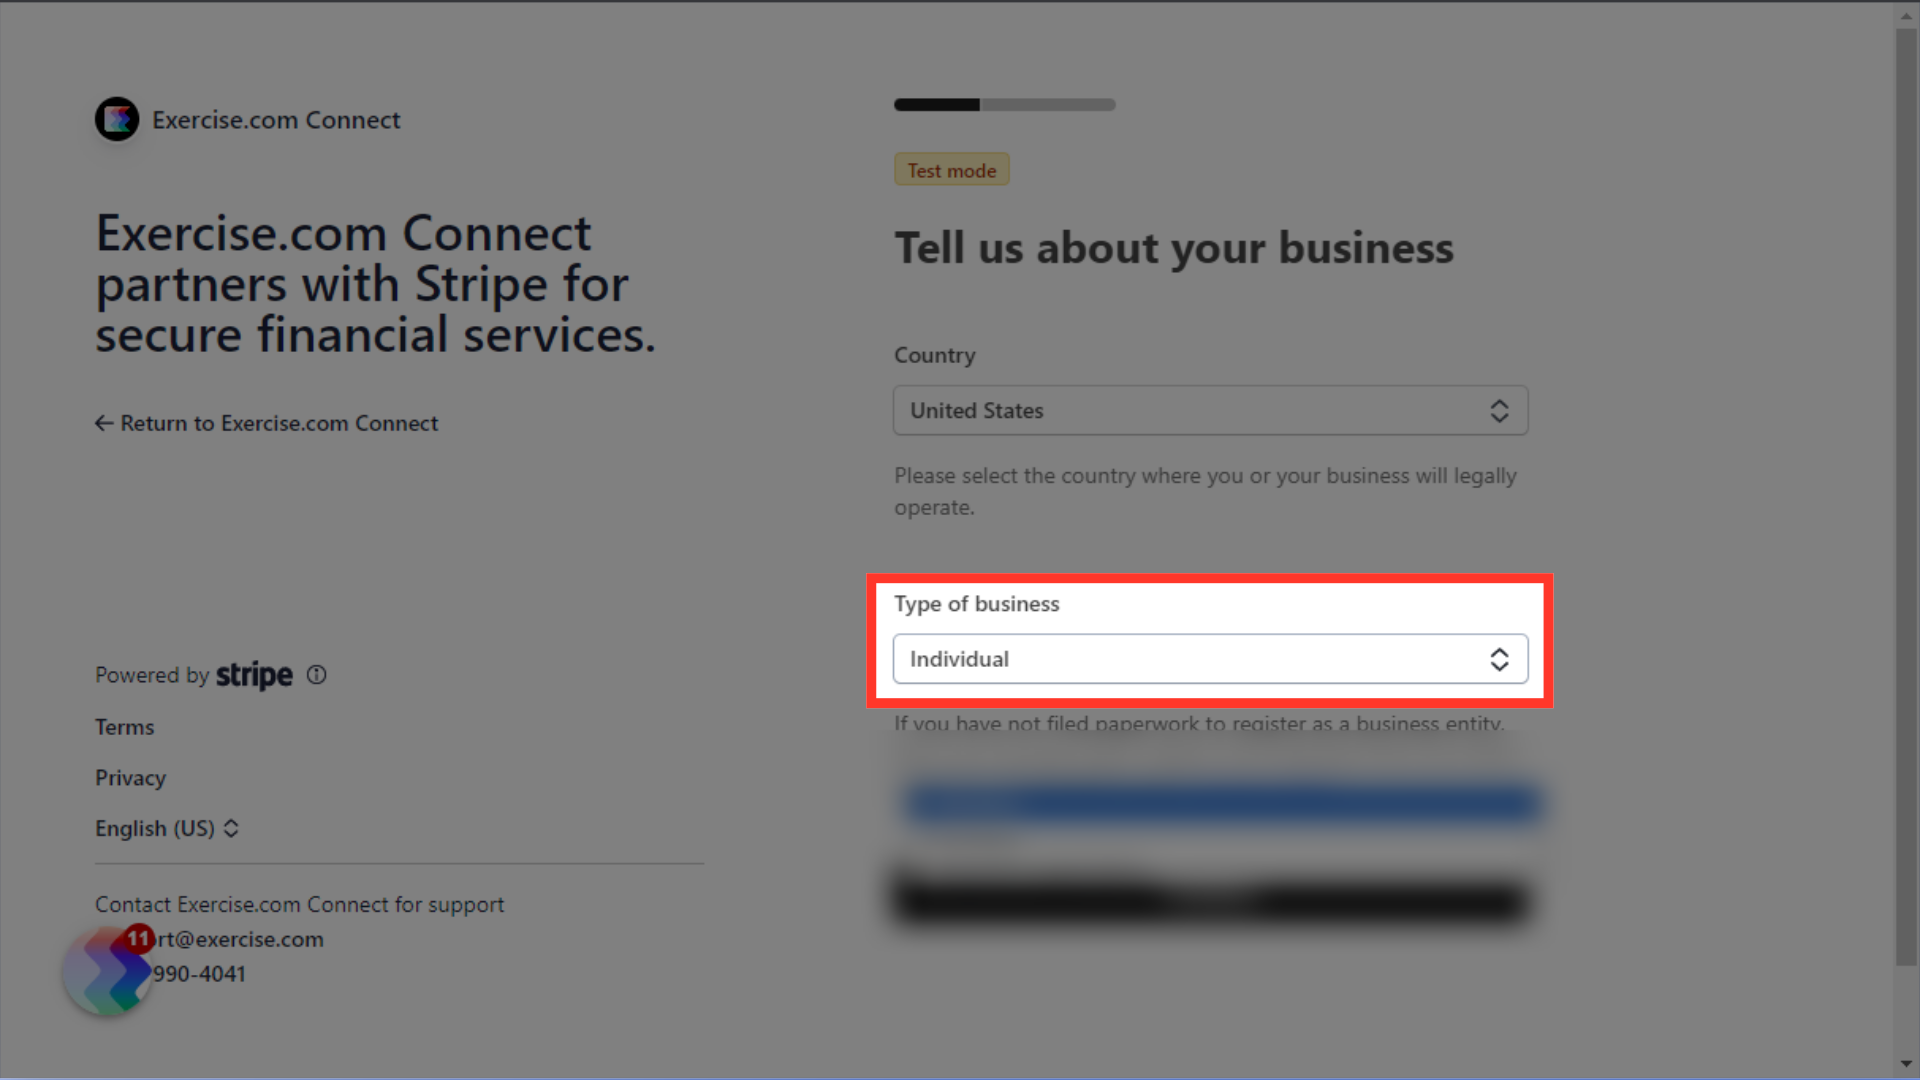
7. Do not set your “Type of business” to “Individual” unless you have no other legal entity for your business.
Do not set your “Type of business” to “Individual” unless you have no other legal entity for your business. Selecting the wrong type of business can cause delayed account verification and delayed payouts.
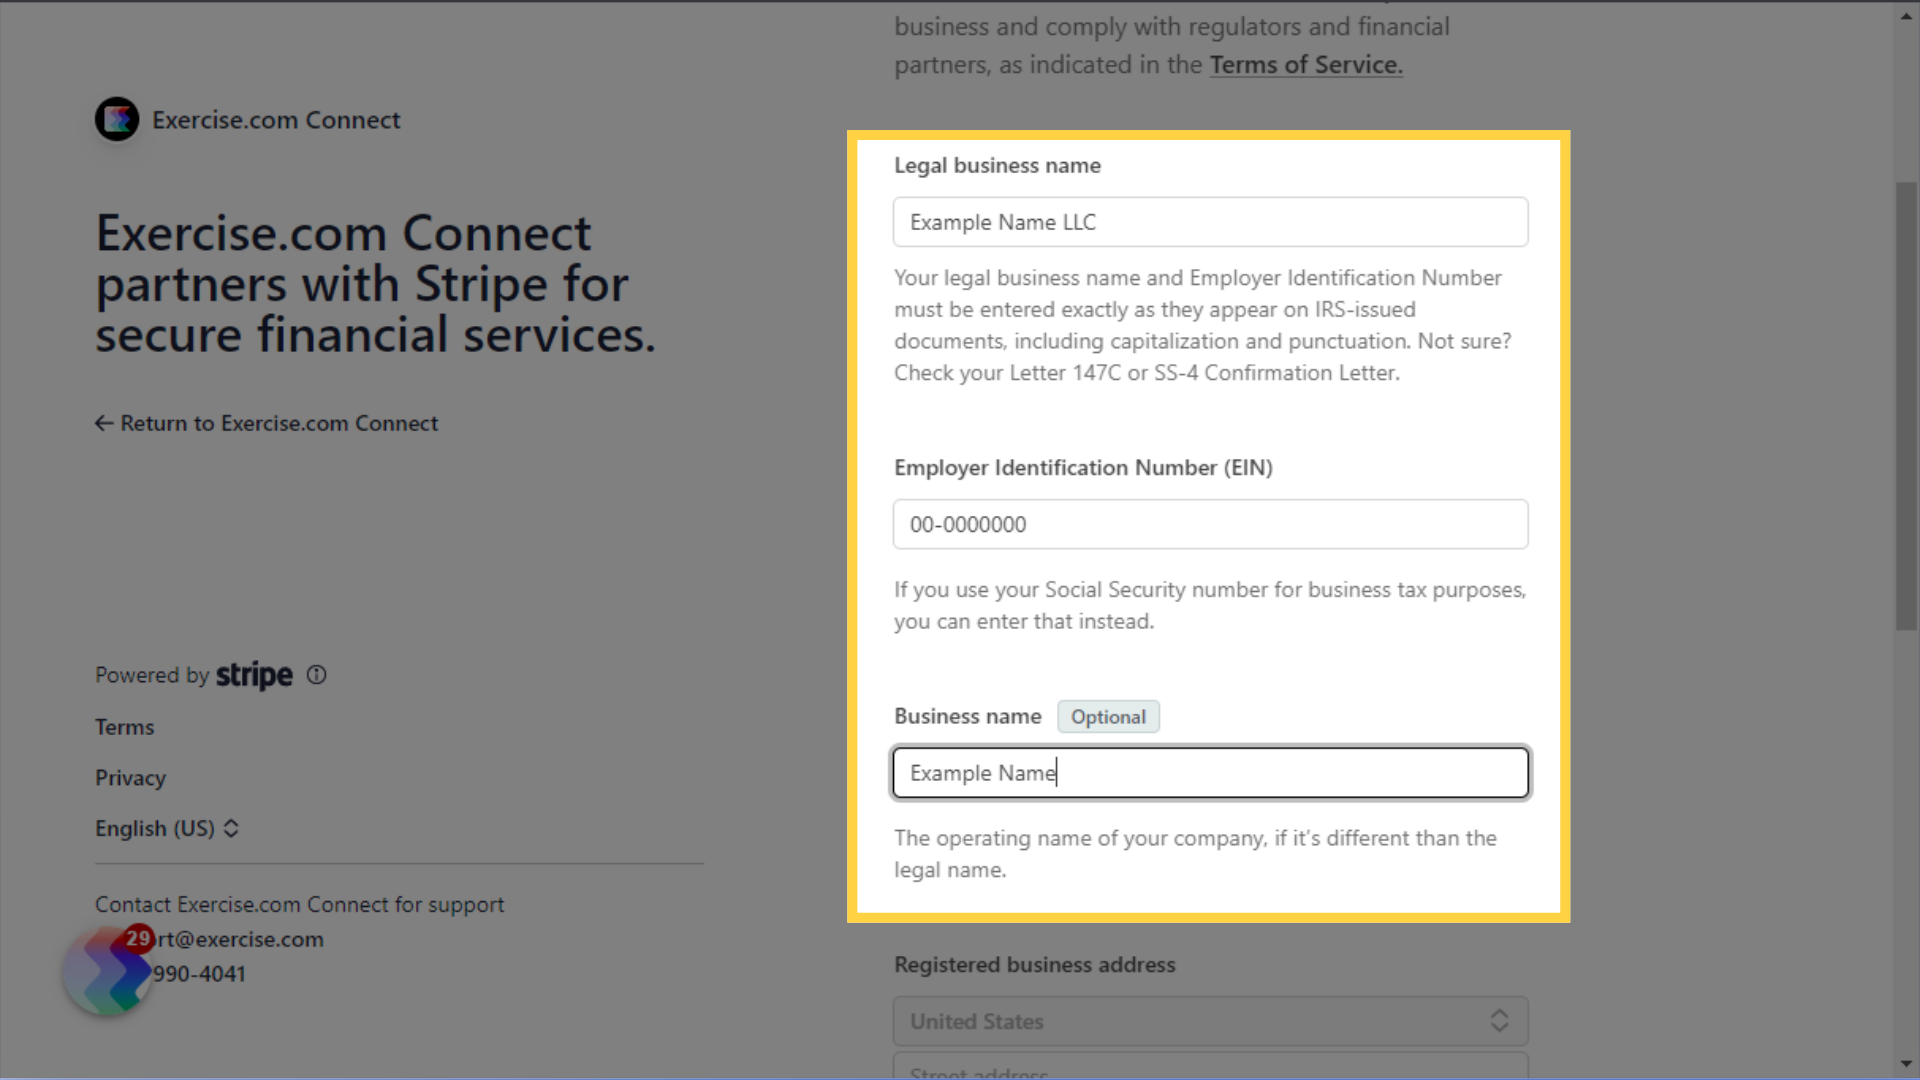
8. Enter your Legal business name, EIN, and operating business name.
Enter your Legal business name, EIN, and operating business name, if it’s different than your company’s legal name.
9. IMPORTANT: Make sure your legal business name or operating business name match the name on your bank account that you set up for payouts.
Please note that it is important to make sure your legal business name or operating business name match the name on your bank account that you set up to receive payouts. If there is a mismatch, it may result in payout delays.
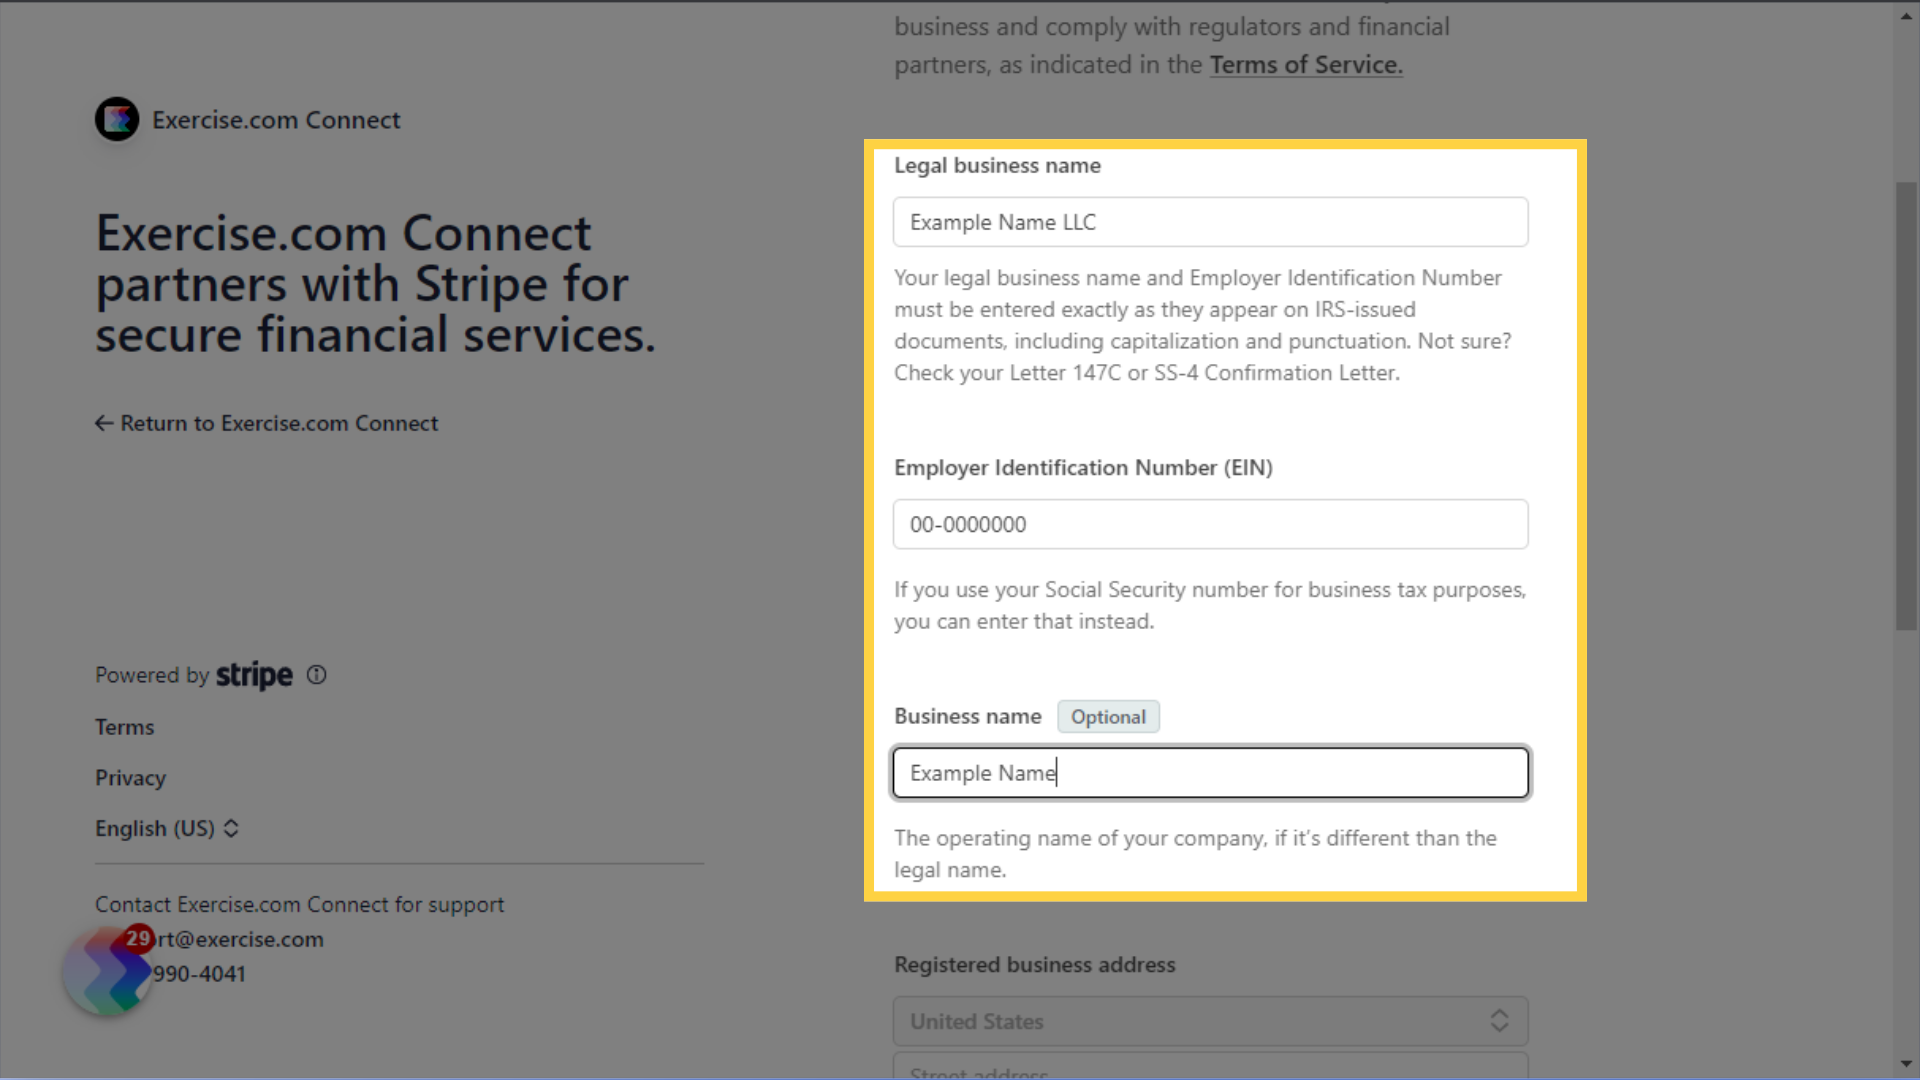
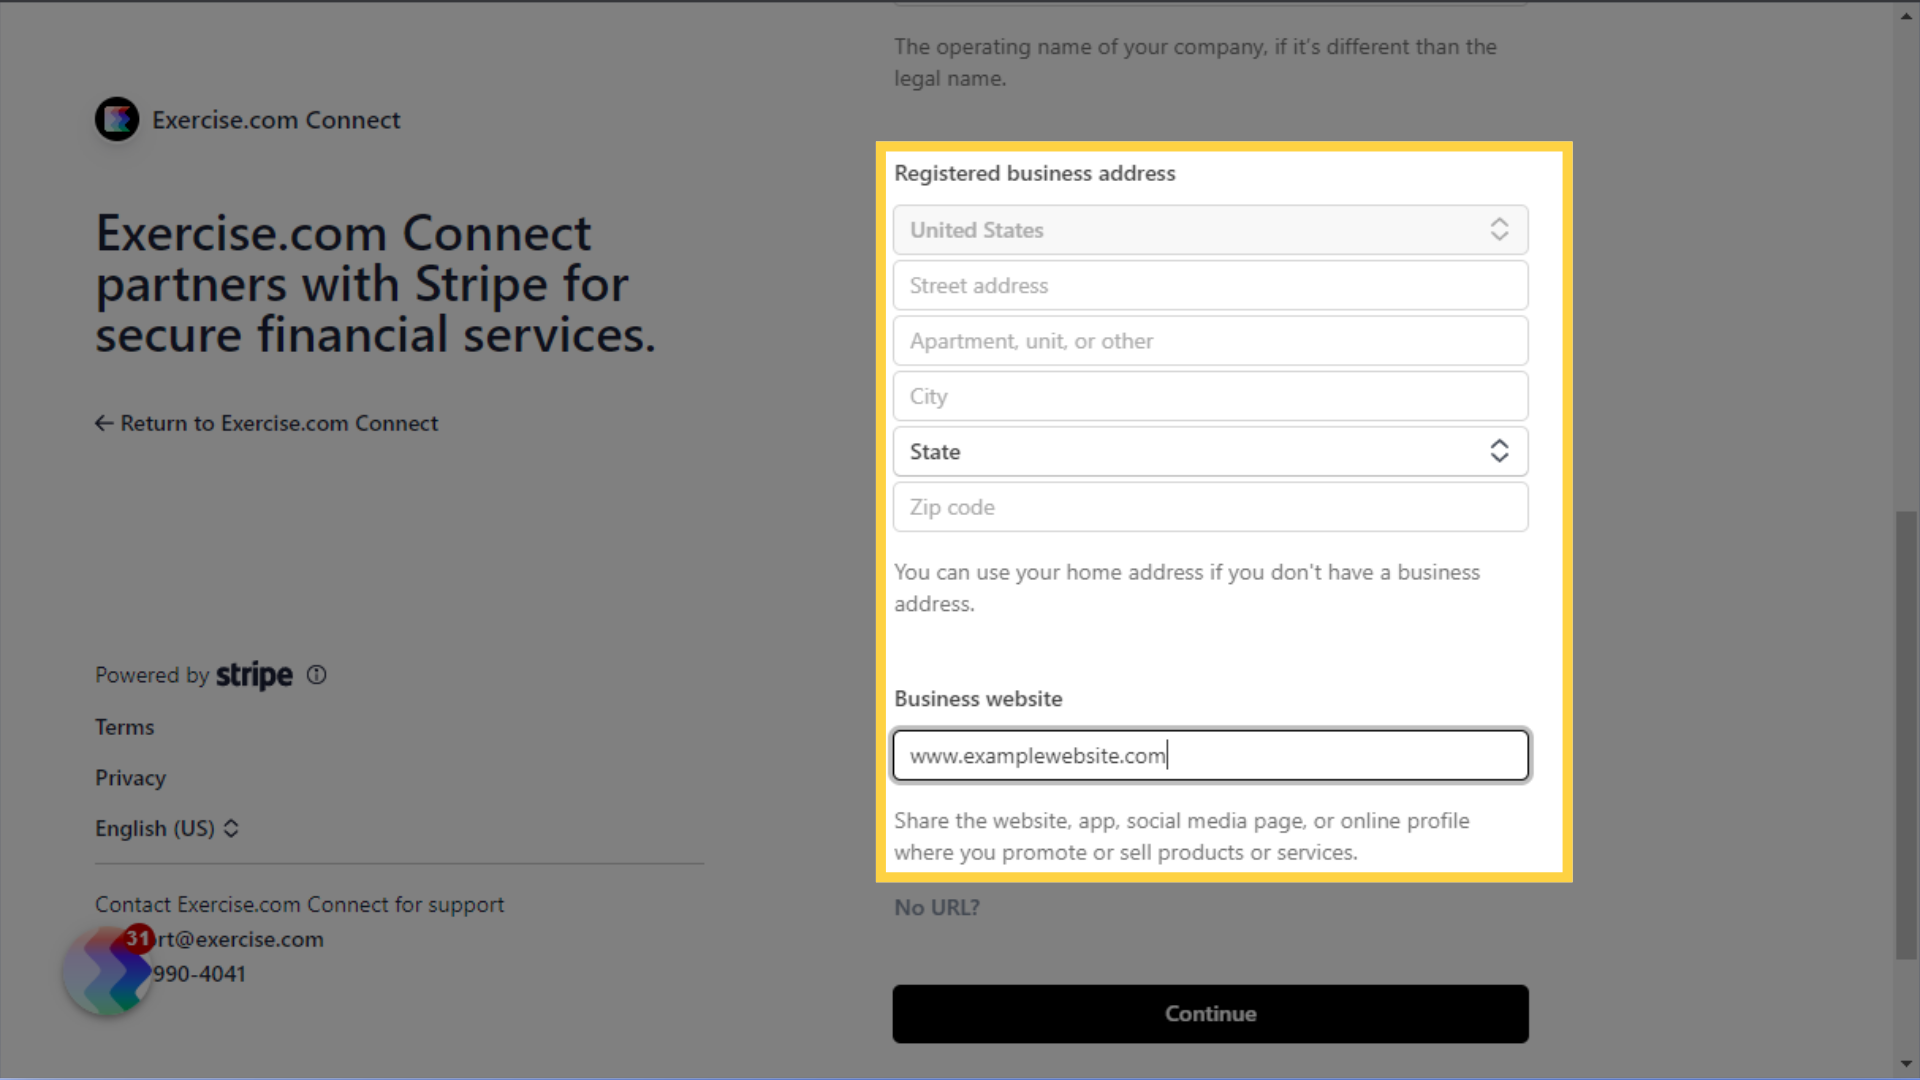
10. Enter your business address and website.
Enter your business address and website, and click the button to continue.
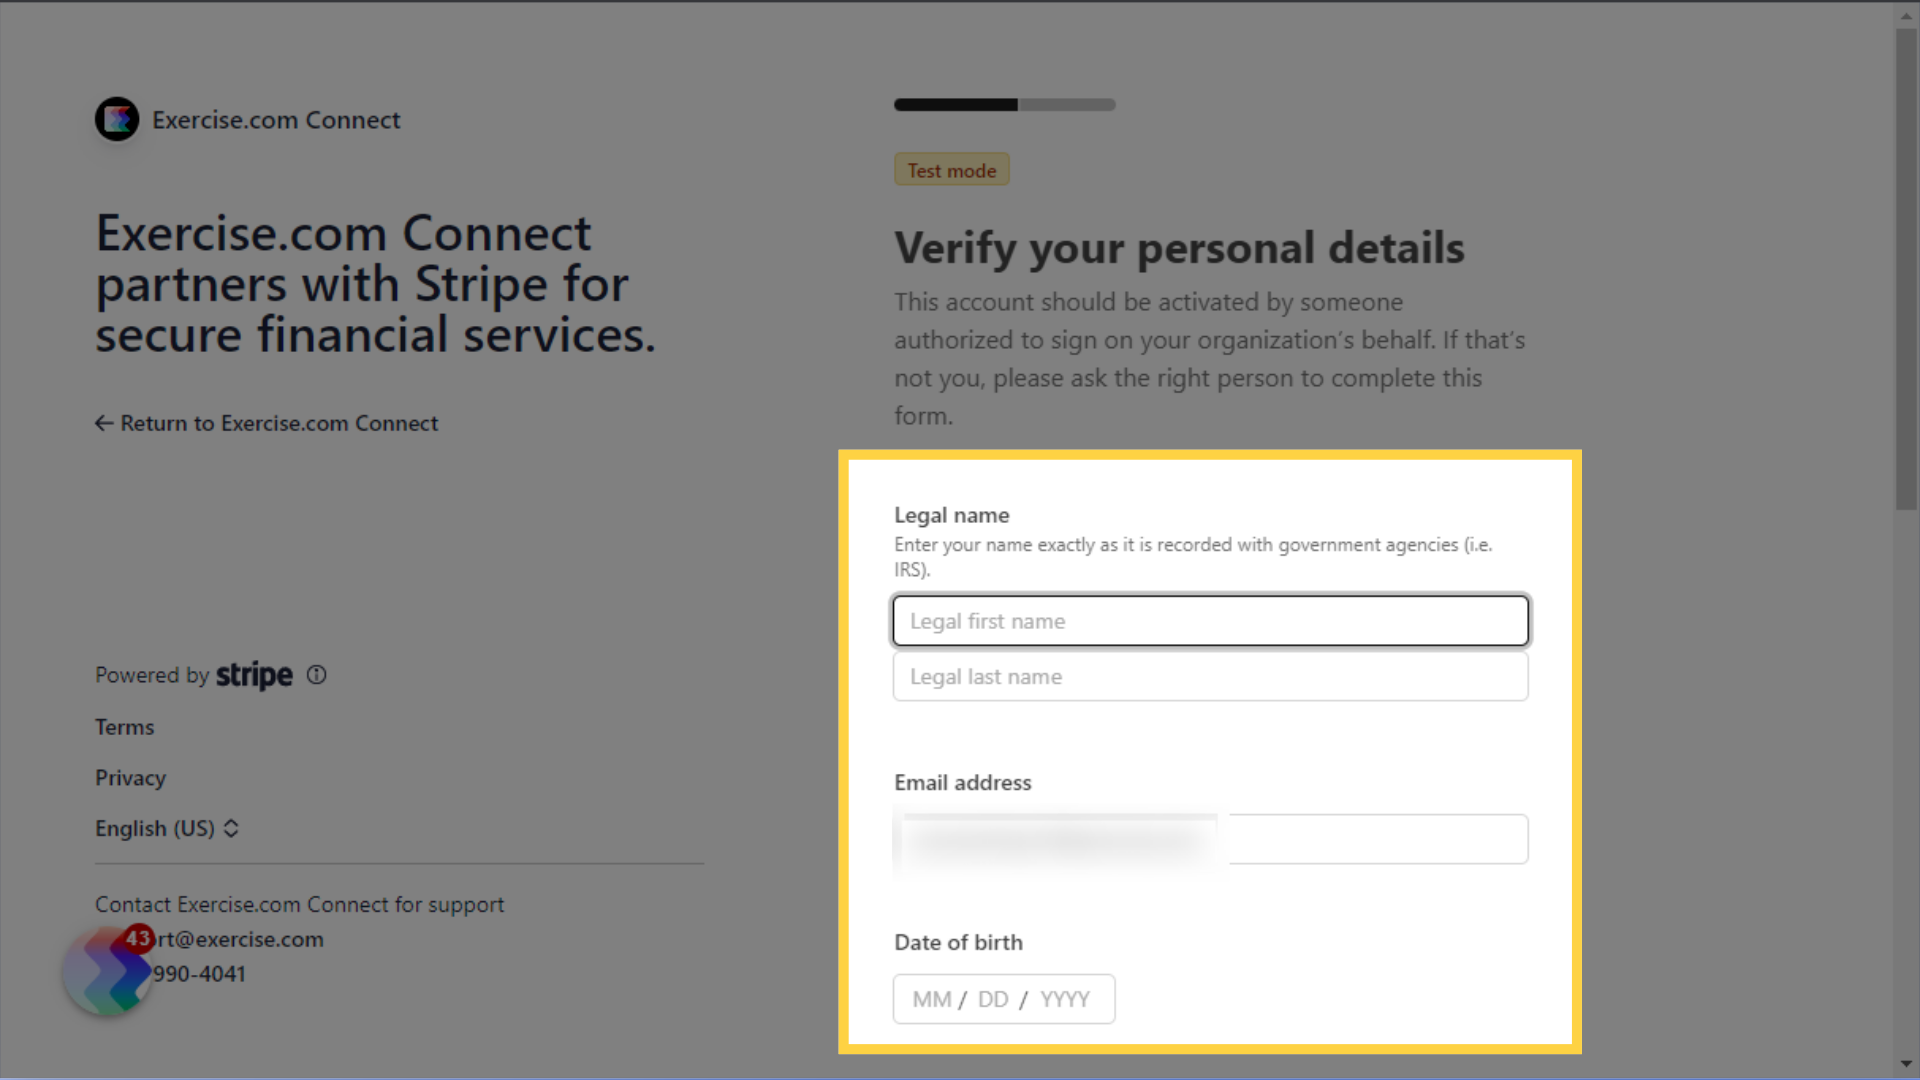
11. Add your personal information as a contact for your organization.
Add your personal information as a contact for your organization, including name, email address, birthday, home address, phone number, and SSN or ID number. Then click the button to continue.
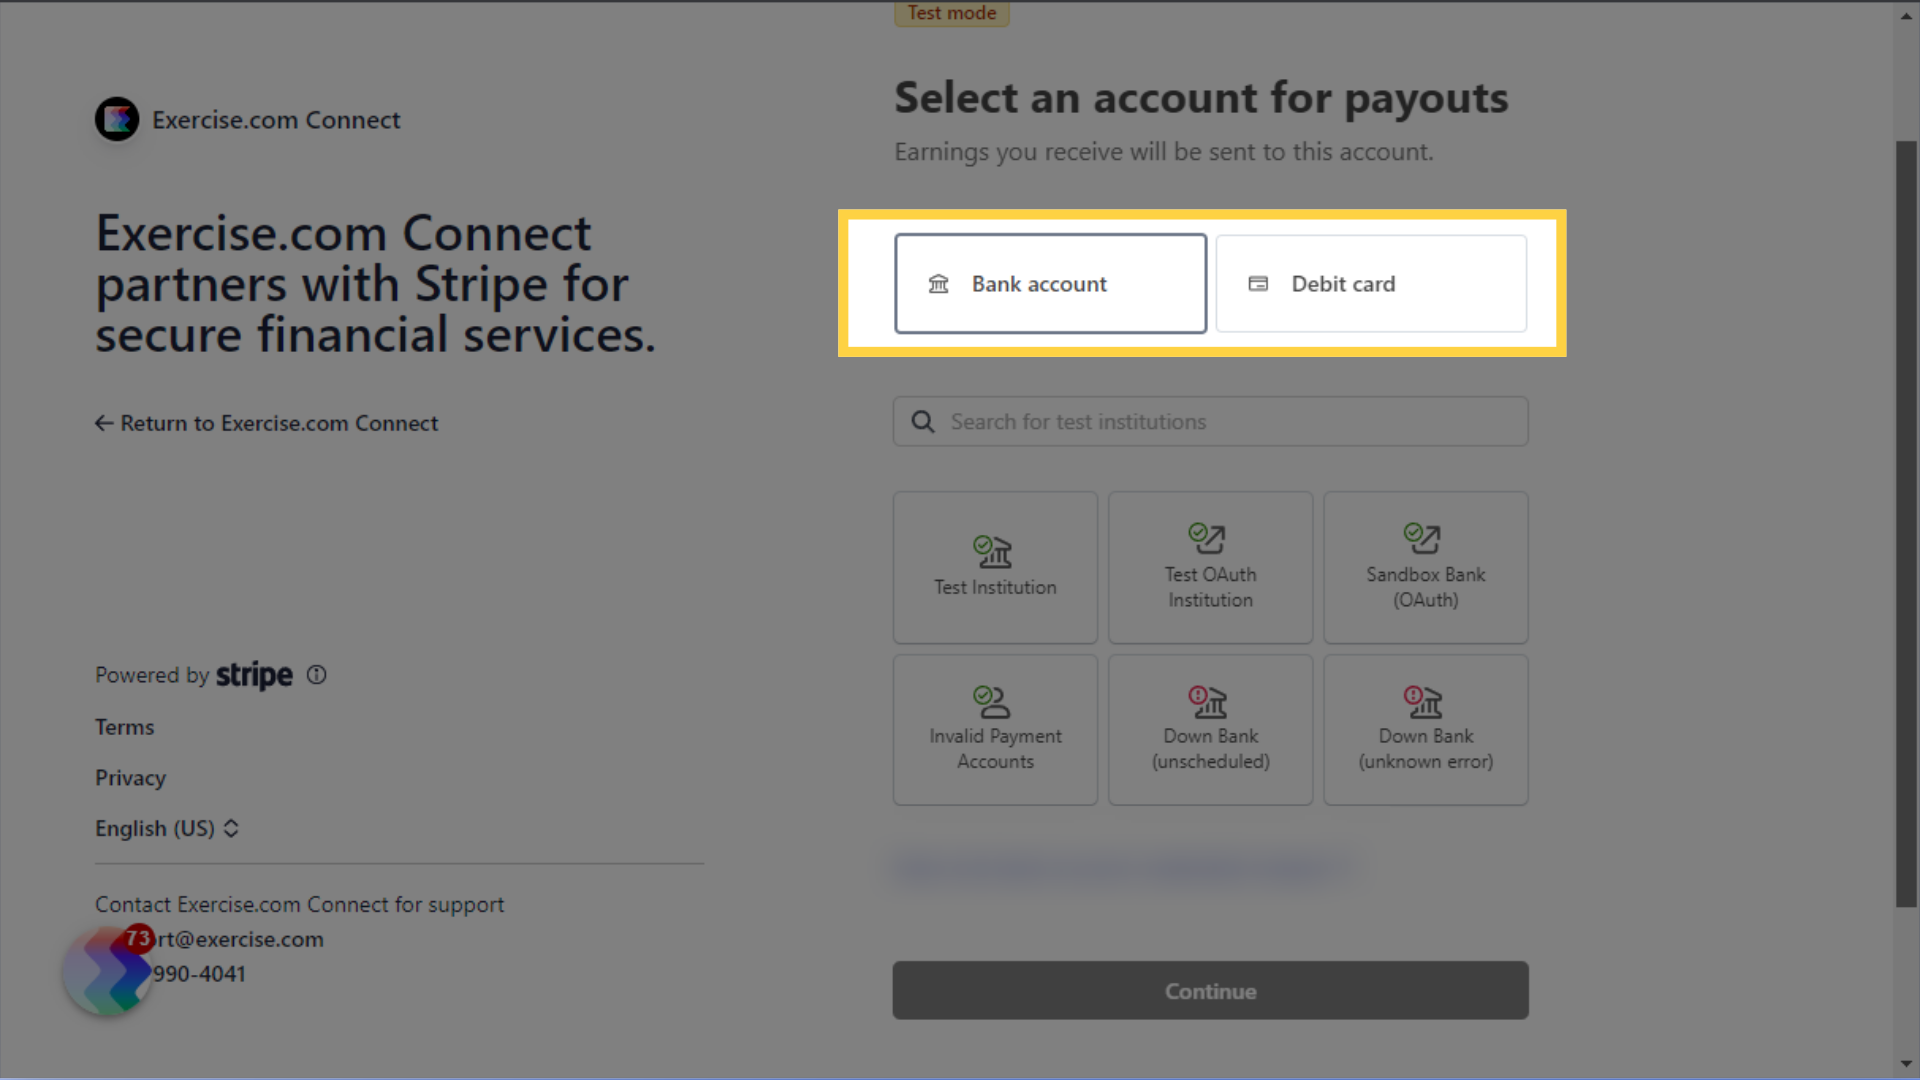
12. Connect the account where you want to receive payouts.
Set up the account where you want to receive payouts. Payouts can be sent to a bank account or debit card.
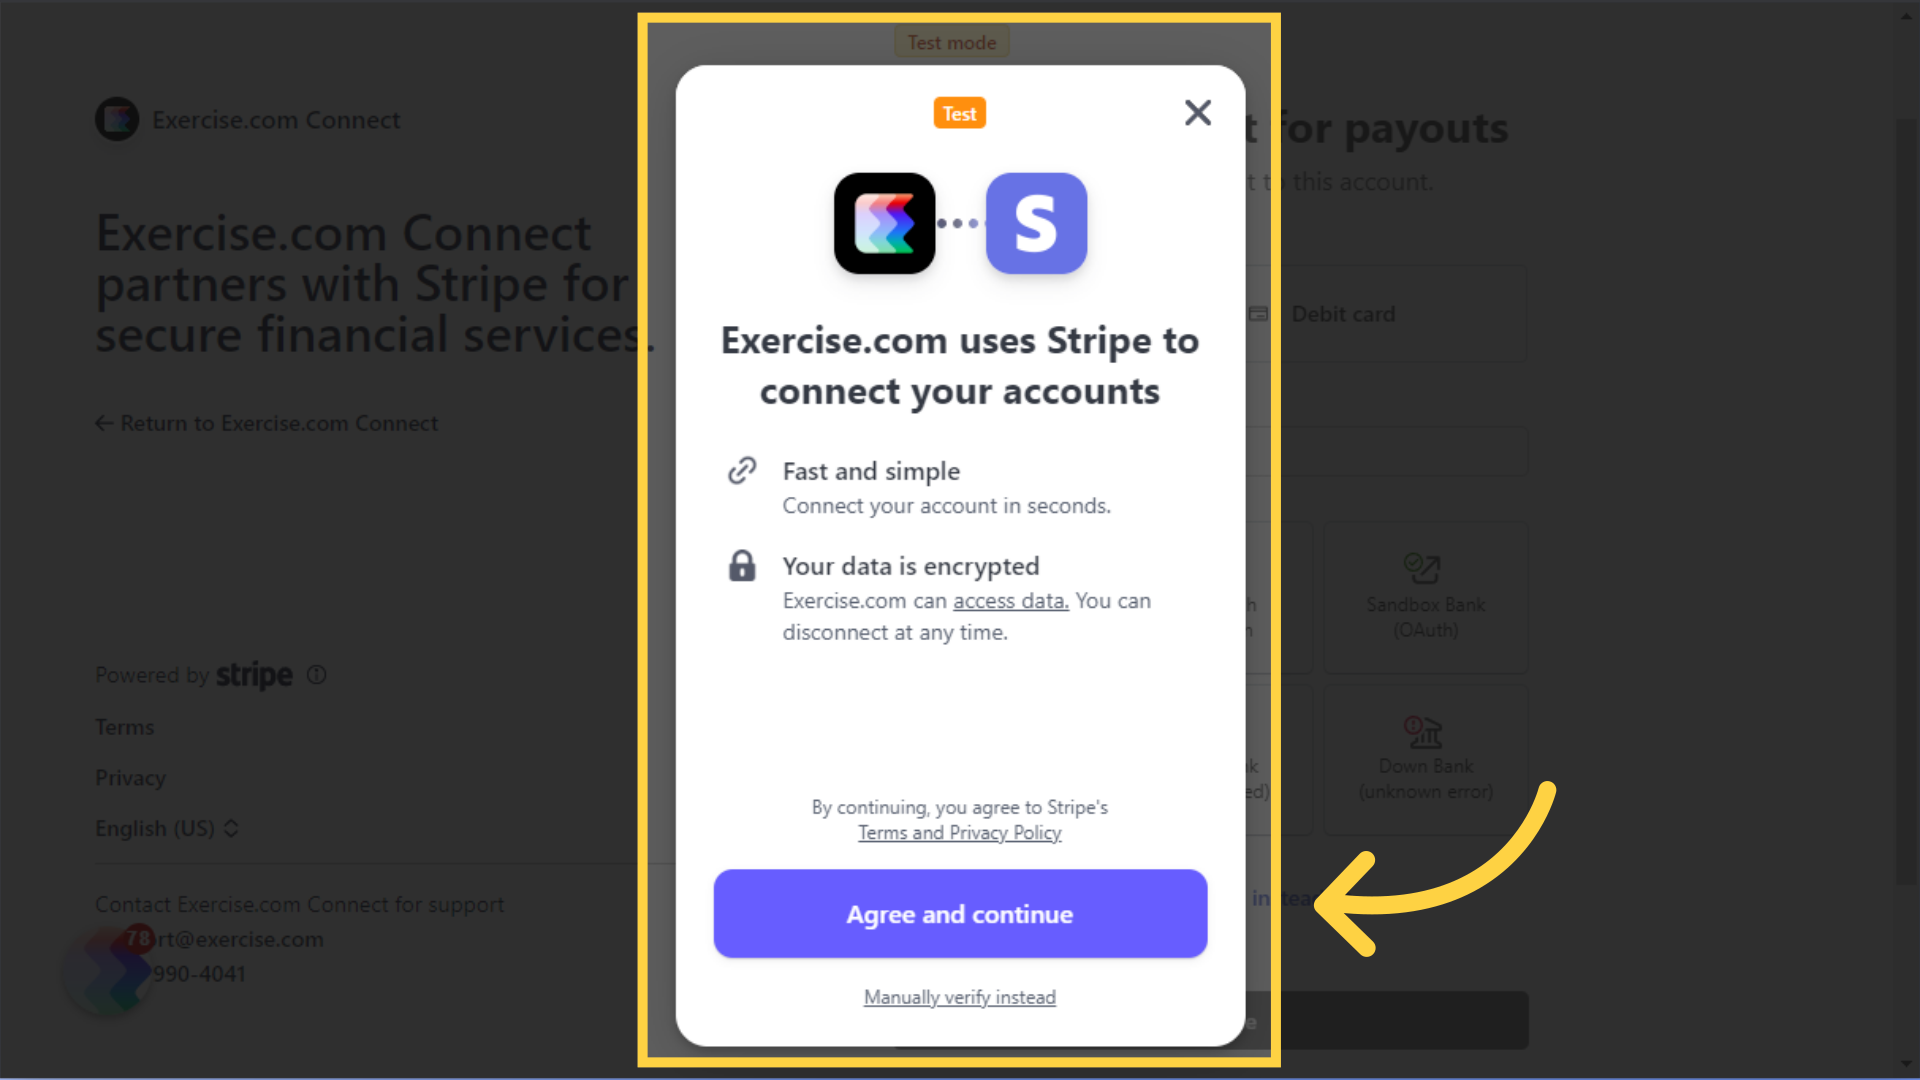
13. Click “Agree and continue” to use the instant account sign in method.
For bank accounts, click agree and continue to use the account sign in method and connect to your bank account instantly and securely.
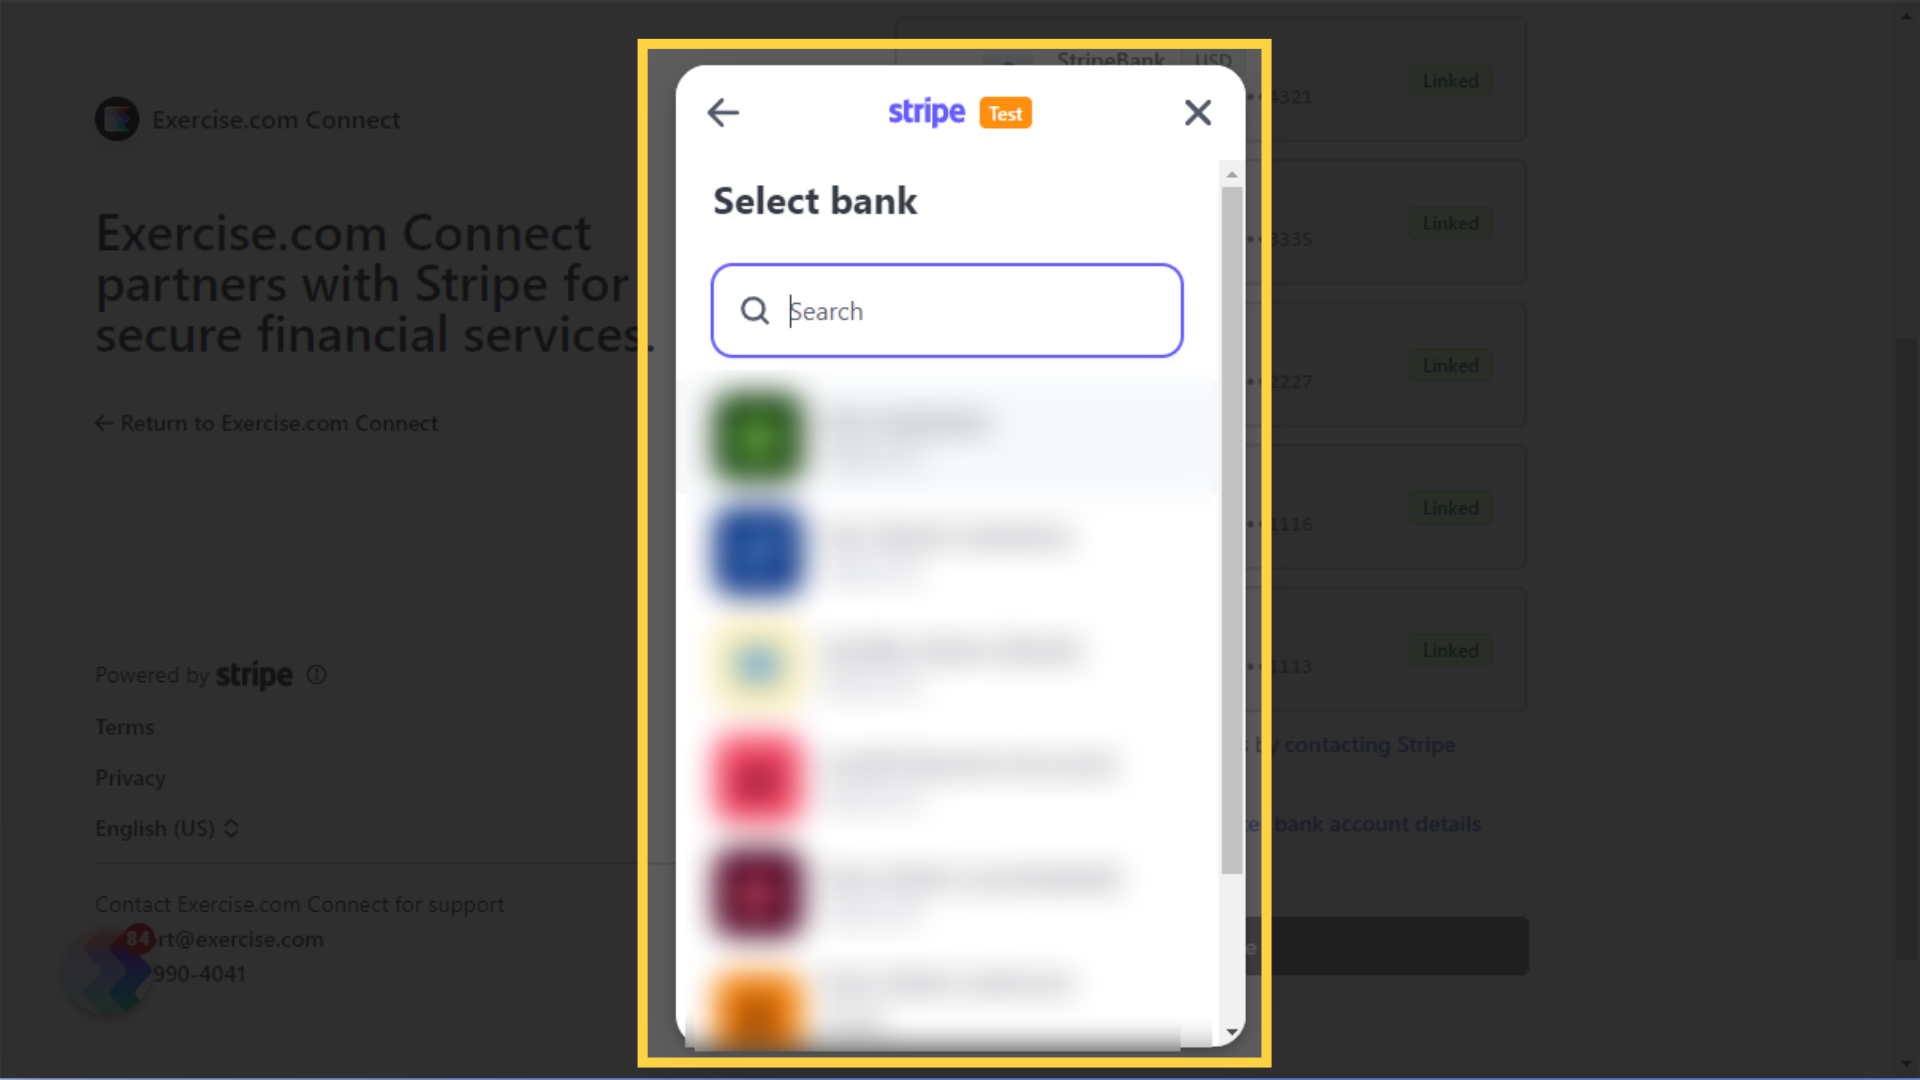
14. Use the bank finder to select your bank and sign in securely.
Use the bank finder to select your bank and sign in securely.
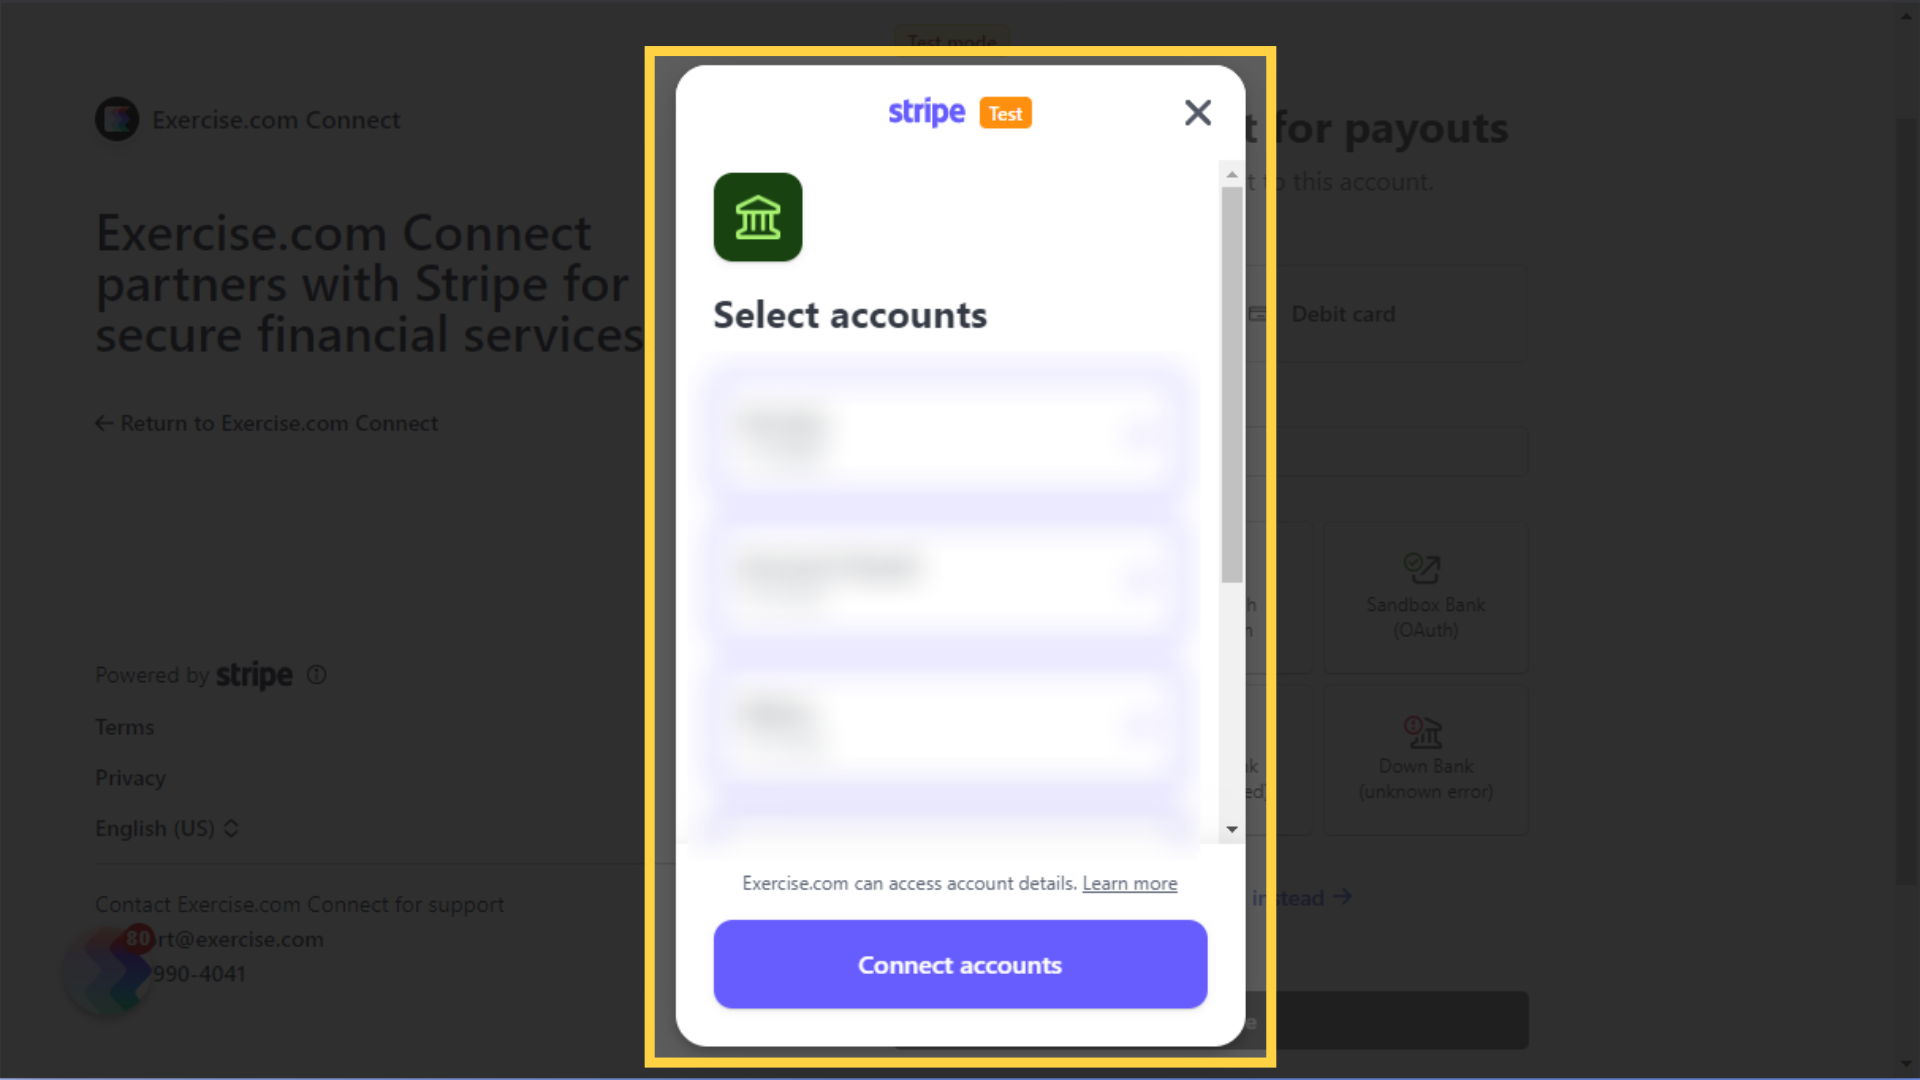
15. Select the account where you want to receive payouts.
Once you sign in to your bank account, click the account where you want to receive payouts.
16. IMPORTANT: Make sure the name on your bank account that you set up to receive payouts matches the name of your business. If there is a mismatch, it may result in payout delays.
Please note that it’s important to make sure that the name on your bank account that you set up to receive payouts matches the name of your business. If there is a mismatch, such as a person’s name as the owner of the bank account instead of a business name, it may result in payout delays.
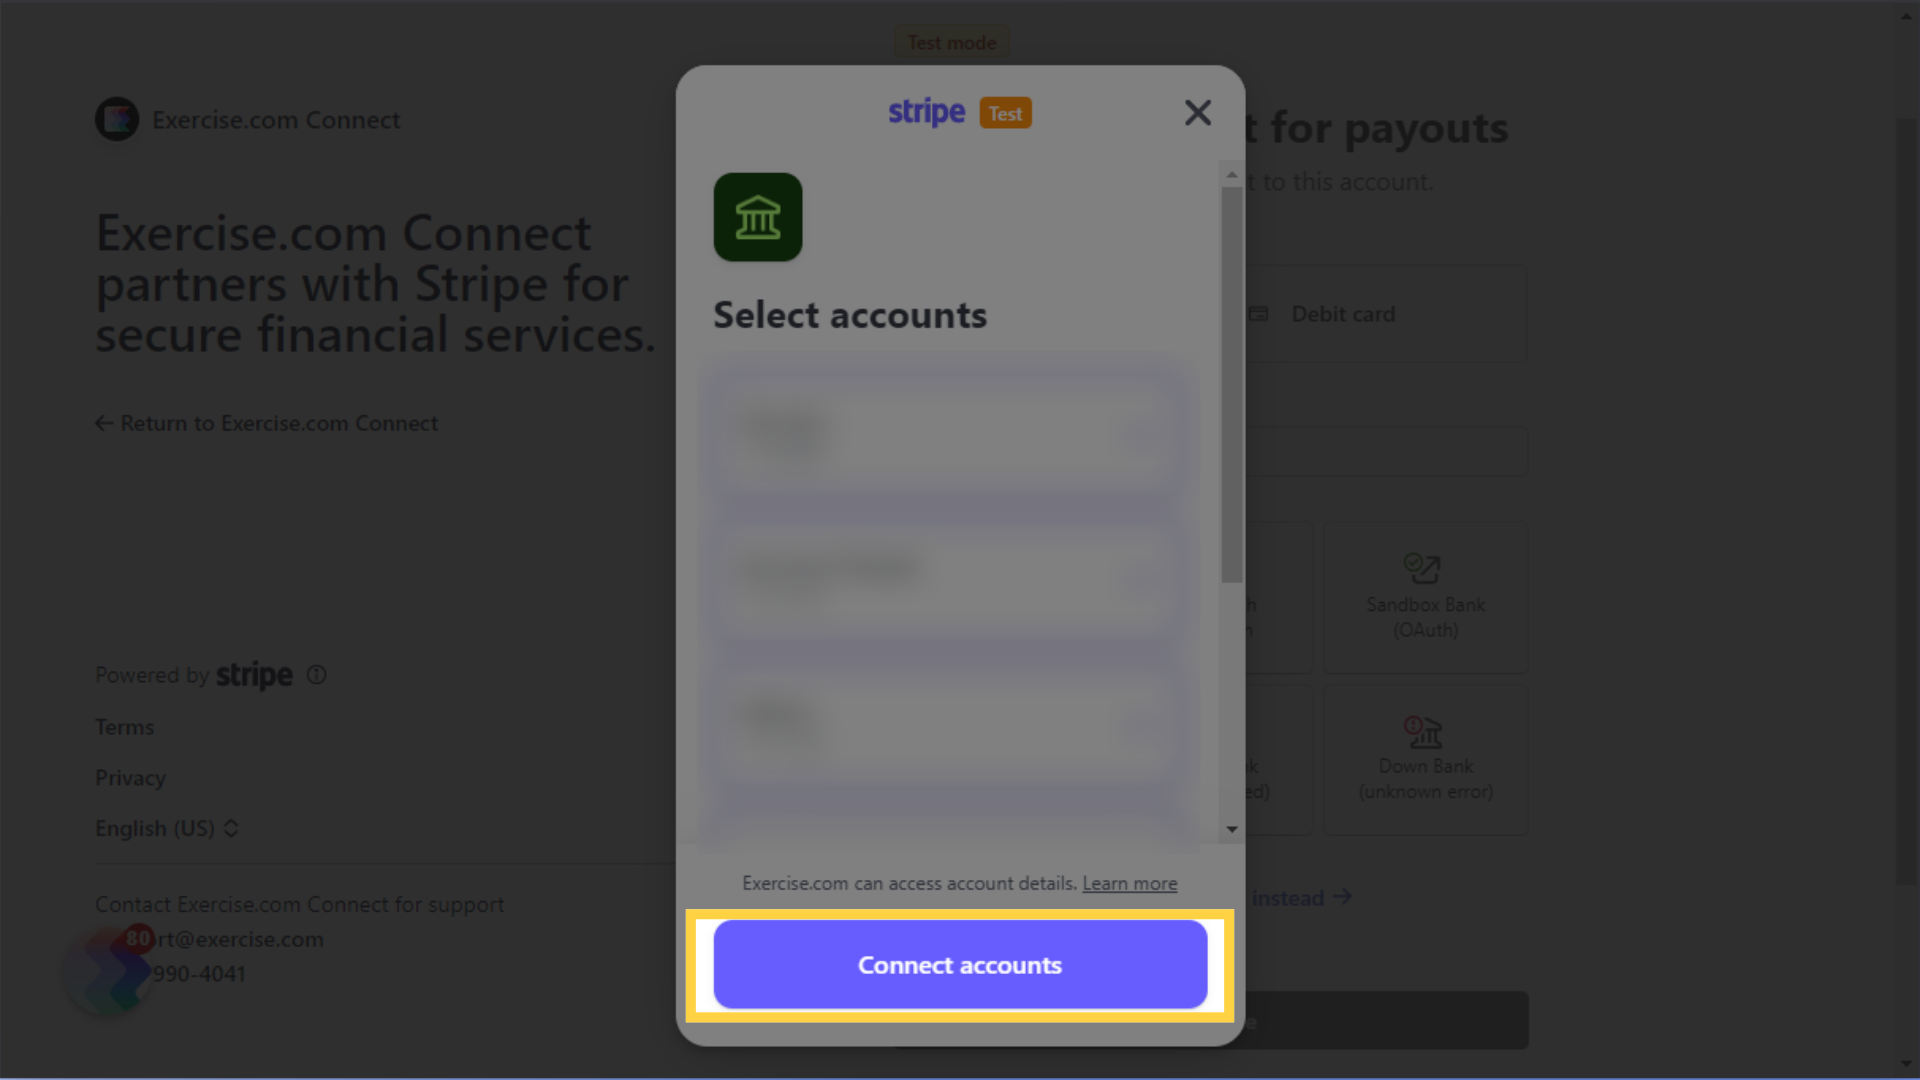
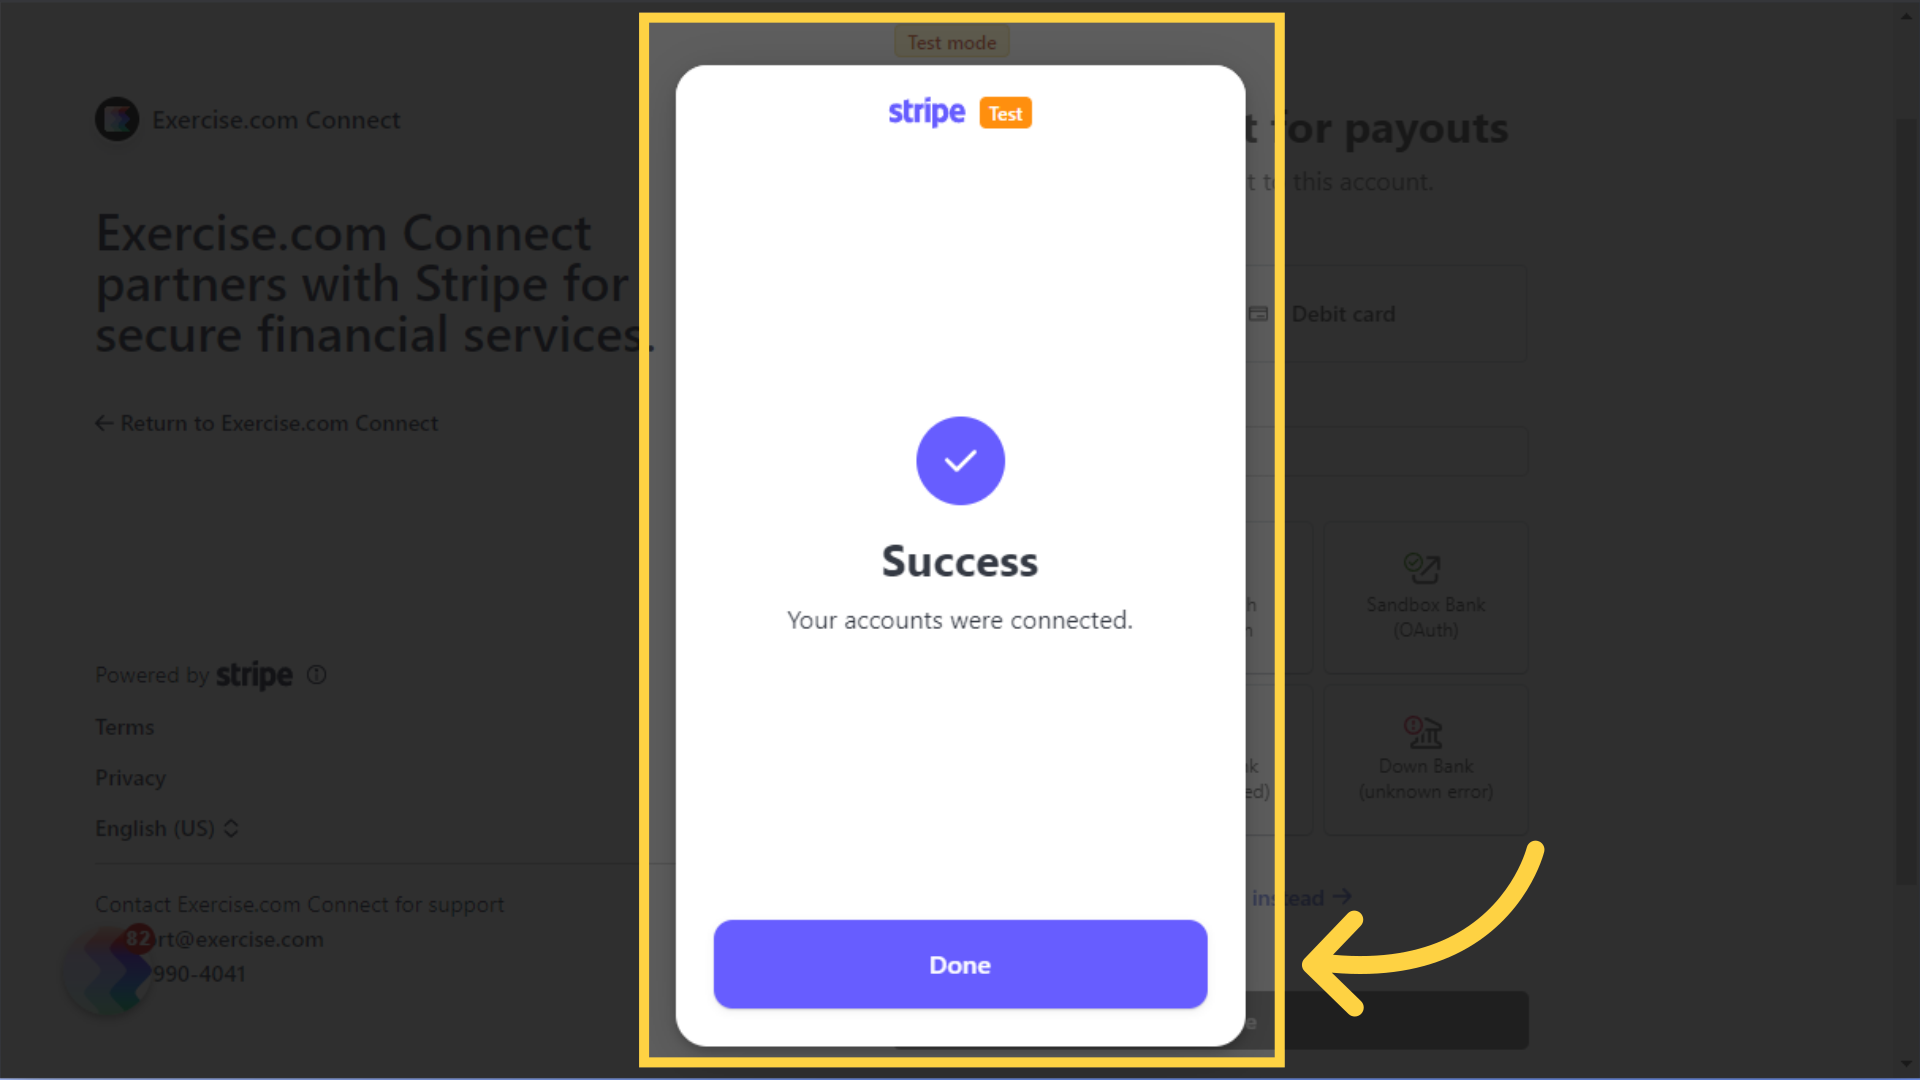
17. Click “Done” once connected.
Click the Done button to confirm and move forward.
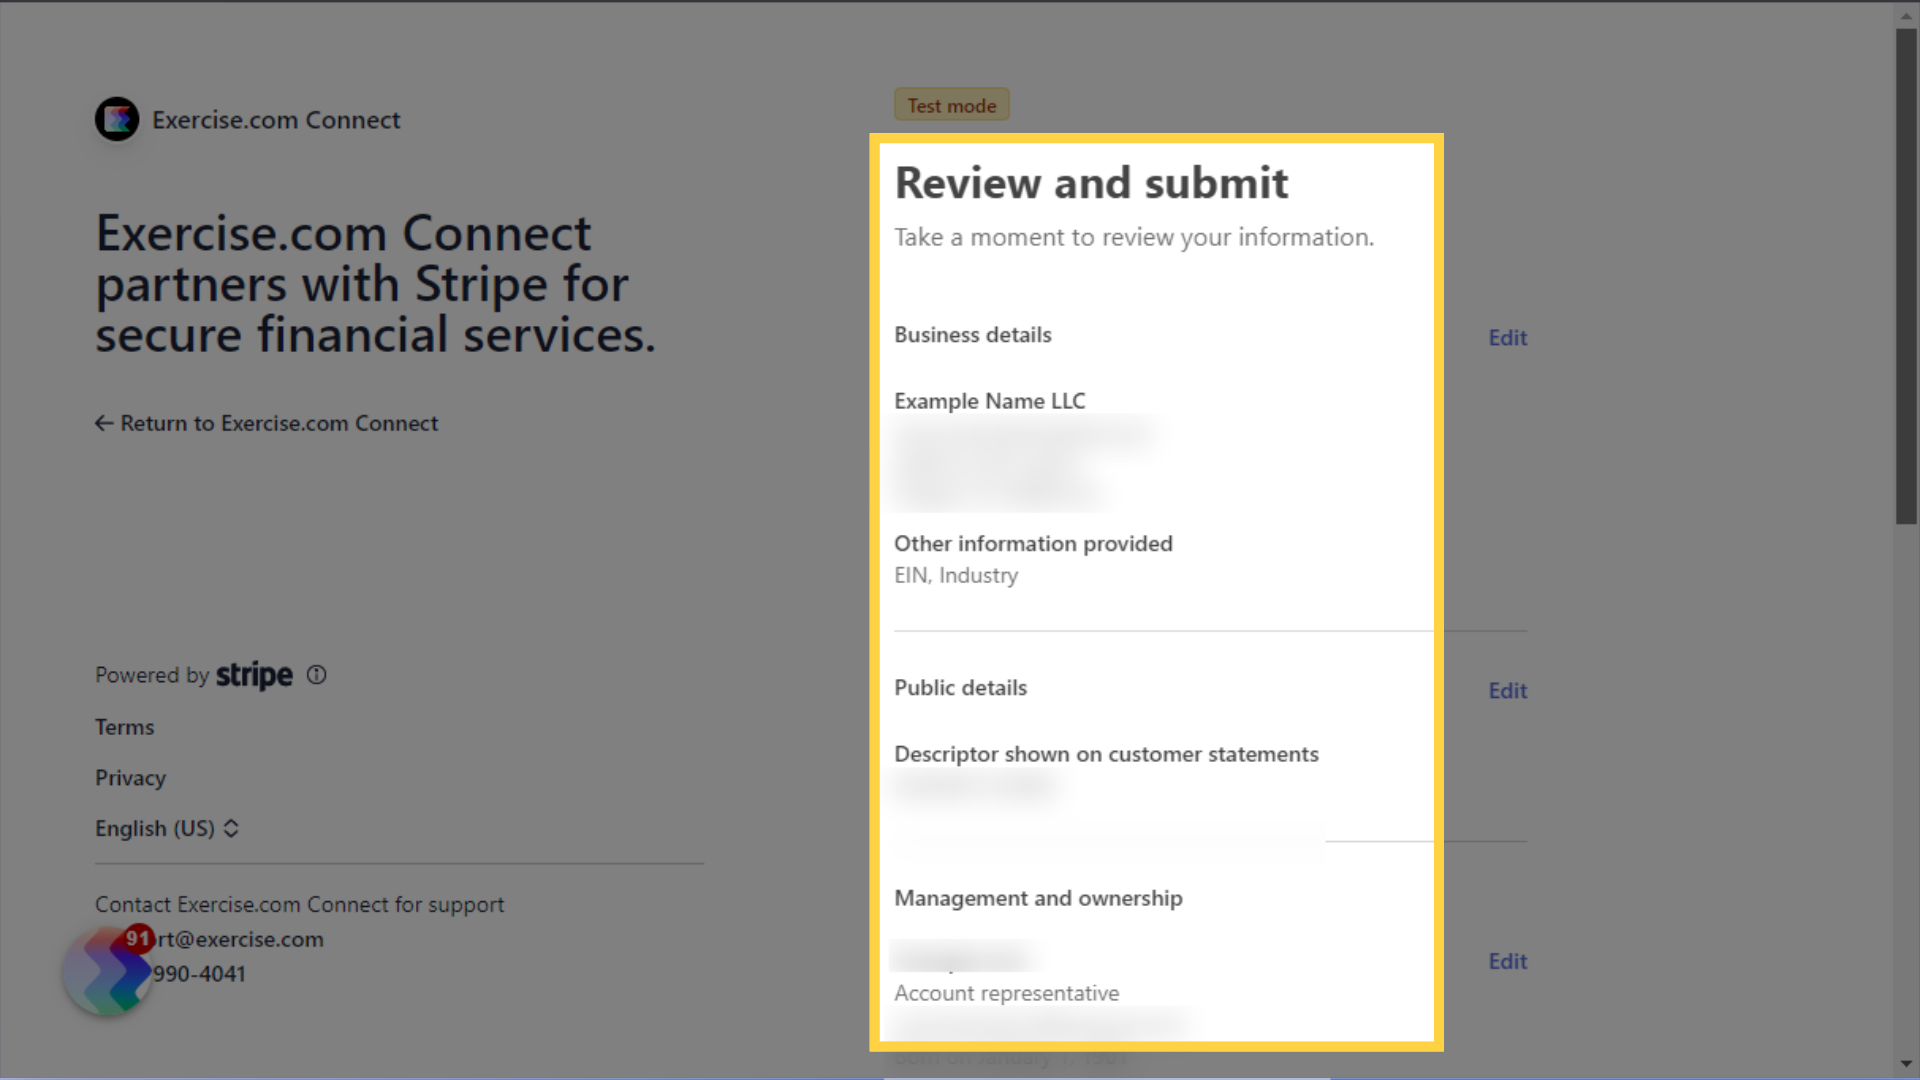
18. Review your account details and submit them to complete your account setup.
Review your account details and submit them to complete your account setup.
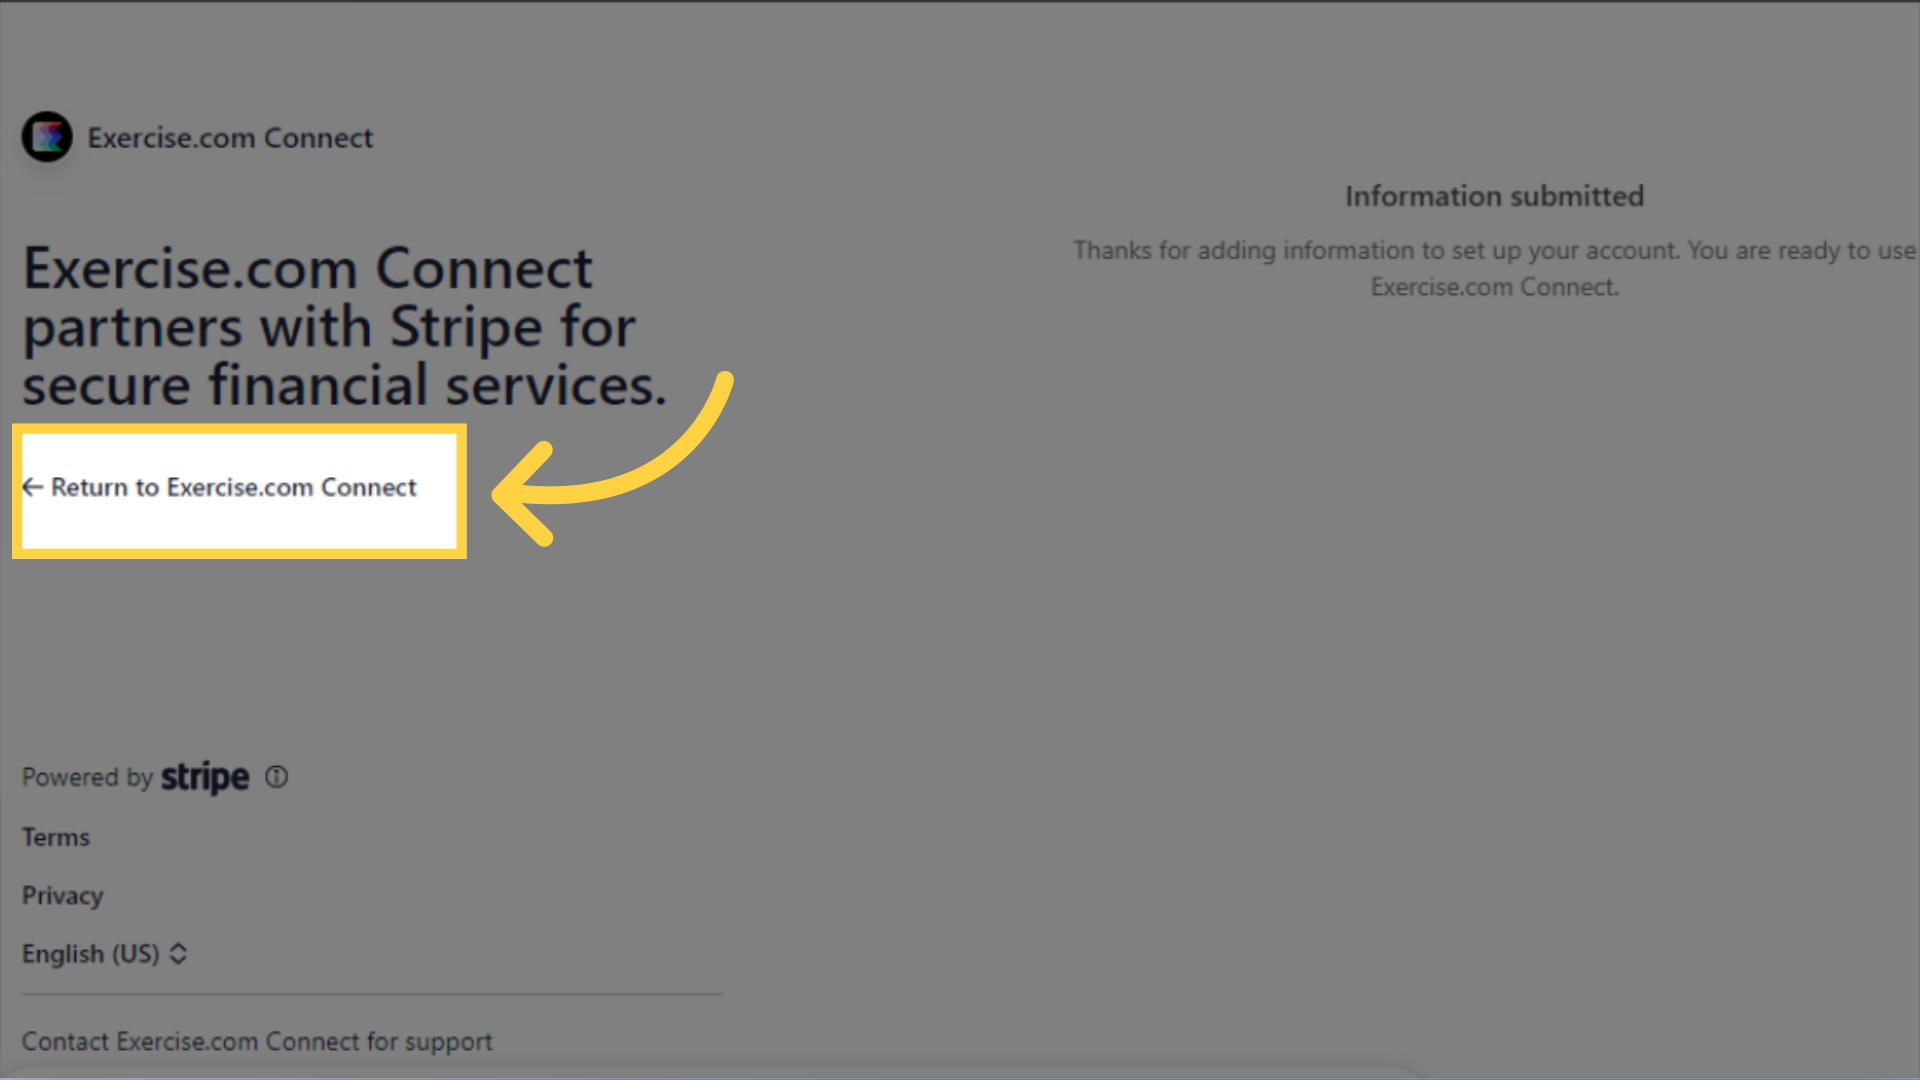
19. Click Return to Exercise.com Connect.
Click Return to Exercise.com Connect.
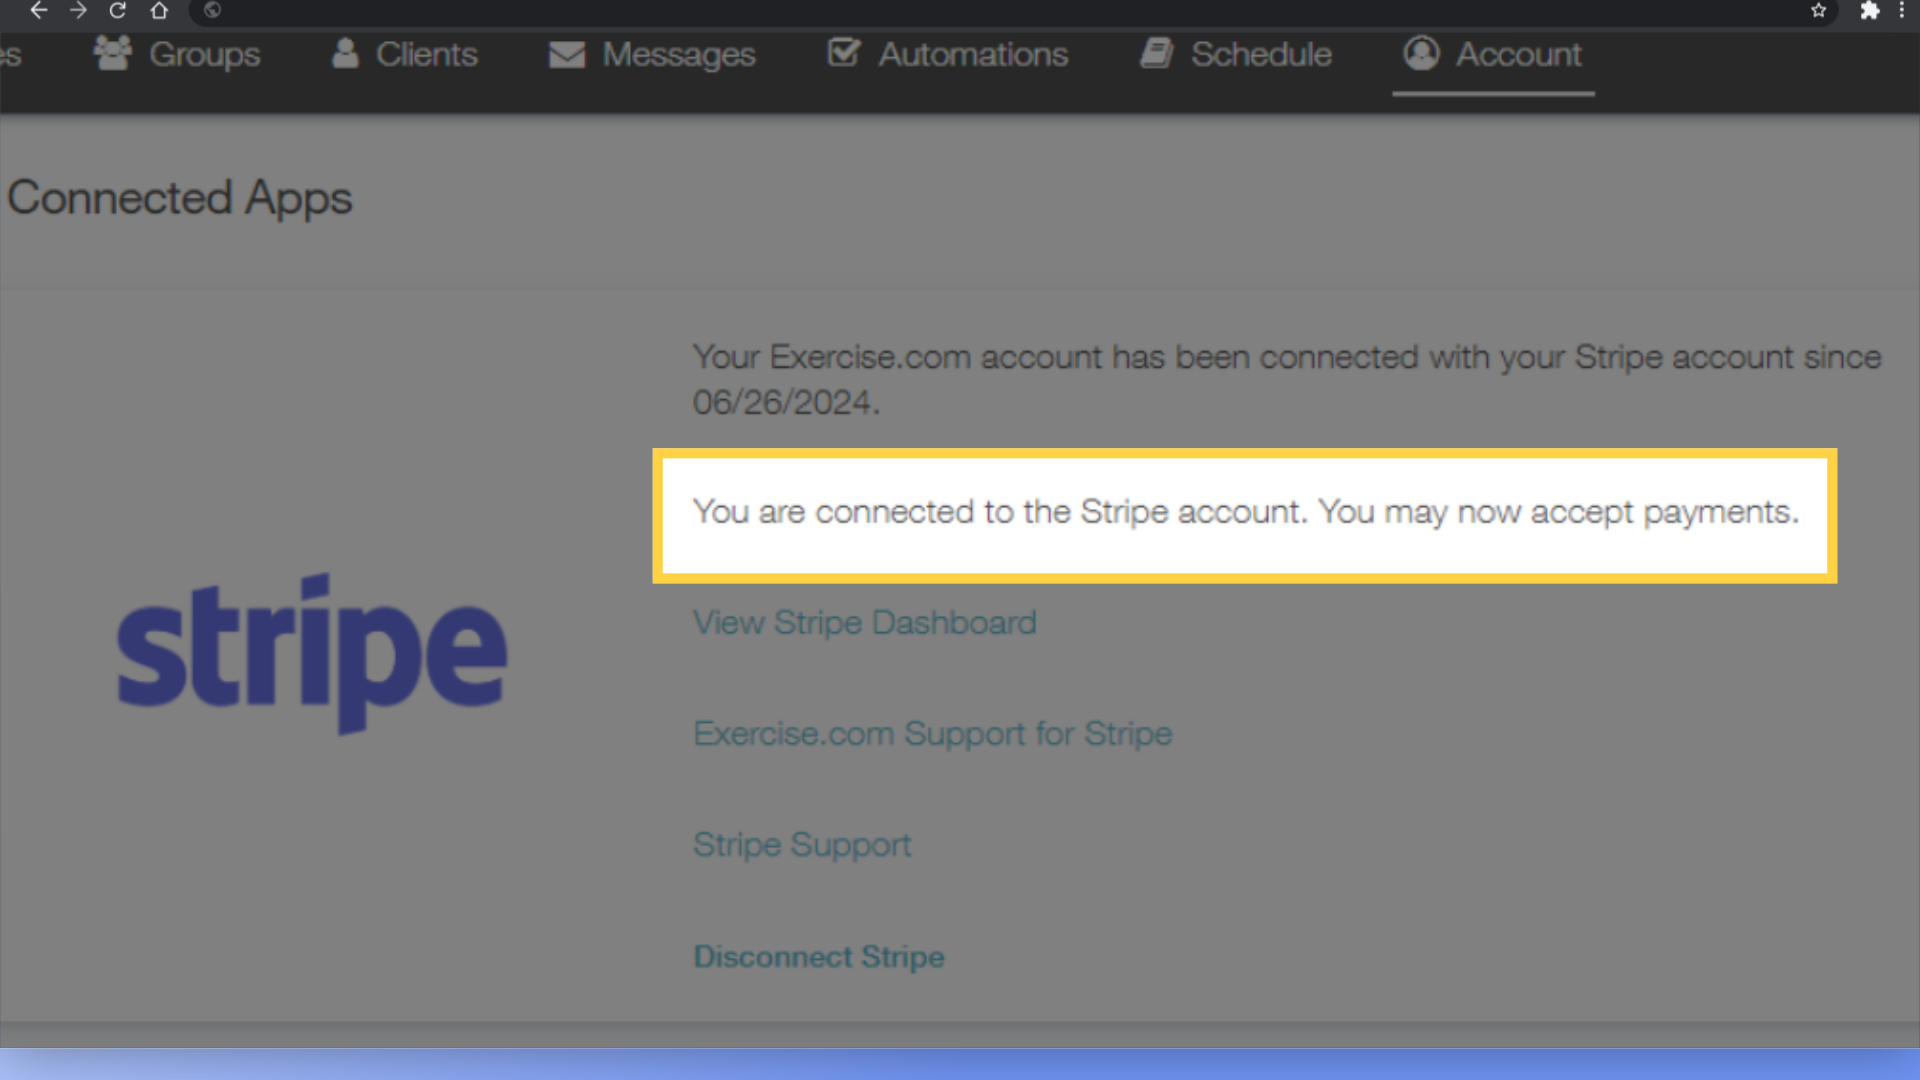
20. Refresh your Connected Apps page and confirm that Stripe is now connected.
Refresh your Connected Apps page if needed, and you should see that Stripe is now connected.
This guide covered the step-by-step process of setting up a new Stripe Express account for seamless integration with your custom branded platform. Since you’ve entered the correct legal business information and confirmed the owner of your bank account, you are set up to prevent any account verification issues or payout delays.


