How to Create, Edit and Delete Assets
This guide provides instructions on how to create, update, and delete assets.
1. Asset Management
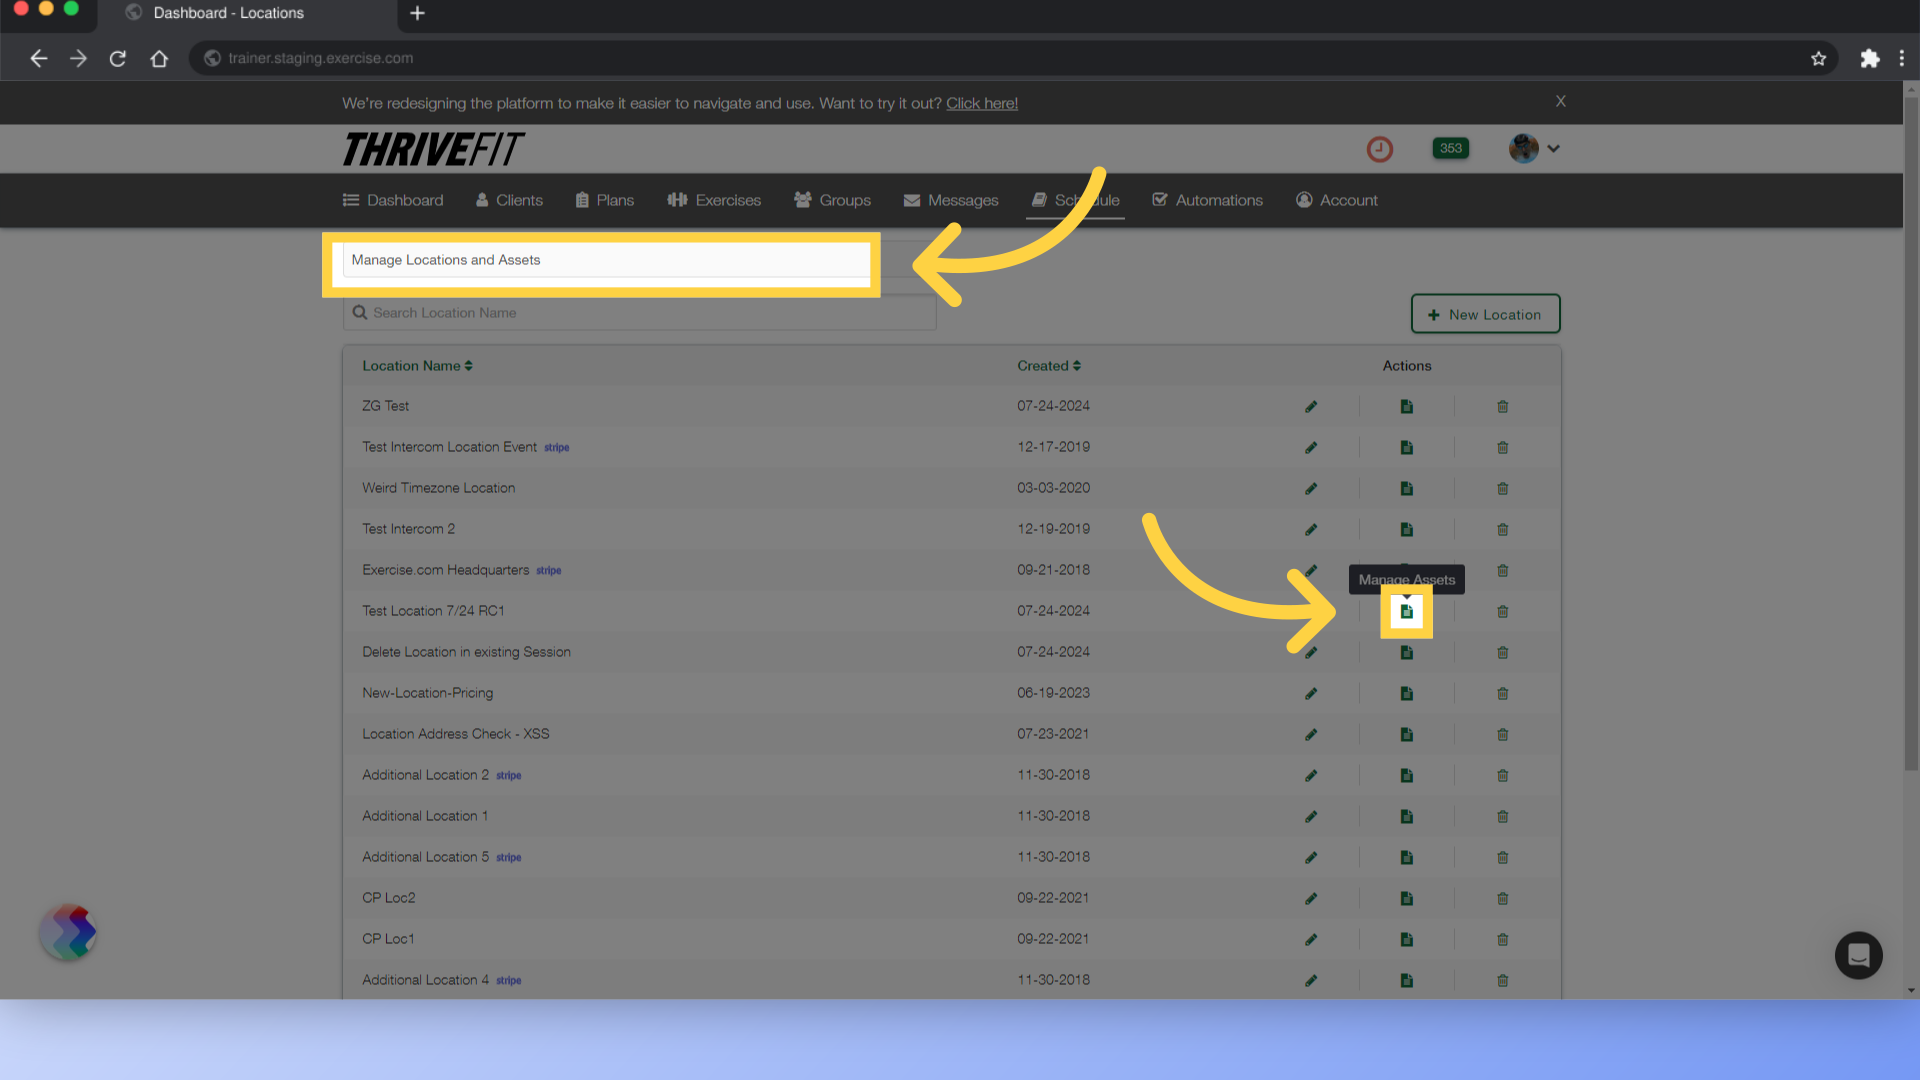
On the “Schedule” tab, select “Manage Locations and Assets” from the drop down and then click on the manage assets icon for a location.
2. New Asset
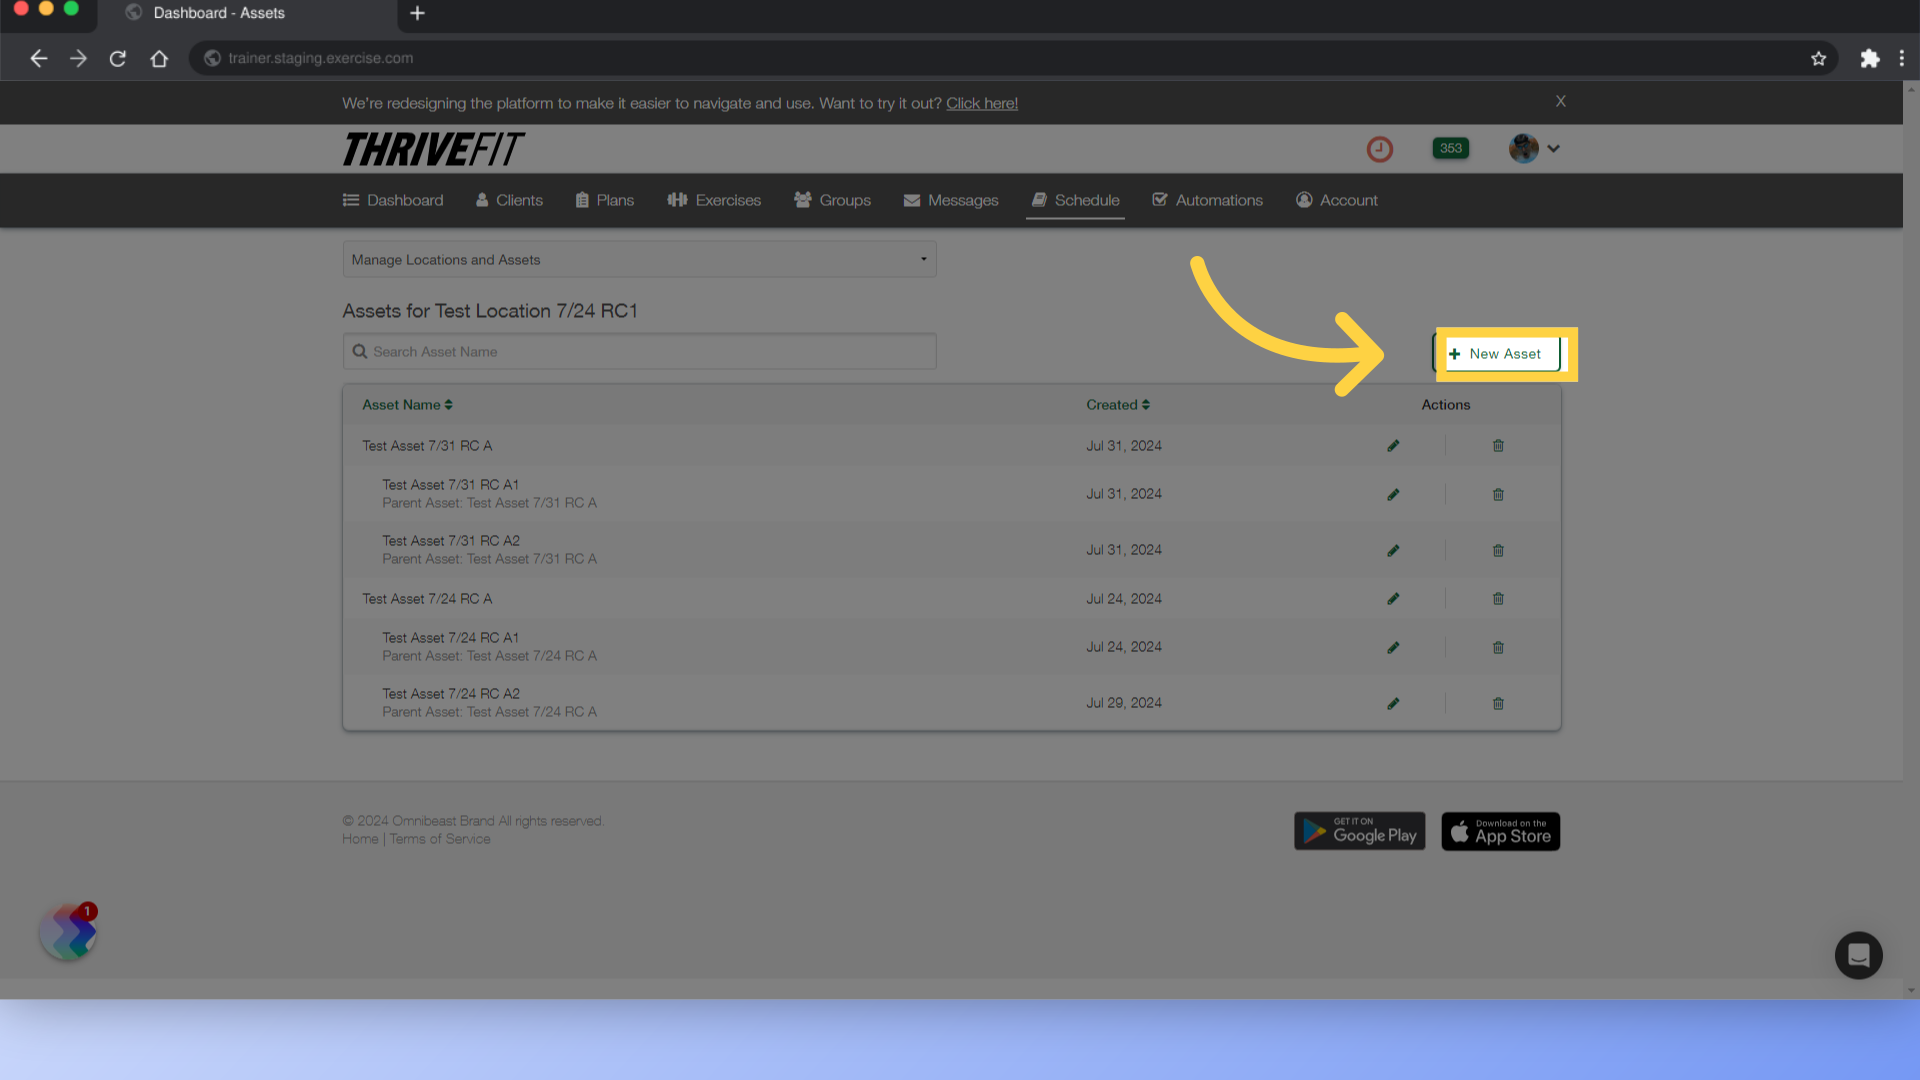
Click on the “New Asset” button.
3. Enter New Asset Details
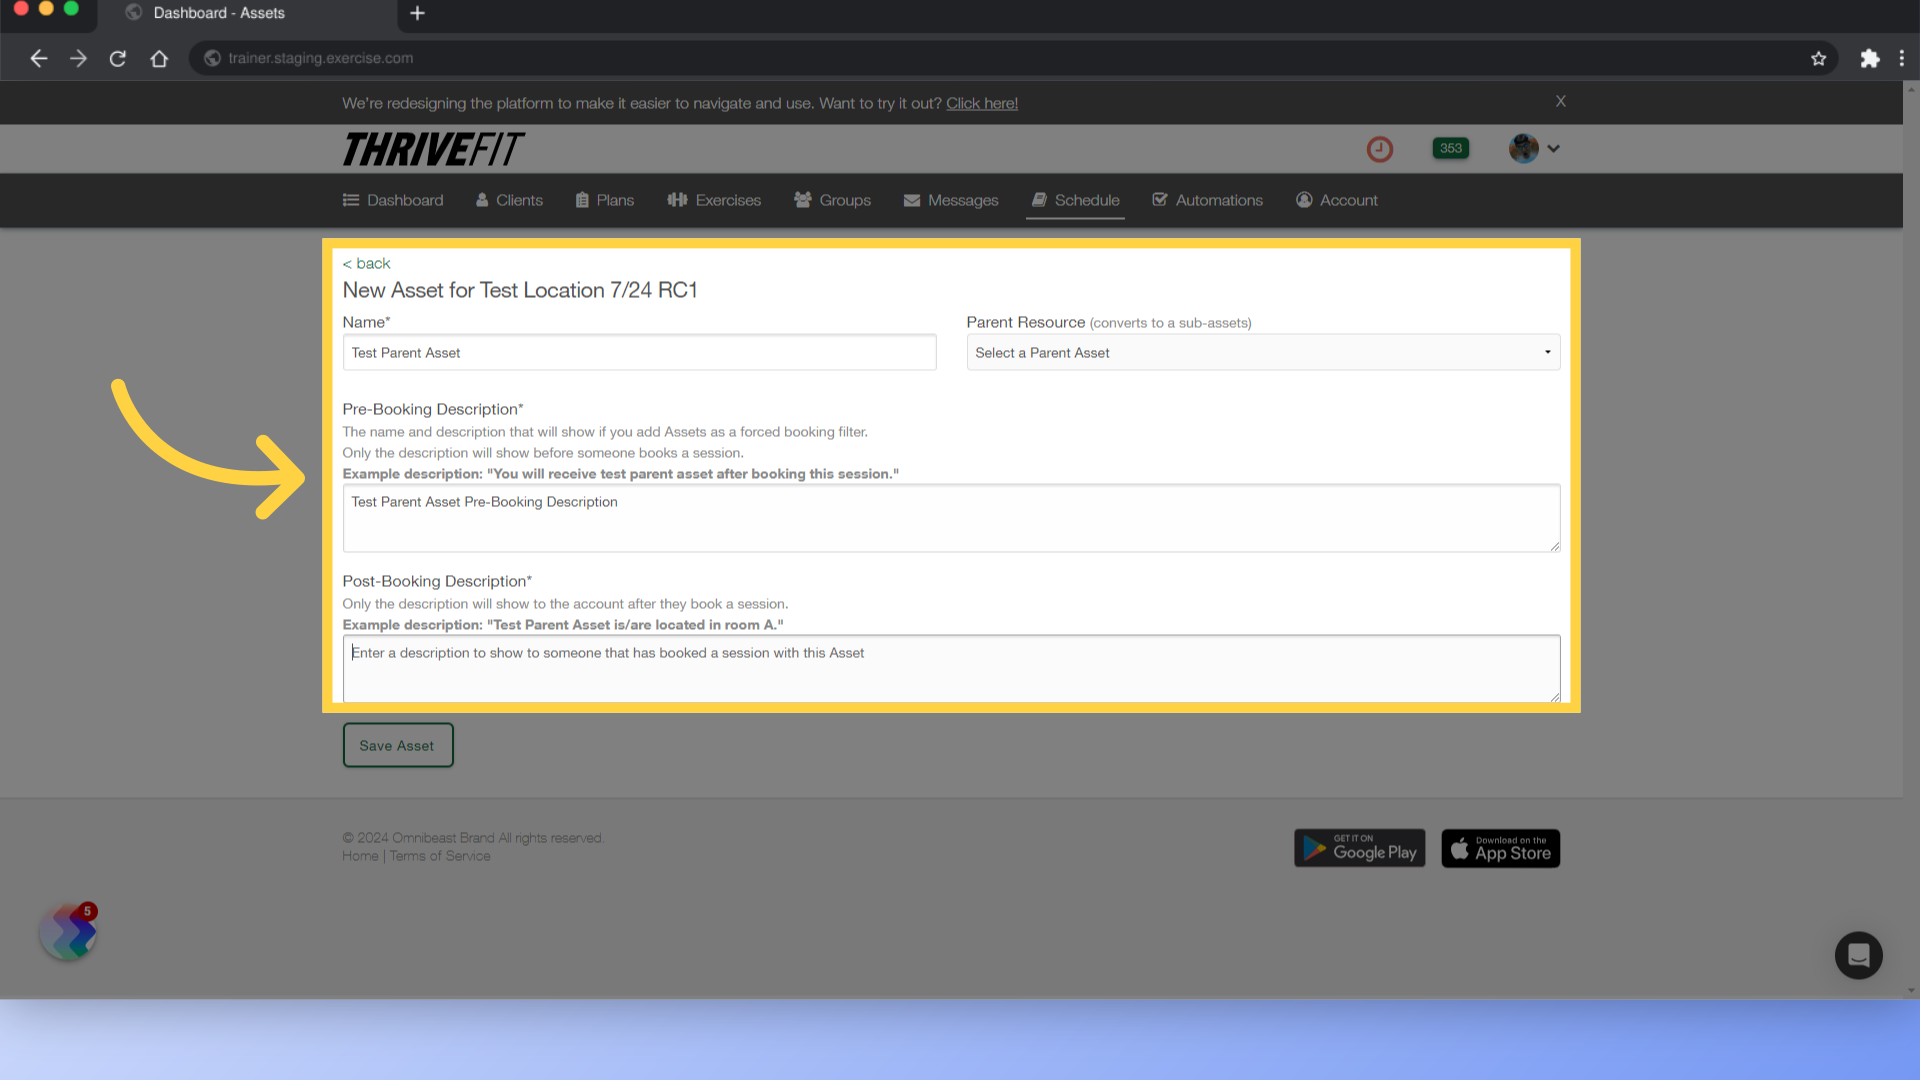
Enter the details for the new parent asset. Fill in the pre-booking and post booking descriptions.
4. Save Asset
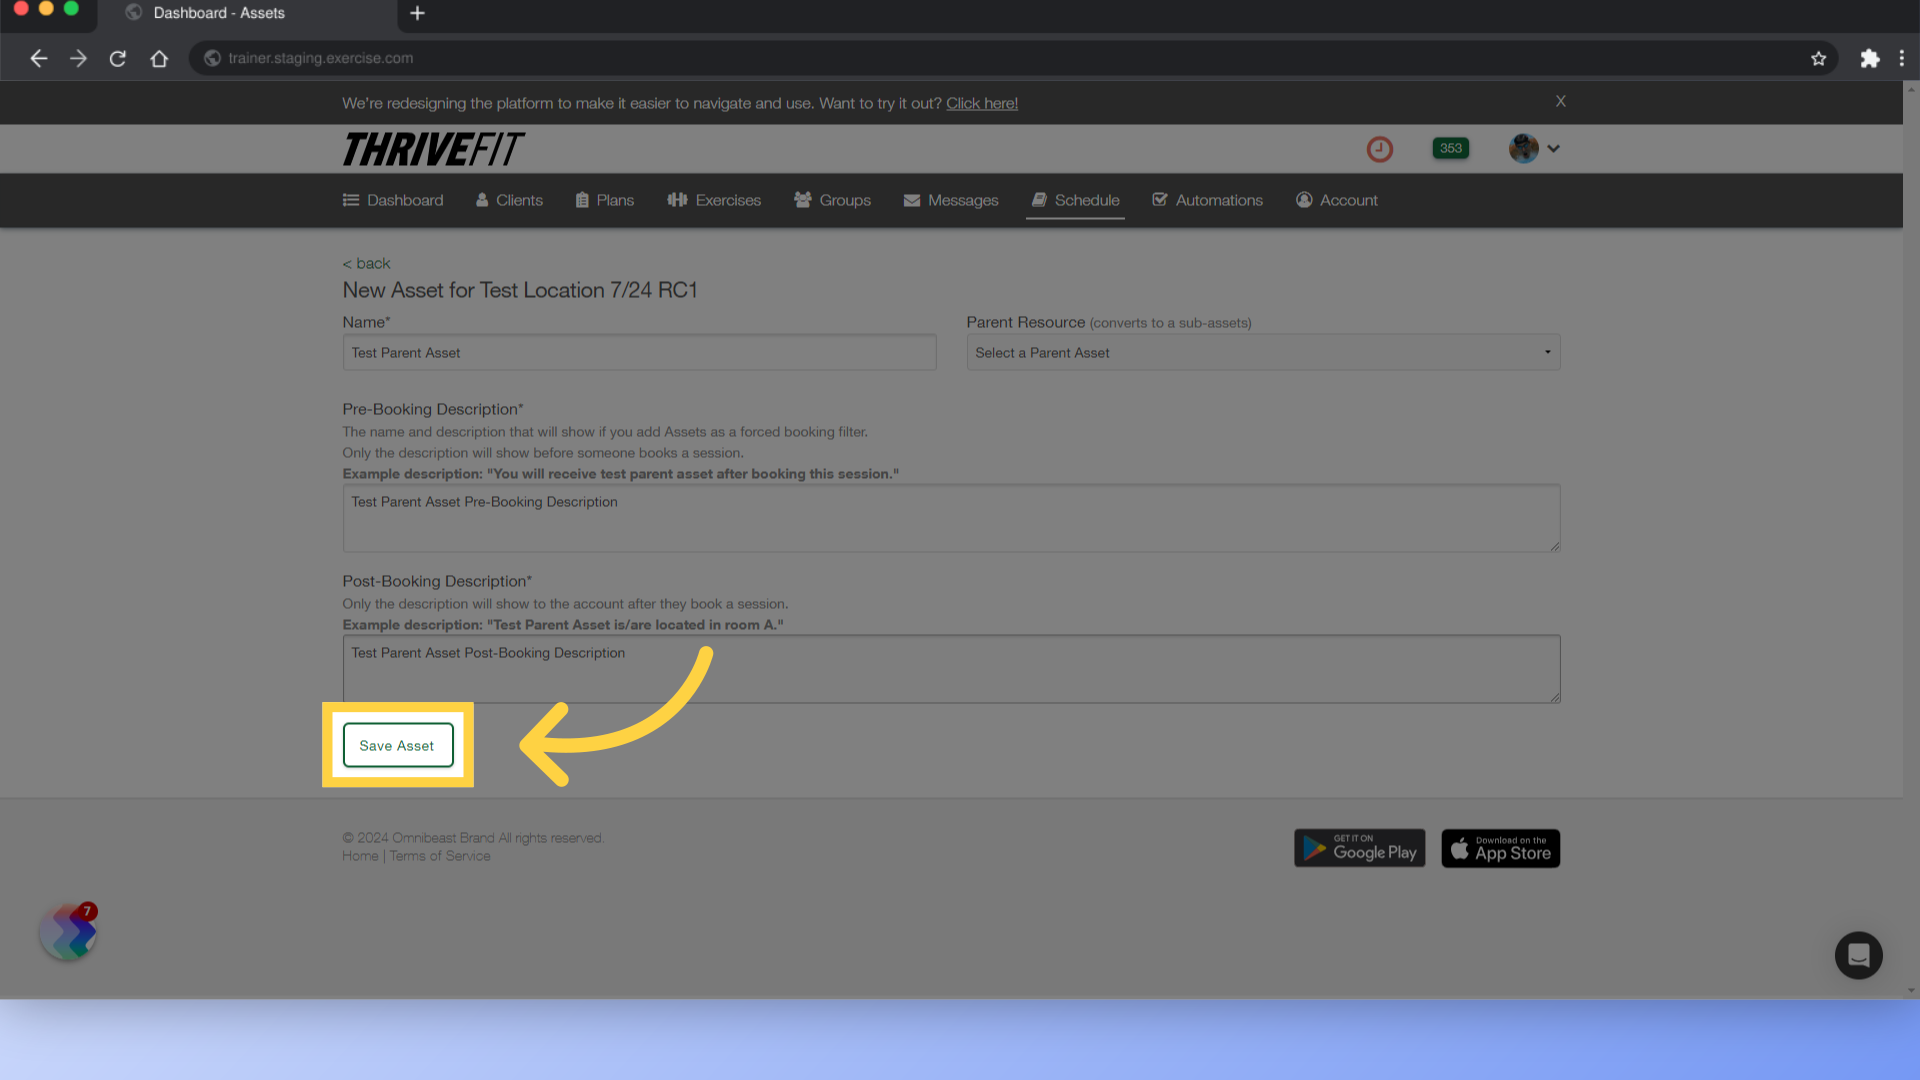
Save the asset.
5. Create Sub-Asset
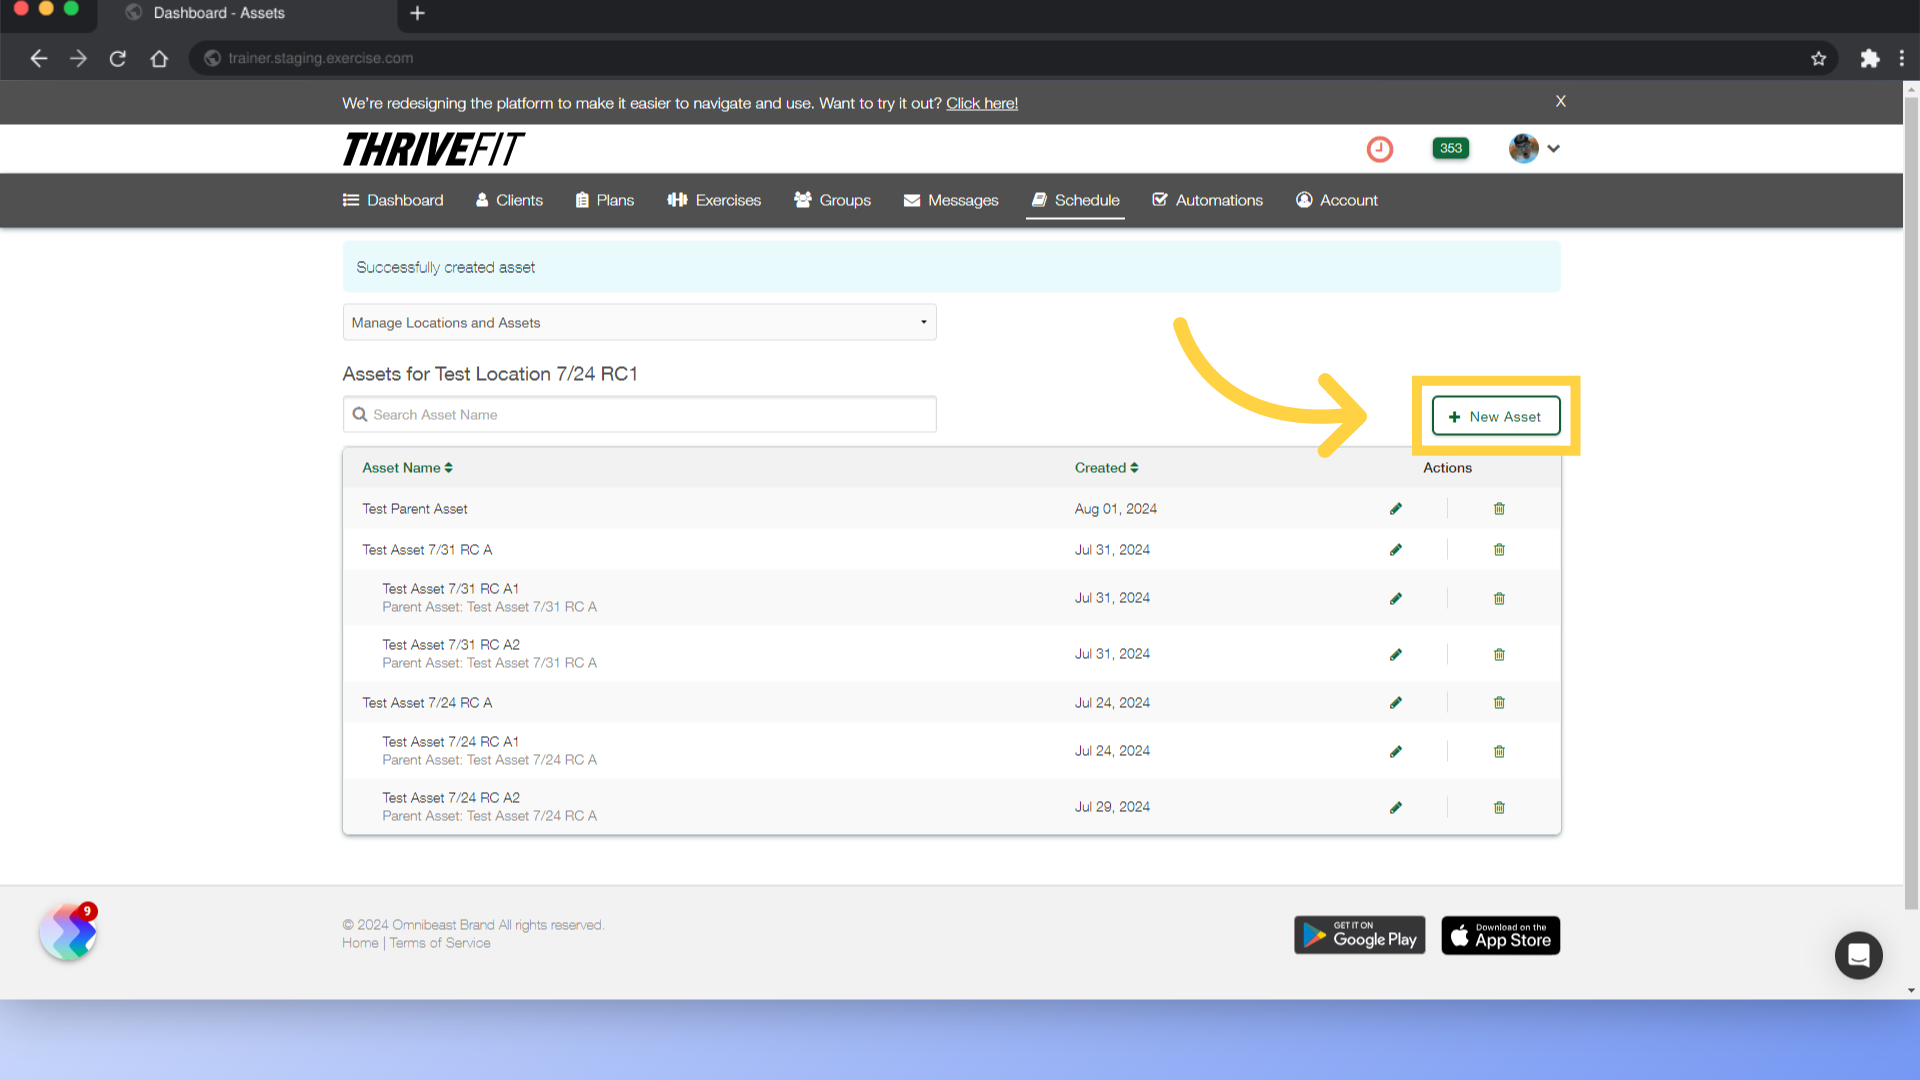
Back on the Locations and Assets list, click on the “New Asset” button.
6. Enter Sub Asset Details
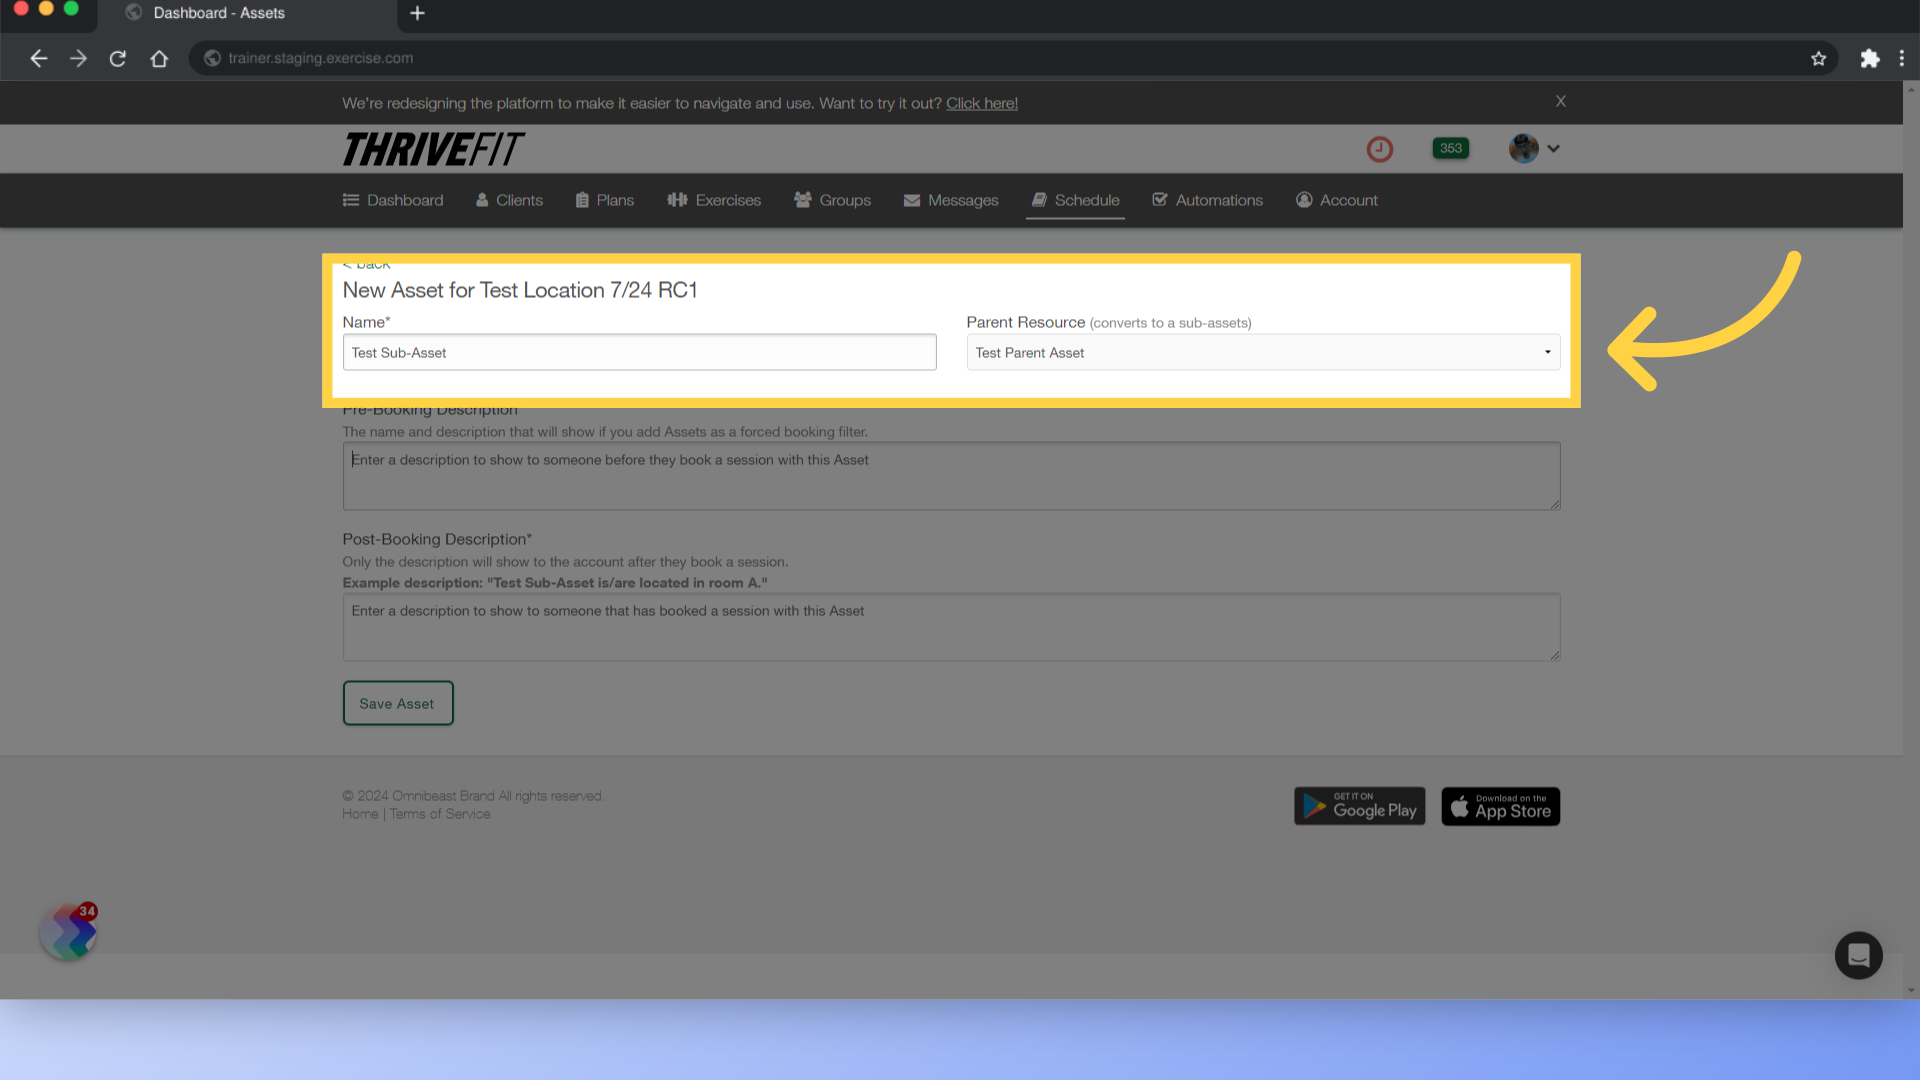
Enter a name for the sub asset and select the parent asset from the drop down.
7. Save Sub Asset
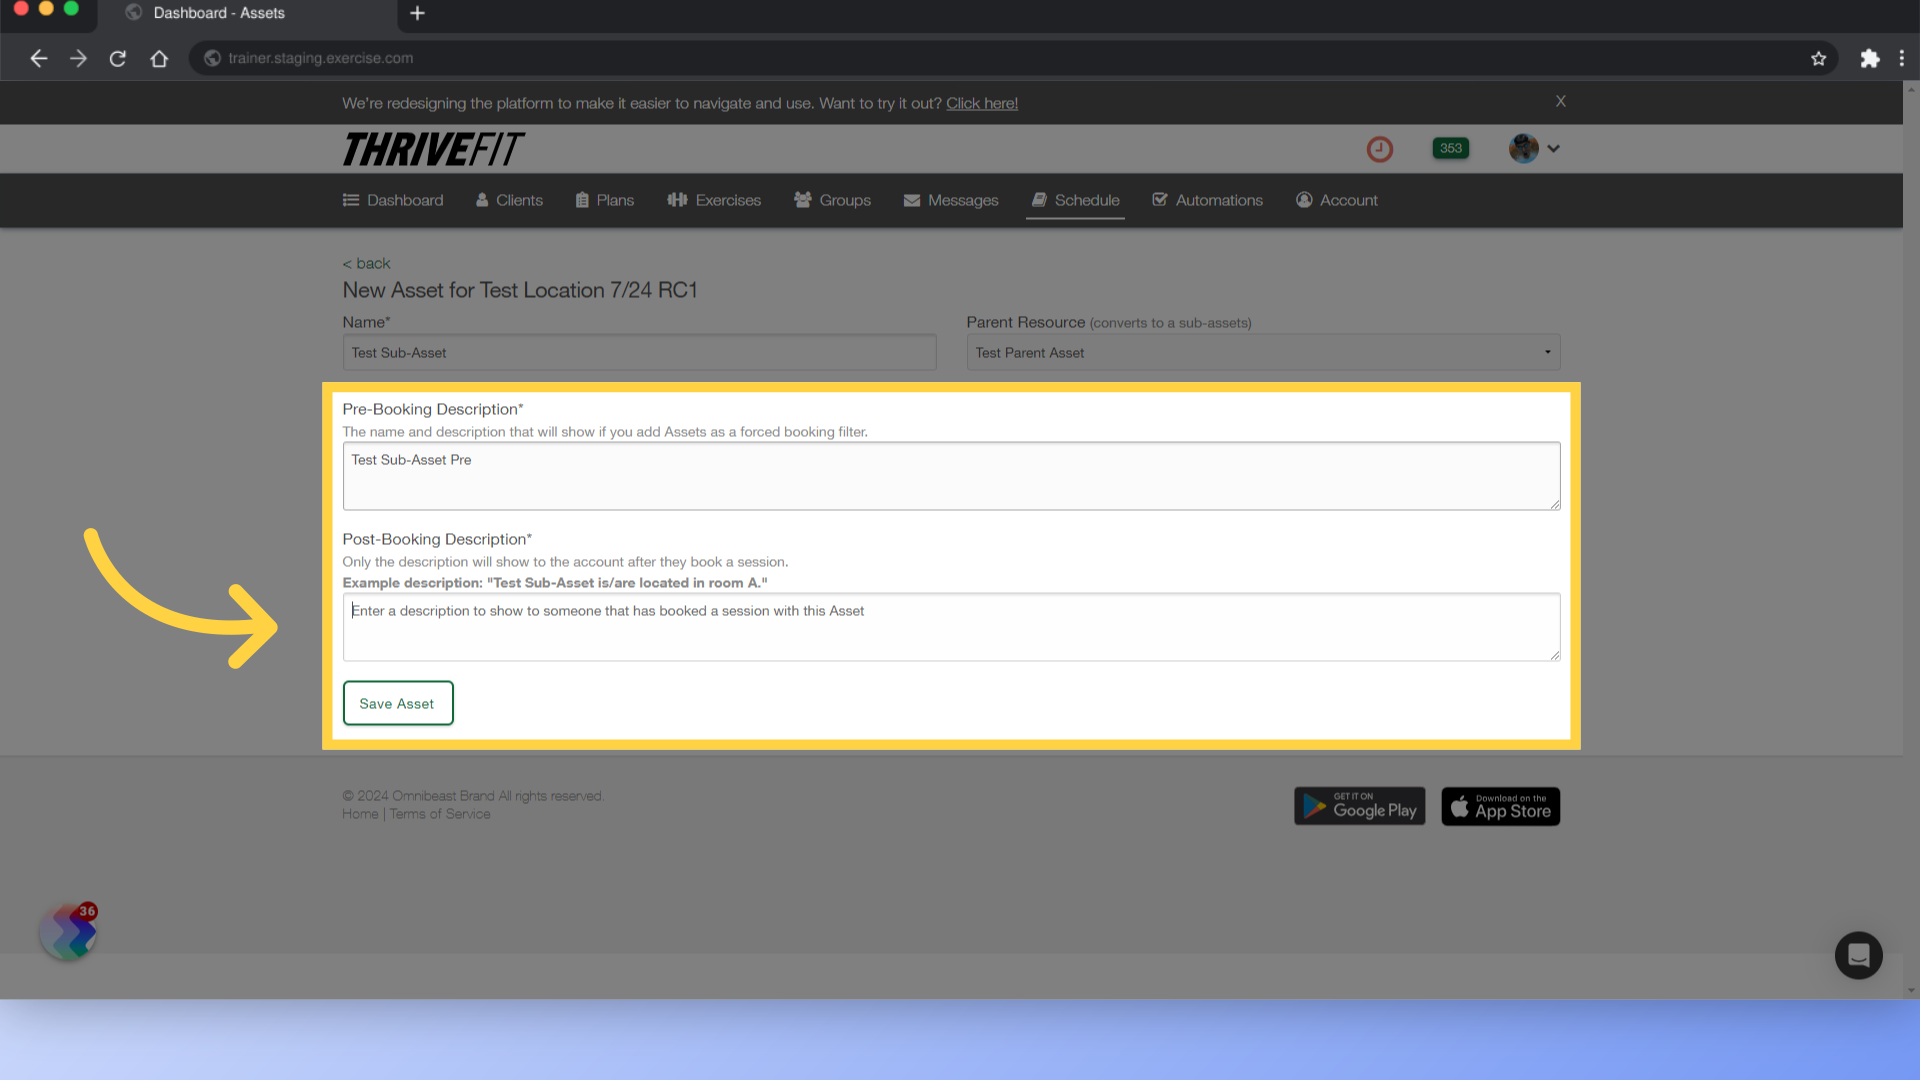
Fill in the pre-booking and post booking descriptions for the sub asset and save.
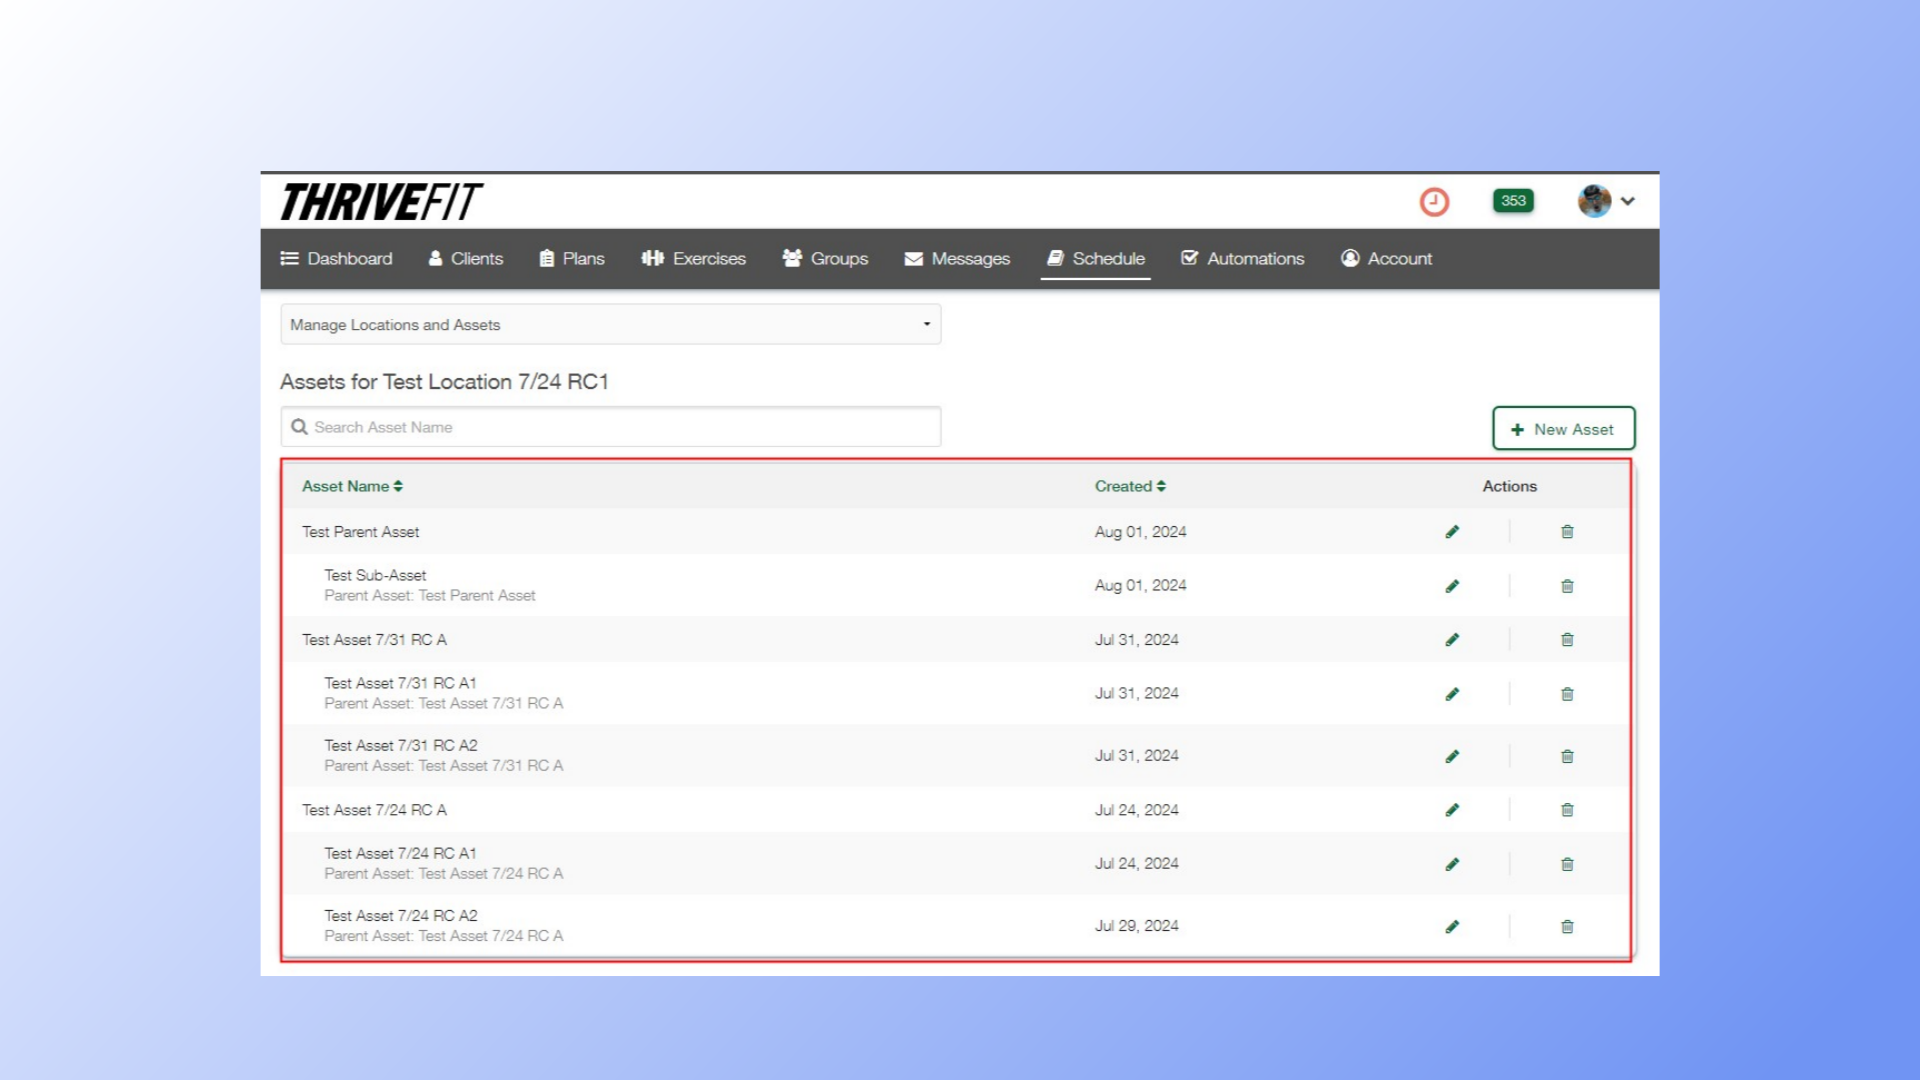
8. Sub Assets will be indented below Parent Asset
Sub Assets will be indented below Parent Asset.
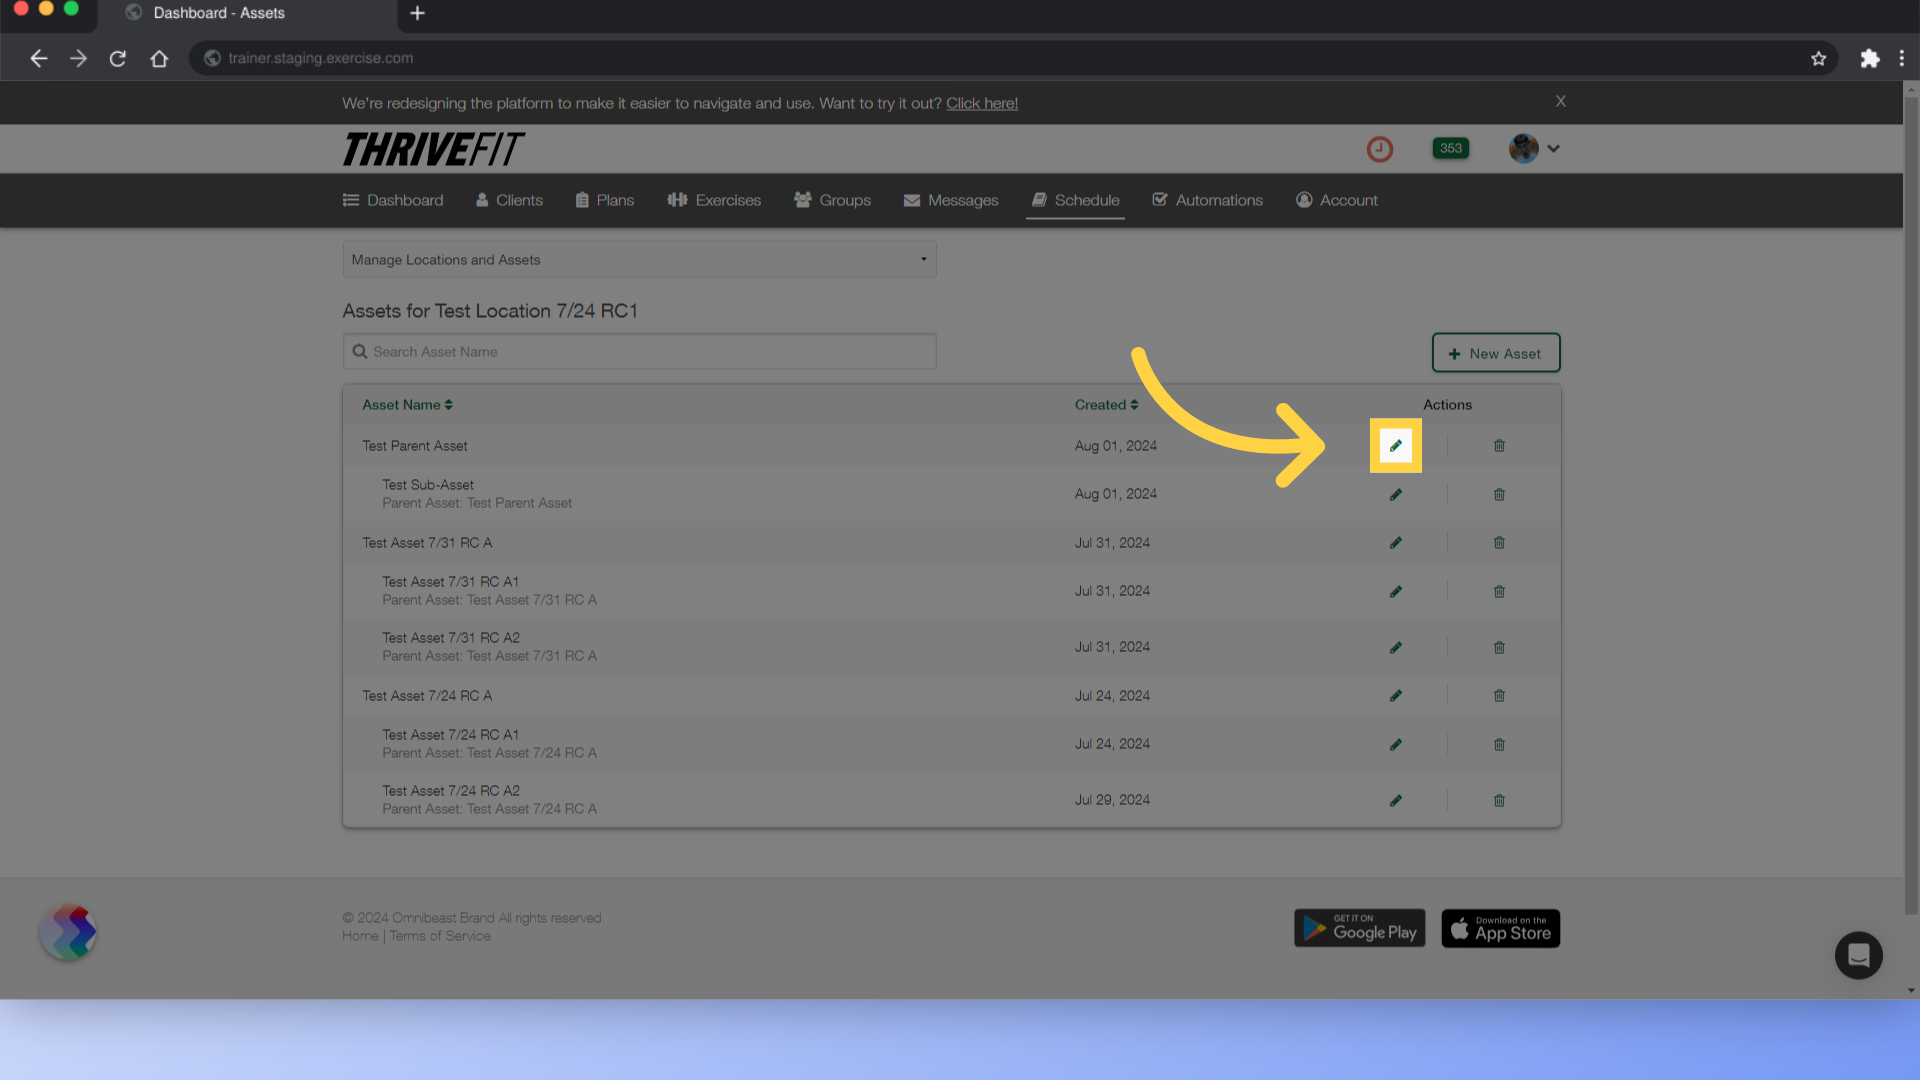
9. Edit Asset
To edit an asset, click on the edit icon.
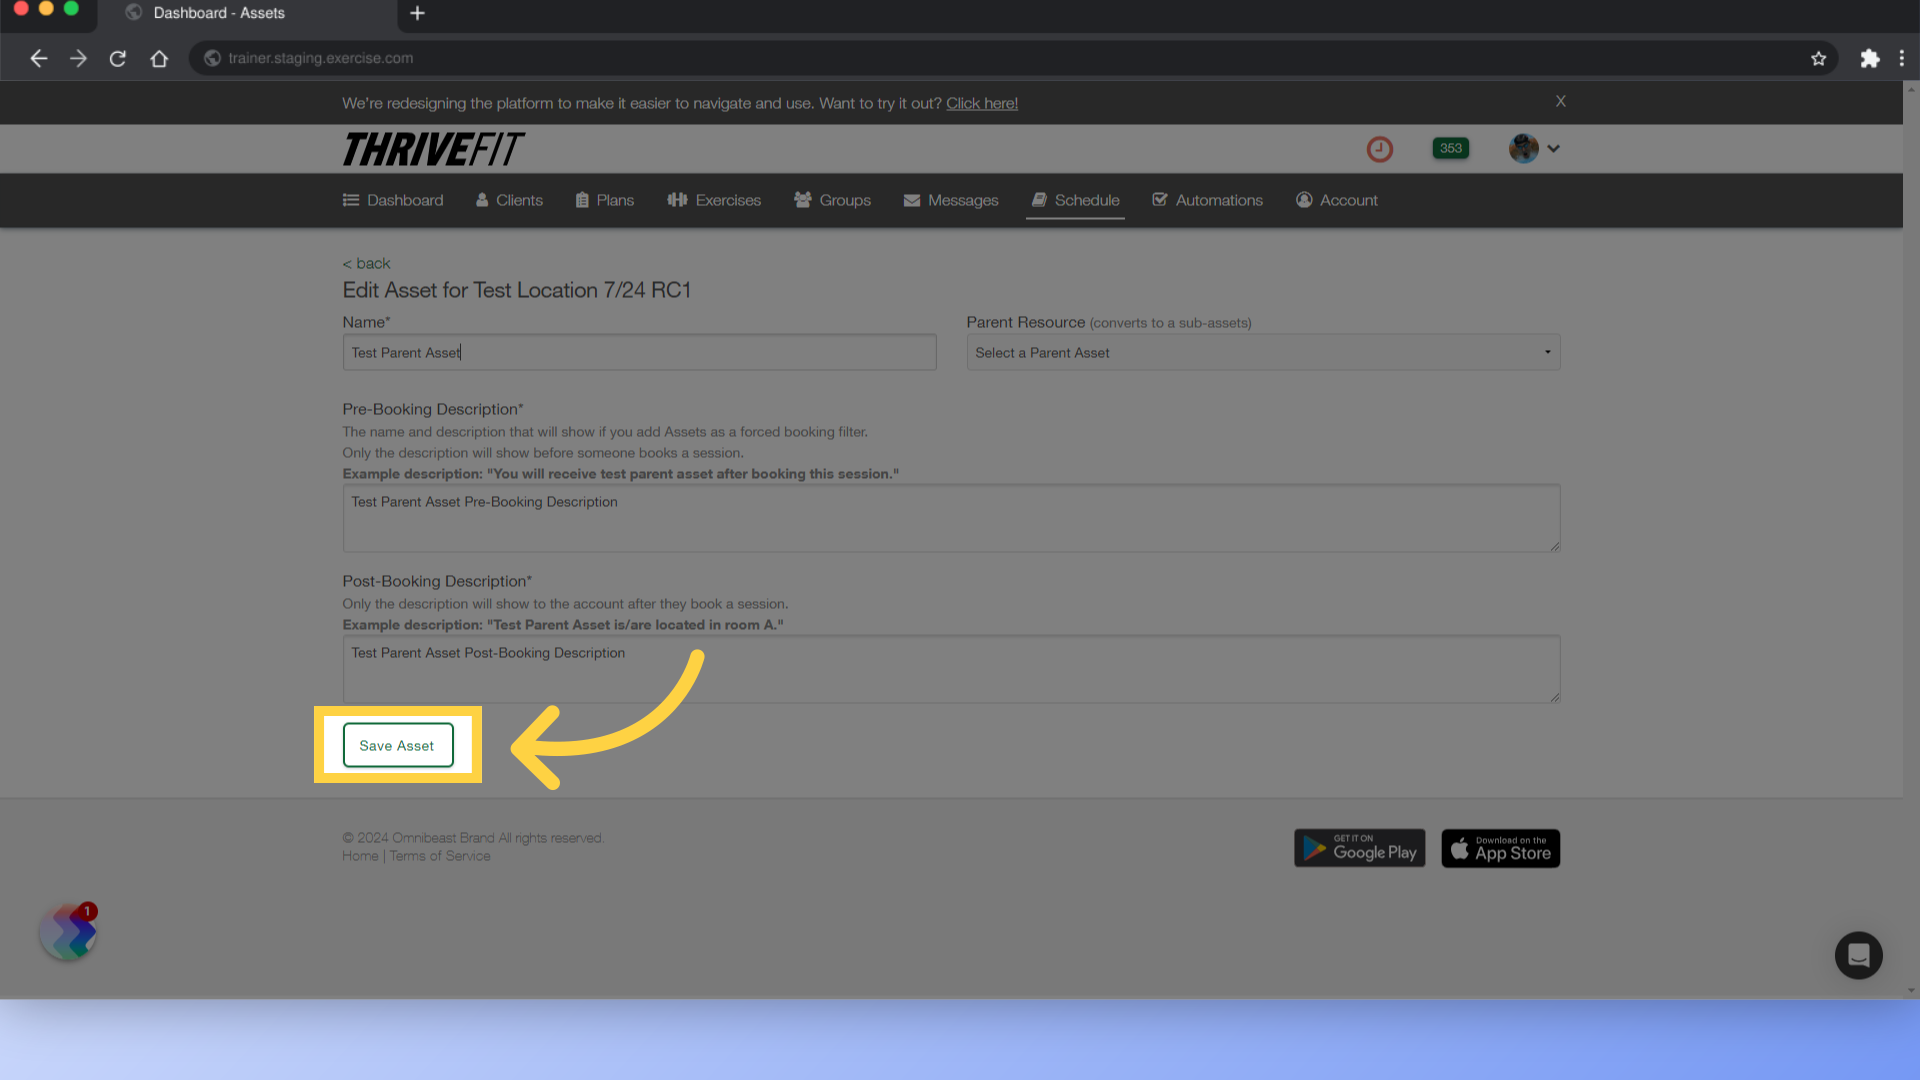
10. Save Changes
Make any changes and save.
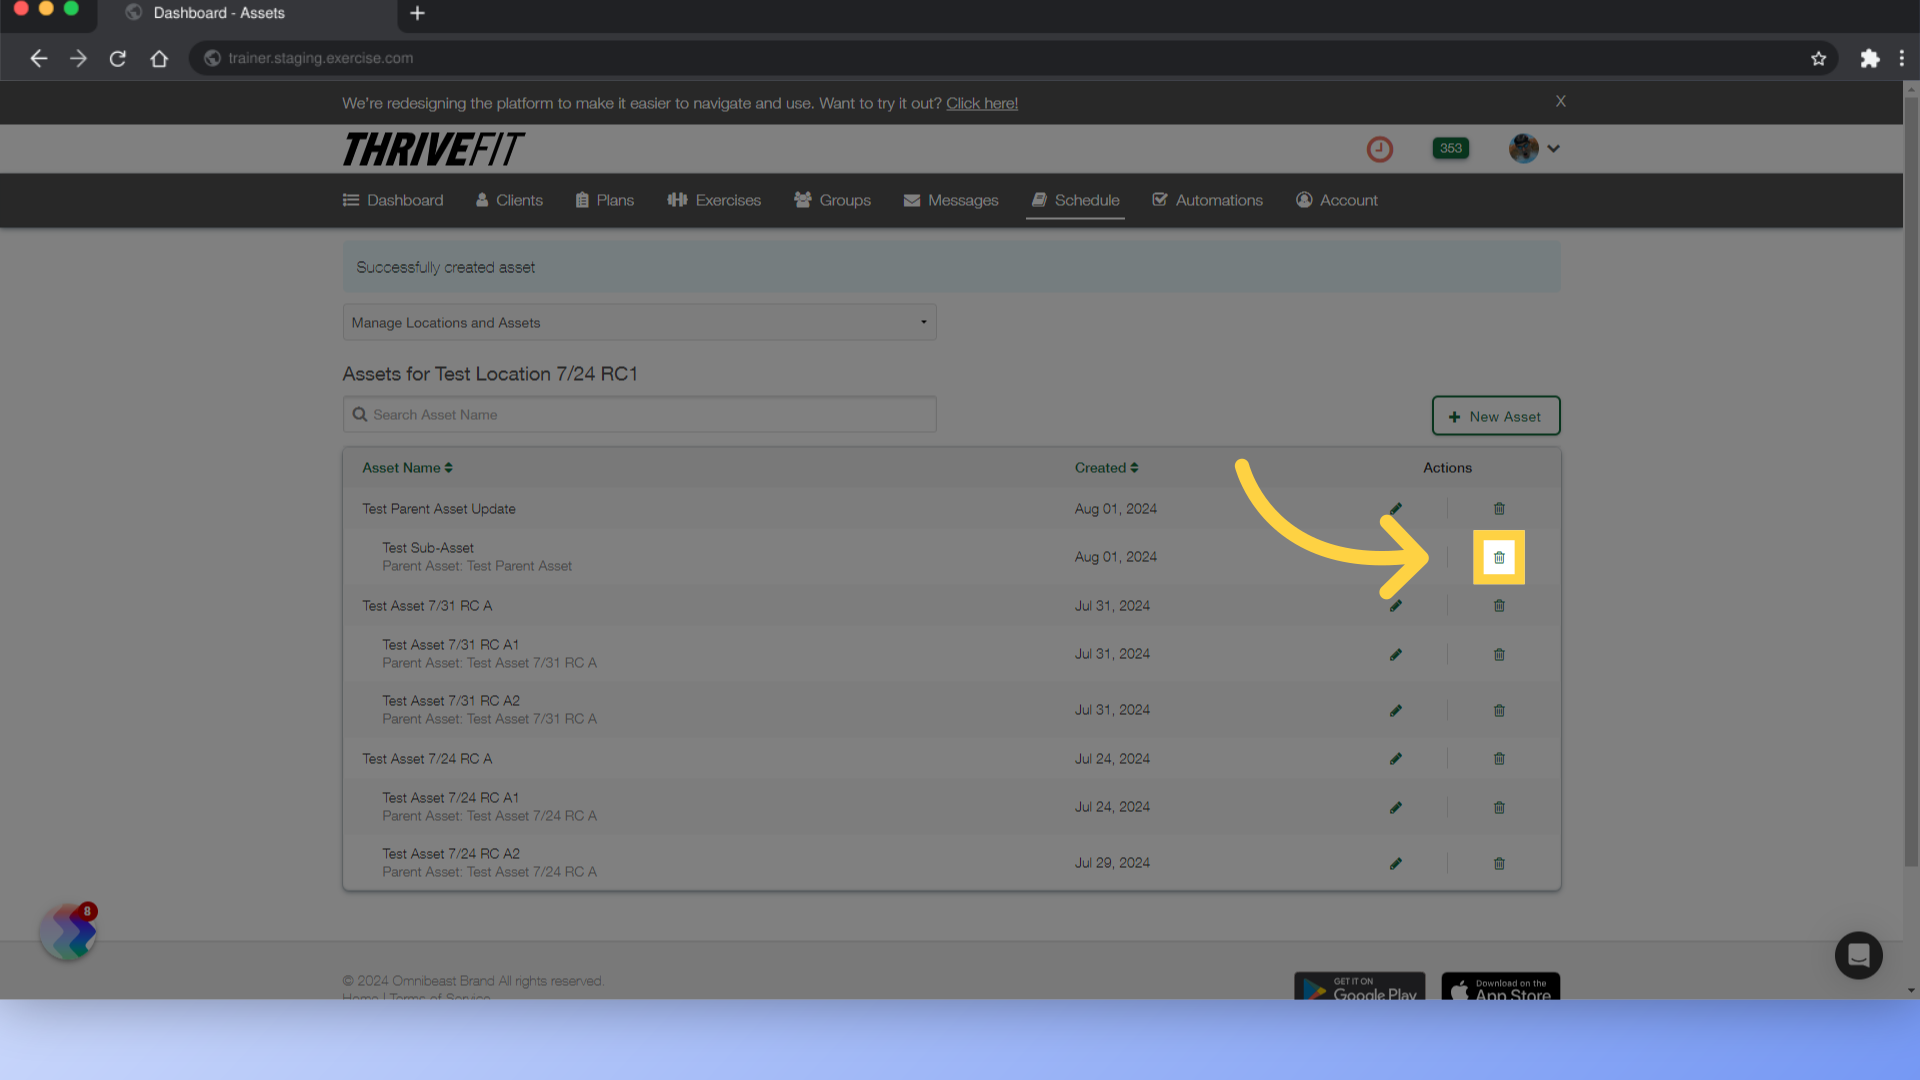
11. Click Delete icon
To delete an asset or sub asset, click the delete icon on the main asset management page.
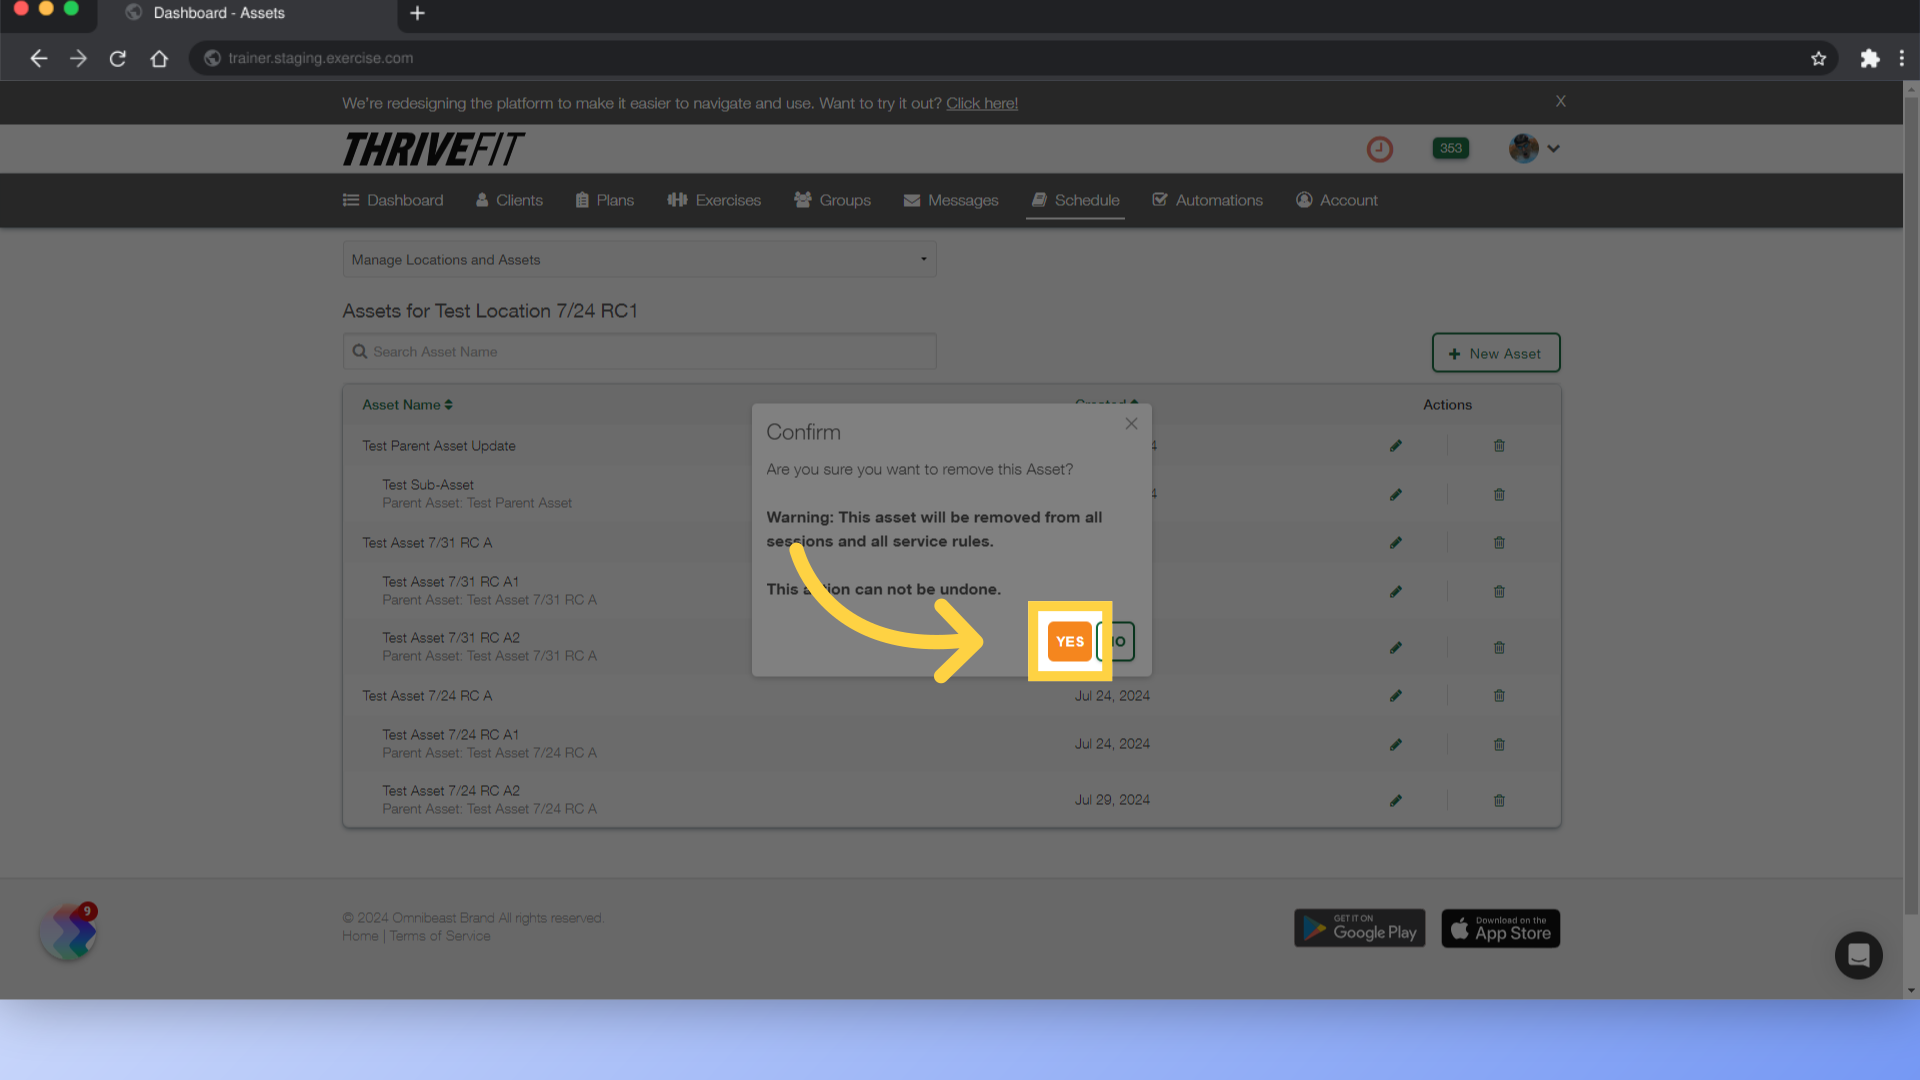
12. Confirm Deletion
Confirm the deletion.
This guide covered the process of creating, updating and deleting assets.


