How to Create a Session with No Staff Member Required
Posted by
Support Team
on
August 30, 2024
— Updated on
August 30, 2024
This guide will walk you through the process of creating a session without having a Staff Member assigned to it.
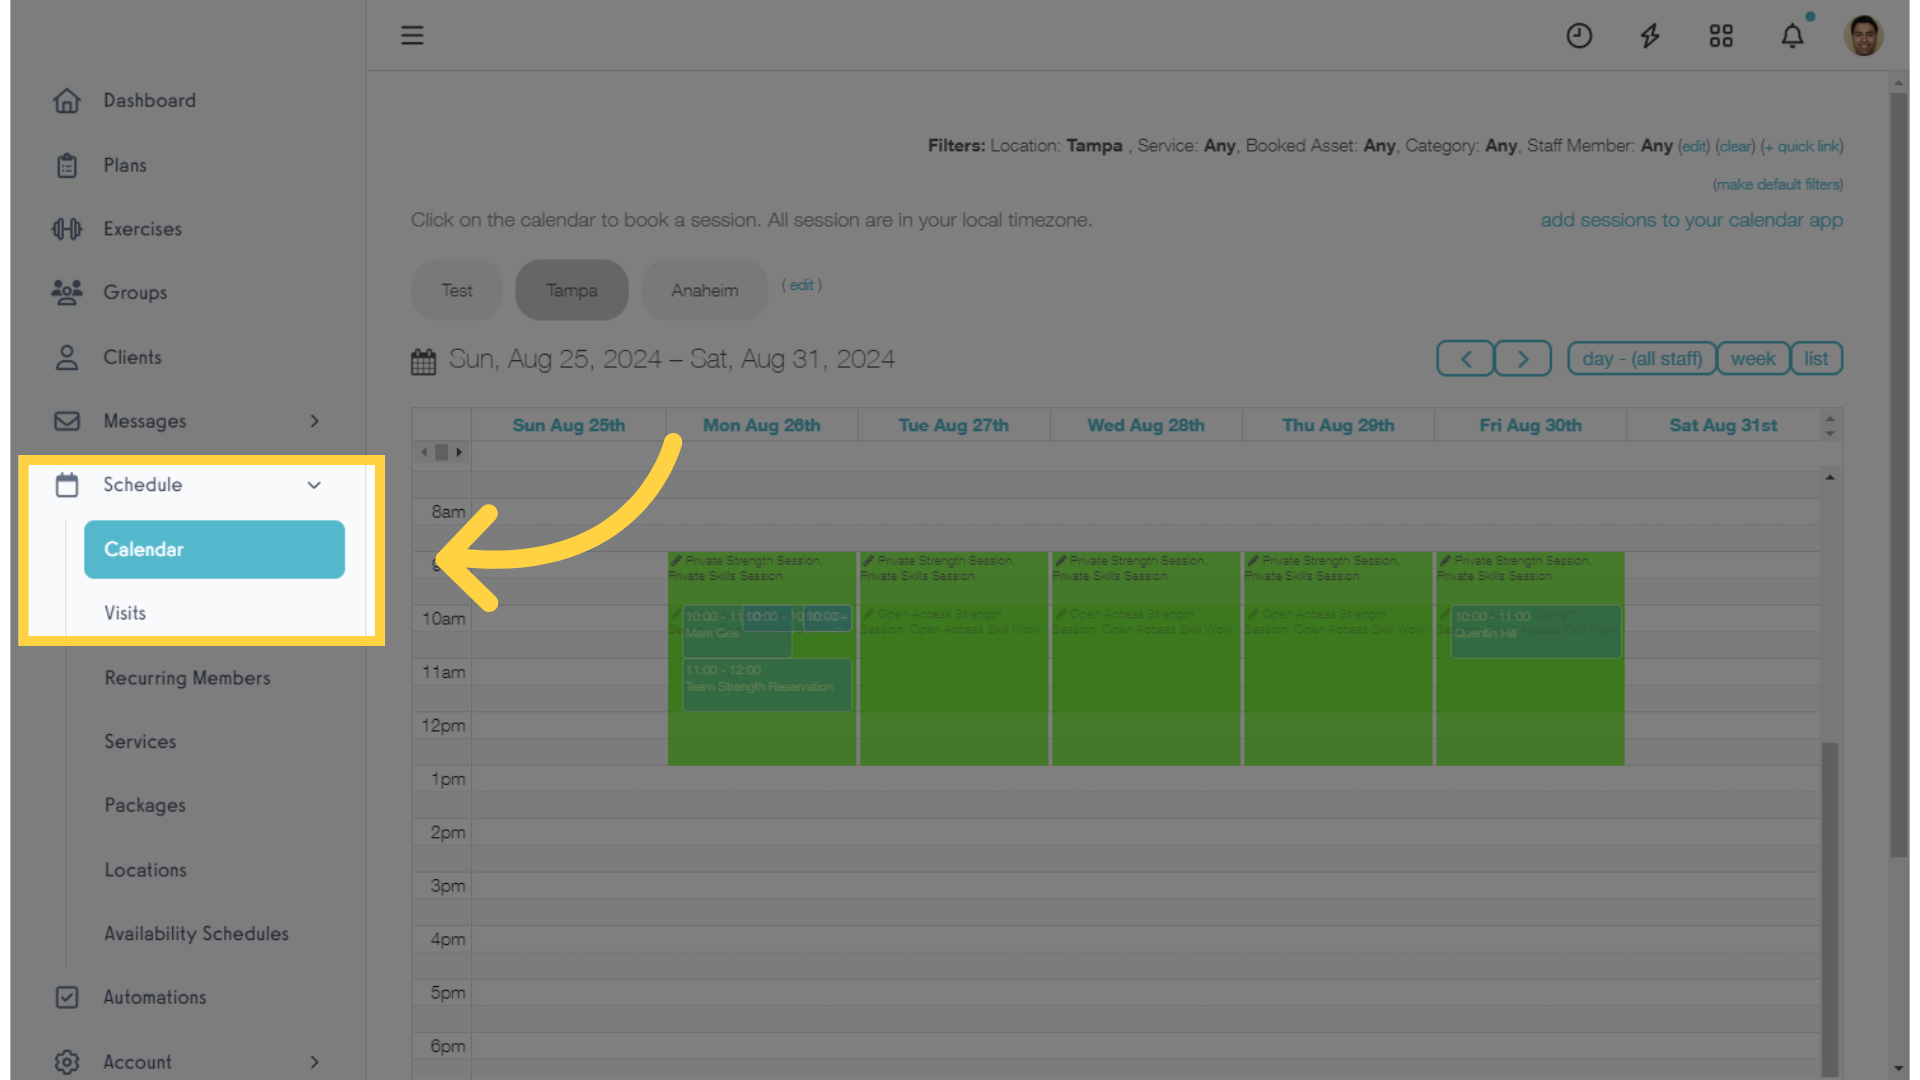
1. Open the calendar tab under “Schedule” on the Dashboard menu.
Click on the calendar tab under “Schedule” on the Dashboard menu.
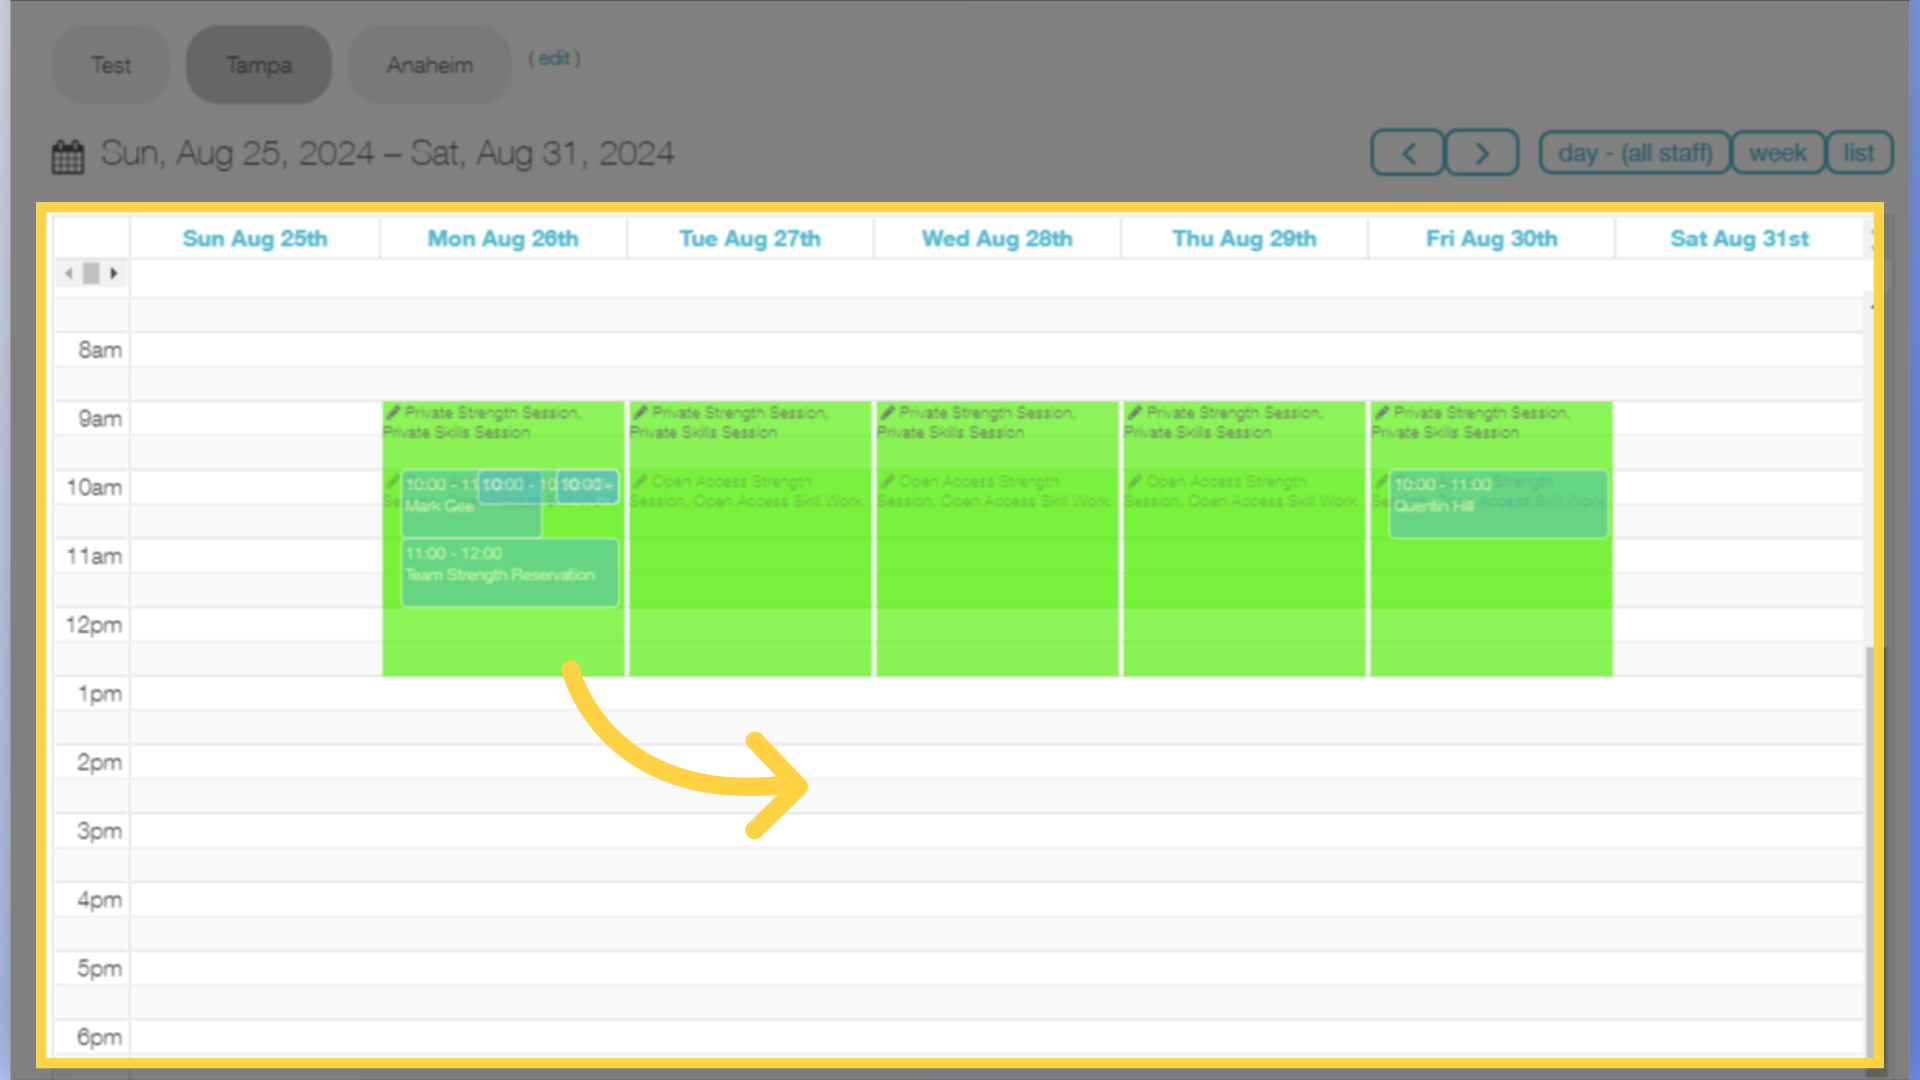
2. Click the Day and Time on the Schedule where you want to add a Session.
Click the Day and Time on the Schedule where you want to add a Session.
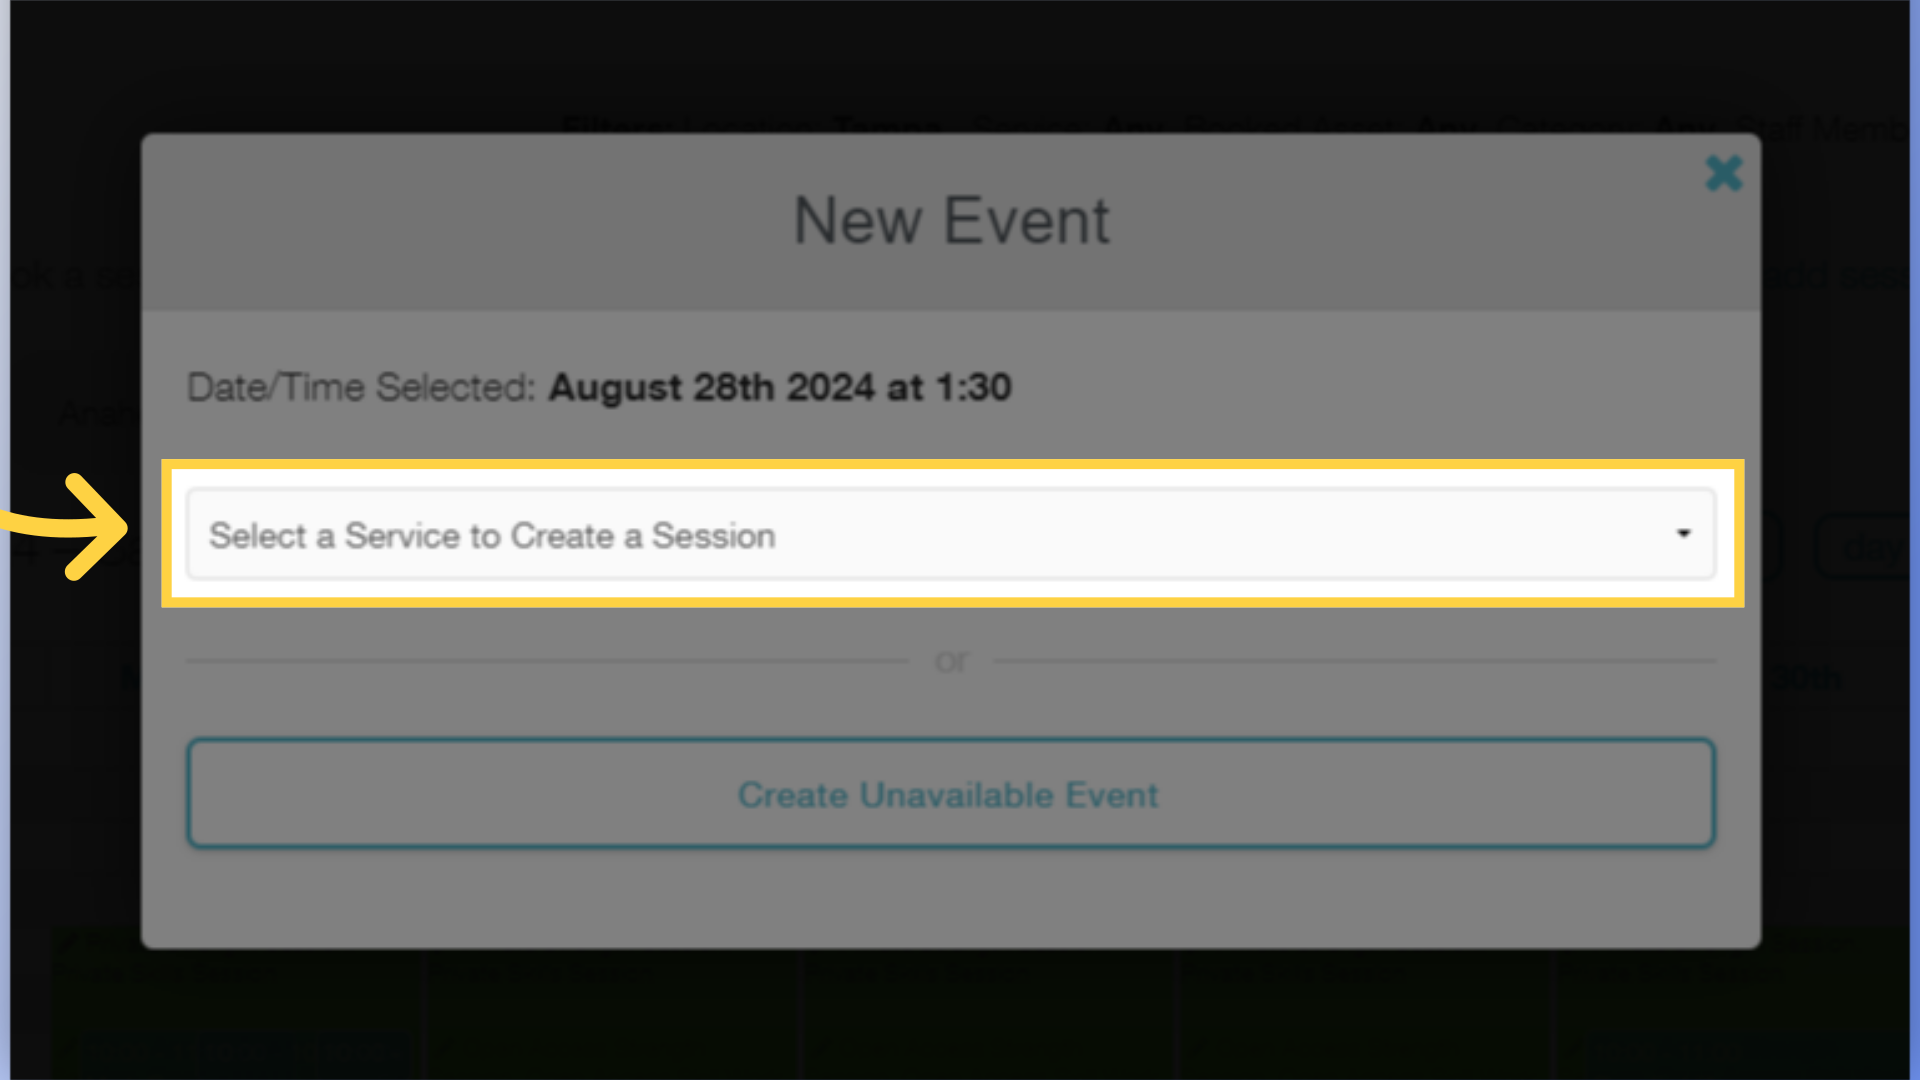
3. Select the Service for this session.
Select the Service for this session.
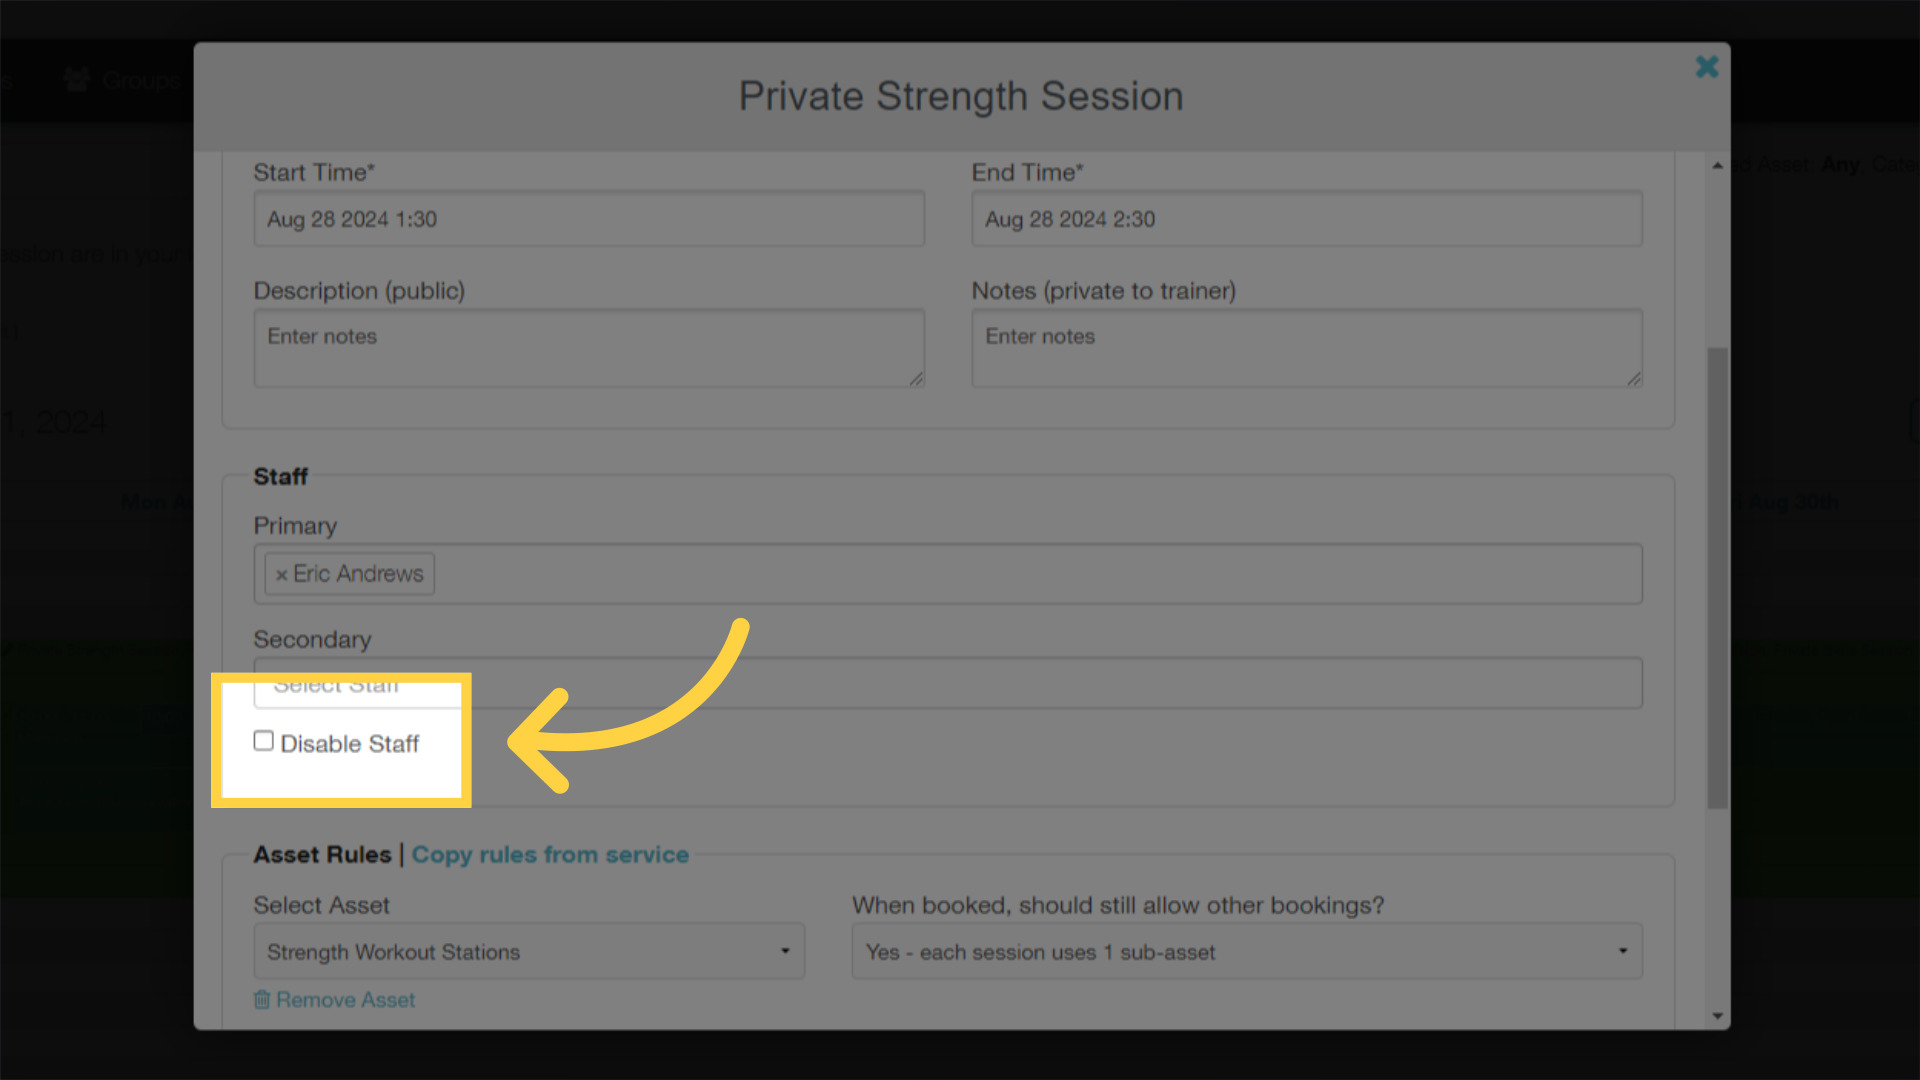
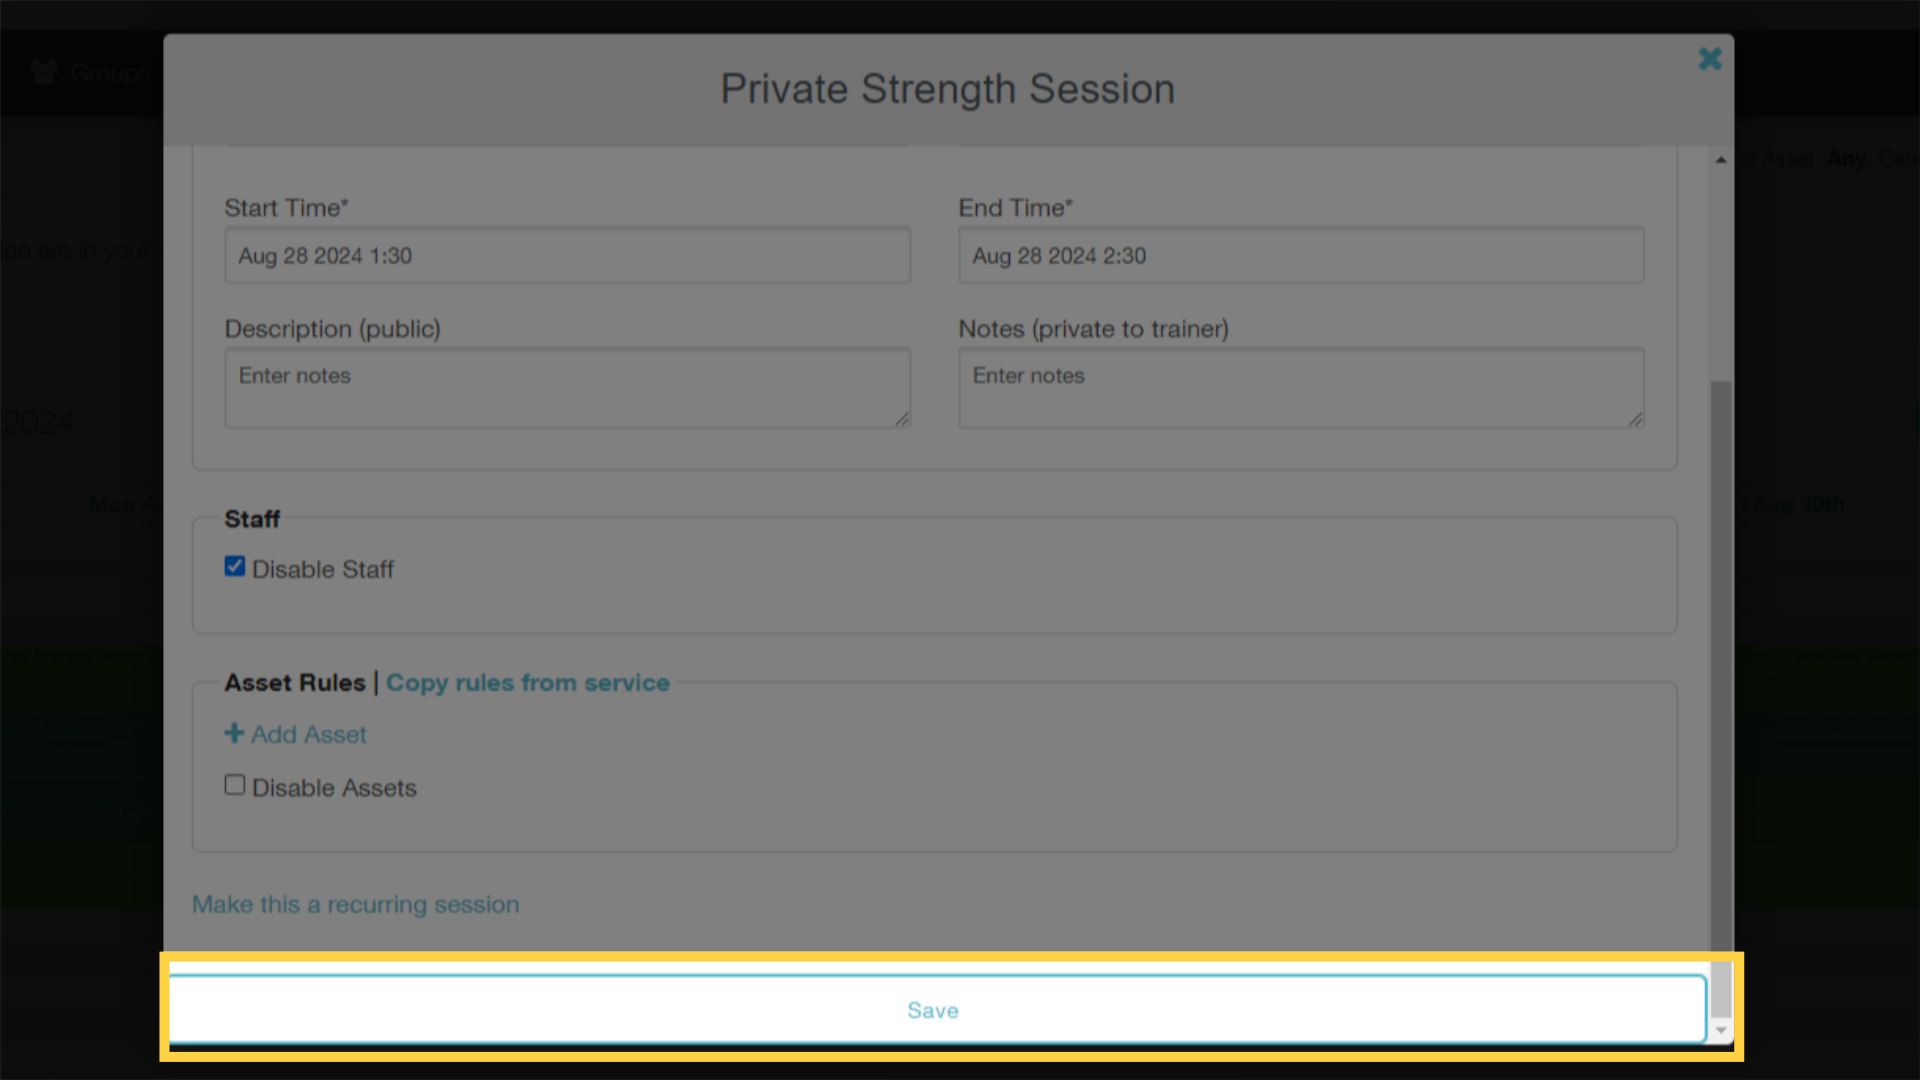
4. Check the box to Disable Staff for this session.
Click the Checkbox to disable Staff for this session.
5. Make sure the rest of your Session details are correct, and click “Save” to create the Session.
Make sure the rest of your Session details are correct, and click “Save” to create the Session.
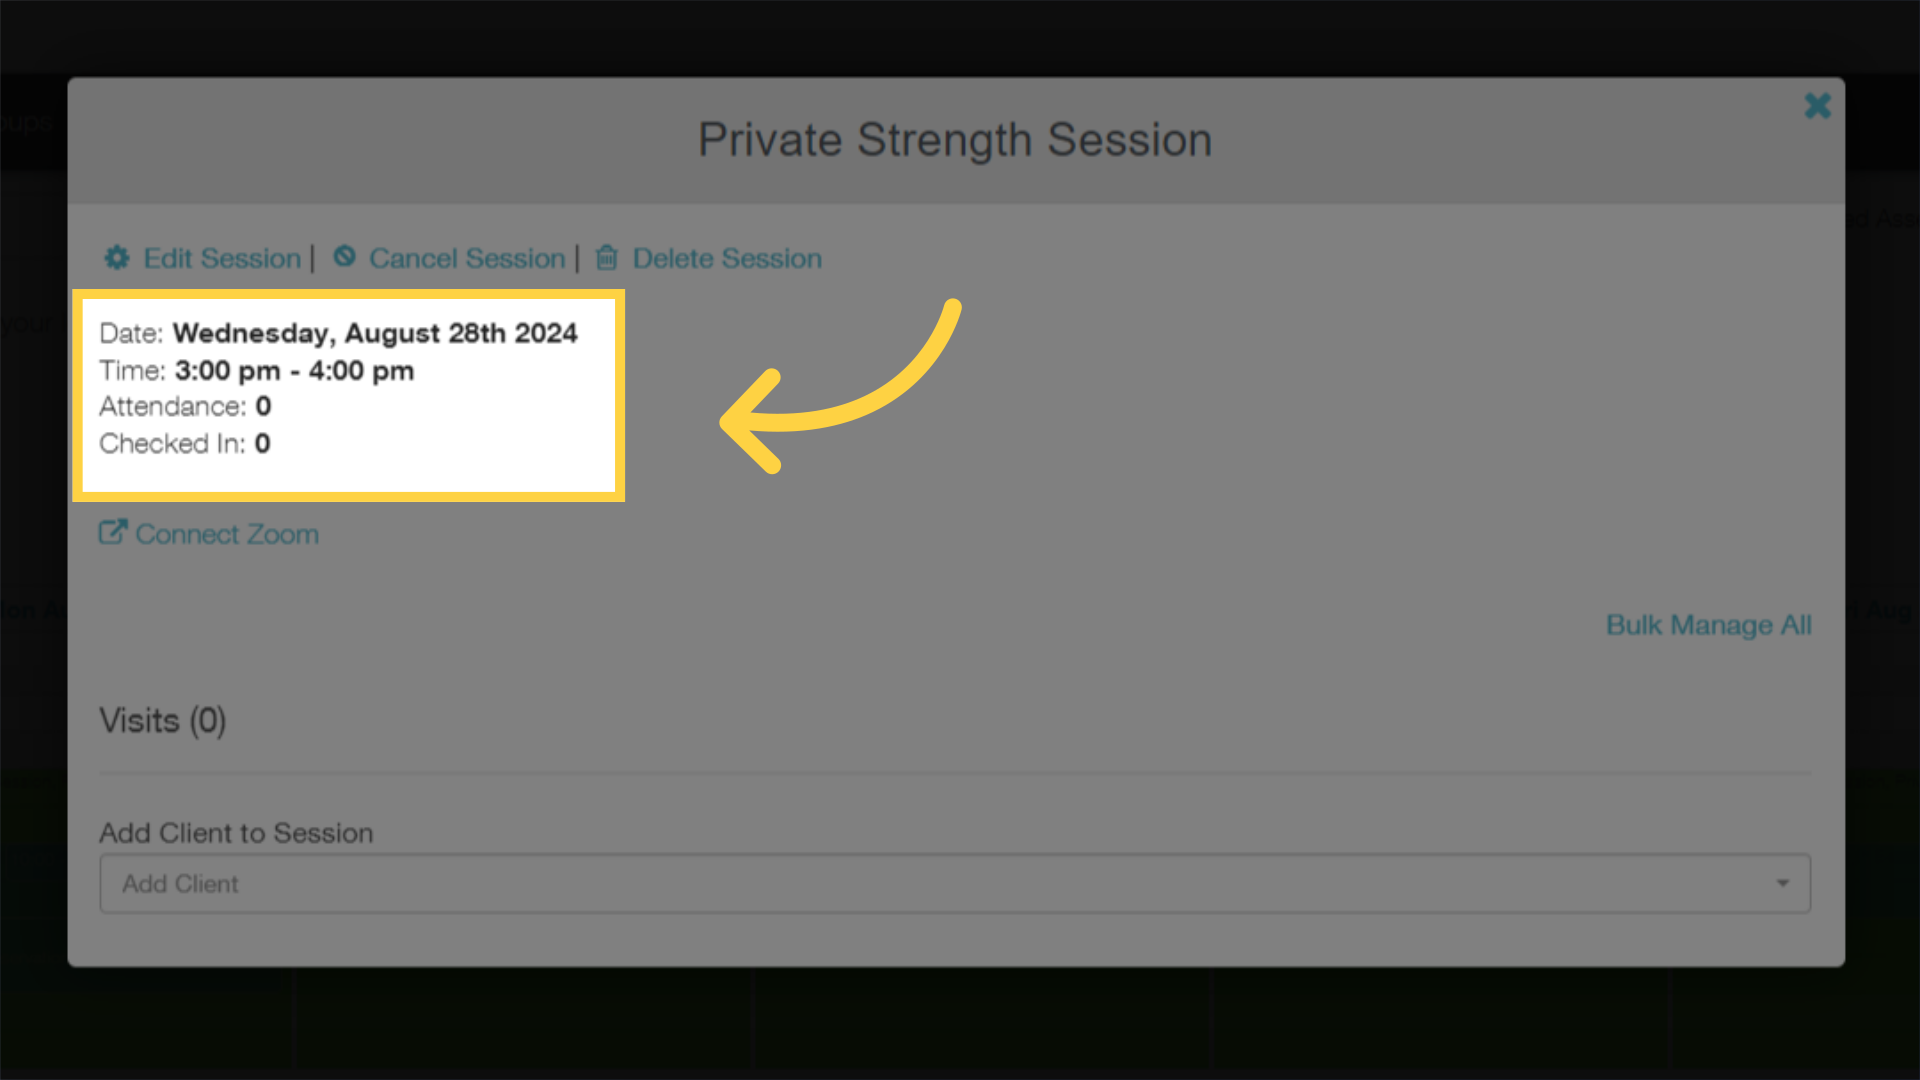
6. See session details to confirm no Staff is attached to the session.
That’s it! You can see that there’s no Staff Member assigned to this session.
This guide covered how to create a Session with no Staff Member assigned to the session. Now you have more flexibility with your booking options!


