How to Customize the Share Image on a Workout Plan
Within our Custom-branded fitness apps, you can customize the client experience for each workout plan that you create. This guide will show you how to customize the Share Image that is displayed in the apps after your client logs a workout from a specific workout plan.
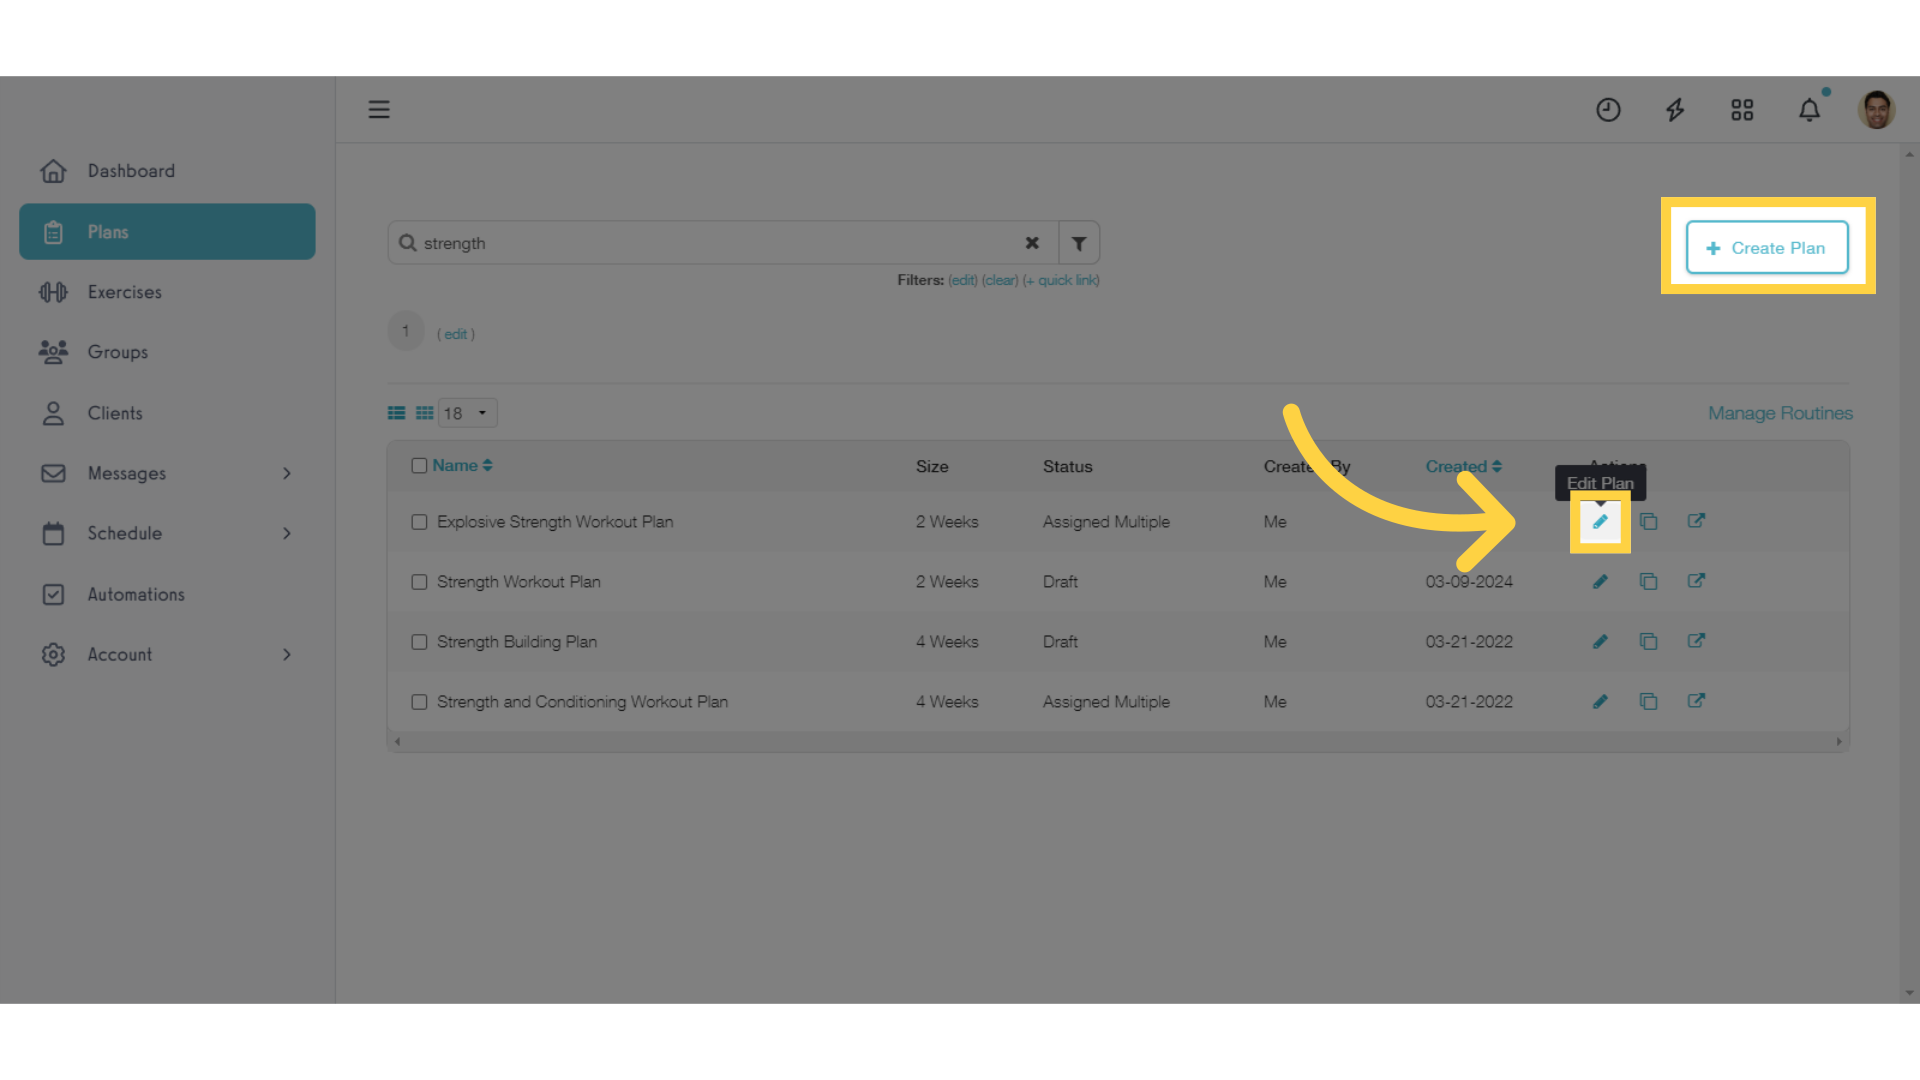
1. Click to Create or Edit a Workout Plan.
On the Workout Plans list view, click the button to create or edit a Workout Plan.
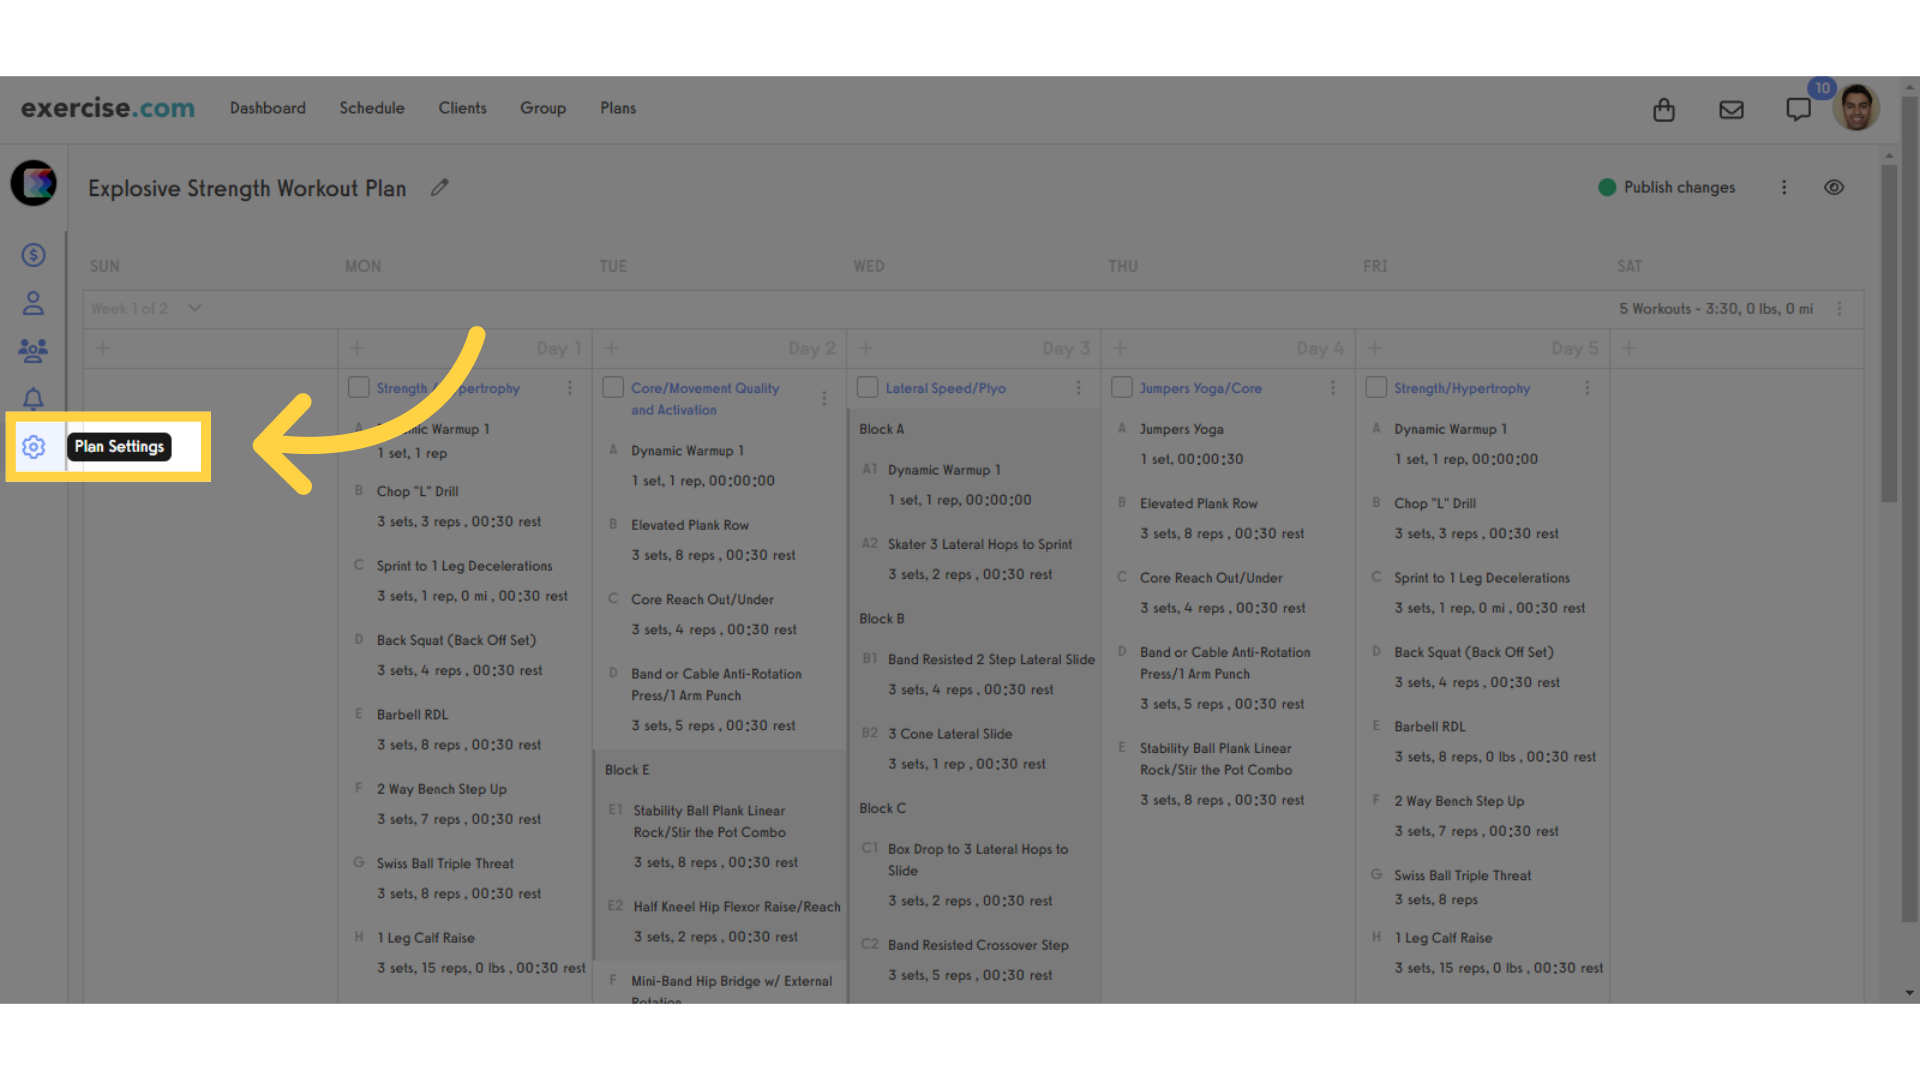
2. Click the Plan Settings icon.
Once you have your workouts set up how you want them, click the Plan Settings icon on the left side menu.
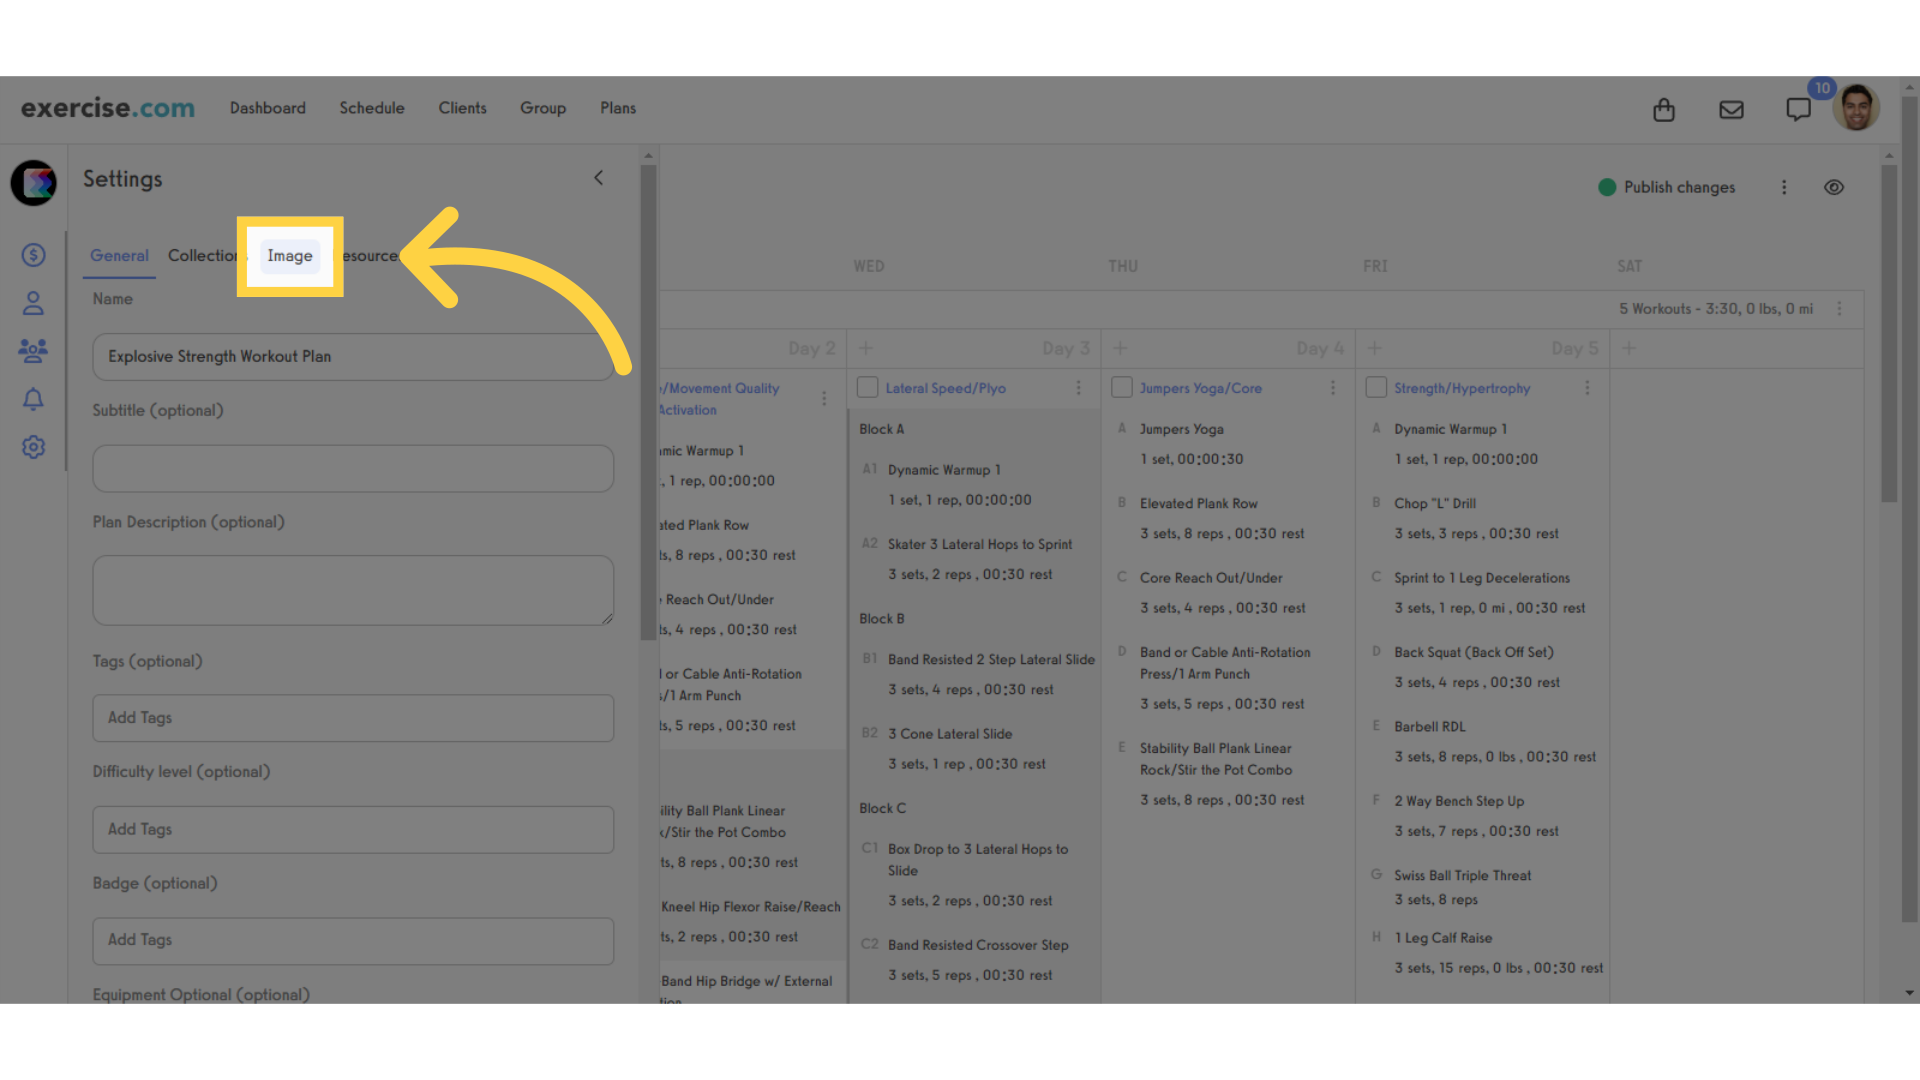
3. Click the Image tab to see the image options for this plan
Click the Image tab under Settings to see the image options for this plan
4. The Plan Image is the main image that people see when they are browsing workout plans.
The Plan Image is the main image that people see when they are browsing workout plans. We recommend 600 pixels by 500 pixels for the plan image.
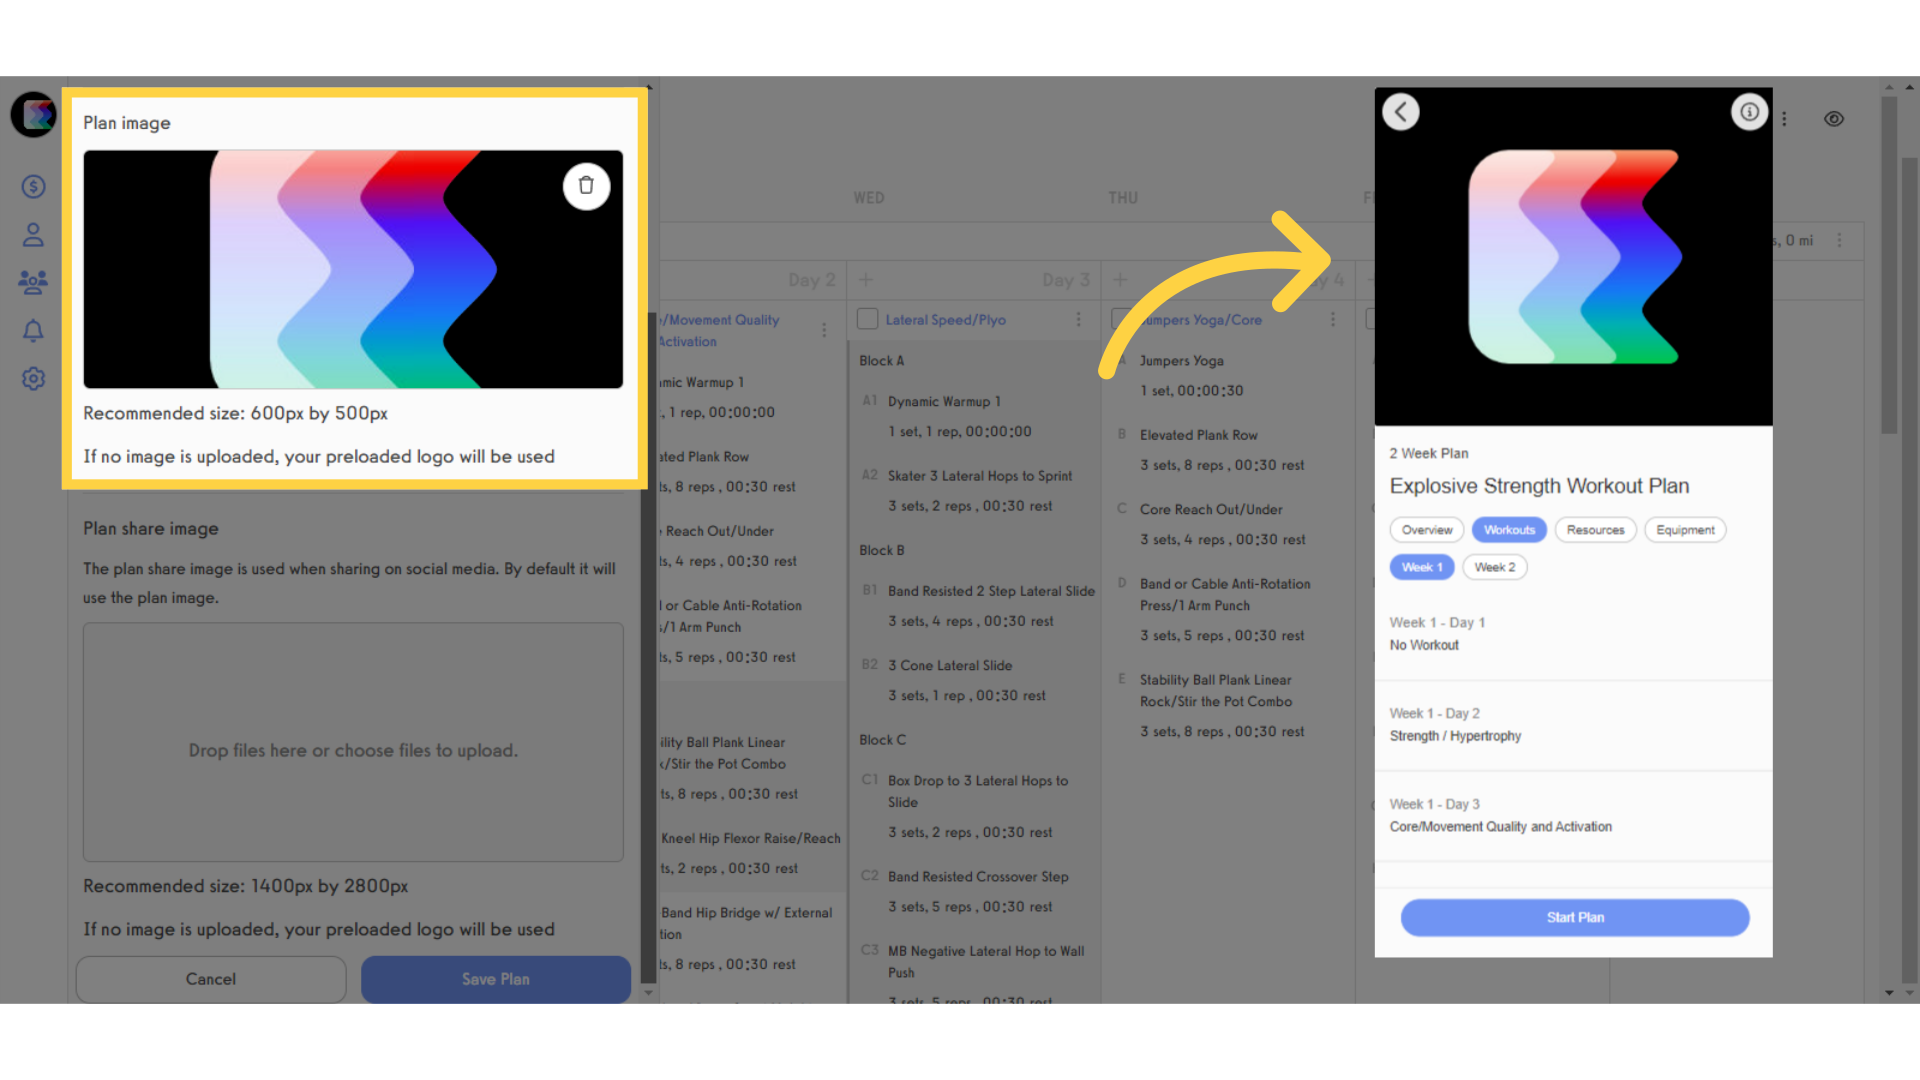
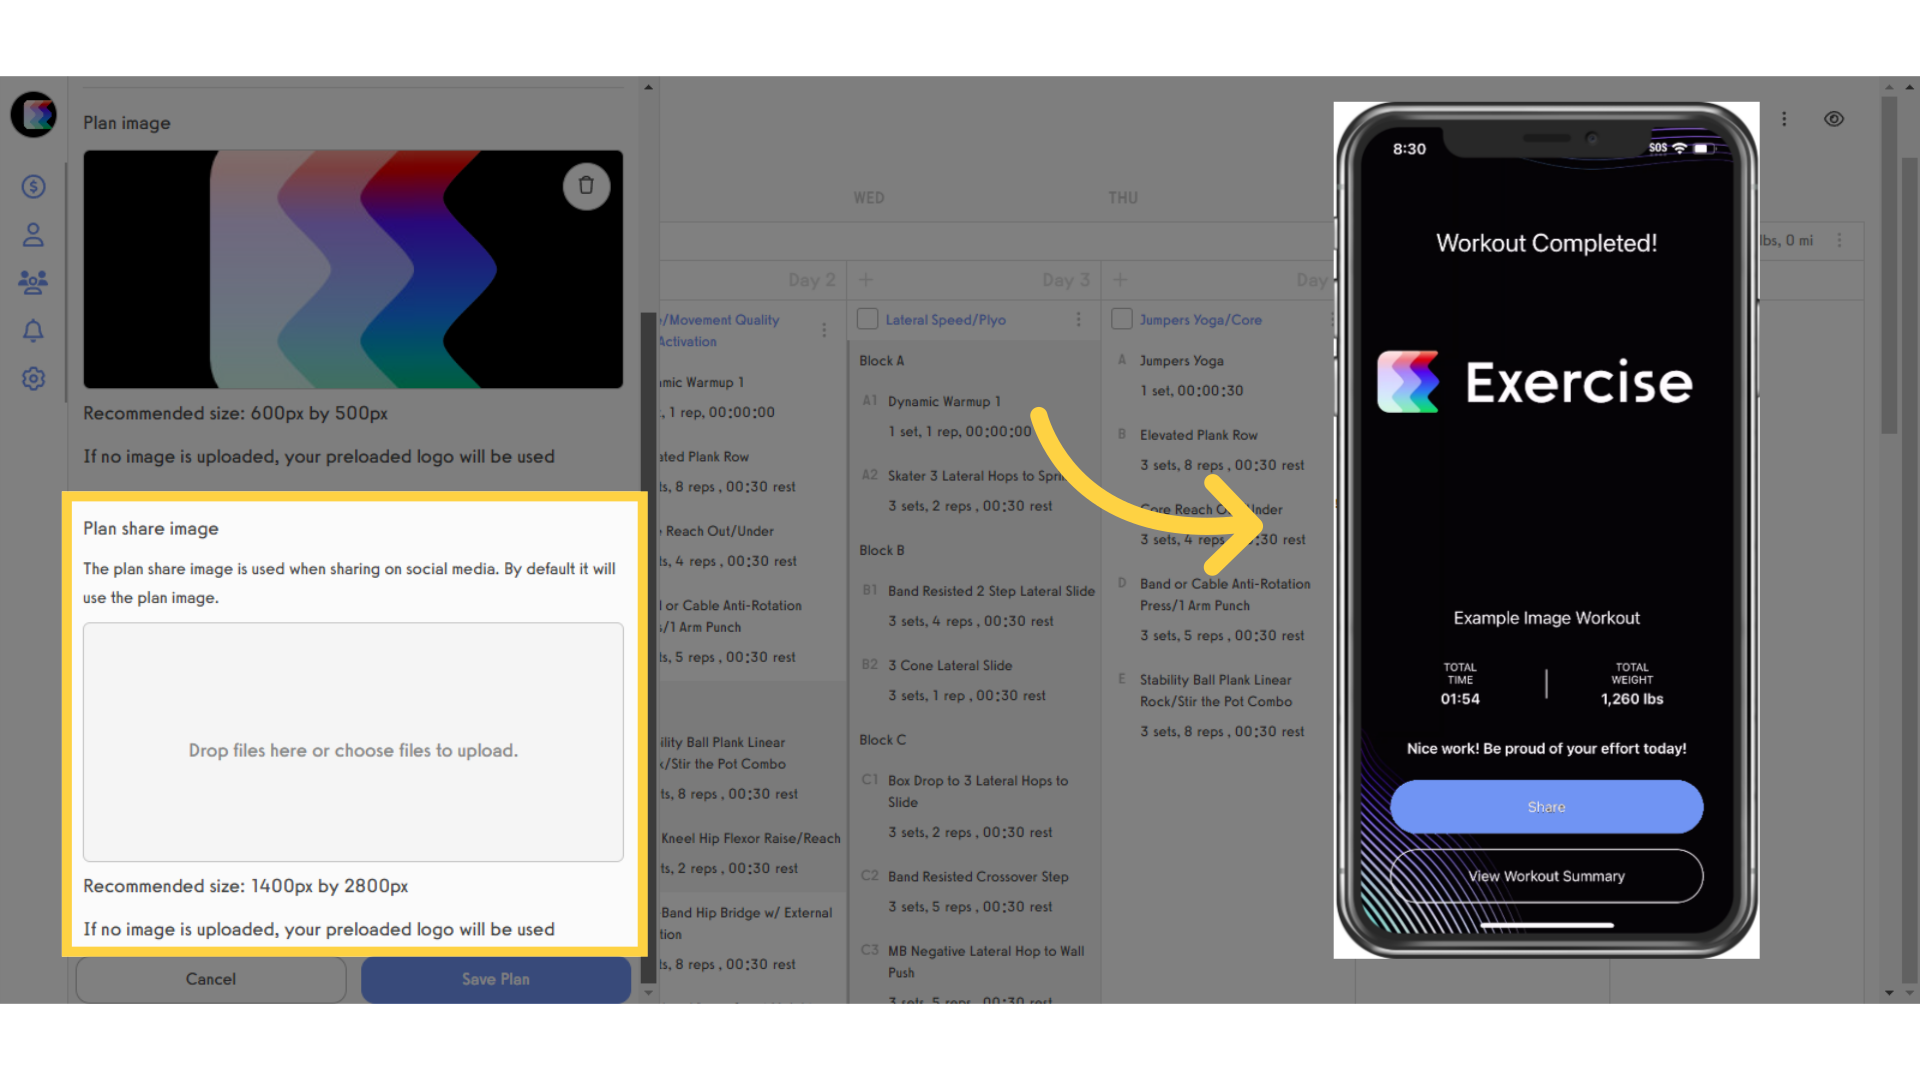
5. The Plan Share Image is what your clients will see immediately after they finish logging a workout from this plan.
The Plan Share Image is what your clients will see immediately after they finish logging a workout from this plan. We recommend 1400 pixels by 2800 pixels for your Plan Share Images.
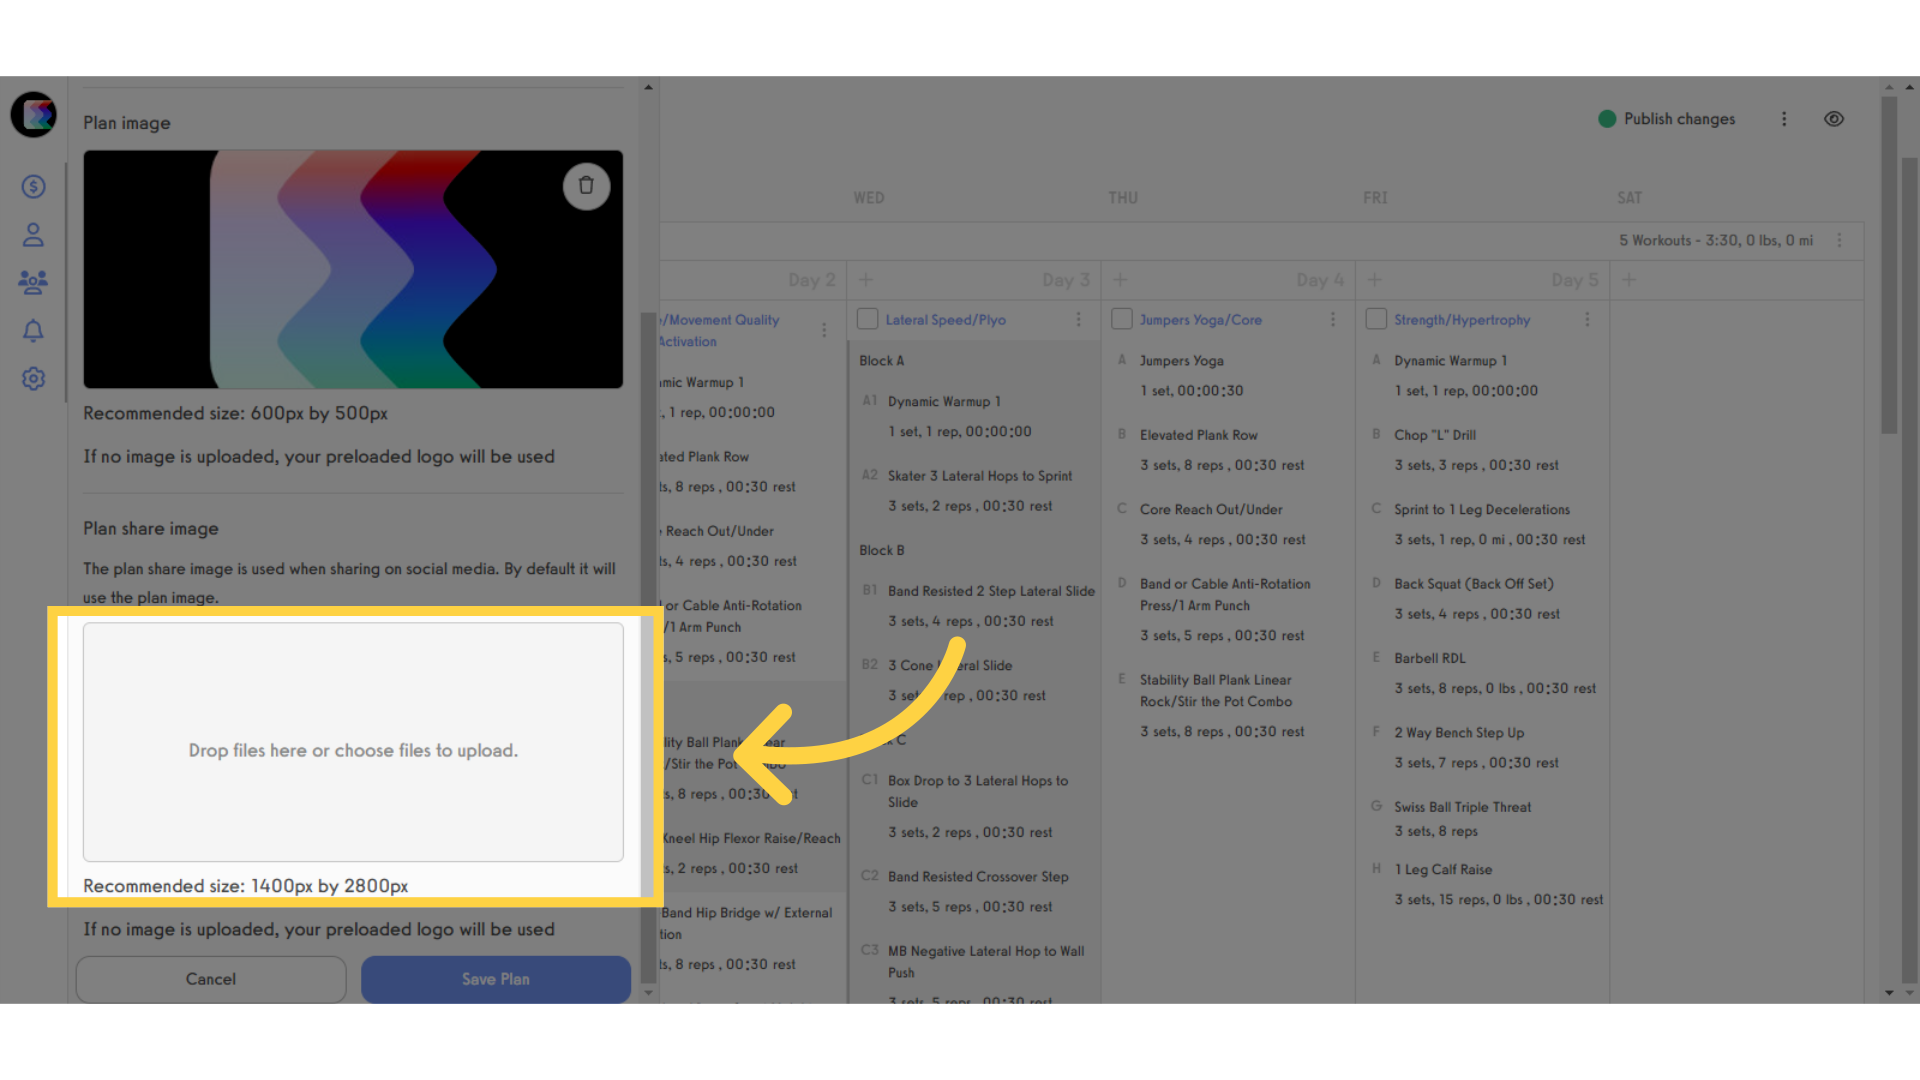
6. To update the Plan Share Image, clear out anything already uploaded, then click the upload box to choose and upload your new image.
To update the Plan Share Image, clear out anything already uploaded, then click the upload box to choose and upload your new image.
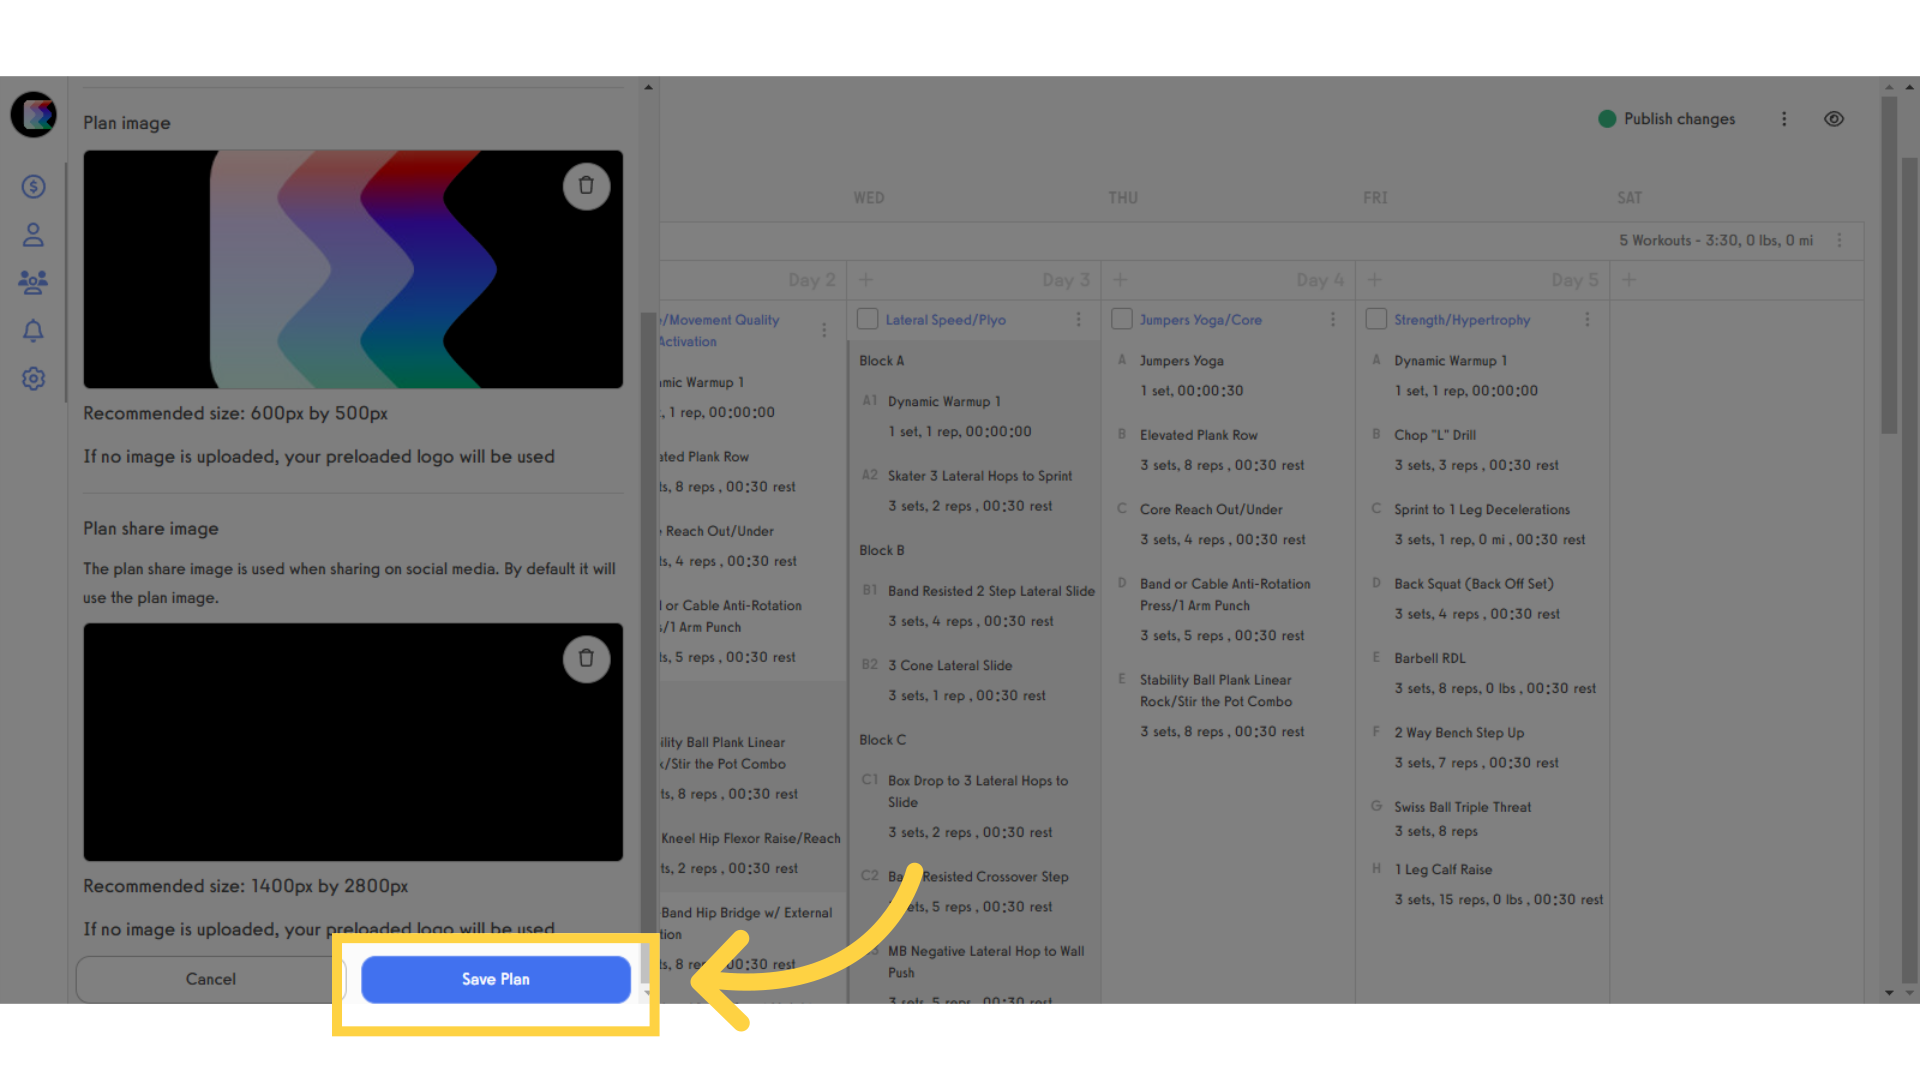
7. Click “Save Plan” to save your changes.
Click “Save Plan” to save your changes.
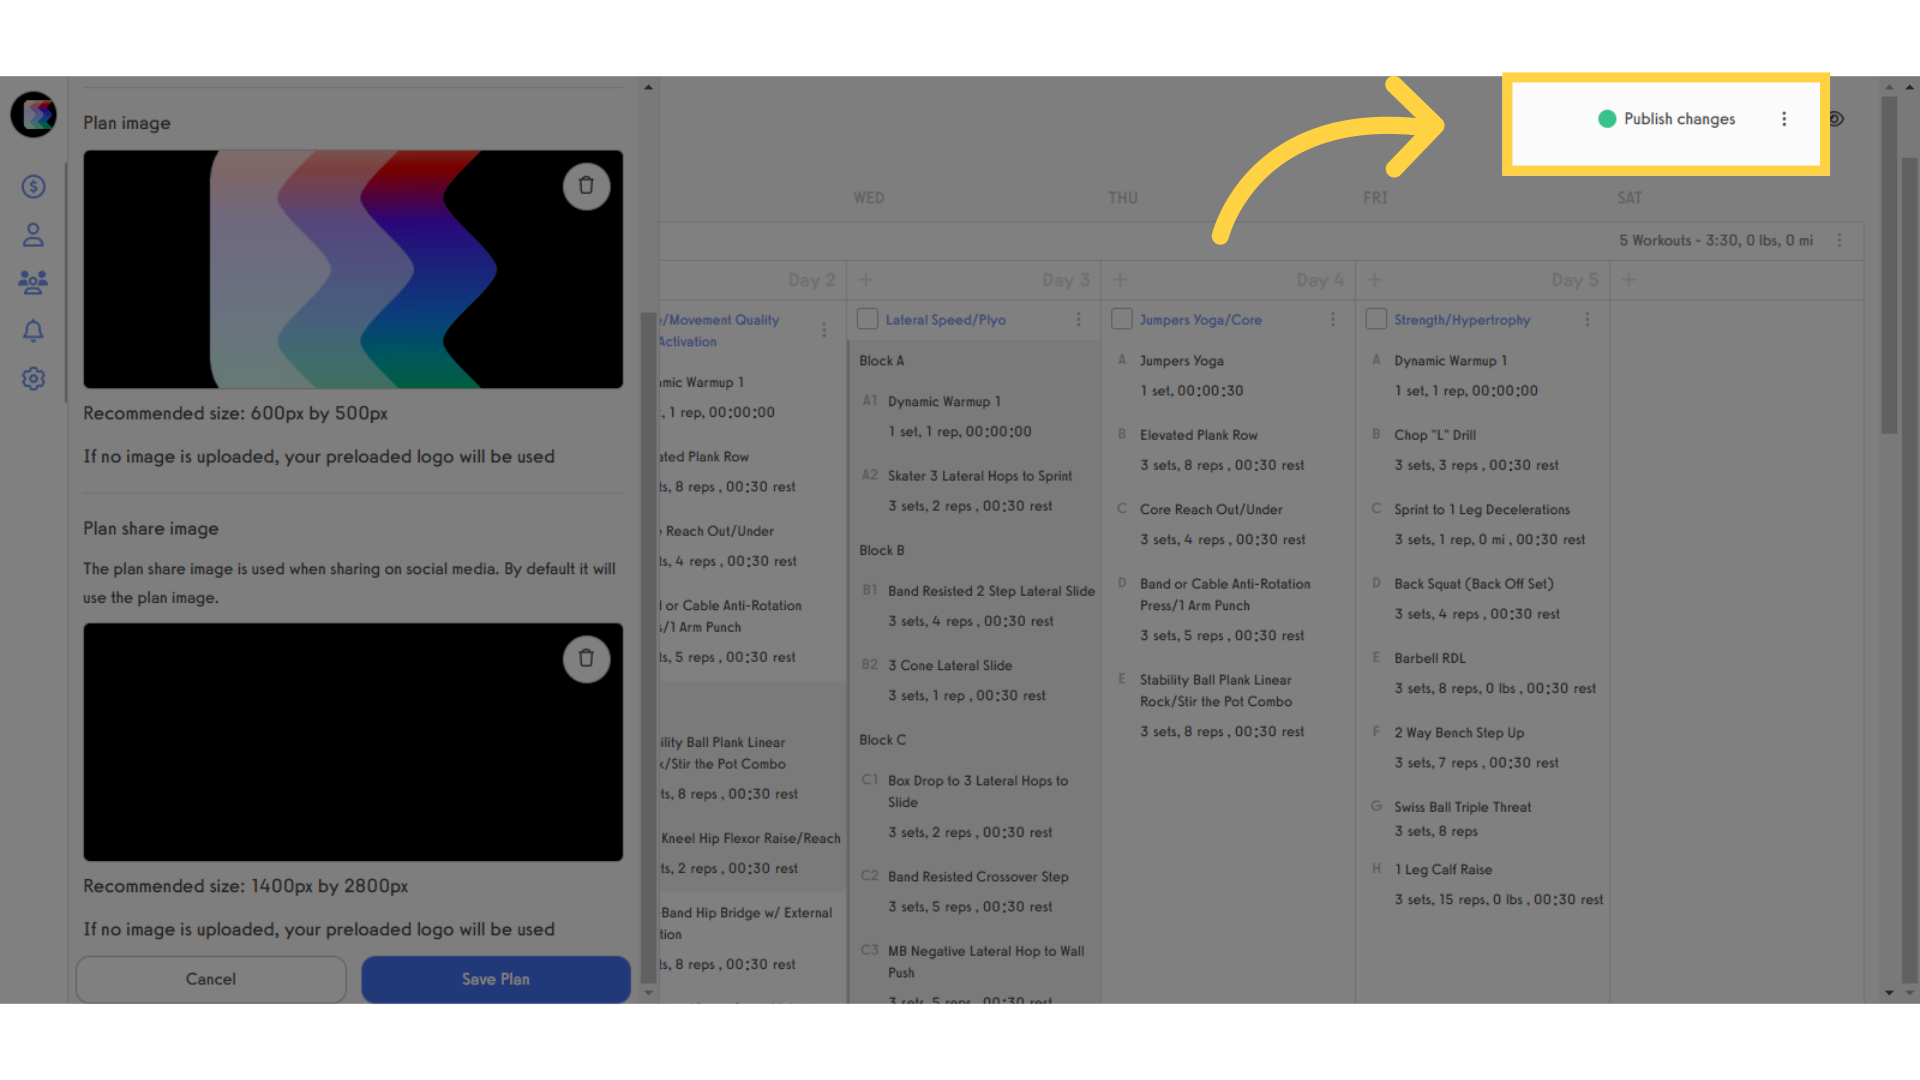
8. Publish Changes if you already have clients using this workout plan.
If your plan is already live, make sure to Publish your changes so anyone who has access to the plan will get the latest images you’ve added.
This guide demonstrated how to customize the share image on a workout plan in your custom branded platform. Now you can customize what your clients are seeing after each workout, based on the workout plan they are following!


