How do I issue a refund?
Using Exercise.com’s gym management software, it’s easy to issue refunds as needed. Here’s how to issue a refund, starting from the “Account” tab of your Dashboard. We’ll also demonstrate how to process a refund from the Manage Client view.
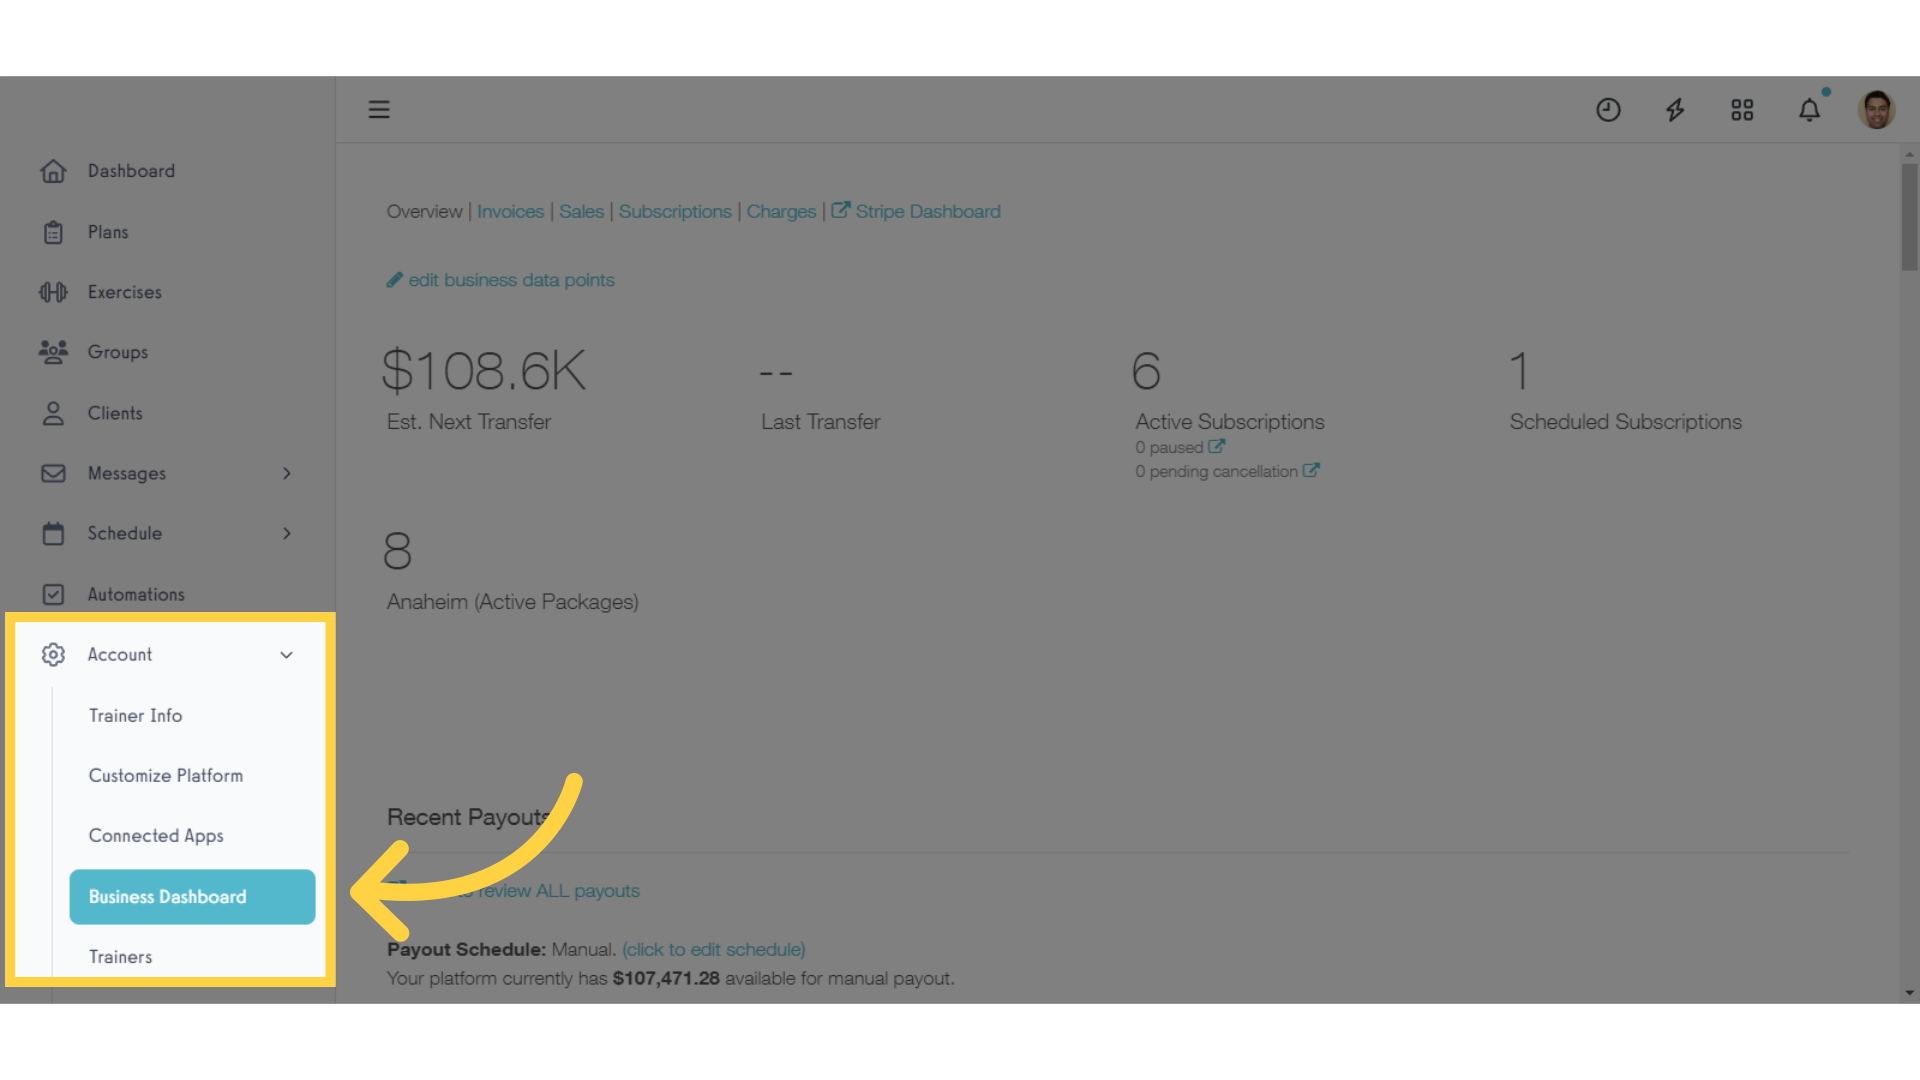
1. Click the Business Dashboard option in the left side menu under the “Account” tab.
Click the Business Dashboard option in the left side menu under the “Account” tab.
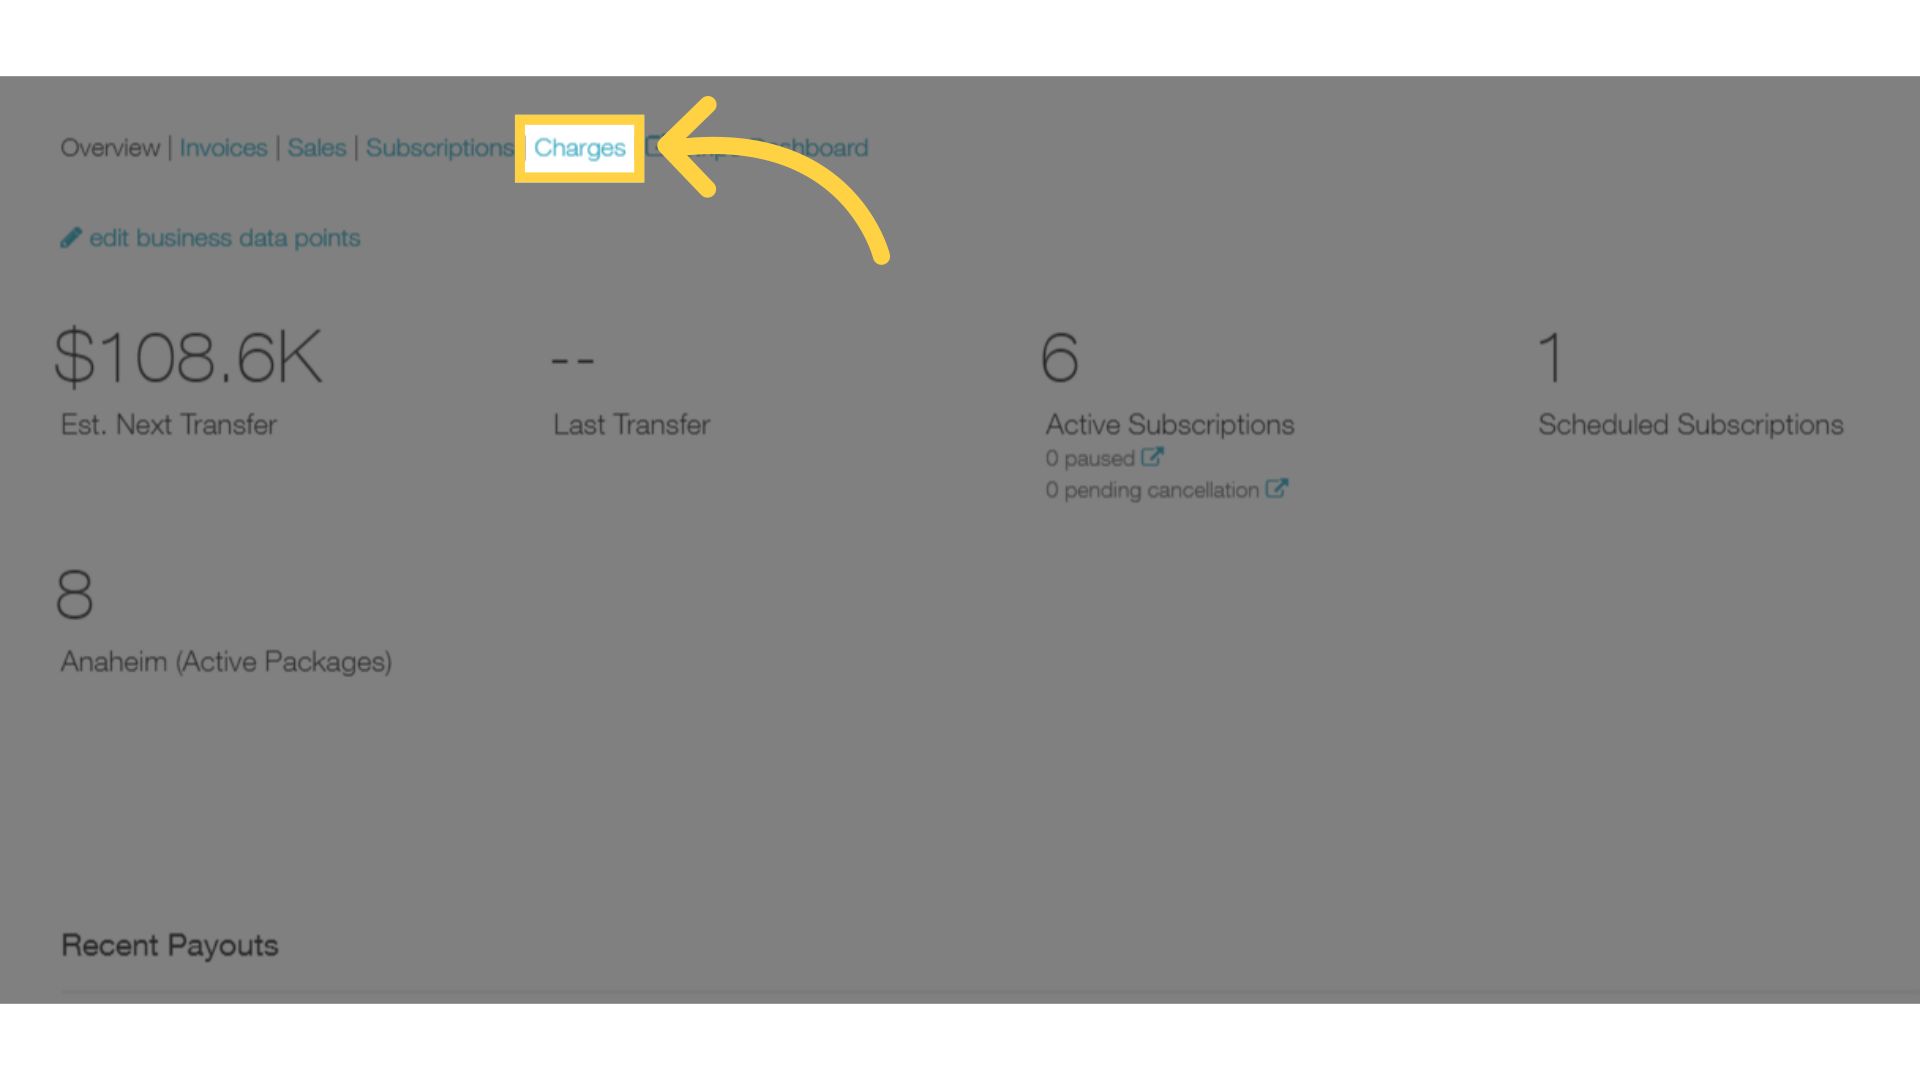
2. Click the Charges link at the top of the page.
Select the “Charges” option at the top of the page.
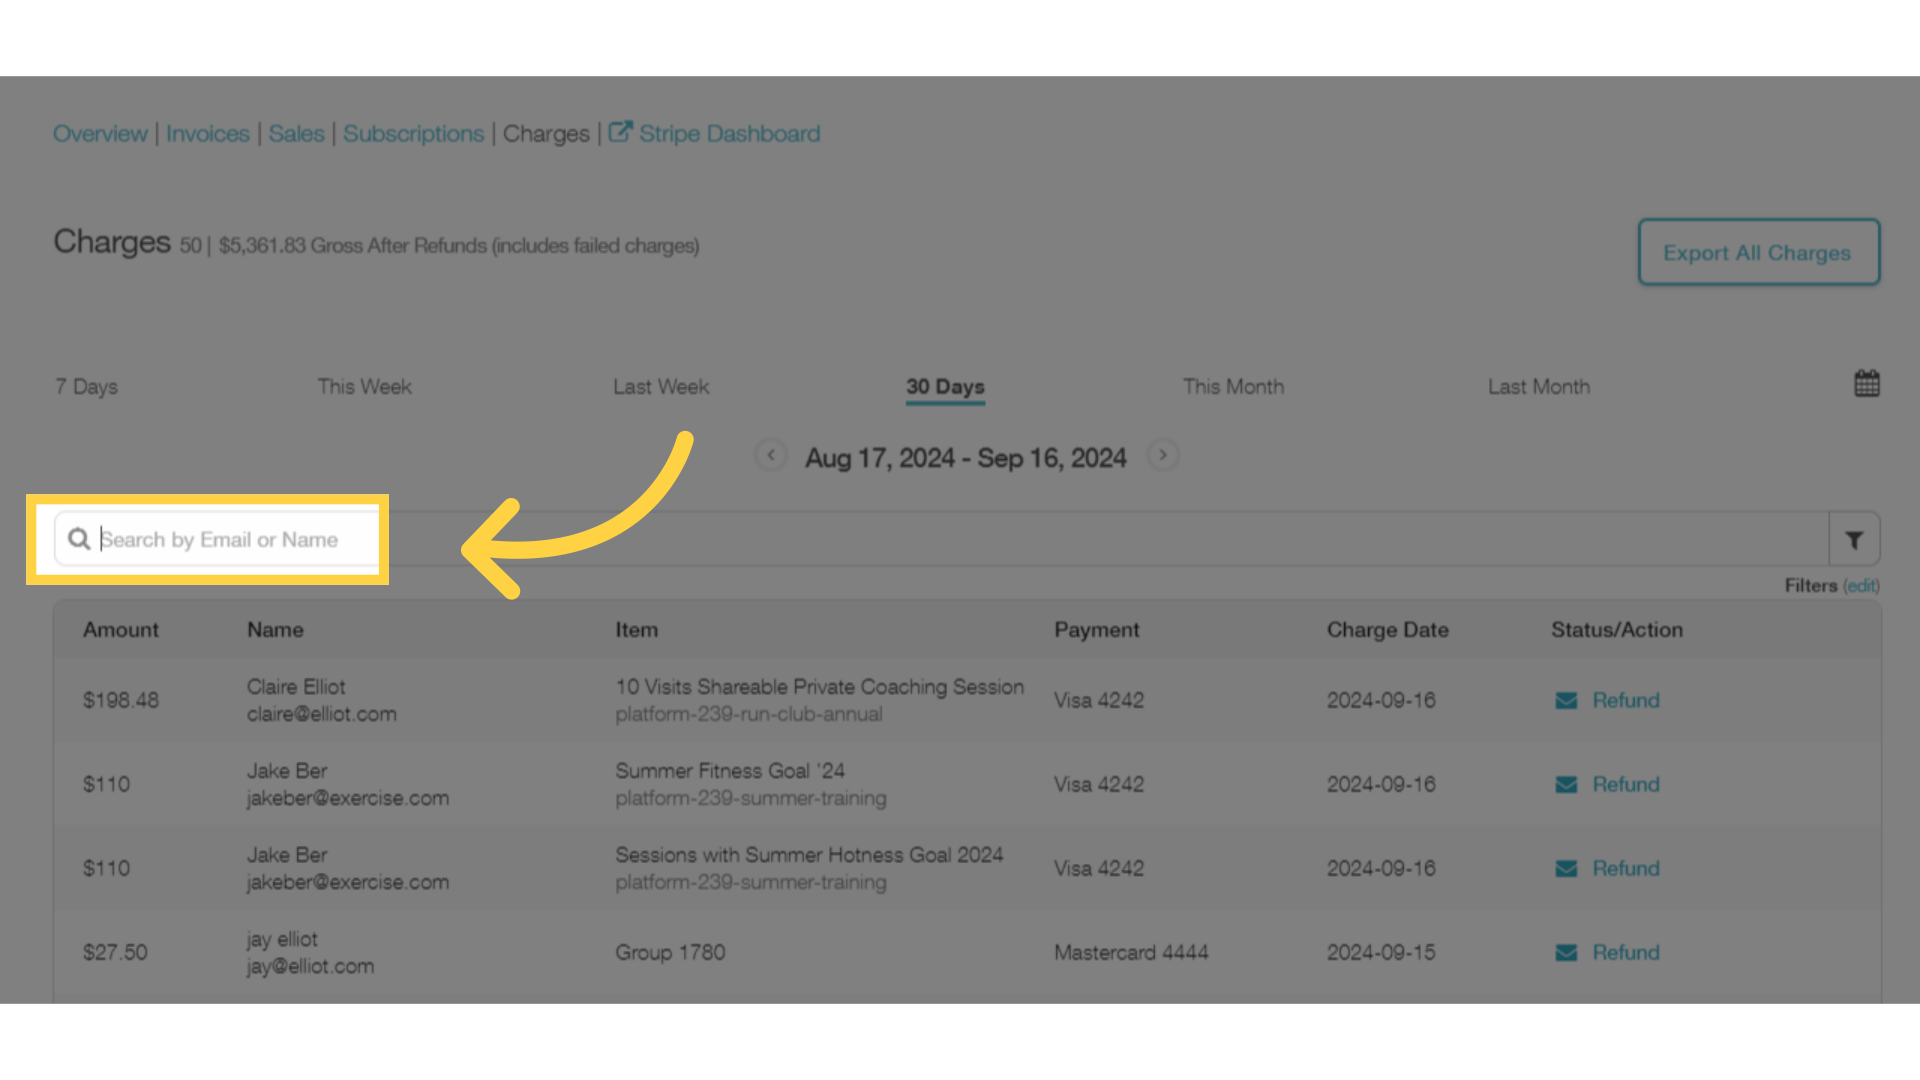
3. Use the search field to find the client that you want to refund.
Use the search field to find the client that you want to refund.
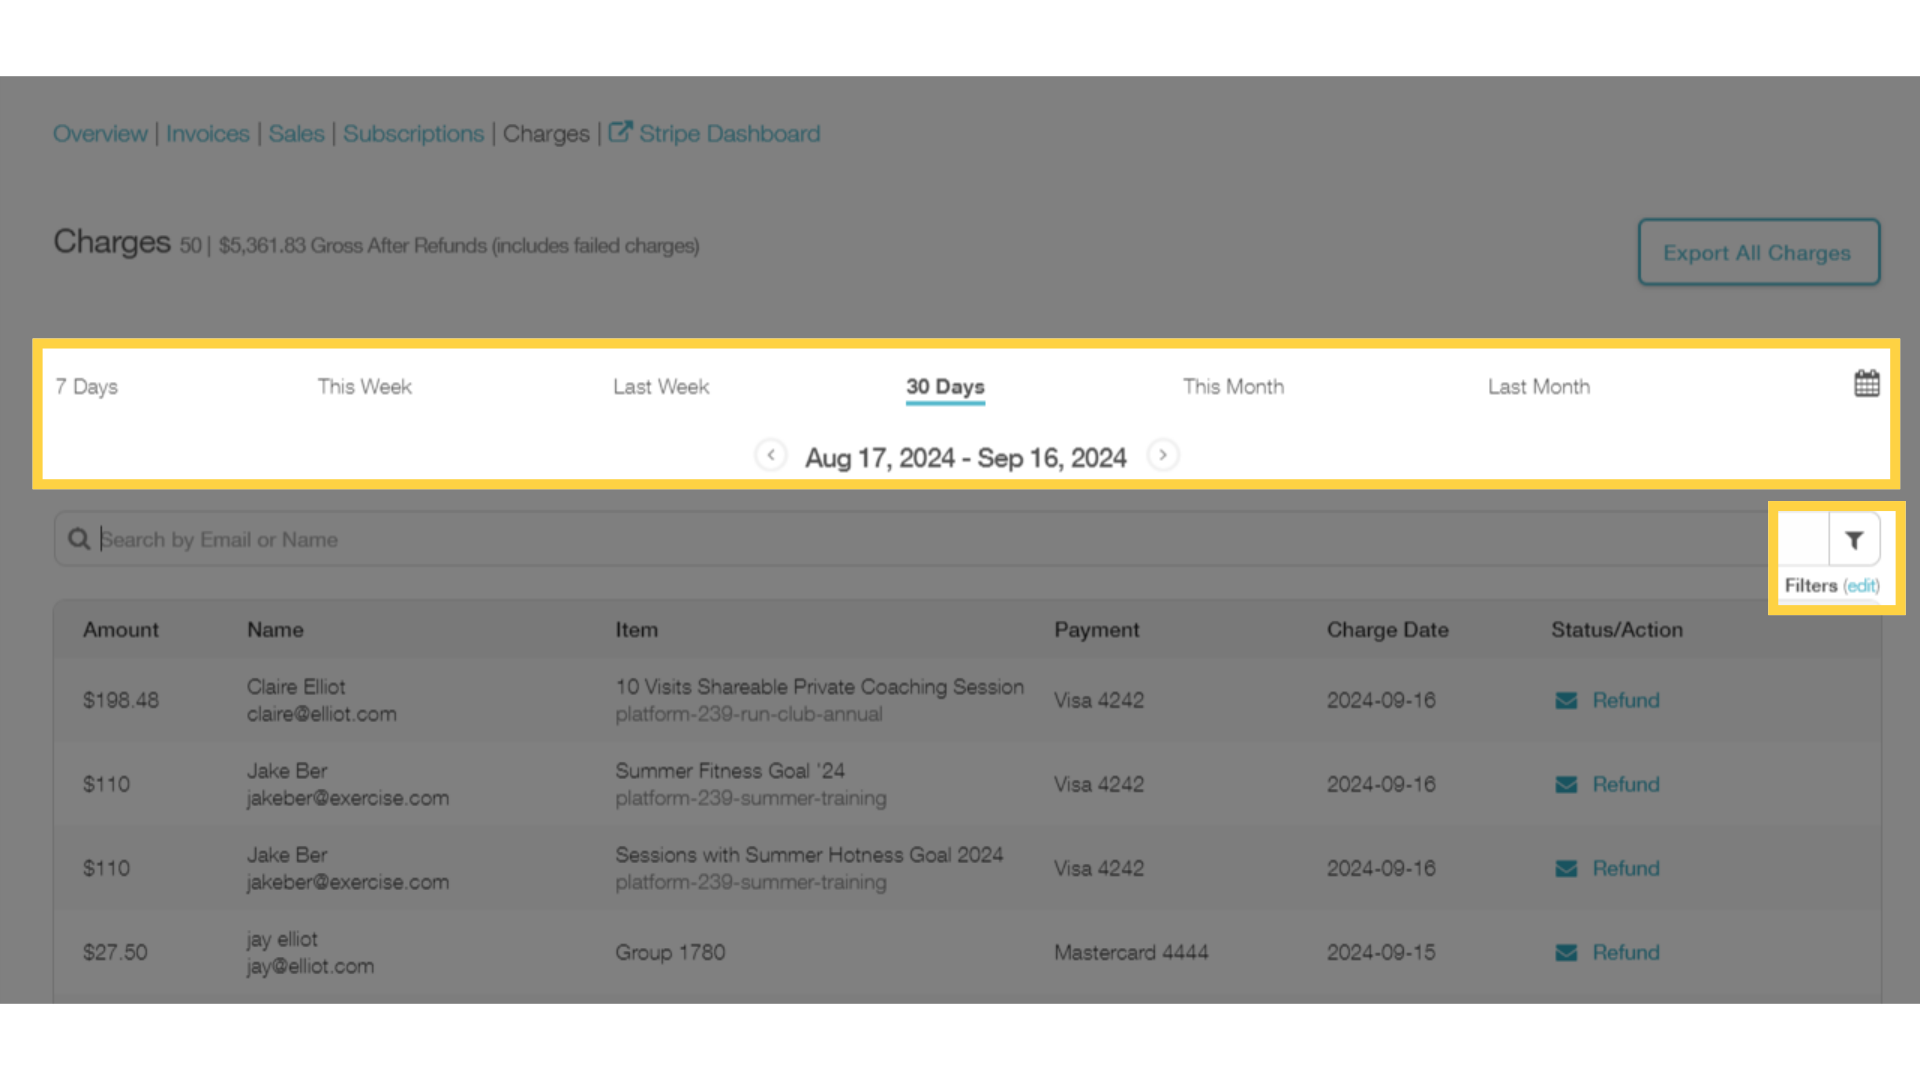
4. You can use the date or Filter options to narrow down your search results.
You can use the date or Filter options to narrow down your search results.
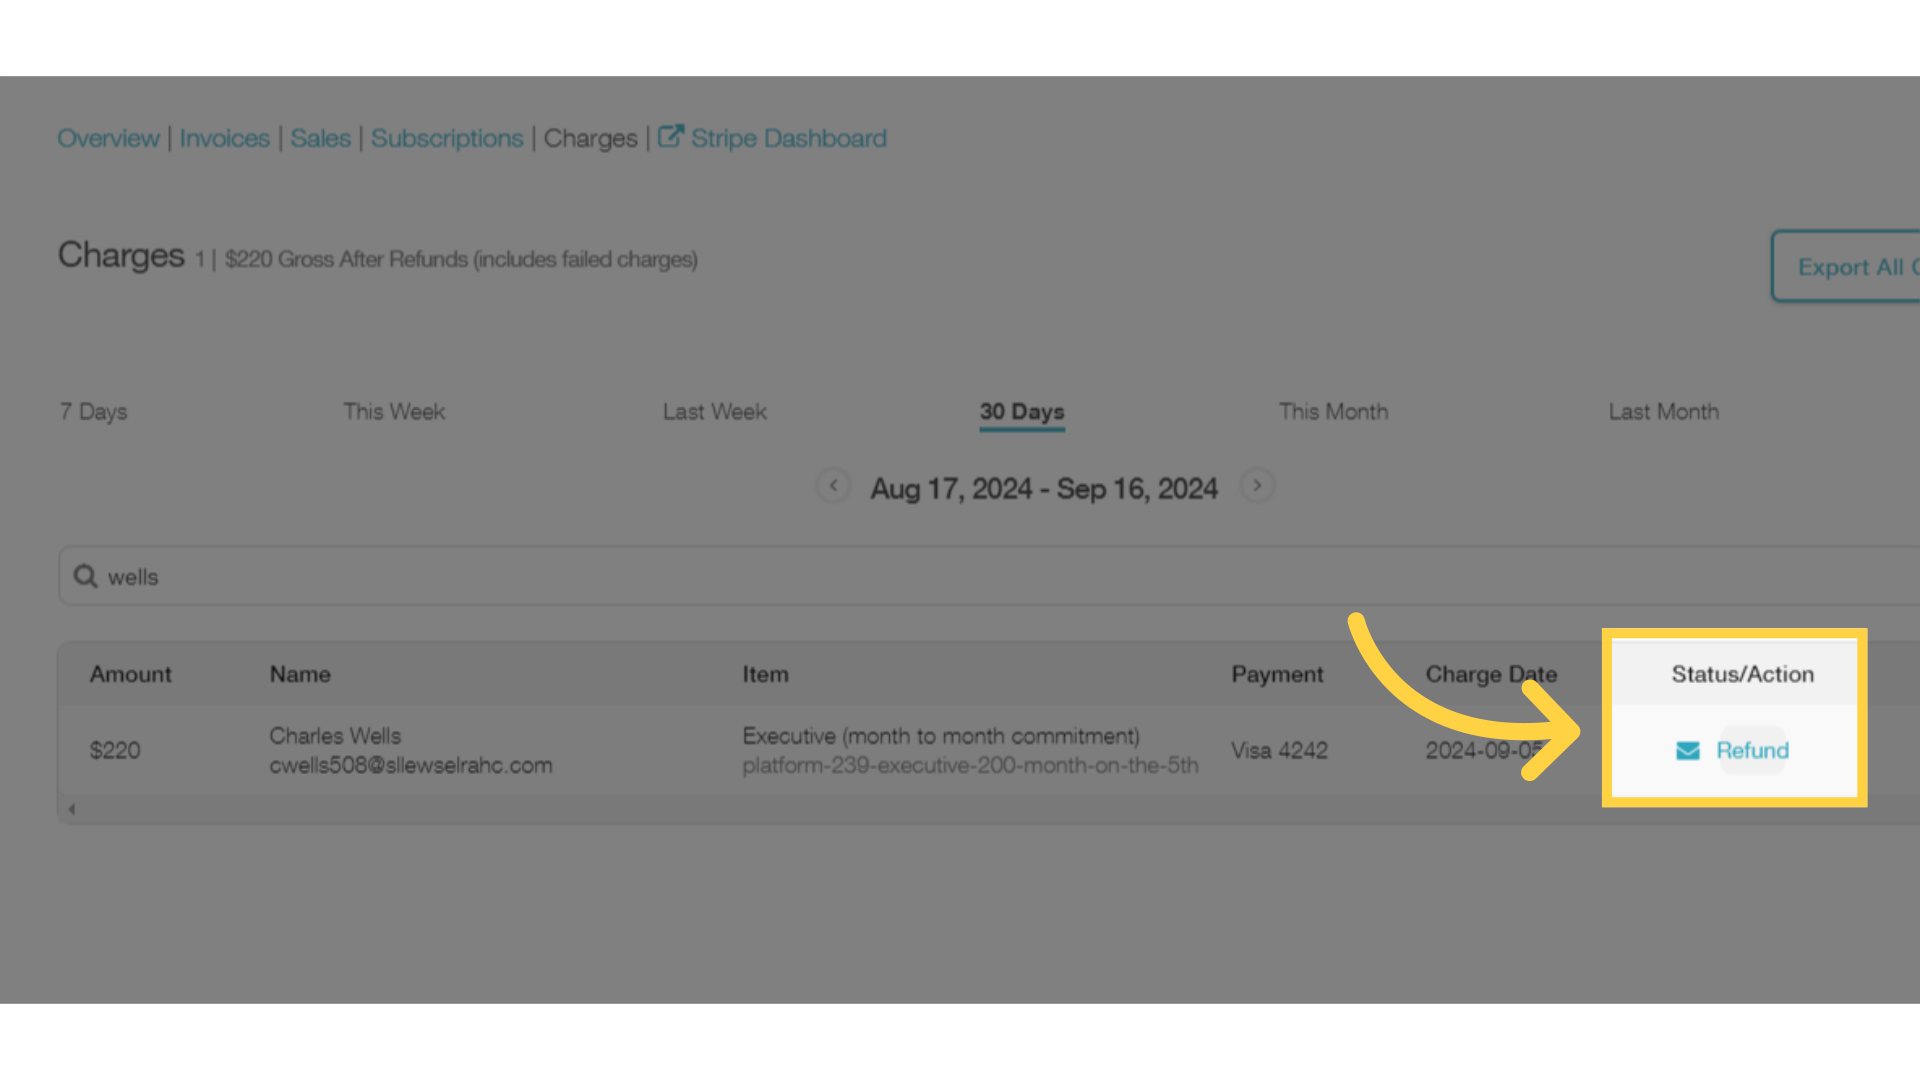
5. Click the “Refund” button to bring up the refund options.
Once you’ve found the transaction you’re looking for, click the “Refund” button to bring up the refund options.
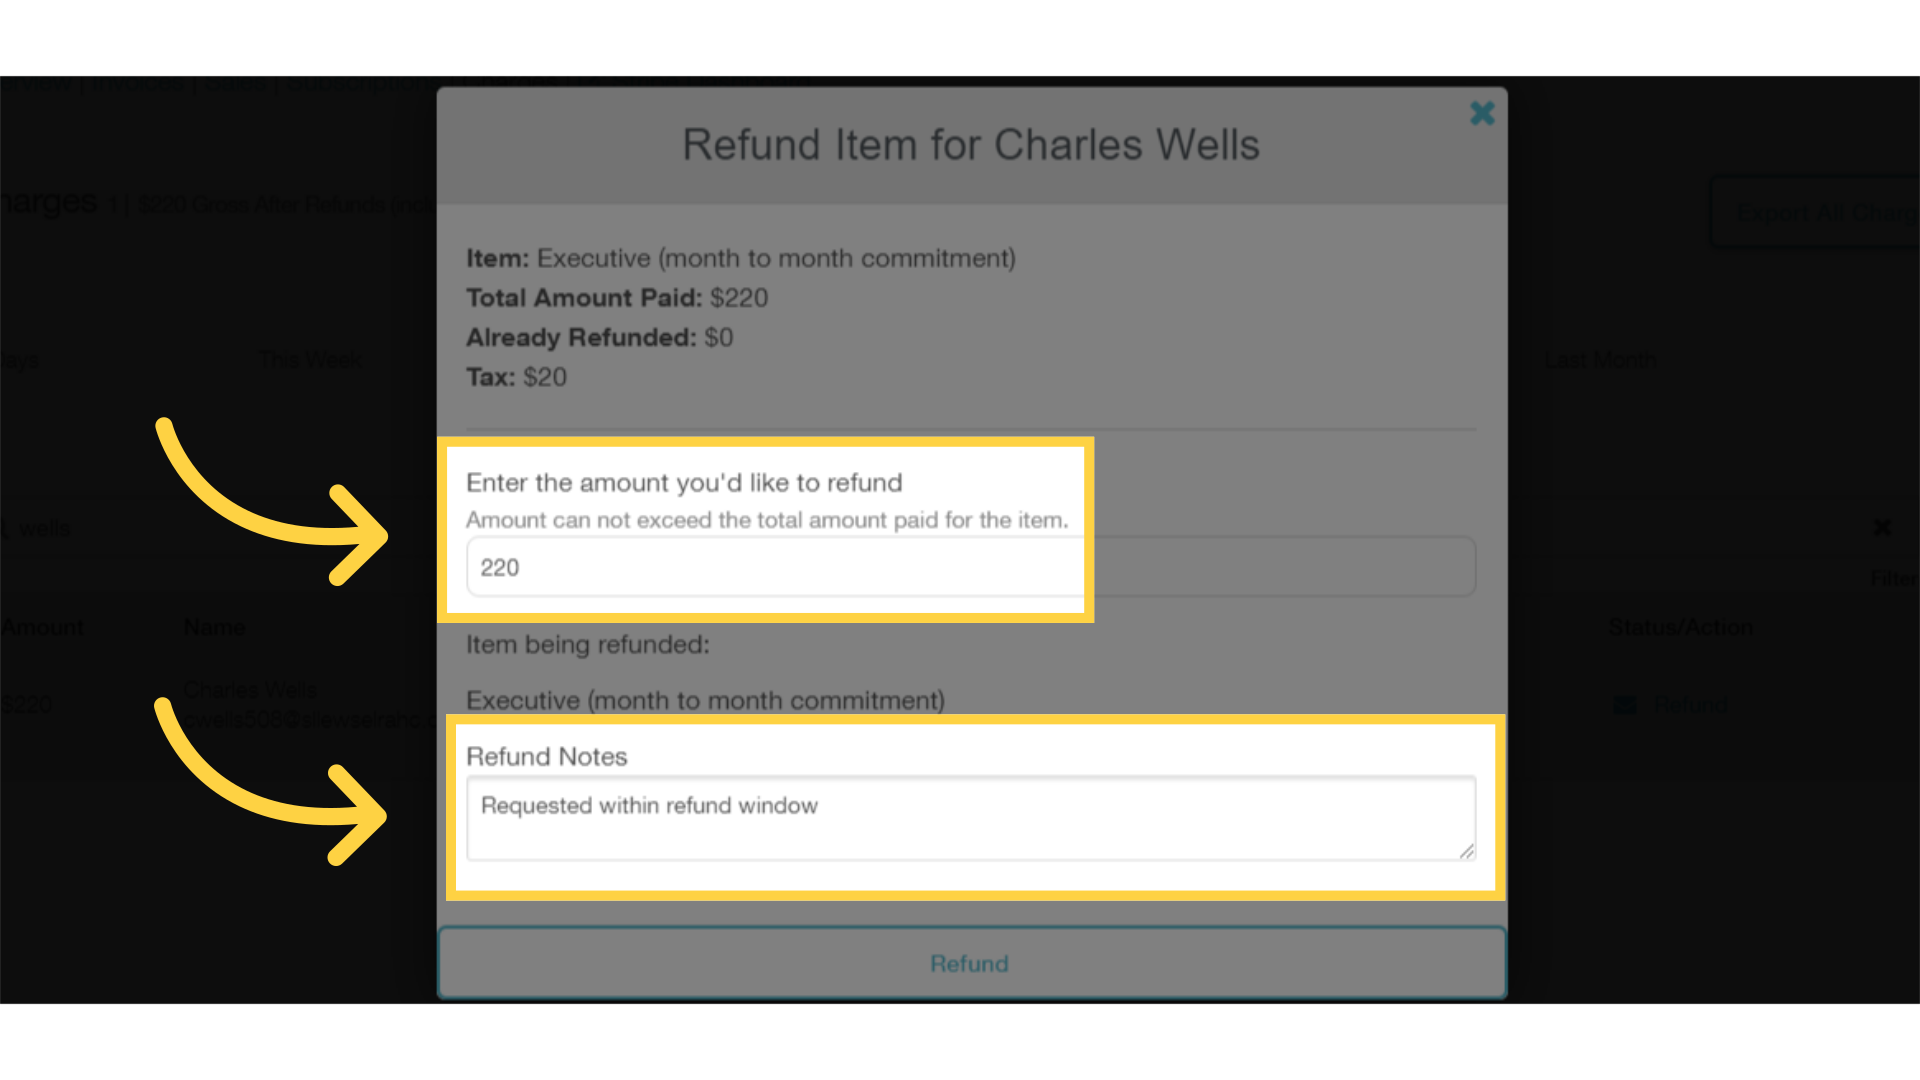
6. Specify the refund amount and any notes you’d like to include.
Set the refund amount and any notes you’d like to include. You can process a partial refund or a full refund. The notes are optional but will make things easier if you need to review later. The refund notes are not visible to the client.
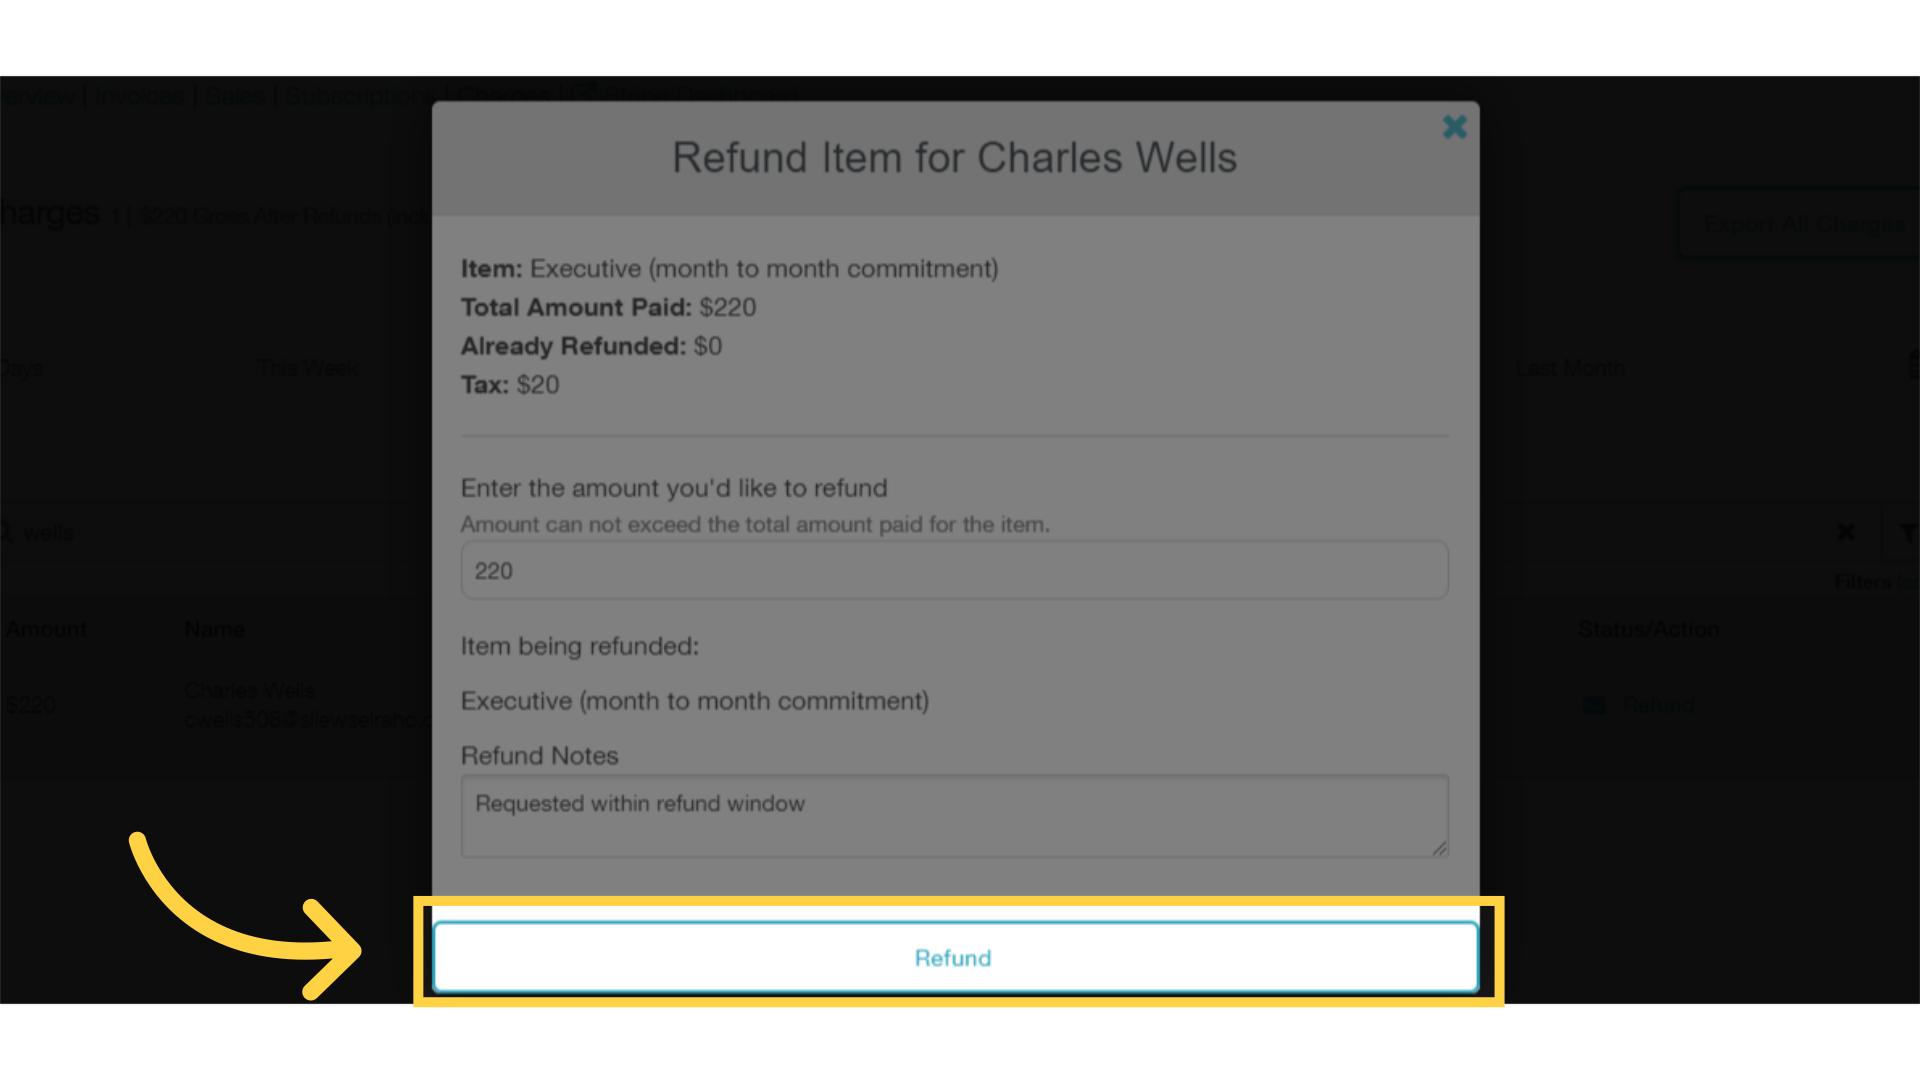
7. Click the Refund button.
Click the Refund button to proceed to the confirmation step.
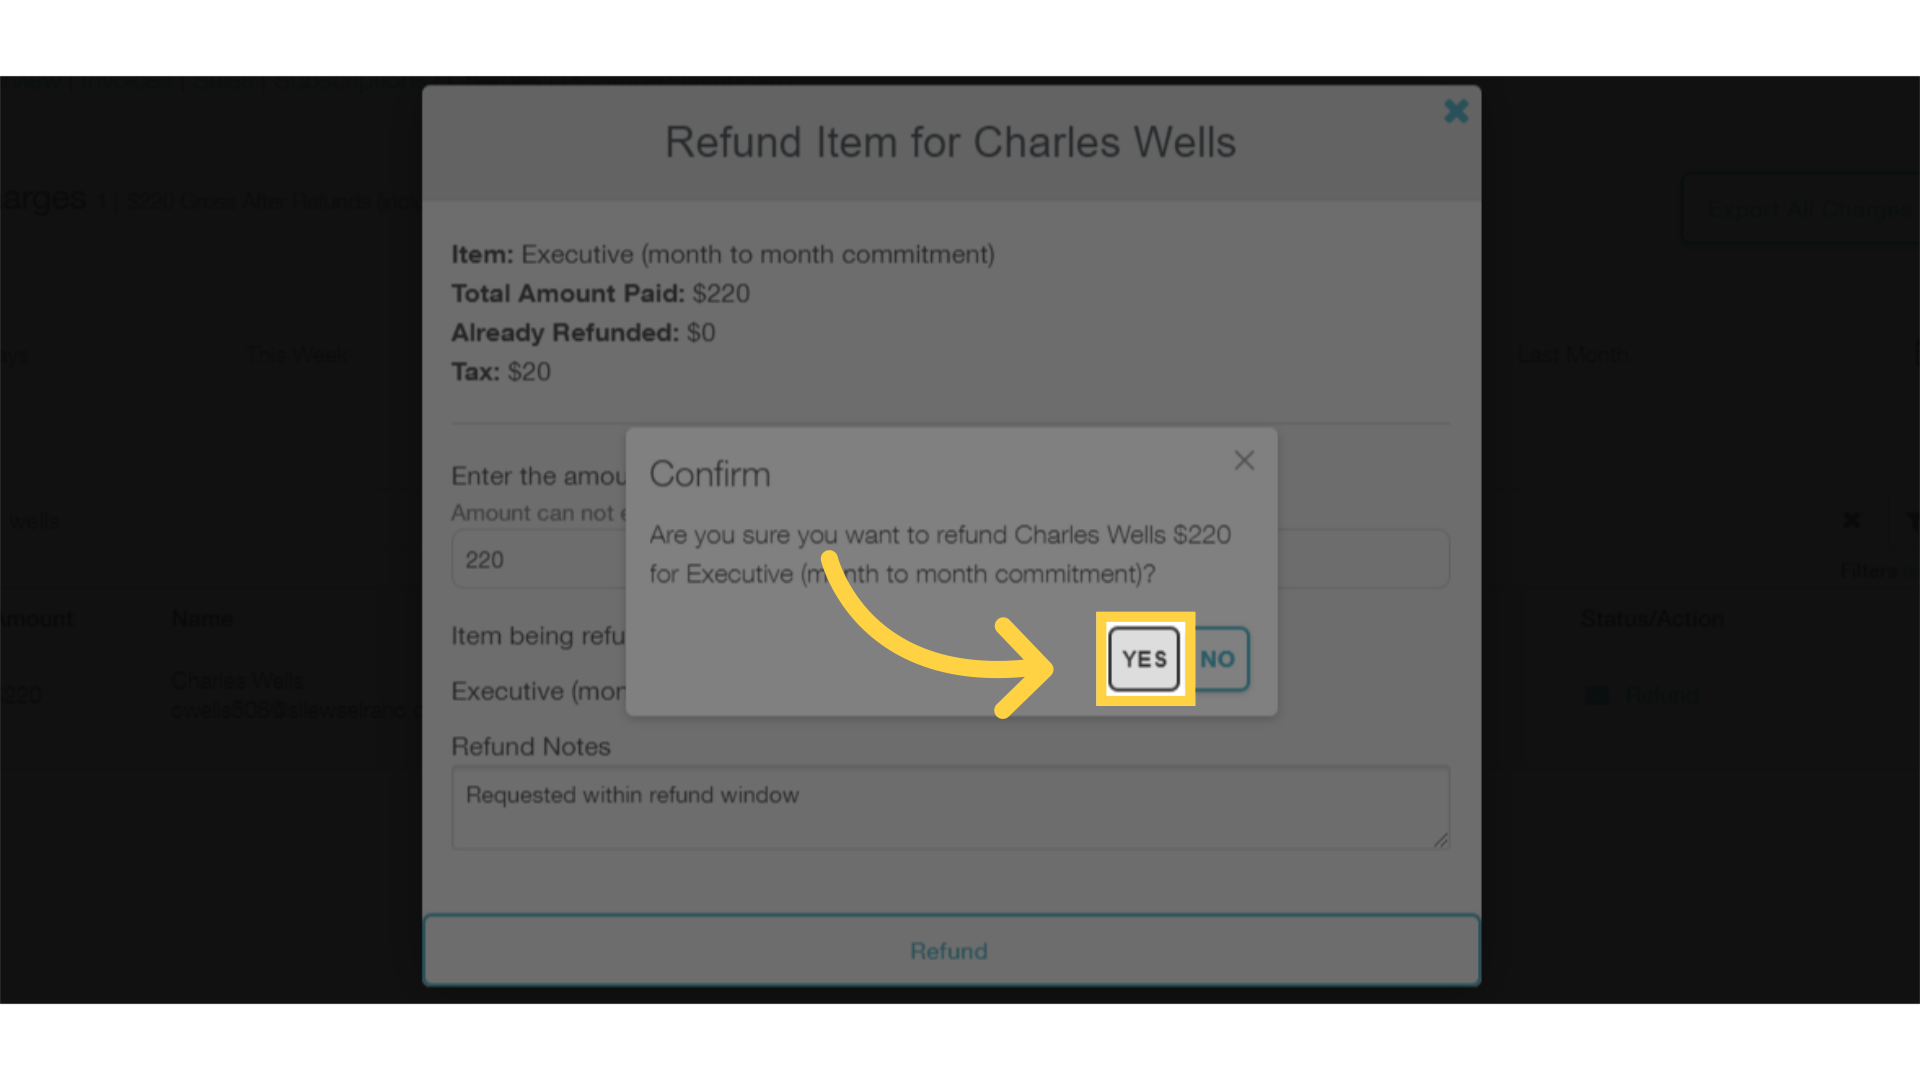
8. Click “Yes” to confirm and process the refund.
Click “Yes” to confirm and process the refund. Please note that once the refund is initiated, it can’t be un-done.
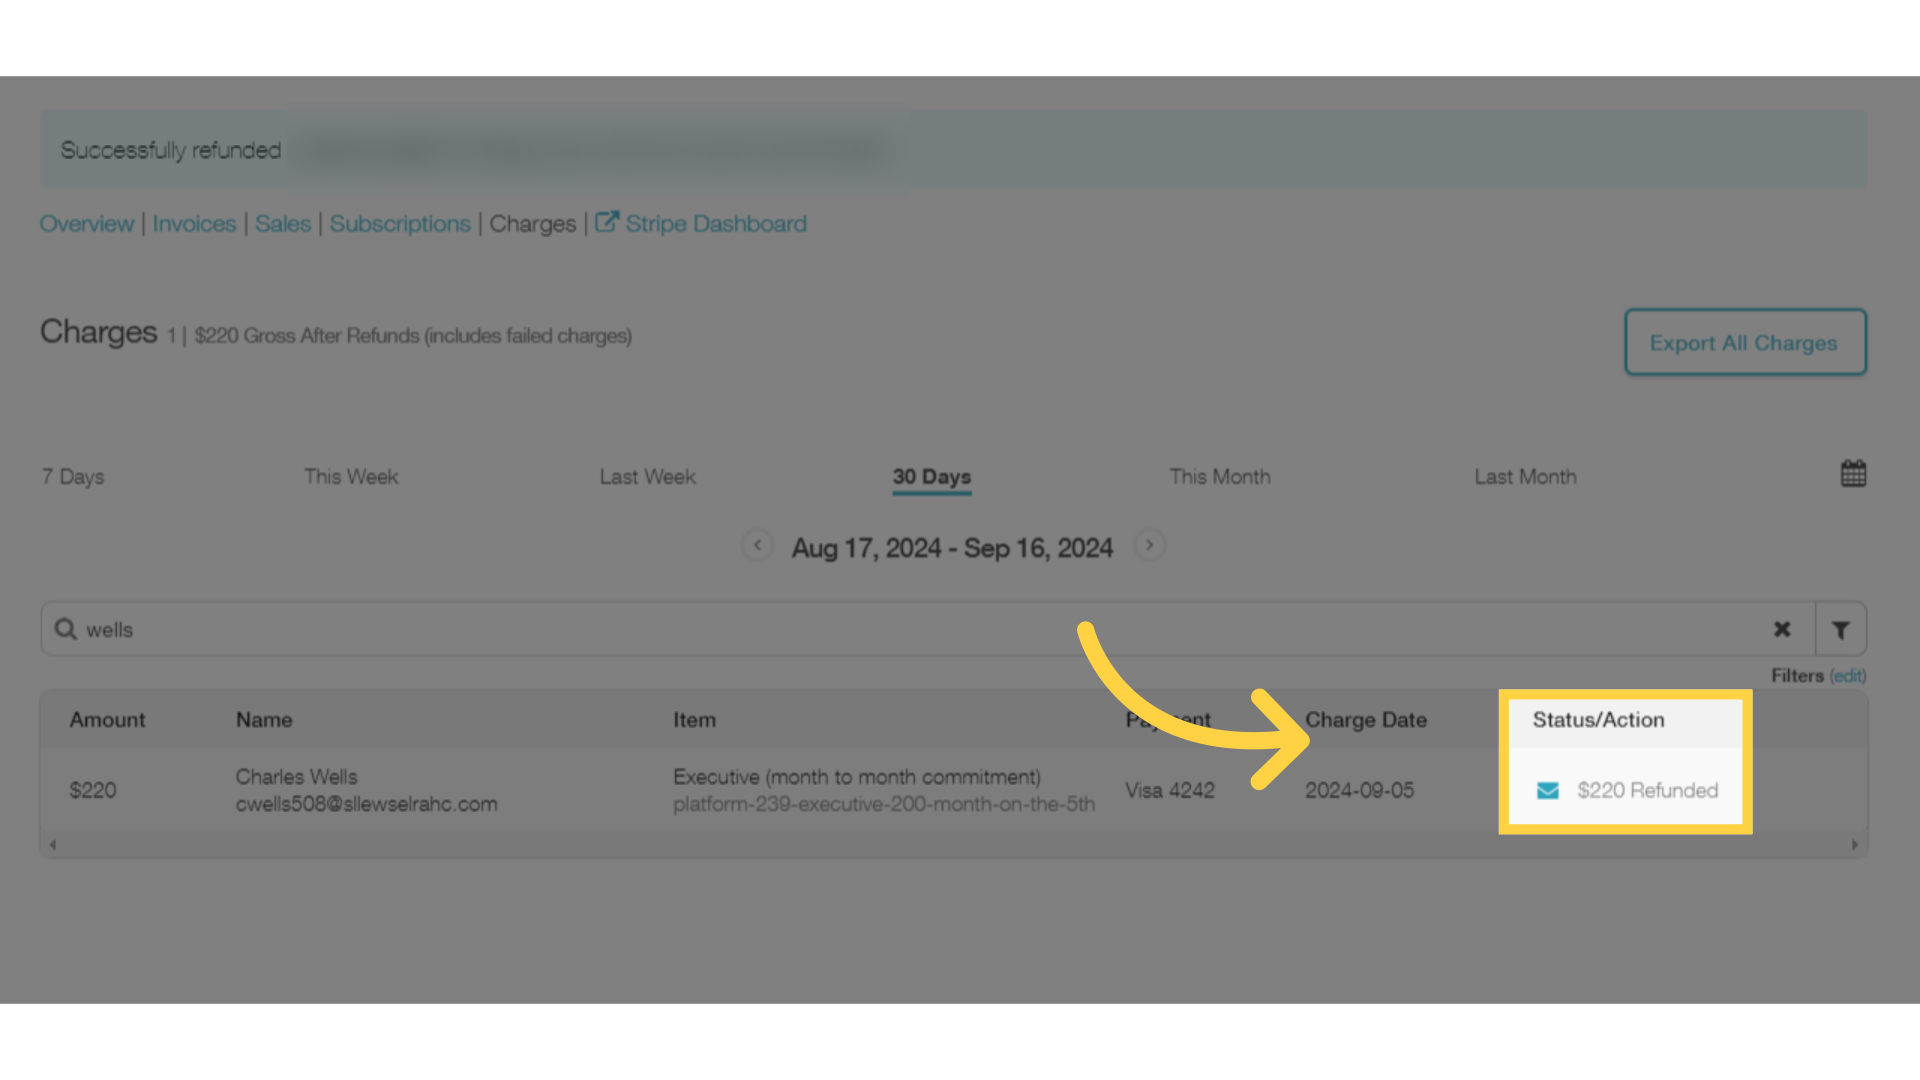
9. Confirm the refund status.
You’ll see a confirmation message, and the transaction status will update on the list of charges.
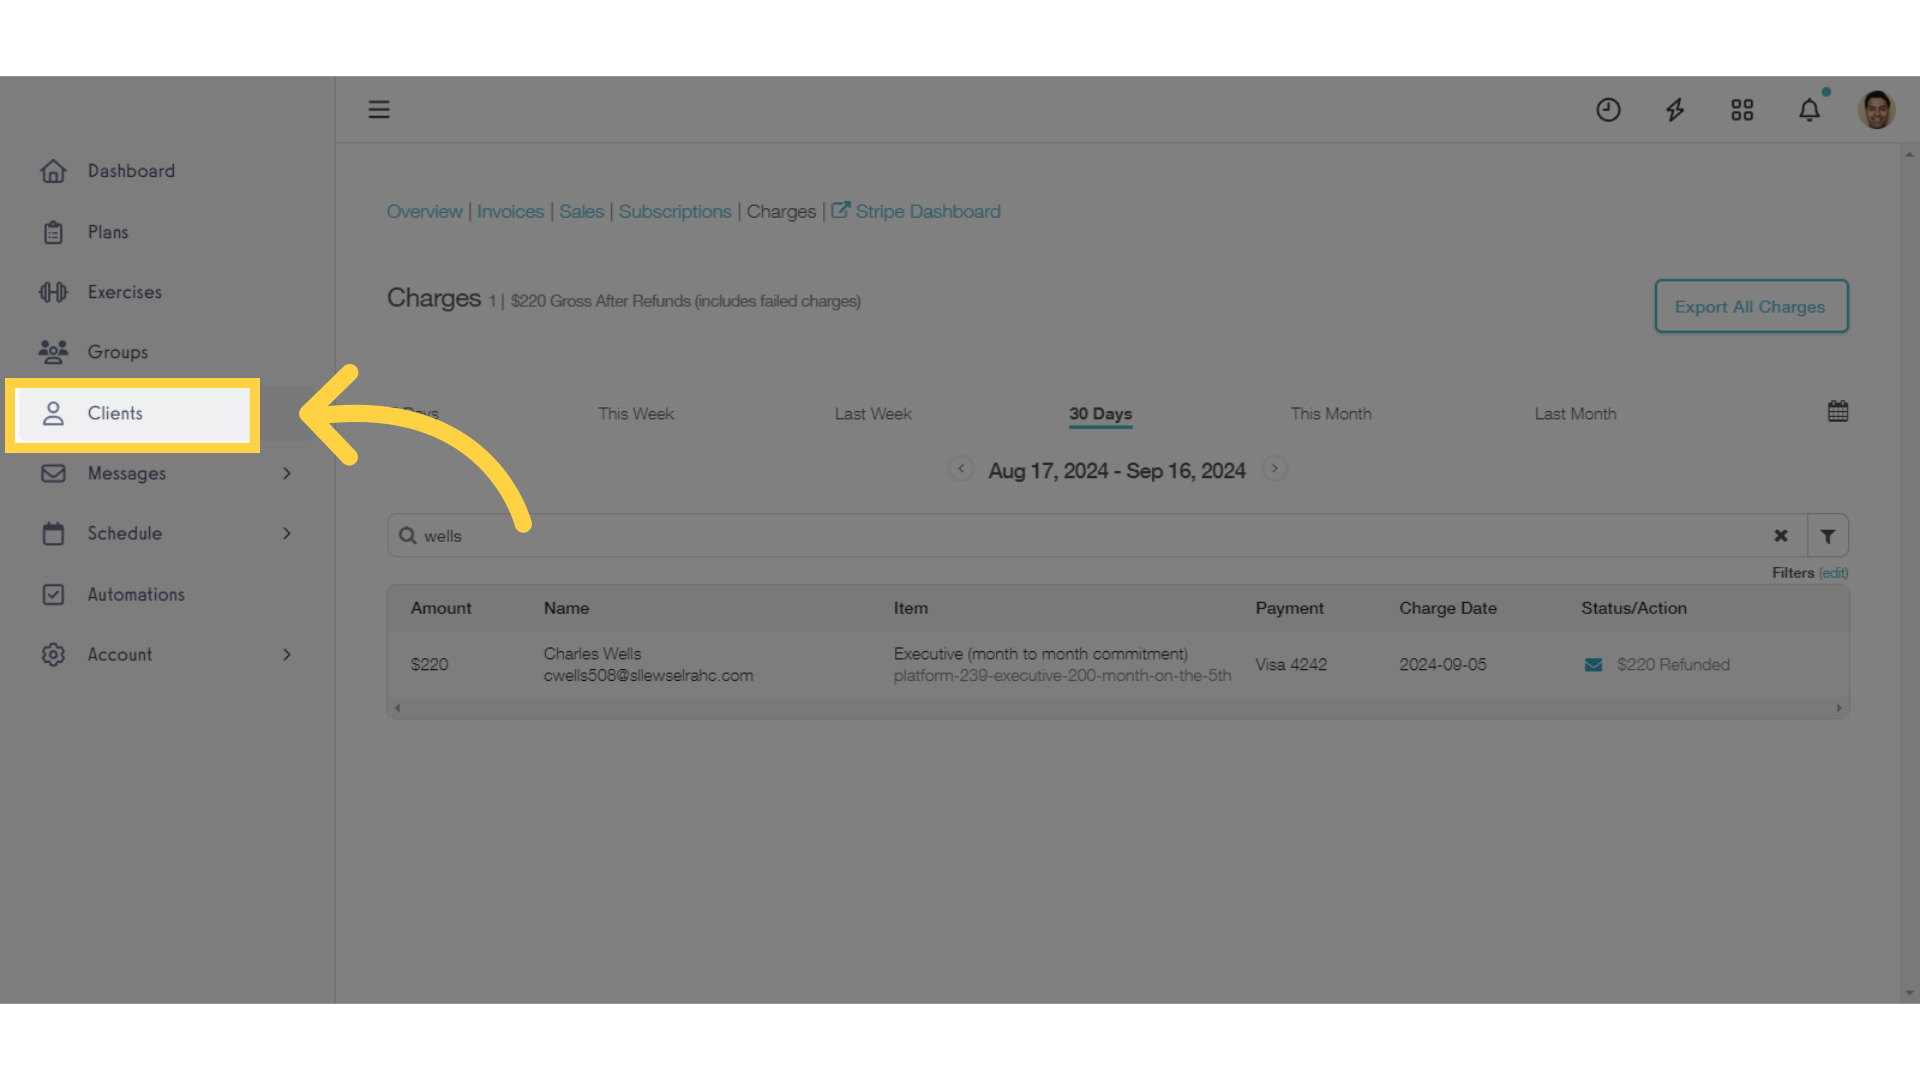
10. Click the Clients tab on the left side menu.
To initiate a refund from the Manage Client view, go to the Clients tab on the left side menu.
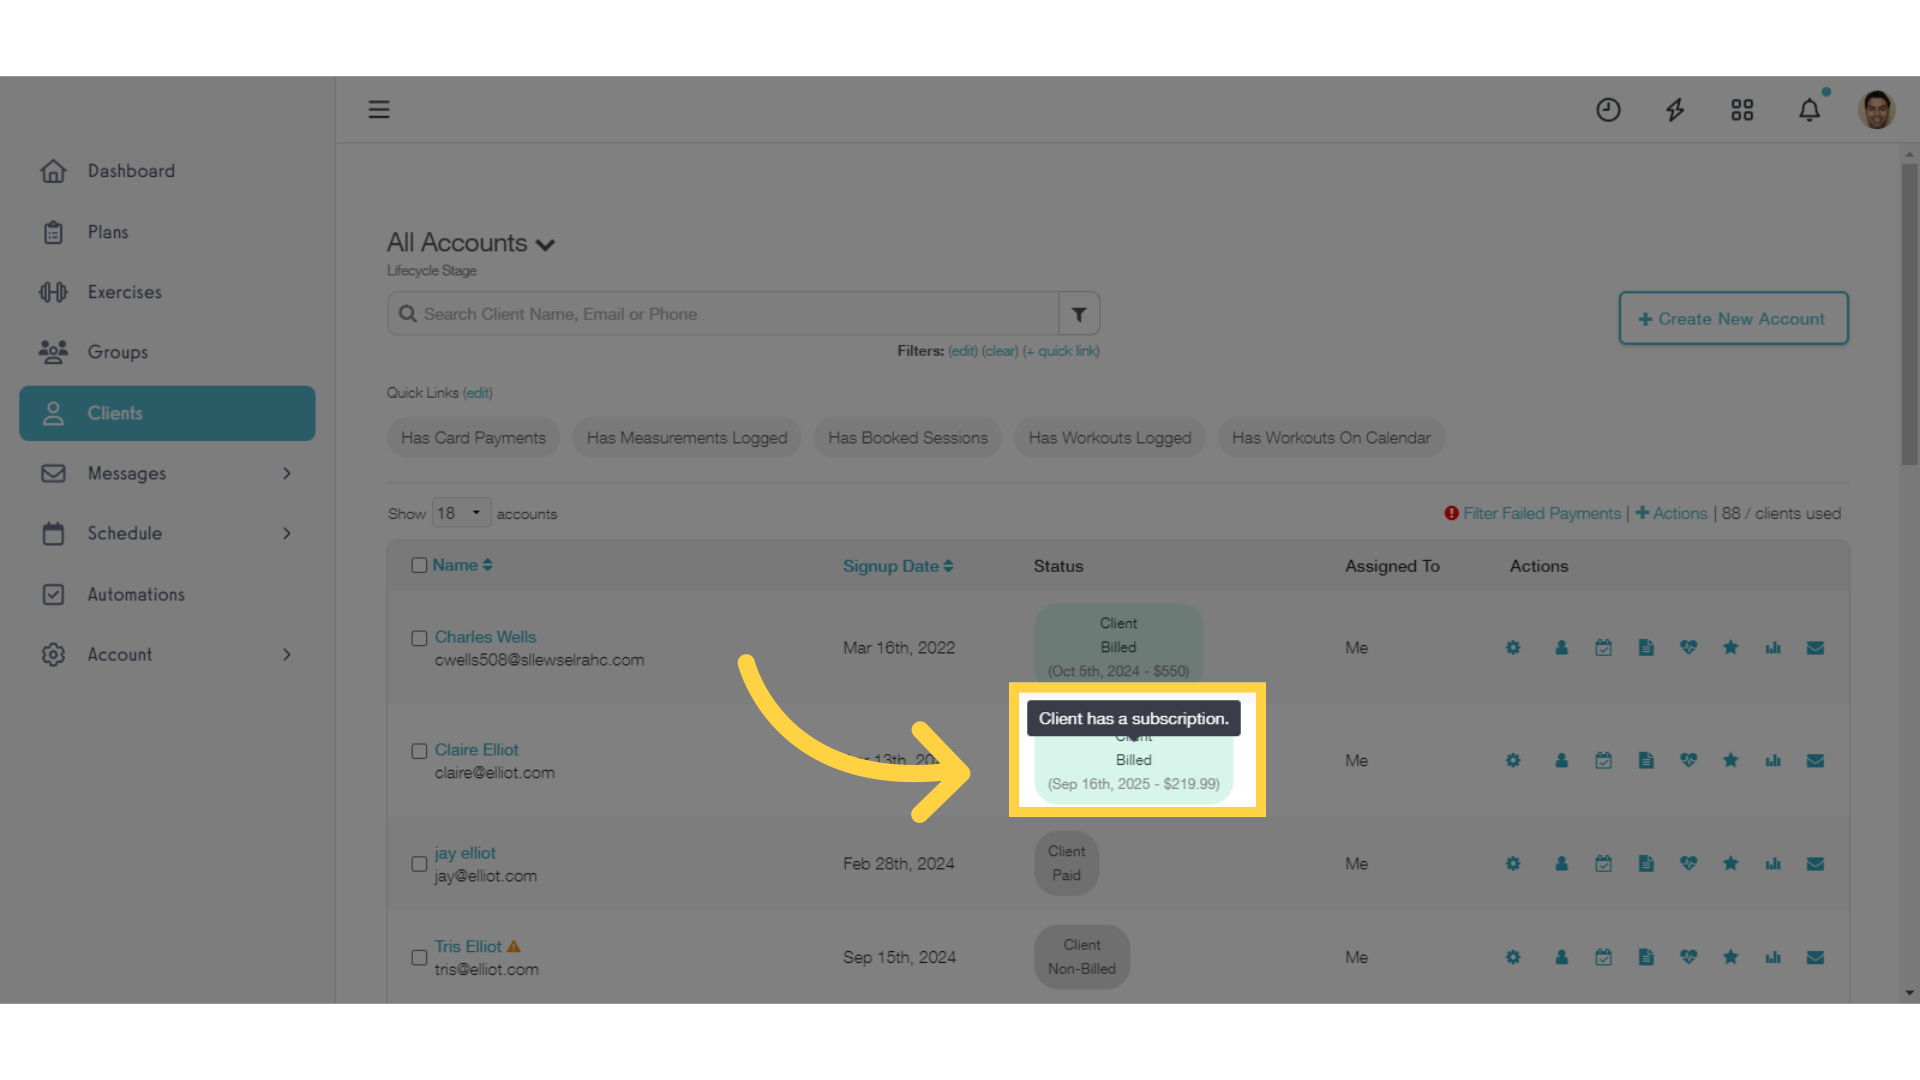
11. Click the client’s Billing Status to open the Manage Client: Payment Details view.
Click the client’s Billing Status to open the Manage Client: Payment Details view.
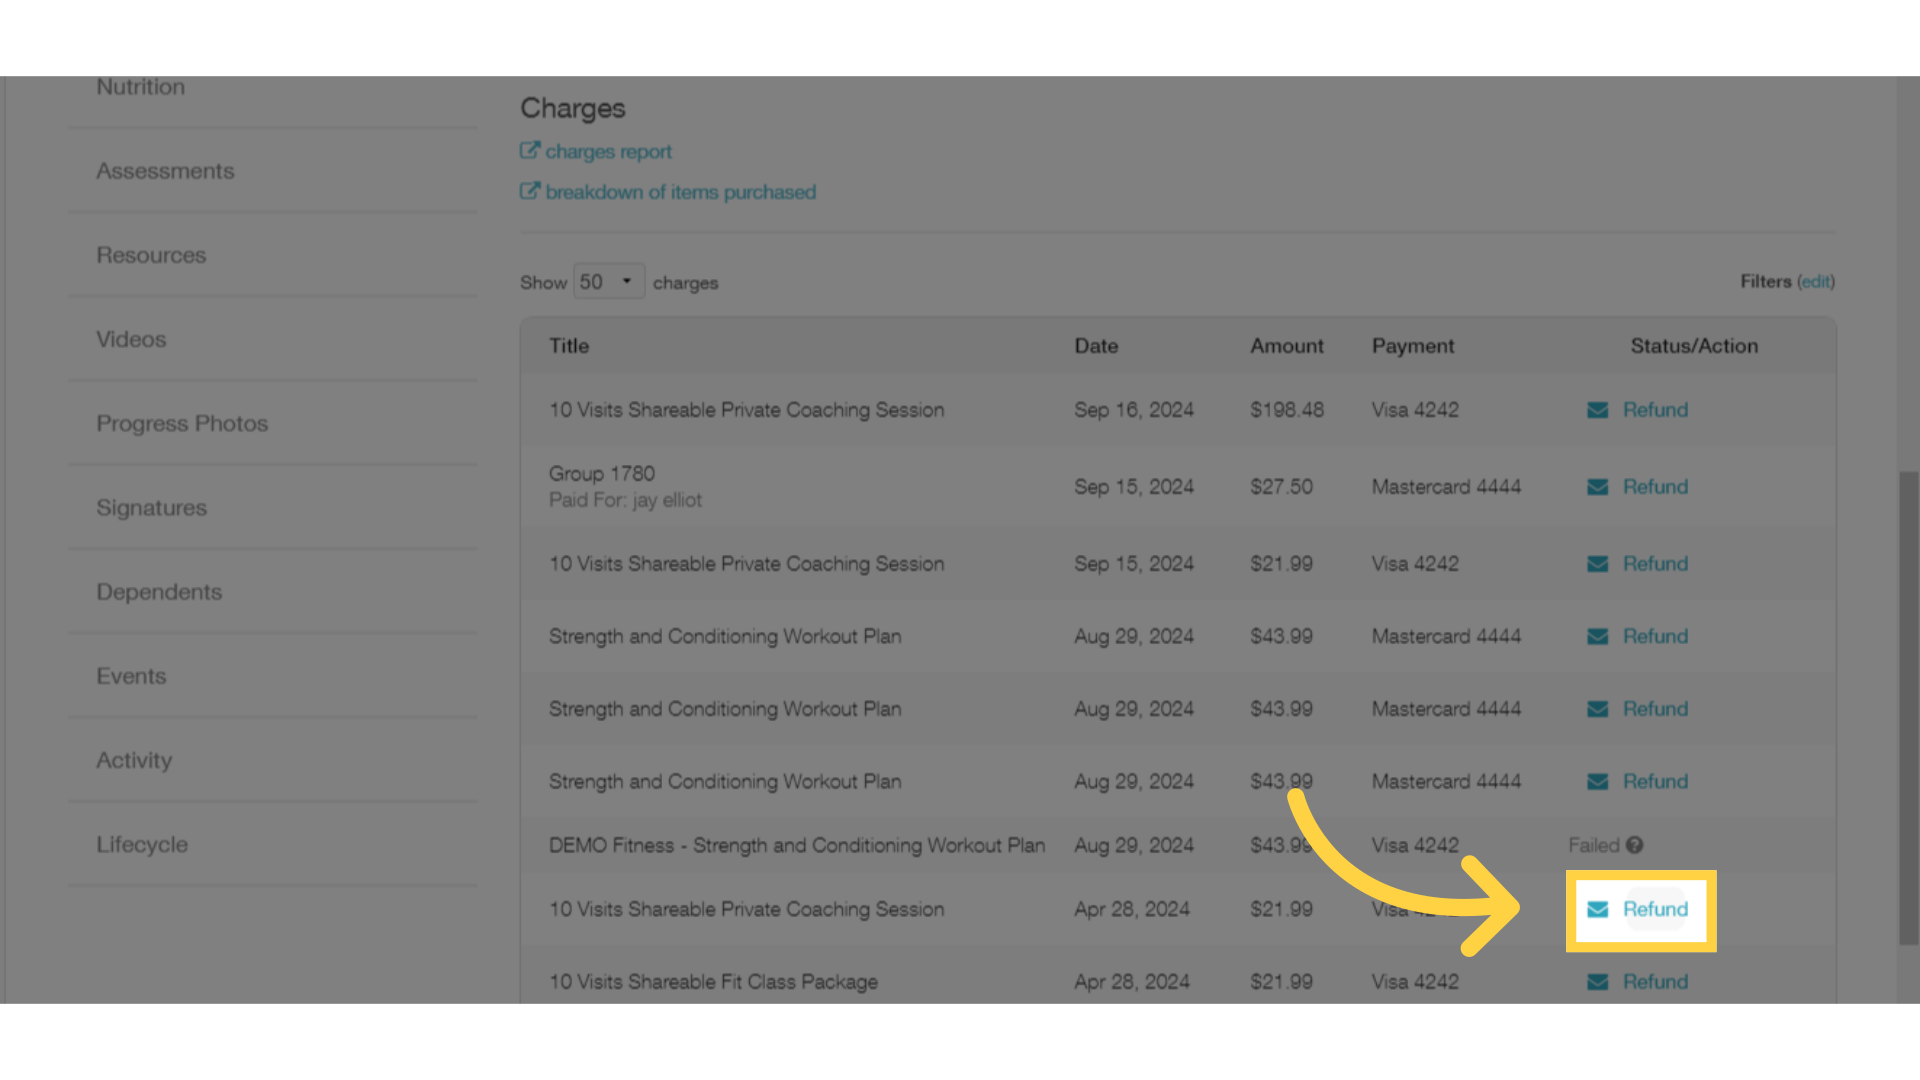
12. Click the “Refund” link for the transaction you want to refund.
Scroll down to the Charges section, and click the “Refund” link for the transaction you want to refund.
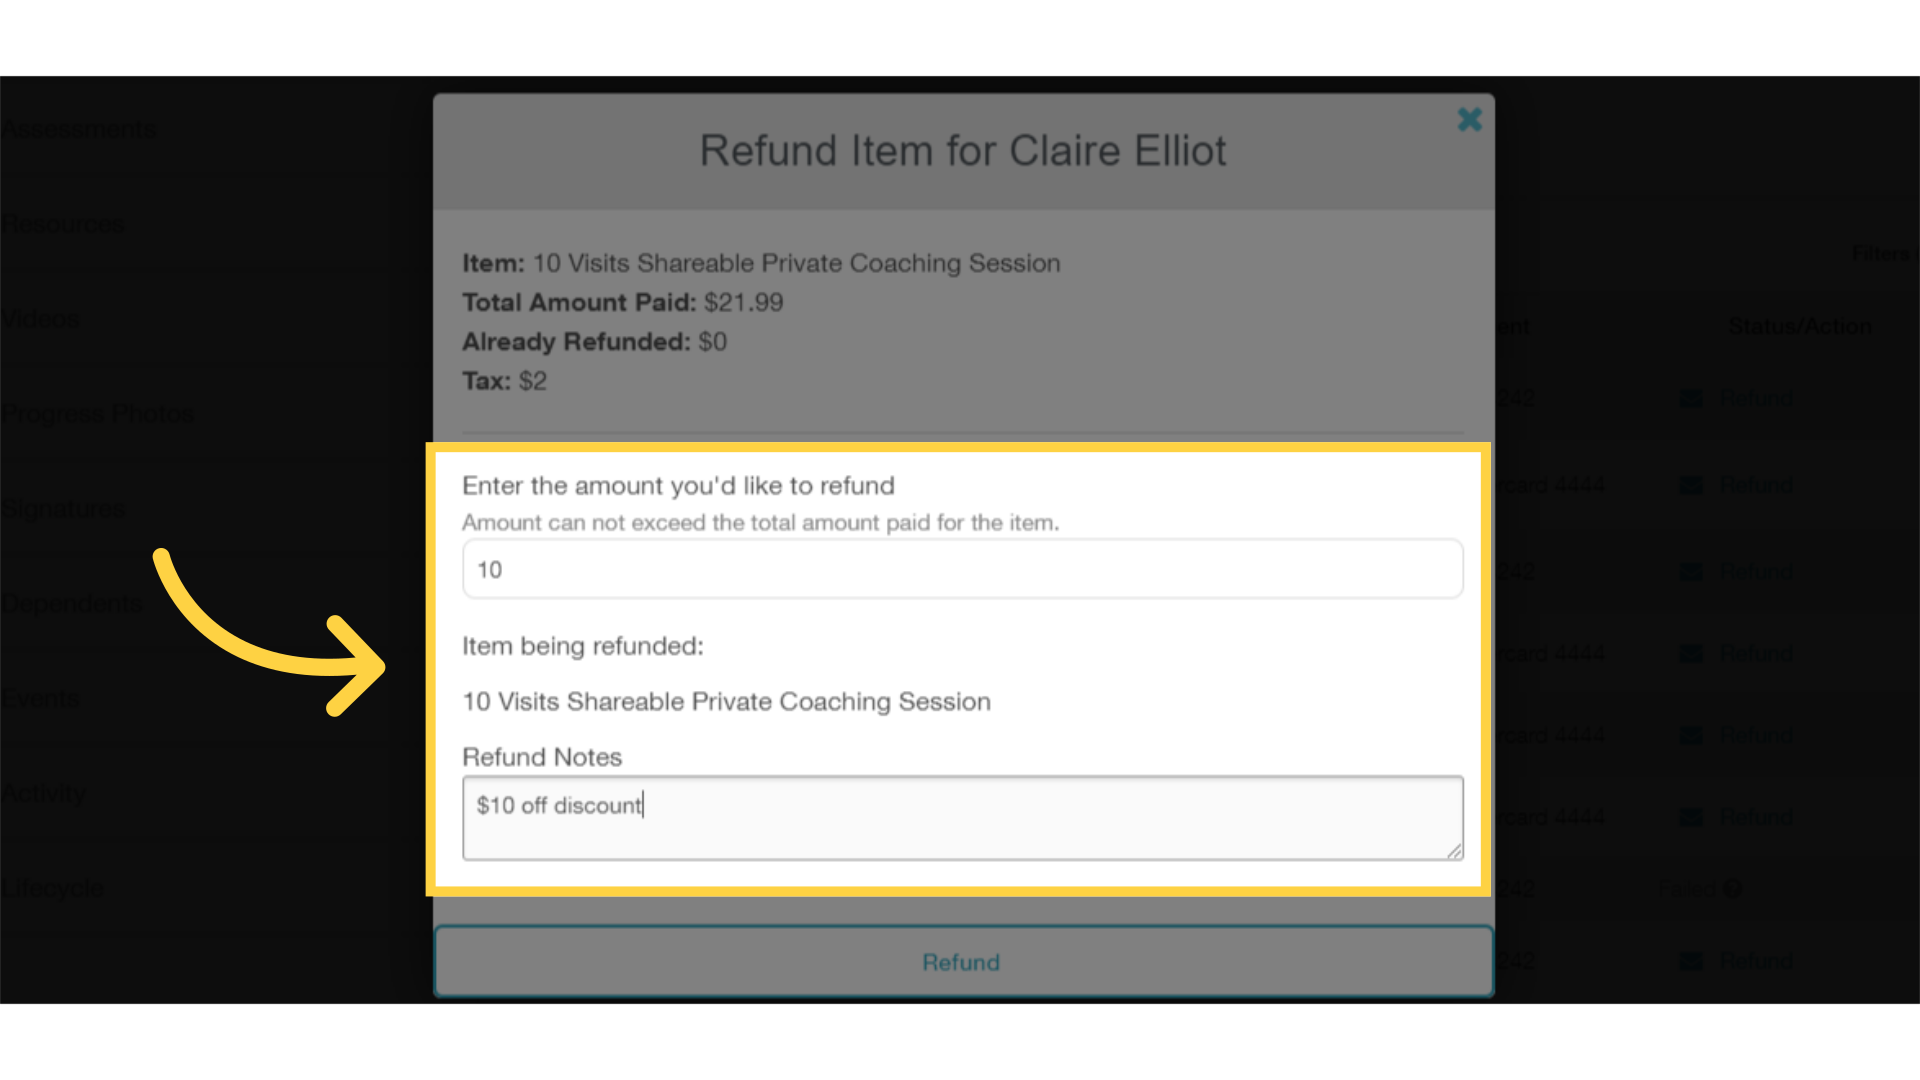
13. Enter the Refund amount and any notes.
Set the Refund amount. You can process full or partial refunds. Add any notes that will help your team understand this refund. The refund notes are not visible to the client. Click the Refund button once you’re ready to move forward.
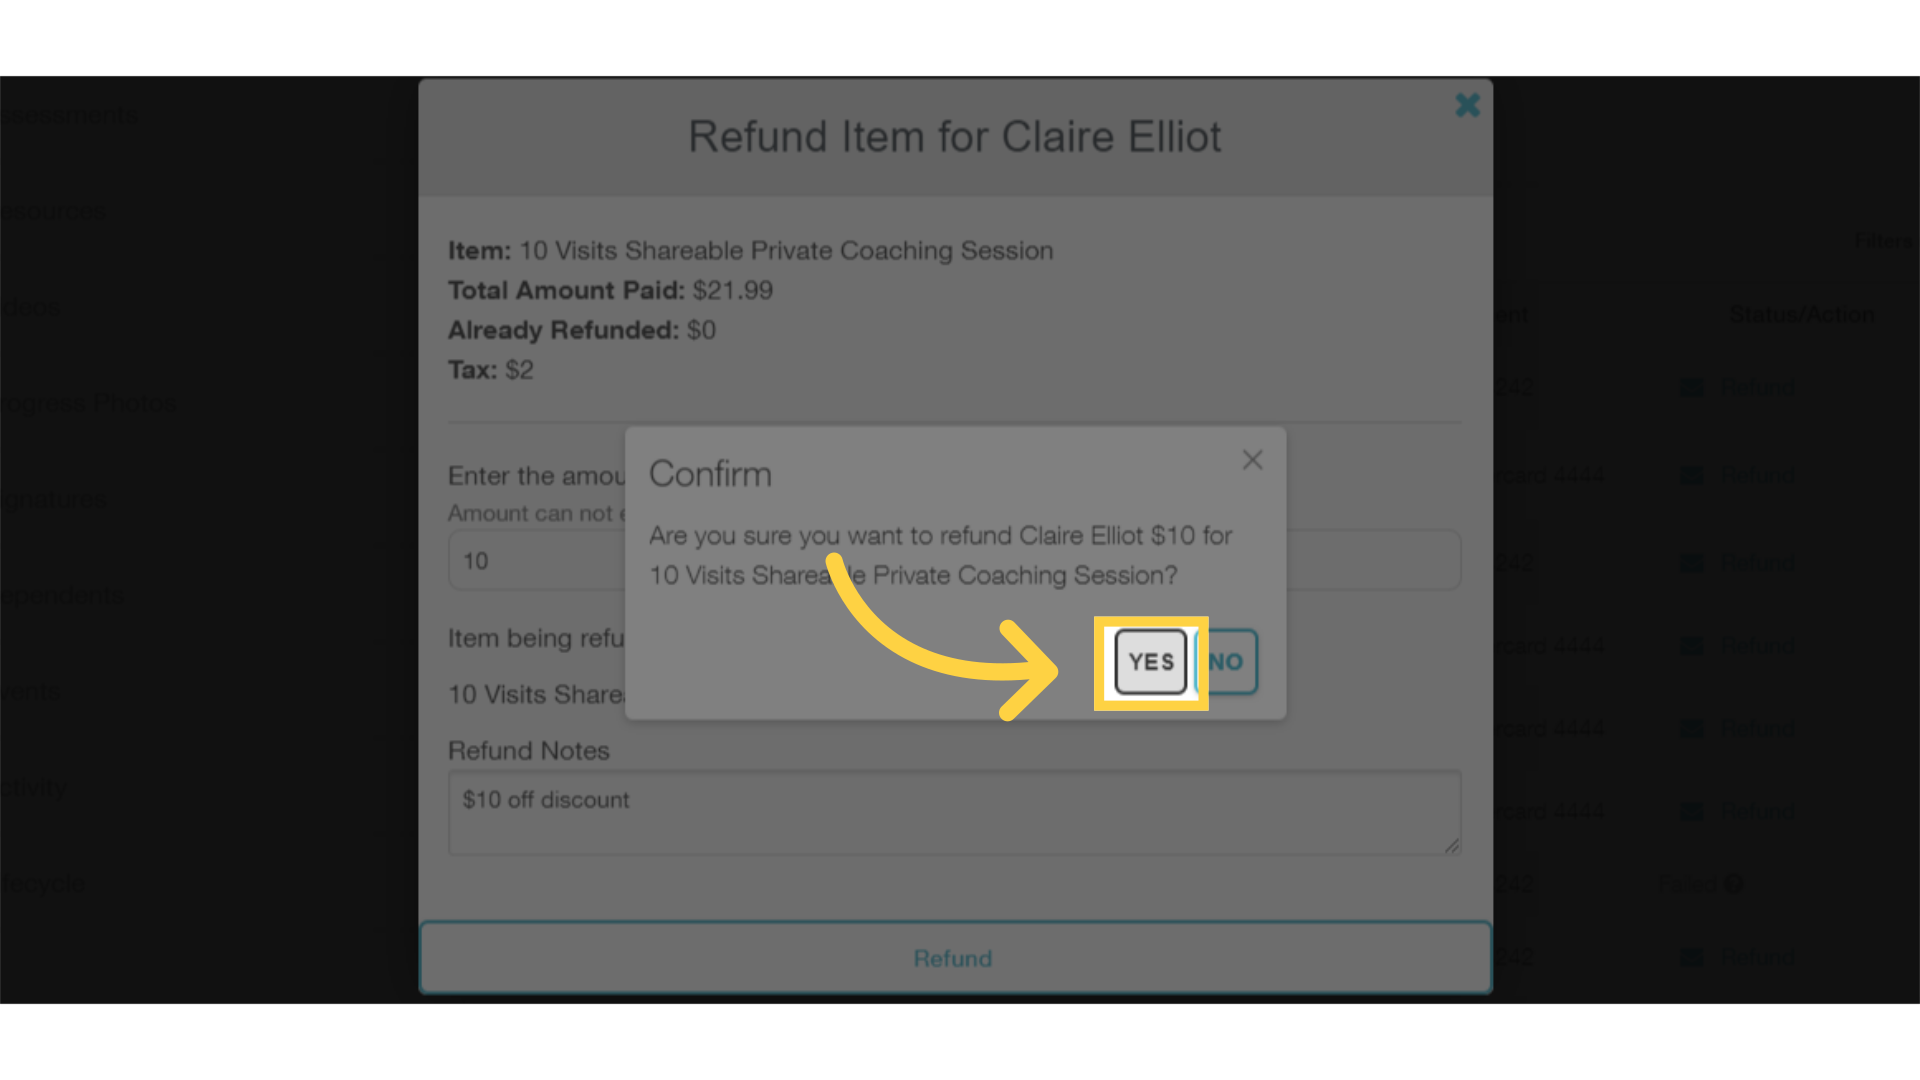
14. Click “Yes” to confirm your refund.
Click the “Yes” button to confirm your refund. Once confirmed, the refund cannot be reversed.
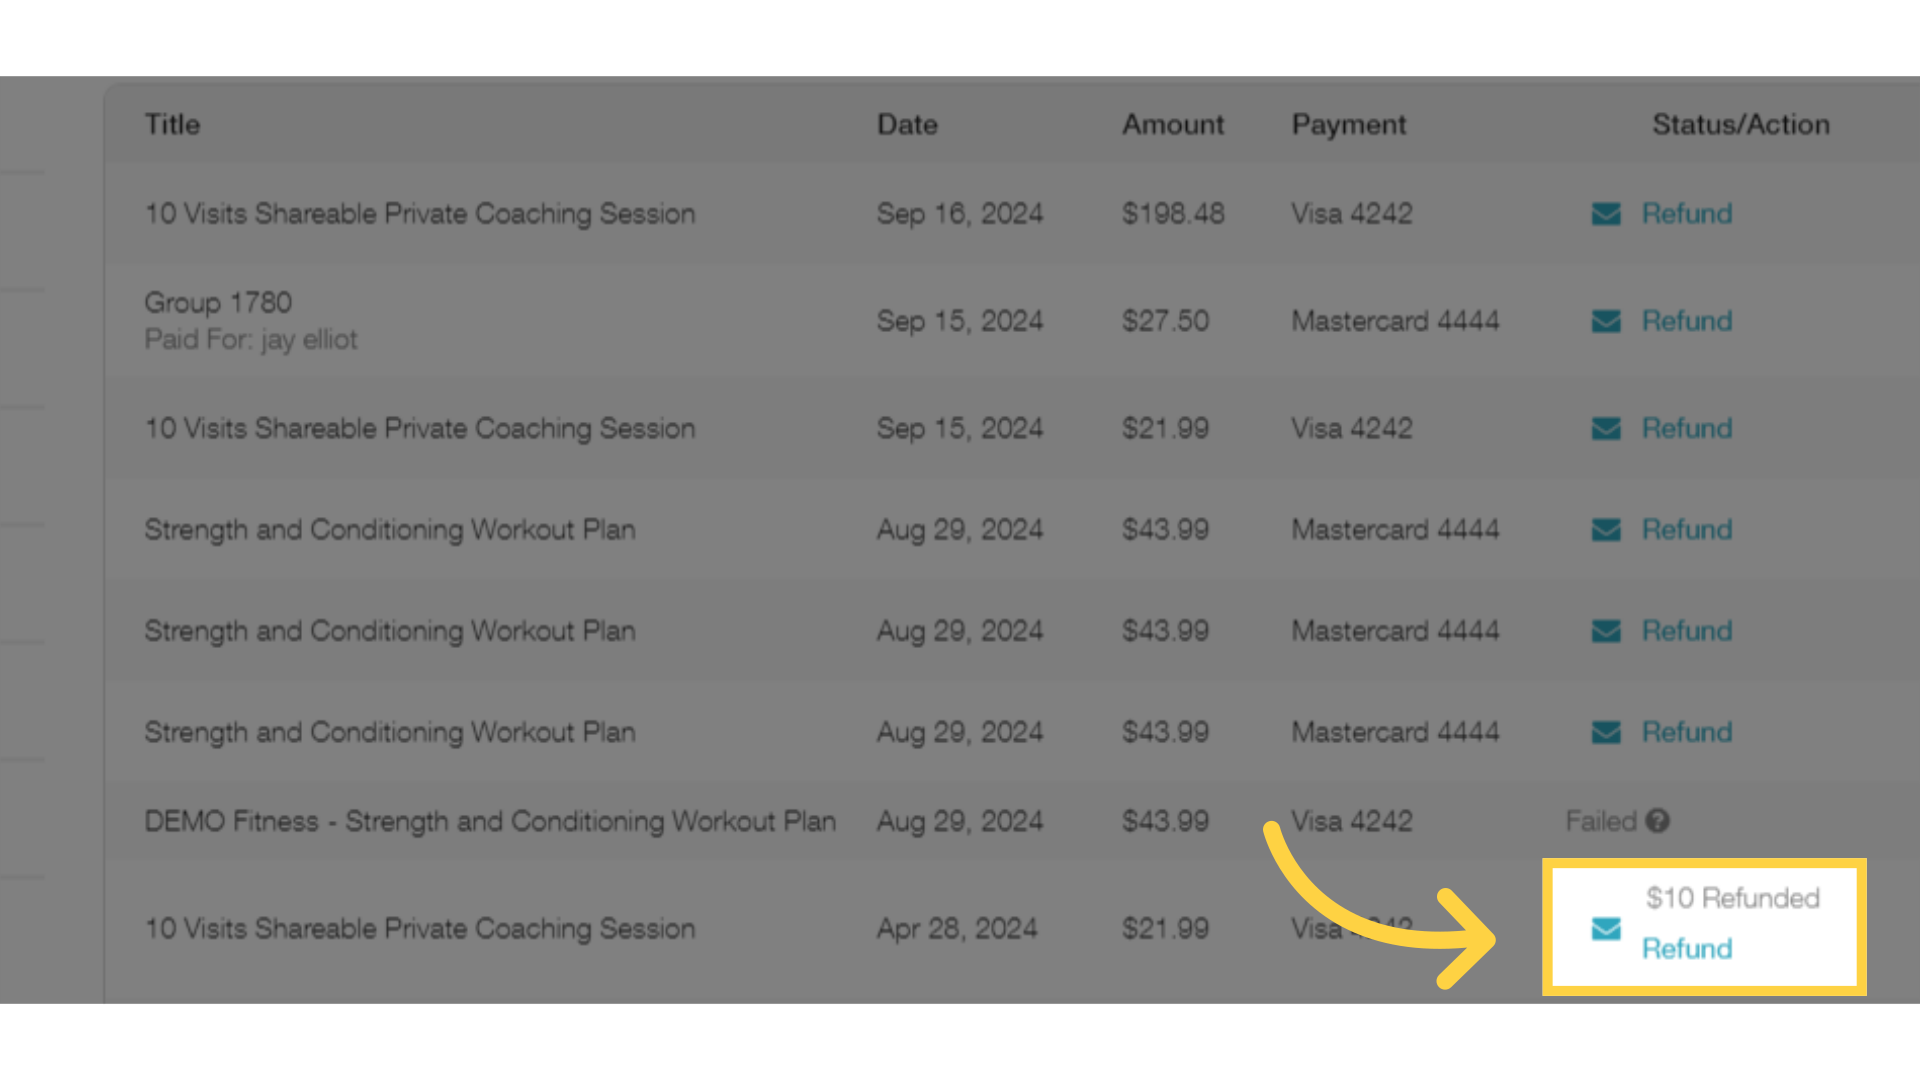
15. The transaction status will updated based on your refund.
The transaction status will be updated to reflect the amount that you refunded.
This guide covered the steps for processing refunds from the Business Dashboard and also from the Manage Client: Payment Details view. Now you can quickly refund any transaction as needed.


