How to Remove Kisi Access After First Failed Payment
Posted by
Support Team
on
November 6, 2024
— Updated on
November 6, 2024
Within our Workout Software, you have the ability to remove Kisi access after first the failed payment.
This guide provides a walkthrough for removing Kisi access after a failed payment.
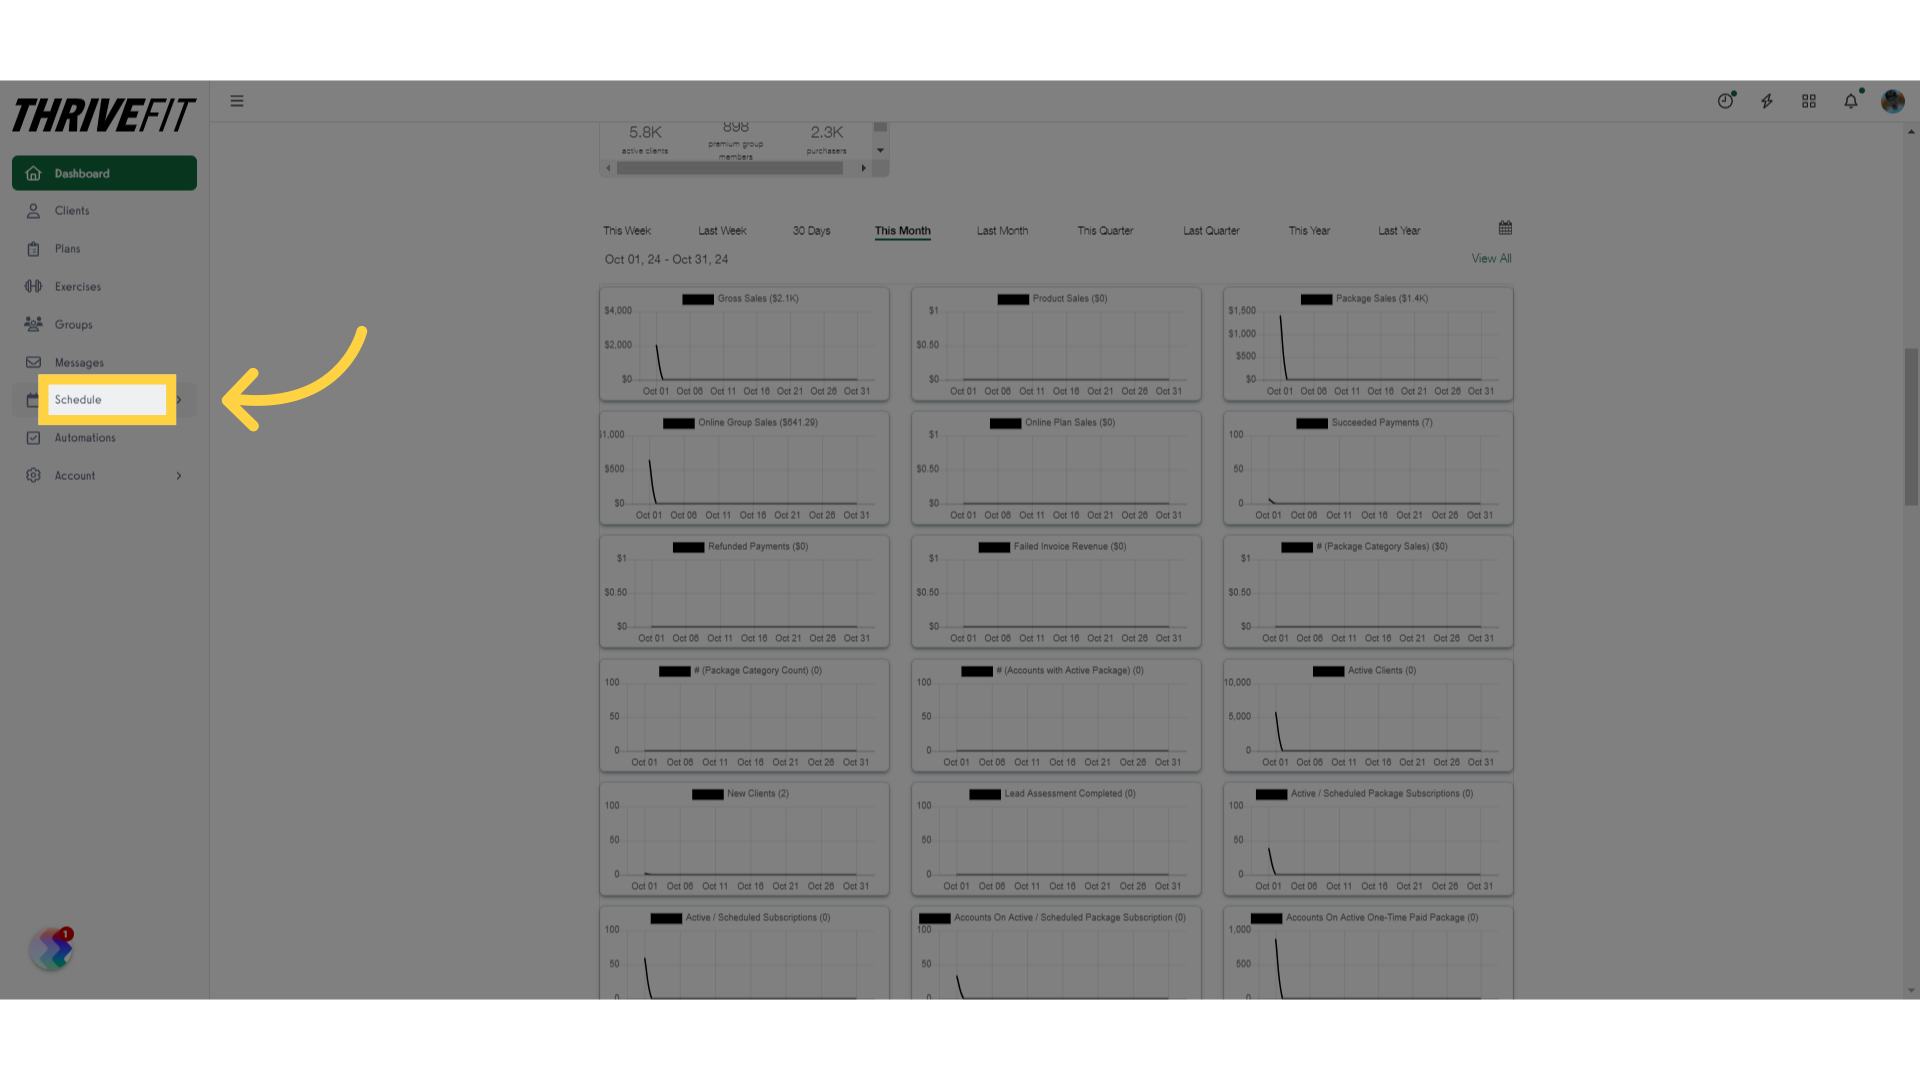
1. Schedule Tab
Navigate to the ‘Schedule’ section.
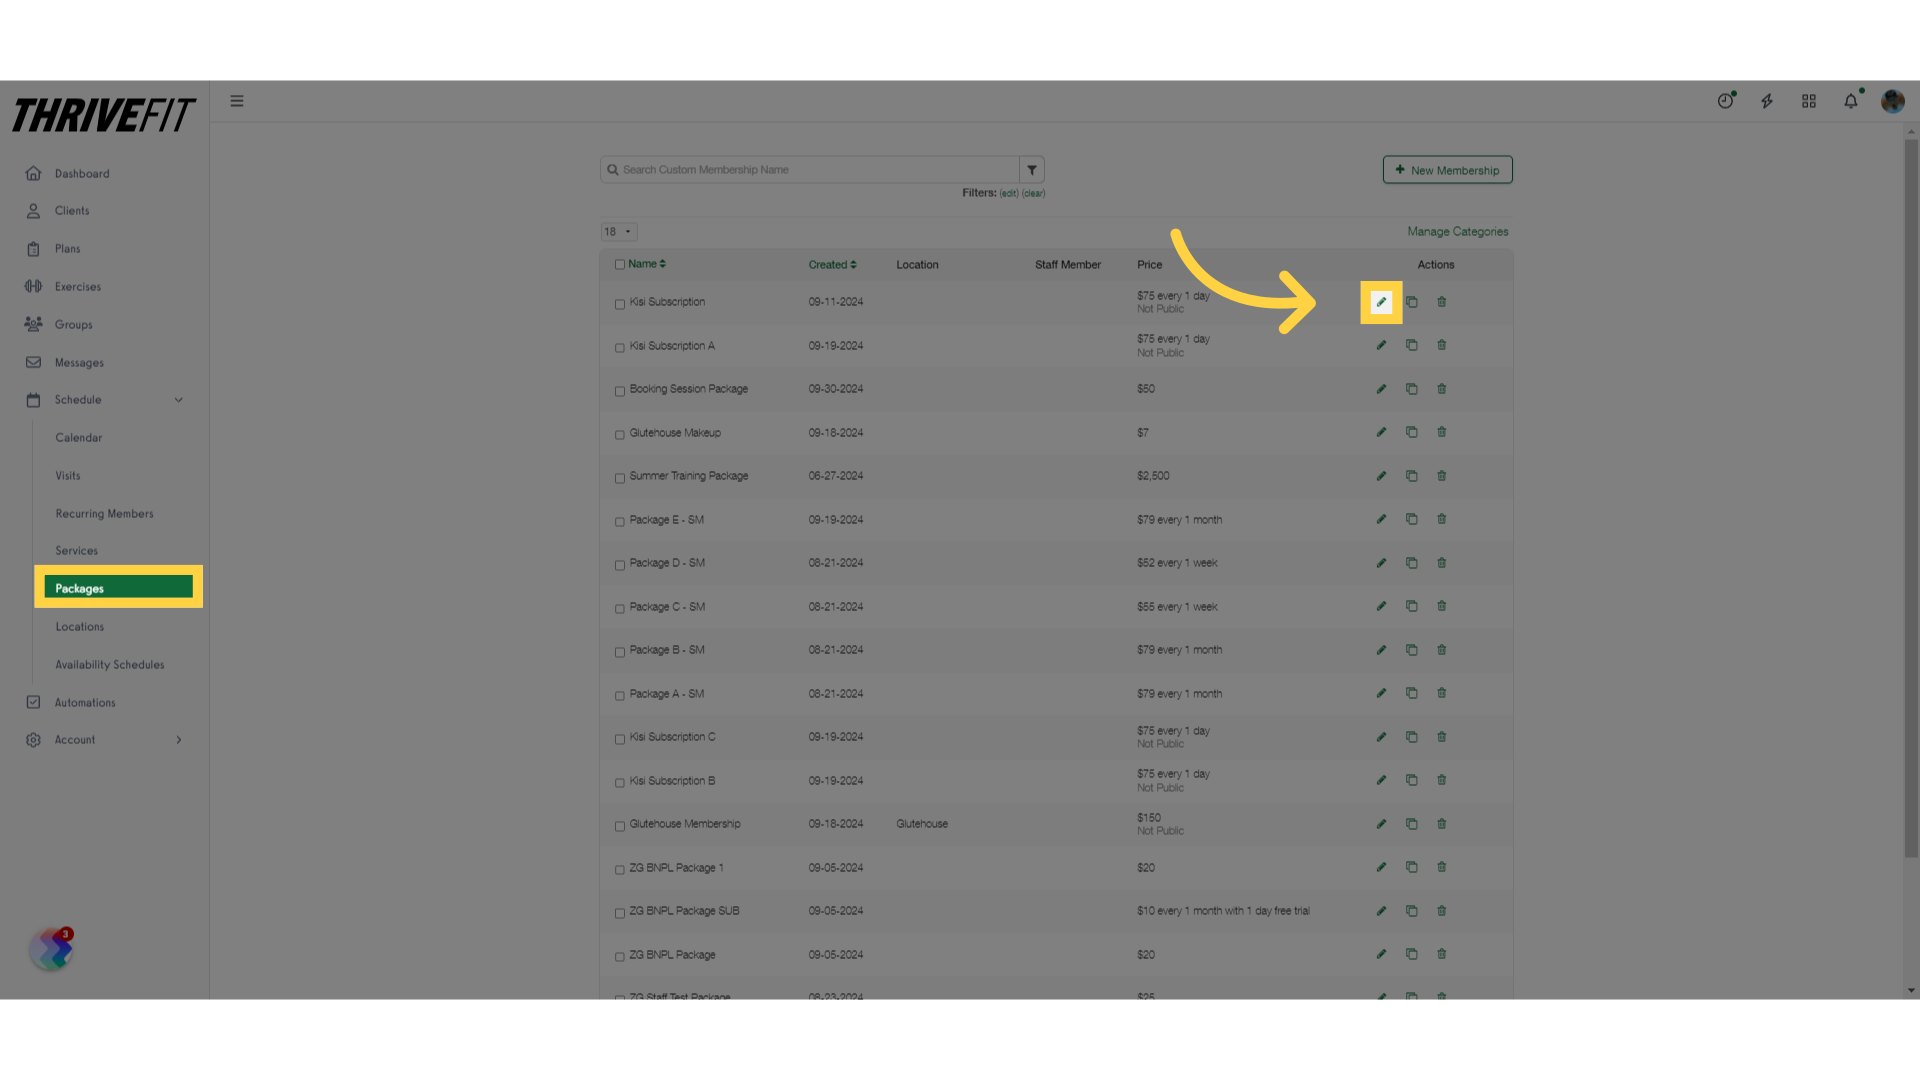
2. Edit Package
Click on the “Packages” tab and edit a package.
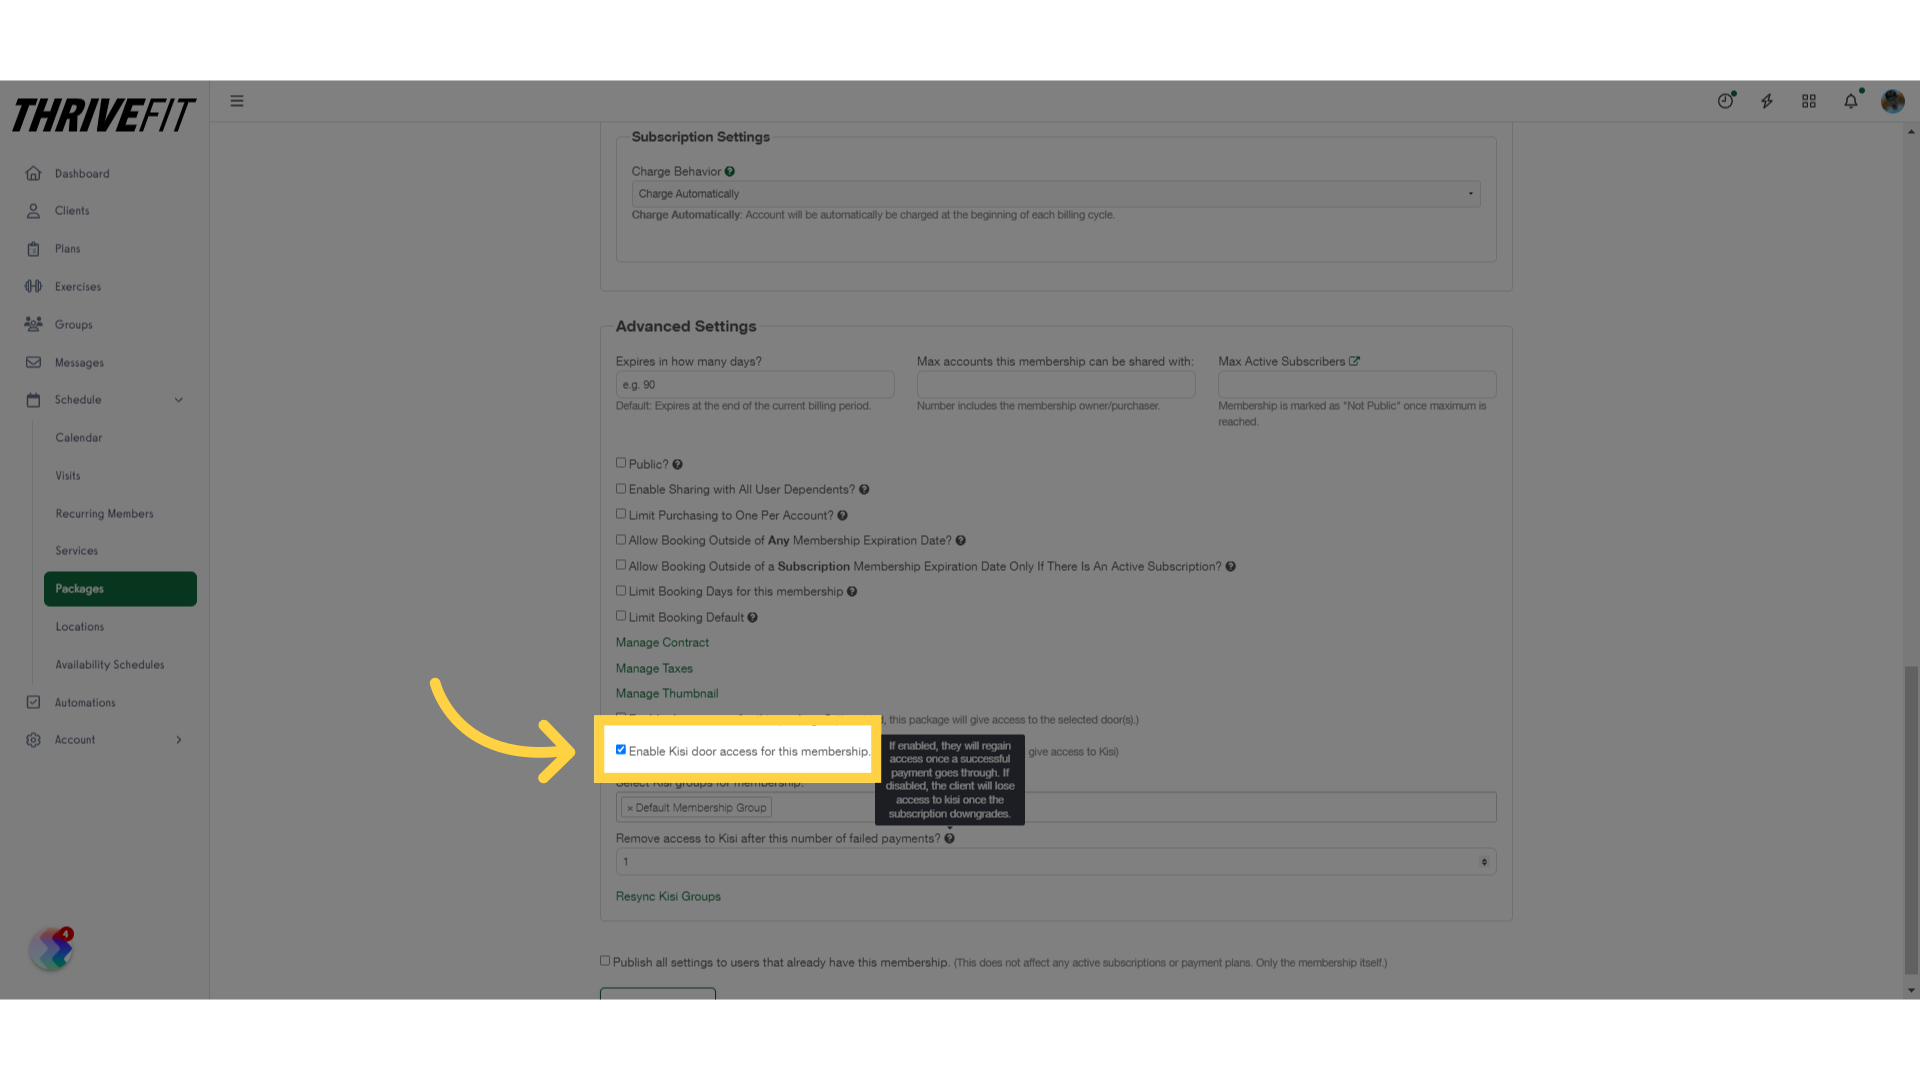
3. Enable Kisi Access
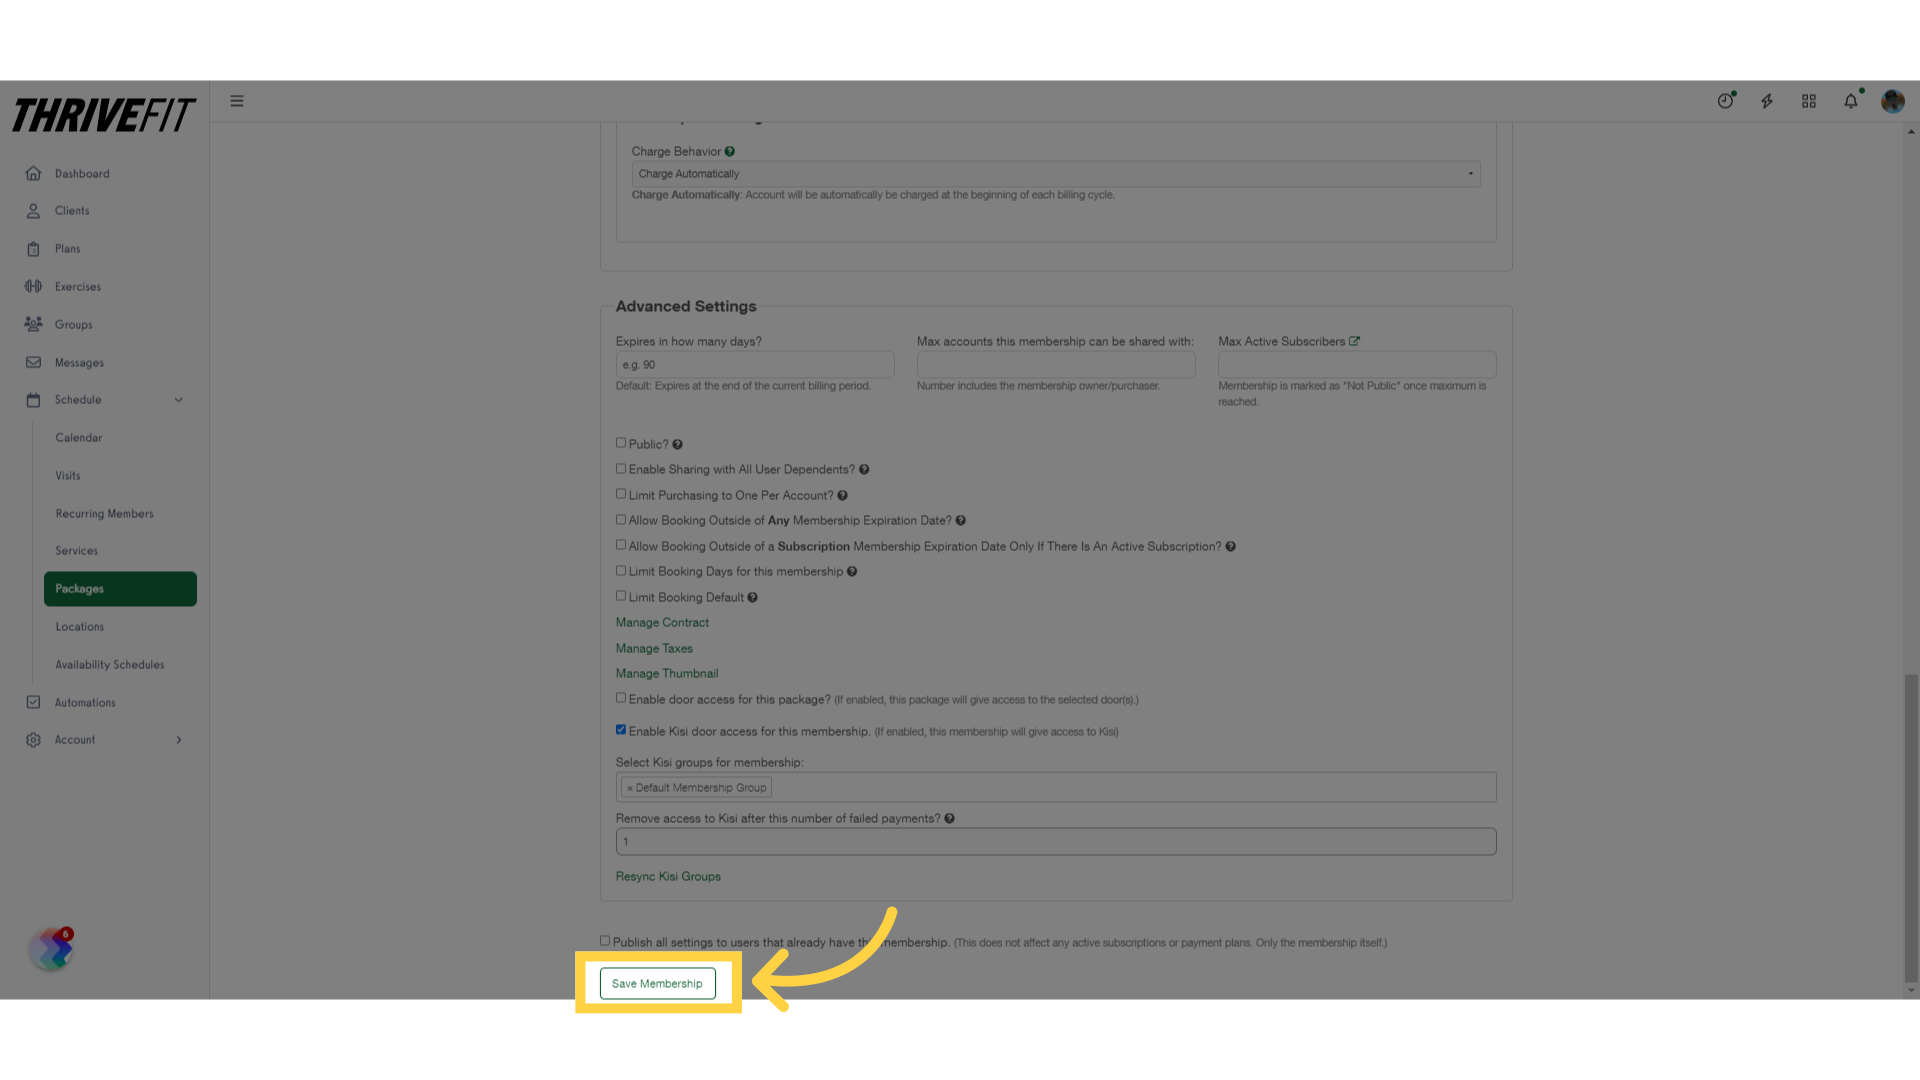
Check the box to enable Kisi door access when purchasing this package.
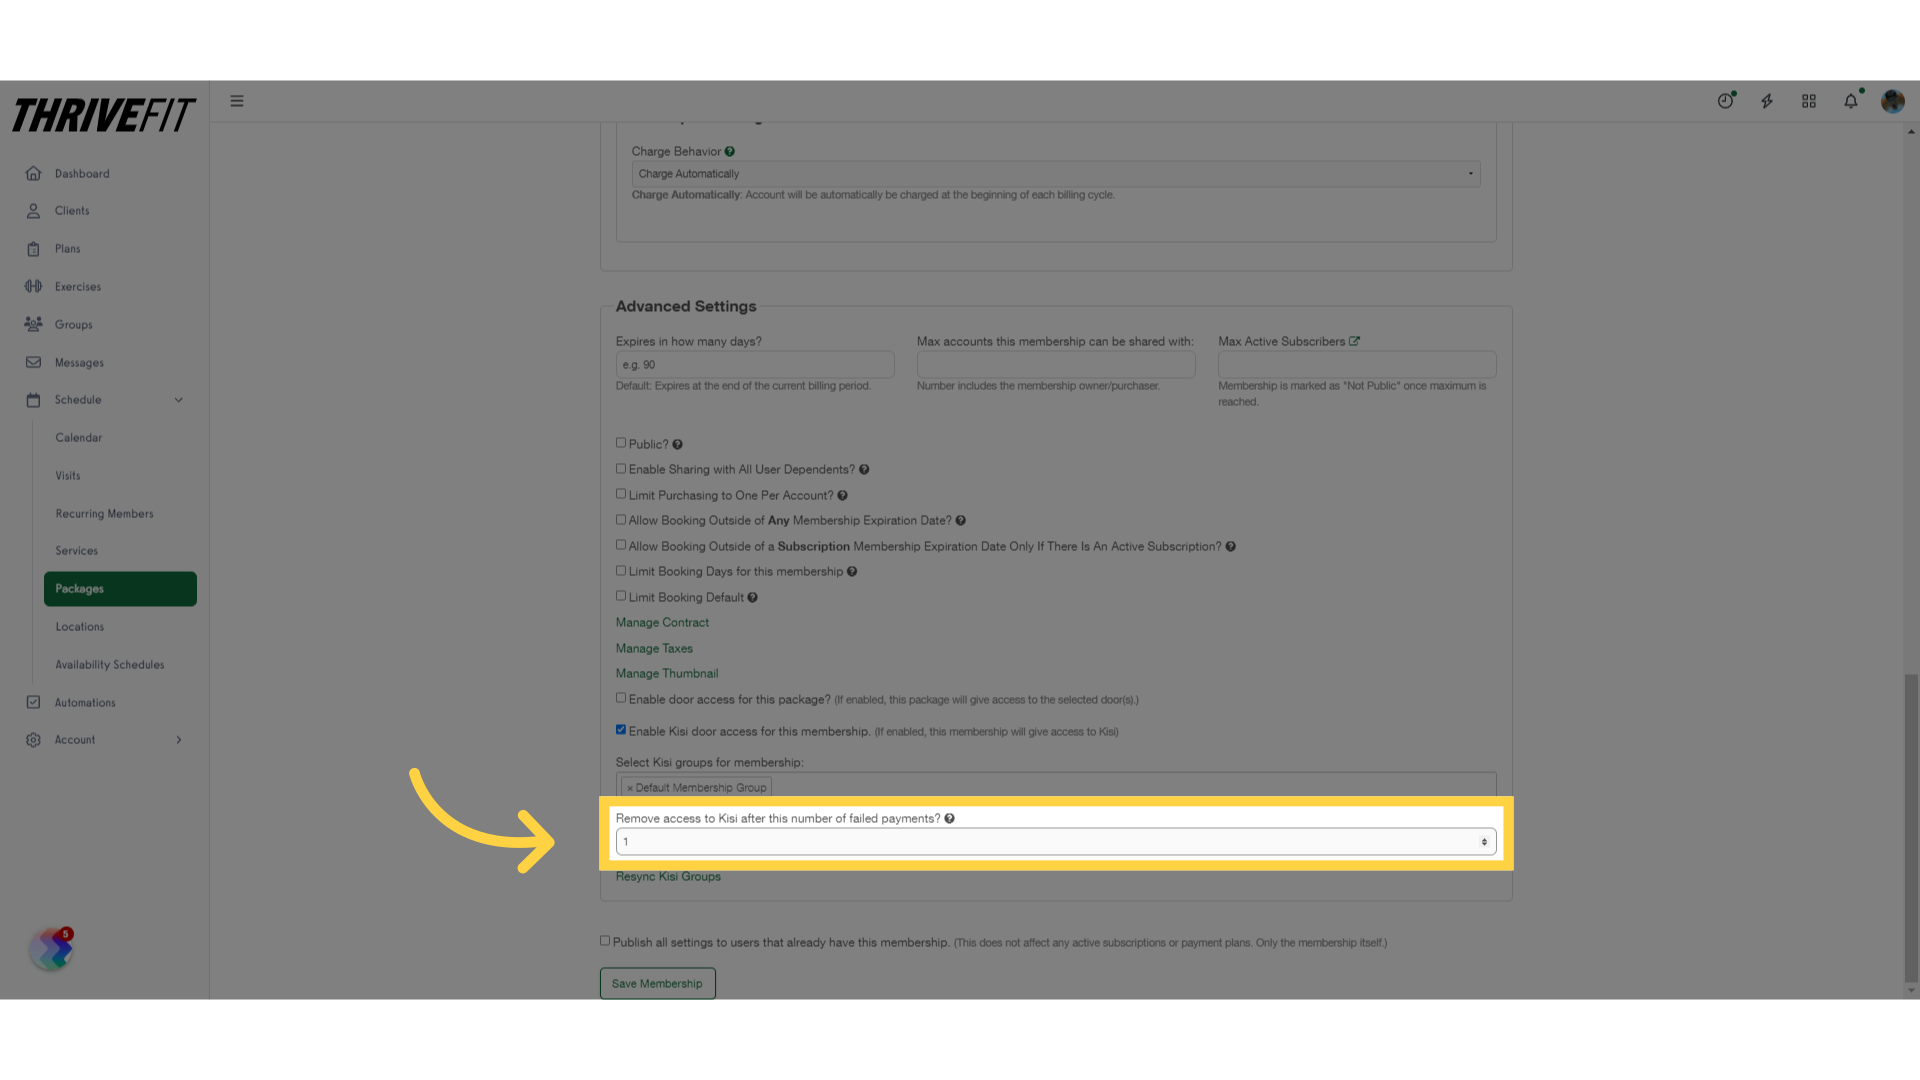
4. Enter Number of Failed Payments
Enter a number for “Remove access to Kisi after this number of failed payments”. To remove access after the first failed payment, enter the number one.
5. Save Package
Save the package.
6. Manage Kisi Access
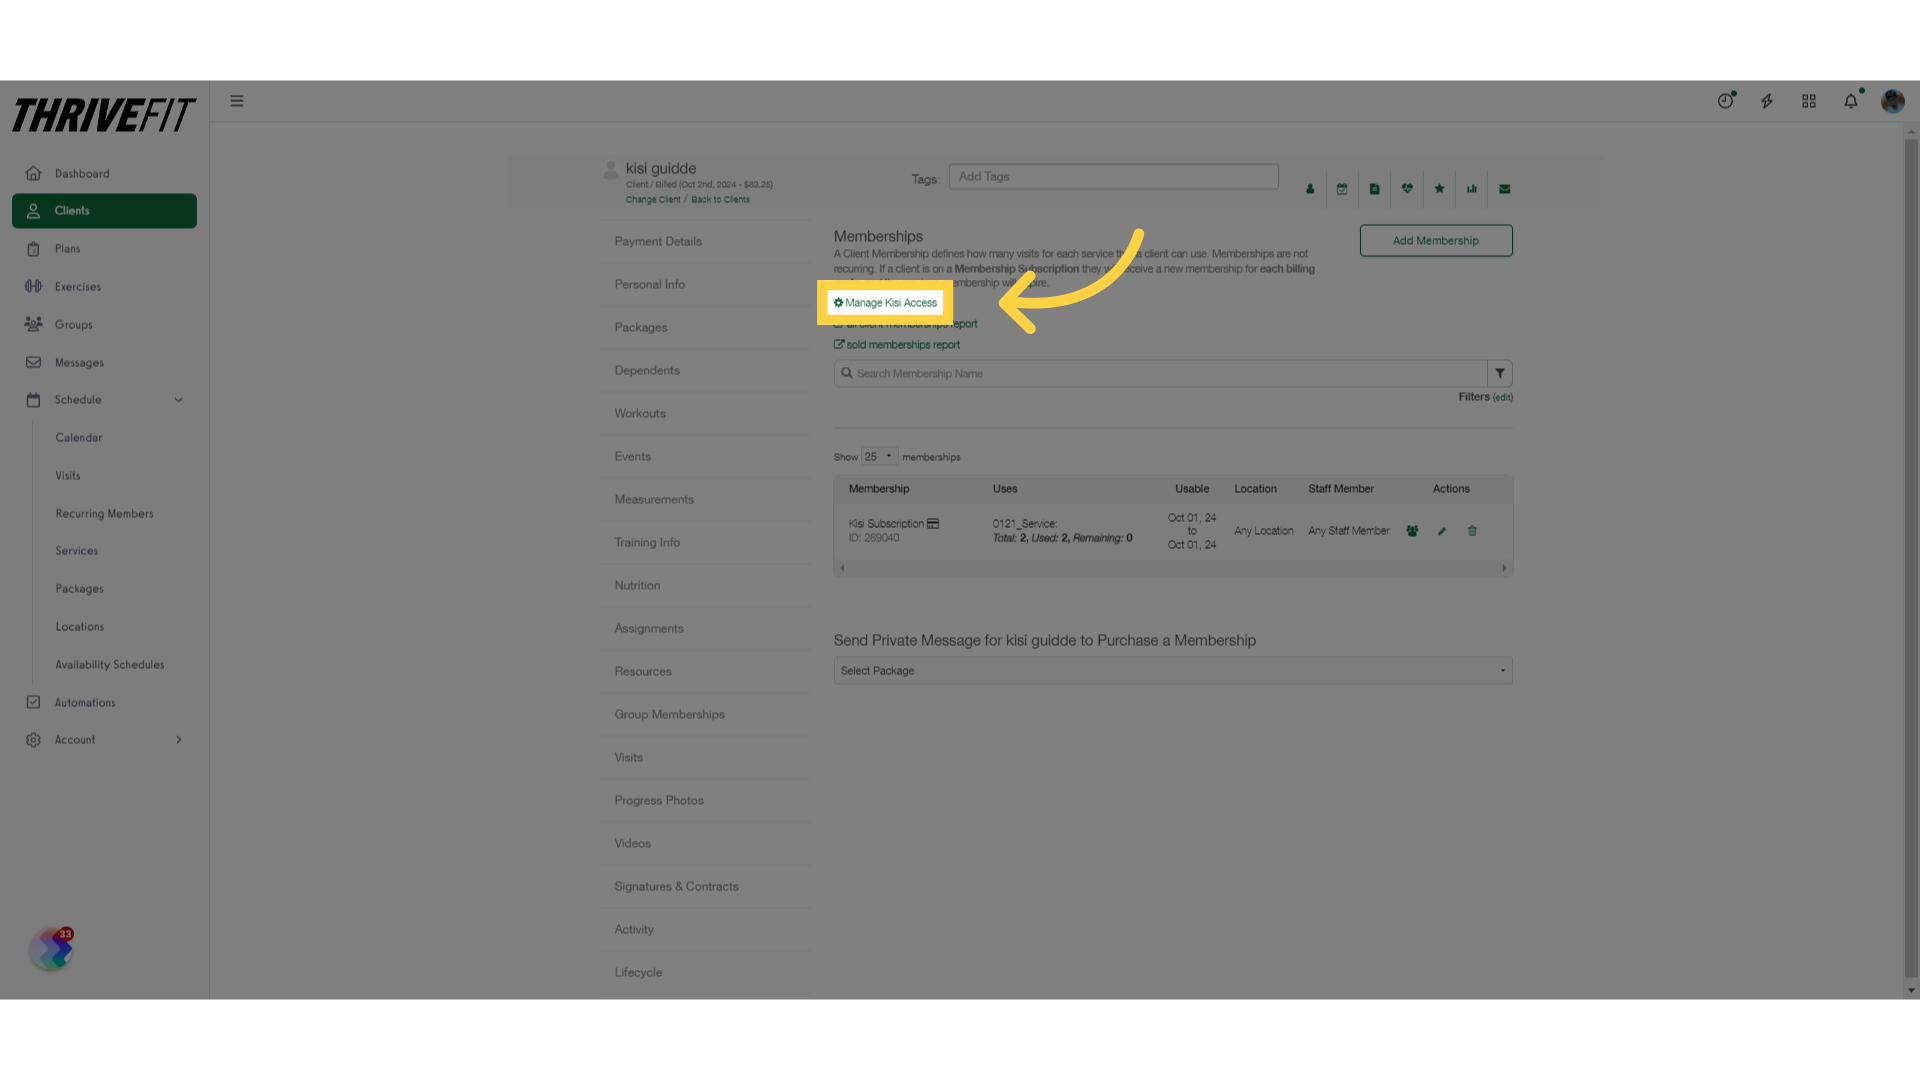
Back on your client’s package page, click the ‘Manage Kisi Access’ option.
7. Kisi Access
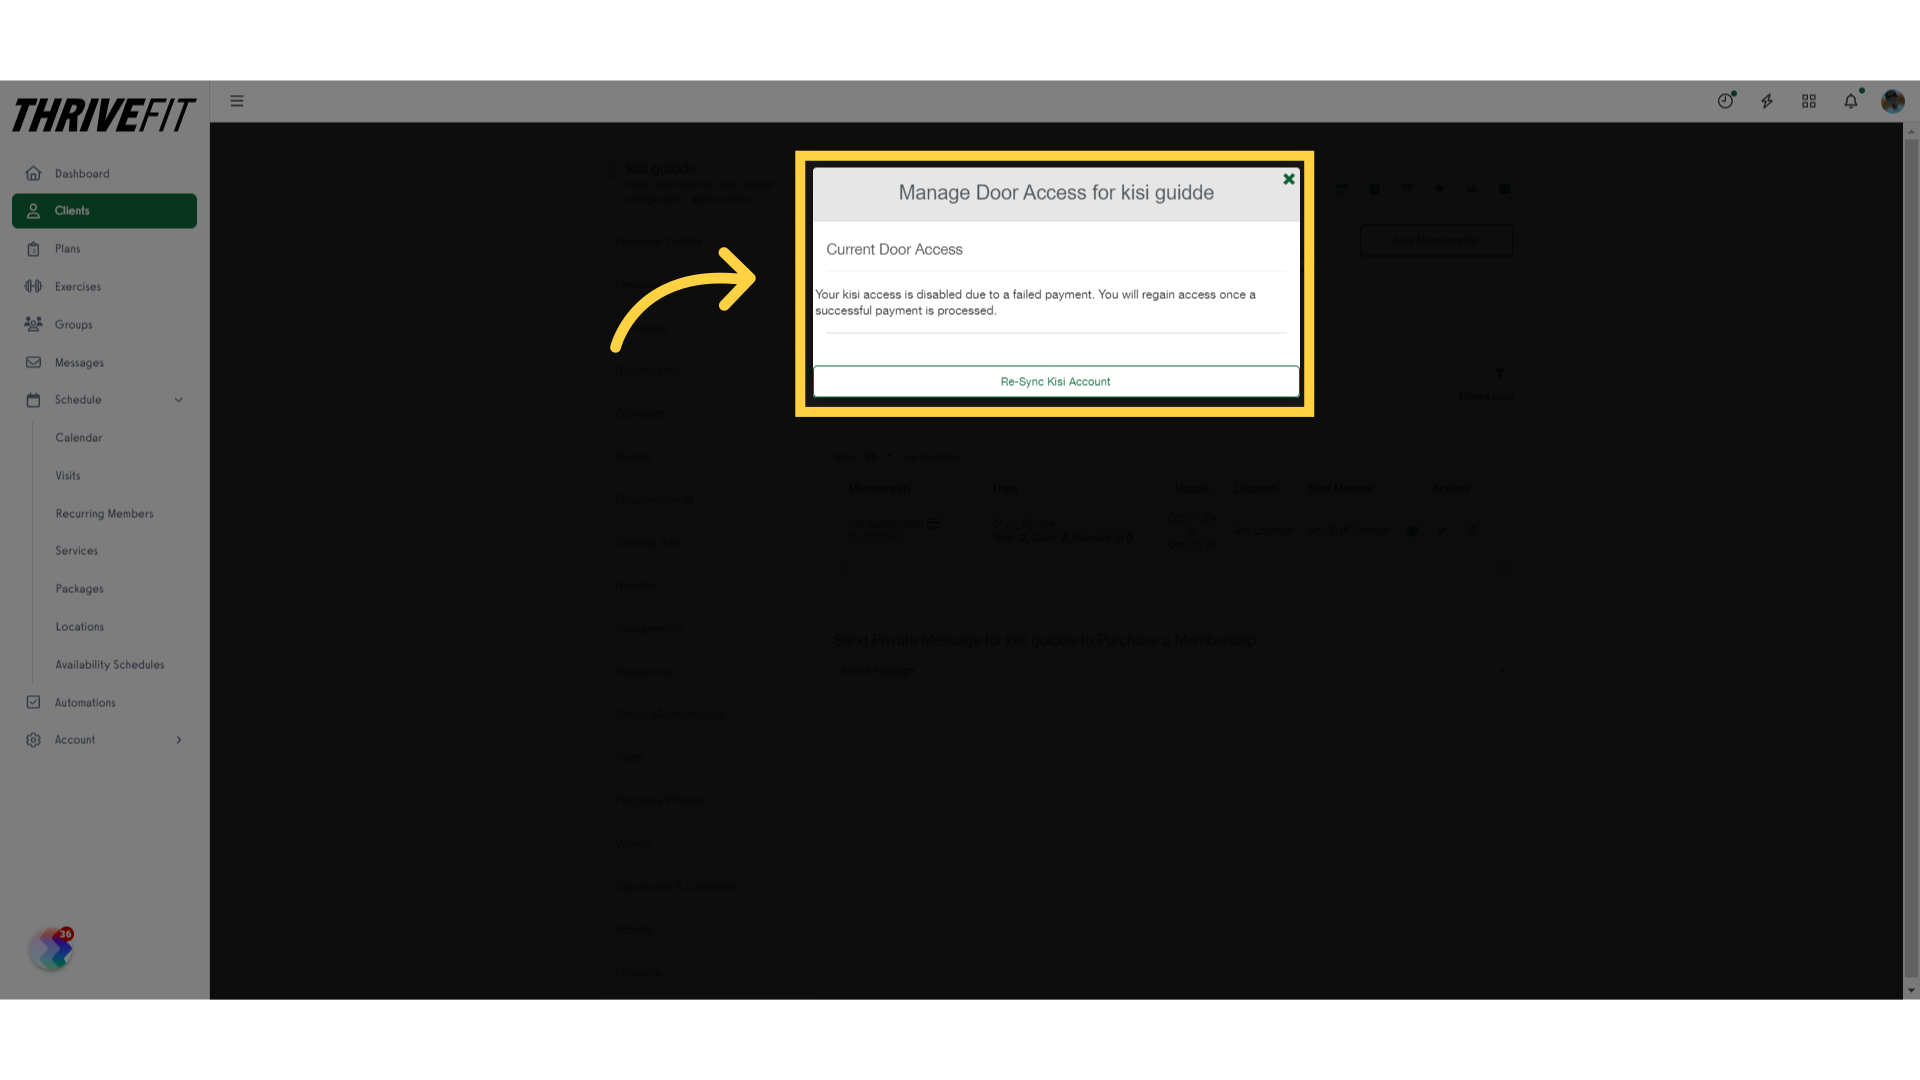
After a failed payment the display should read “Your kisi access is disabled due to a failed payment. You will regain access once a successful payment is processed.”
8. Failed Status
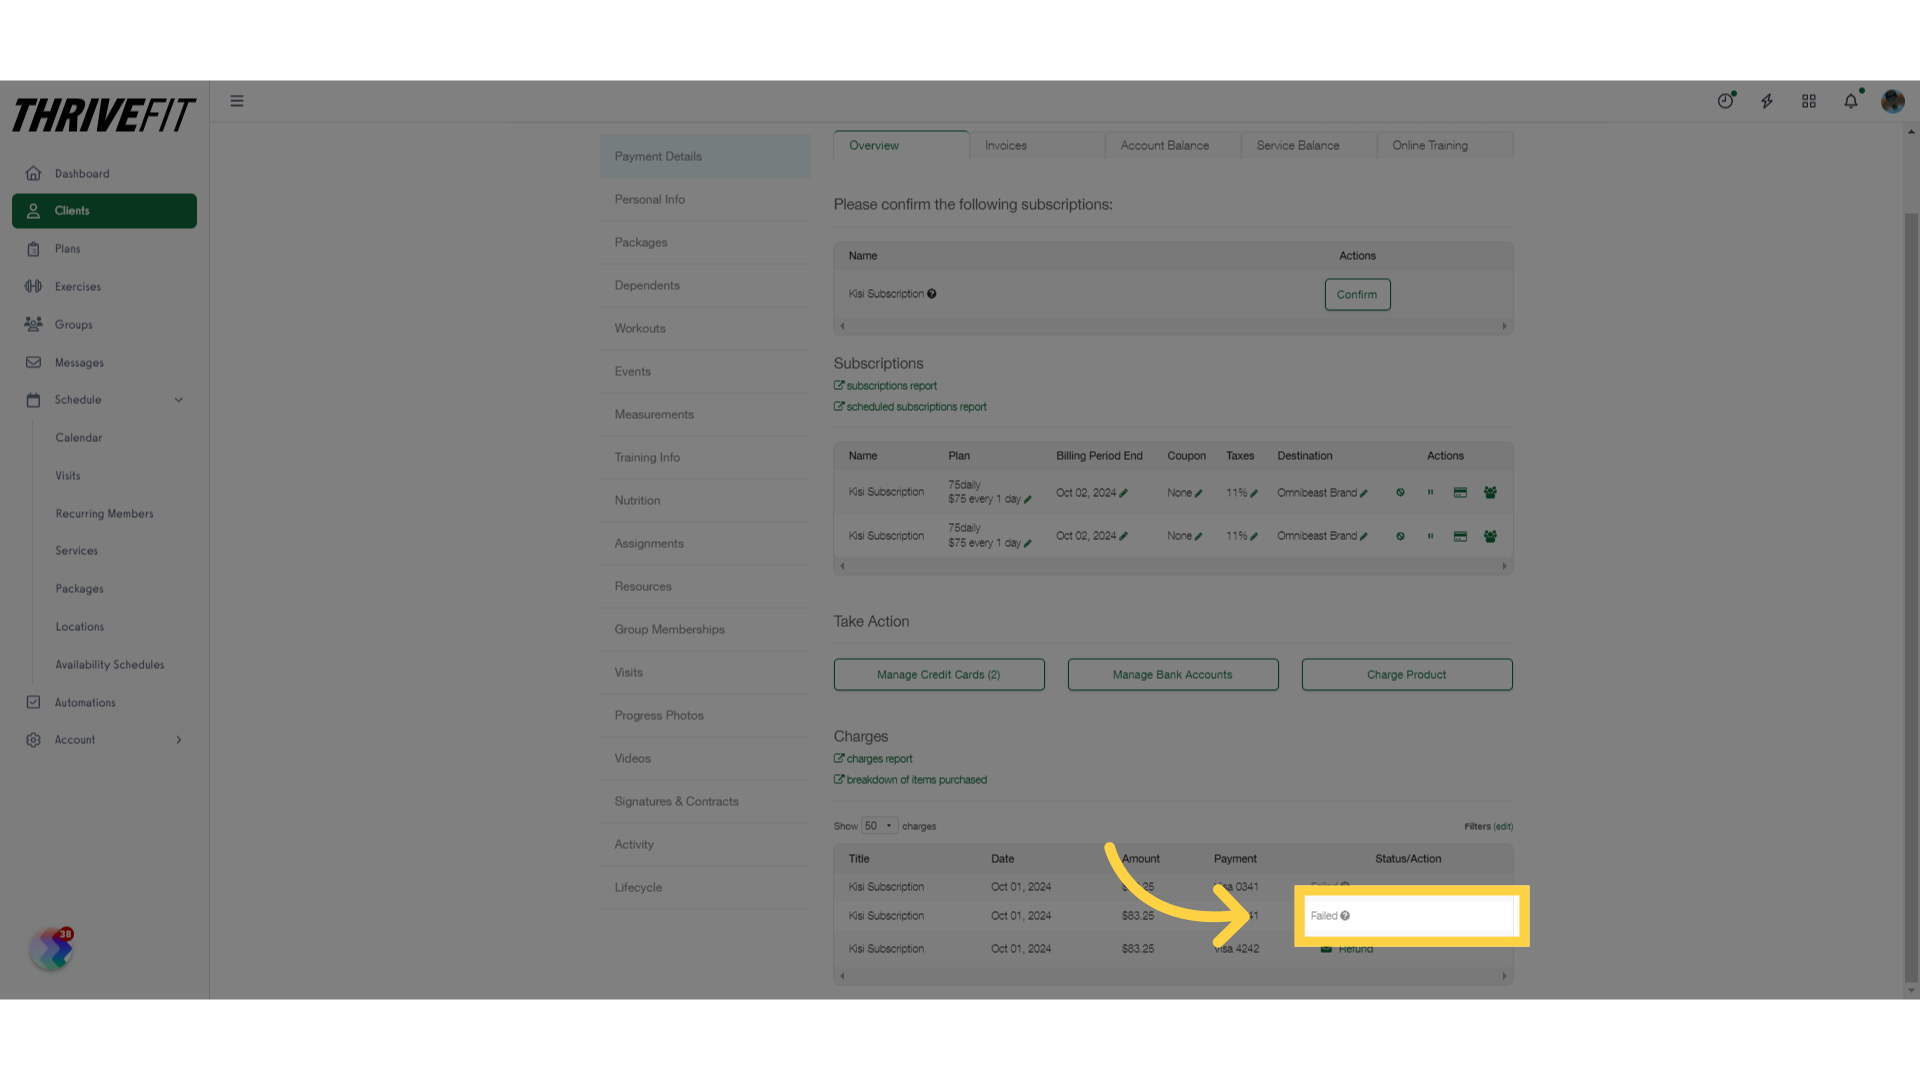
Verify “Failed” status in the “Payment Details” section.
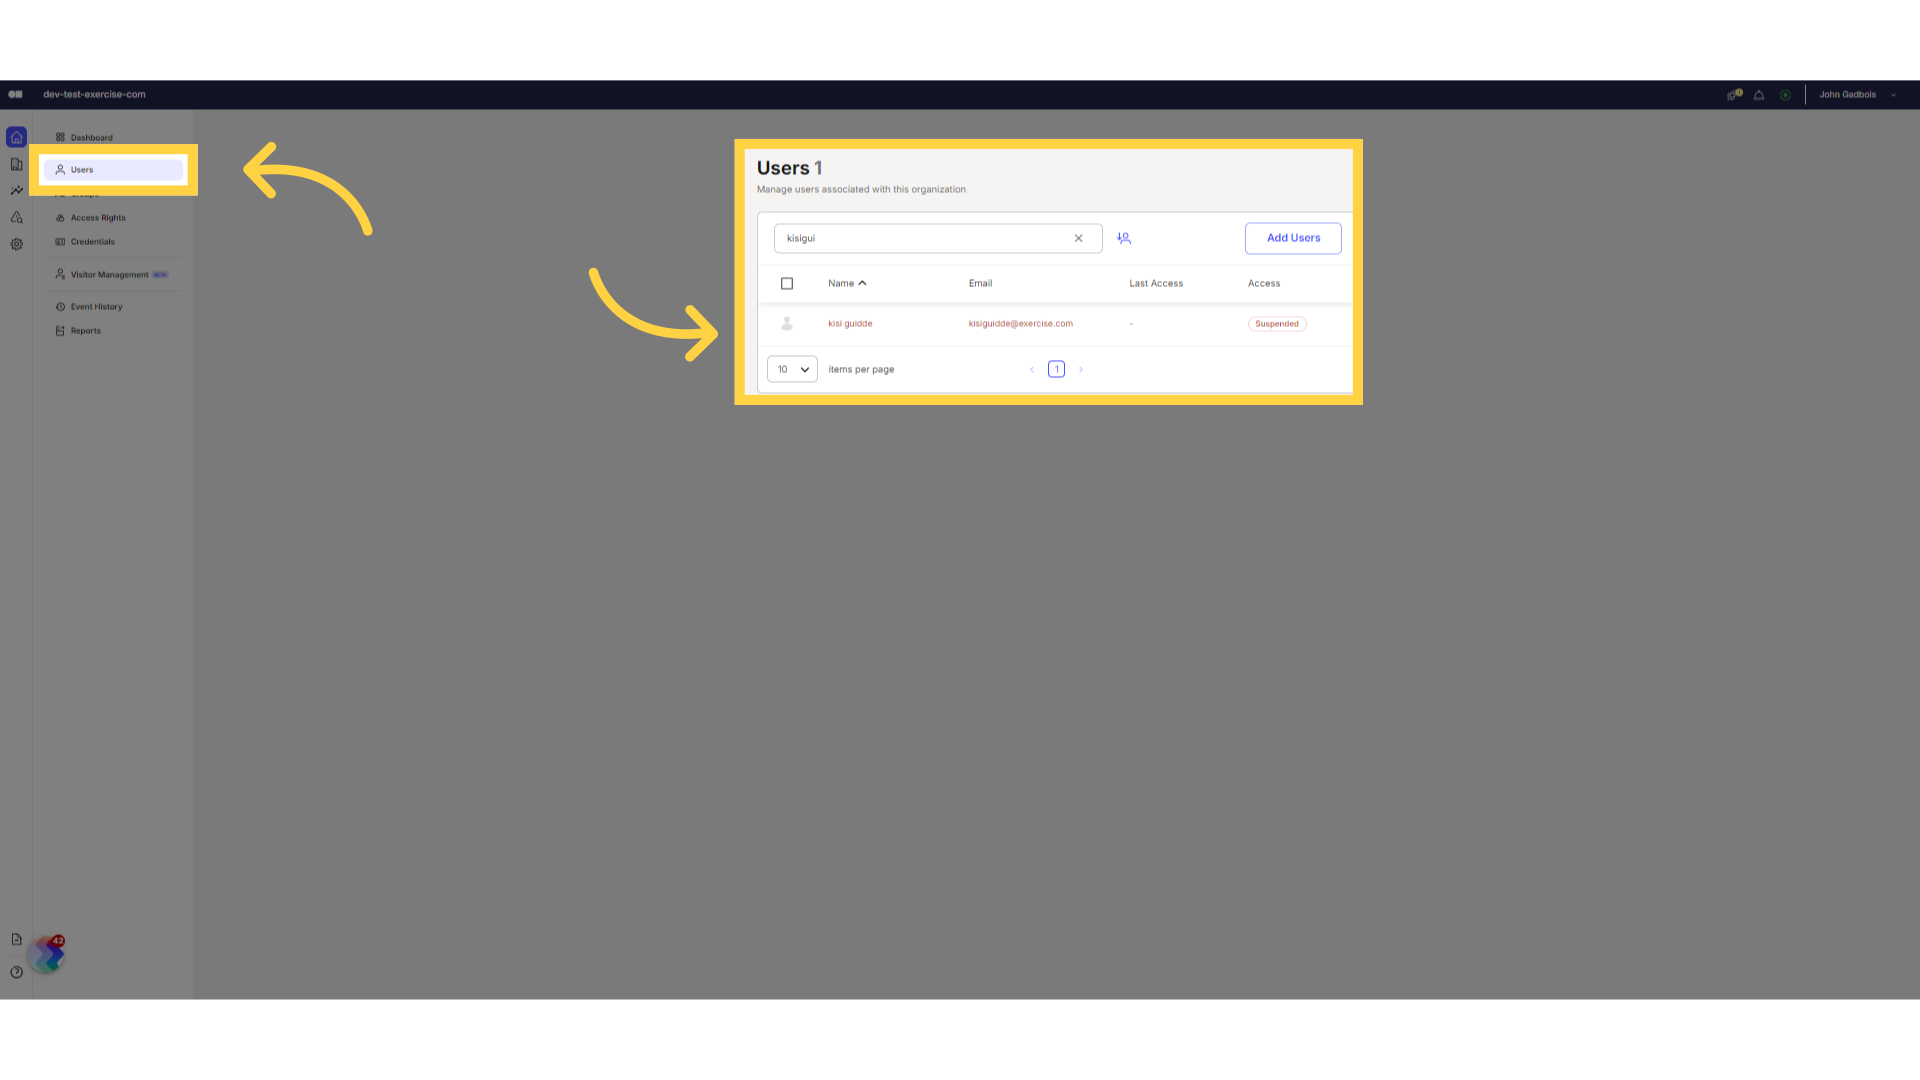
9. Verify on Kisi
Your client’s status in Kisi should show as suspended.
This guide covered steps to customizing packages to remove Kisi access following a failed payment.


