How to Set Up Assets on an Availability Schedule
With Asset Management on Exercise.com’s fitness business management software, you’ll be able to manage clients reserving things like equipment or facility space with ease.
This guide will walk through the process of setting up your Assets on an Availability Schedule. Rather than adding Assets directly to a Schedule, you will set them up under Services, and then add Services to the Availability Schedule.
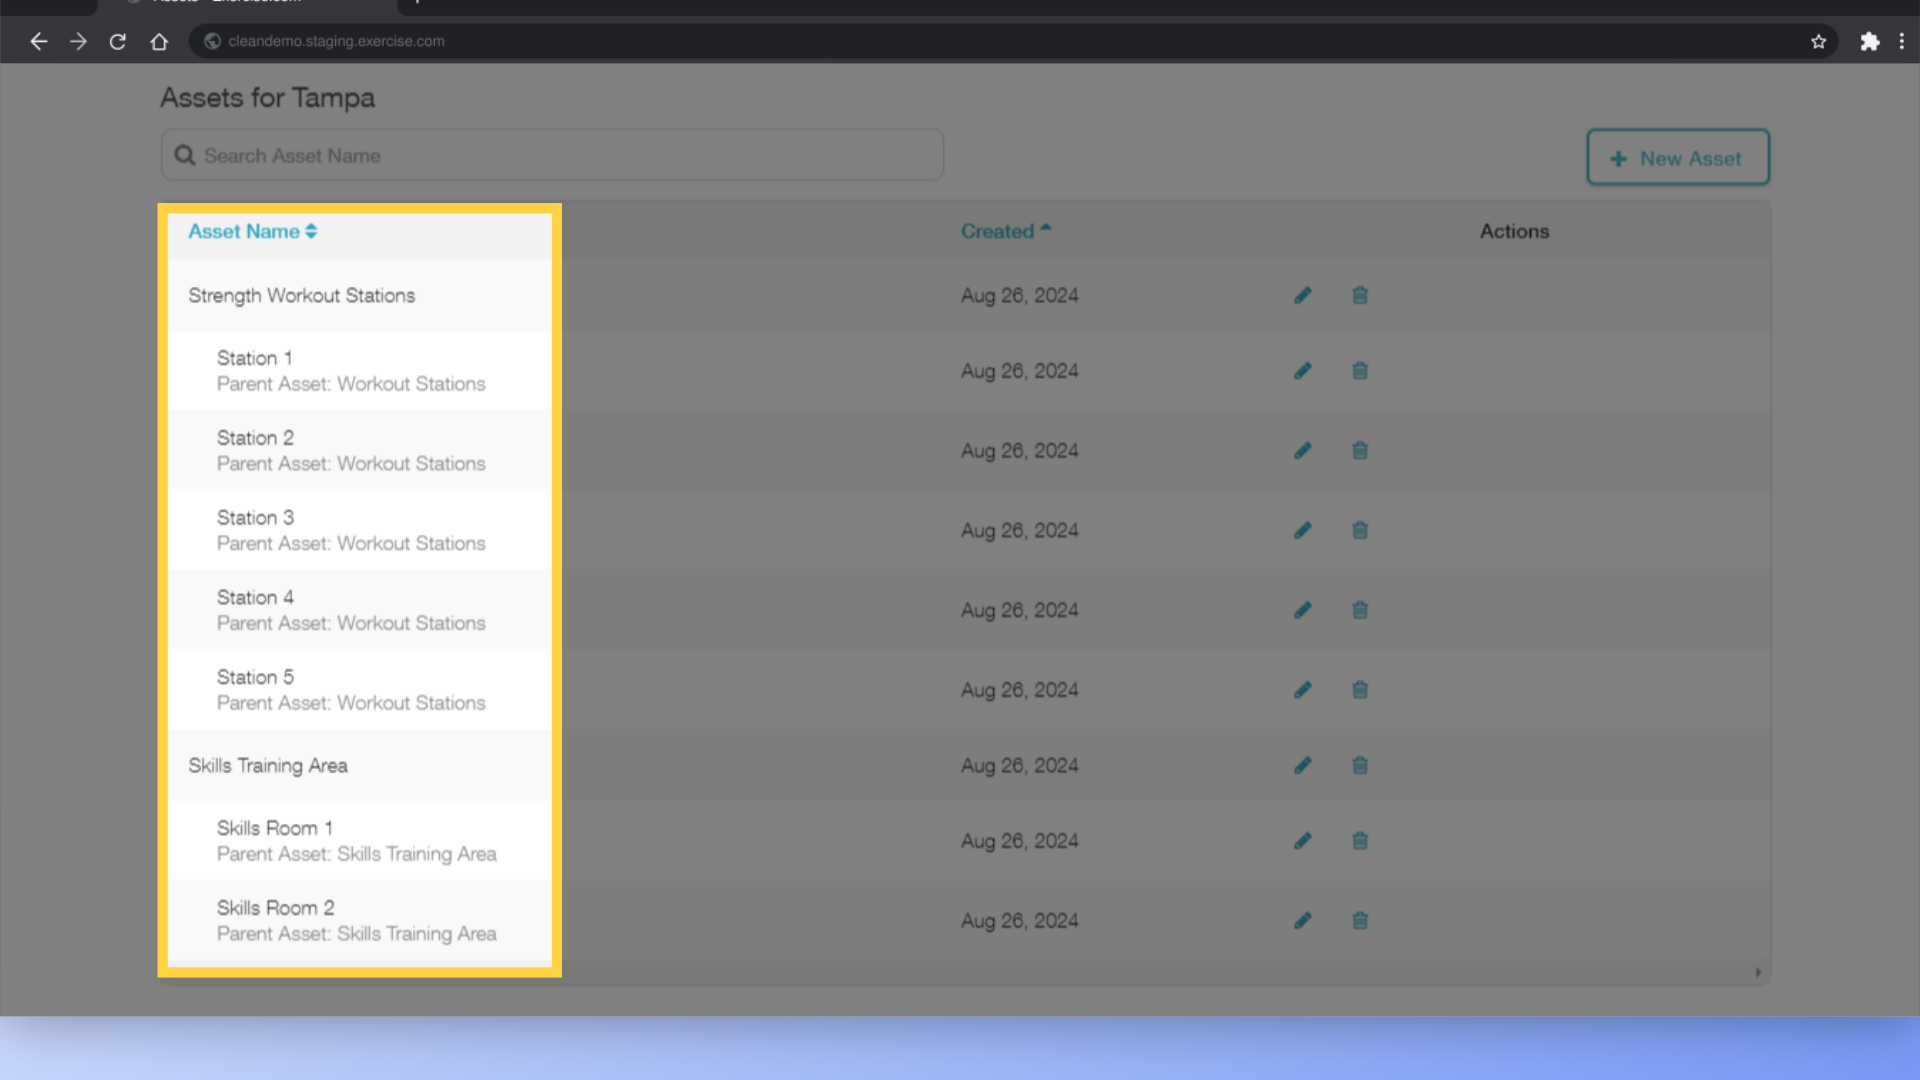
1. Make sure you have your Assets ready.
For our example, we’ve set up Assets as Stations 1 through 5 under “Strength Workout Stations”, and Skills Room 1 and 2 under “Skills Training Area”.
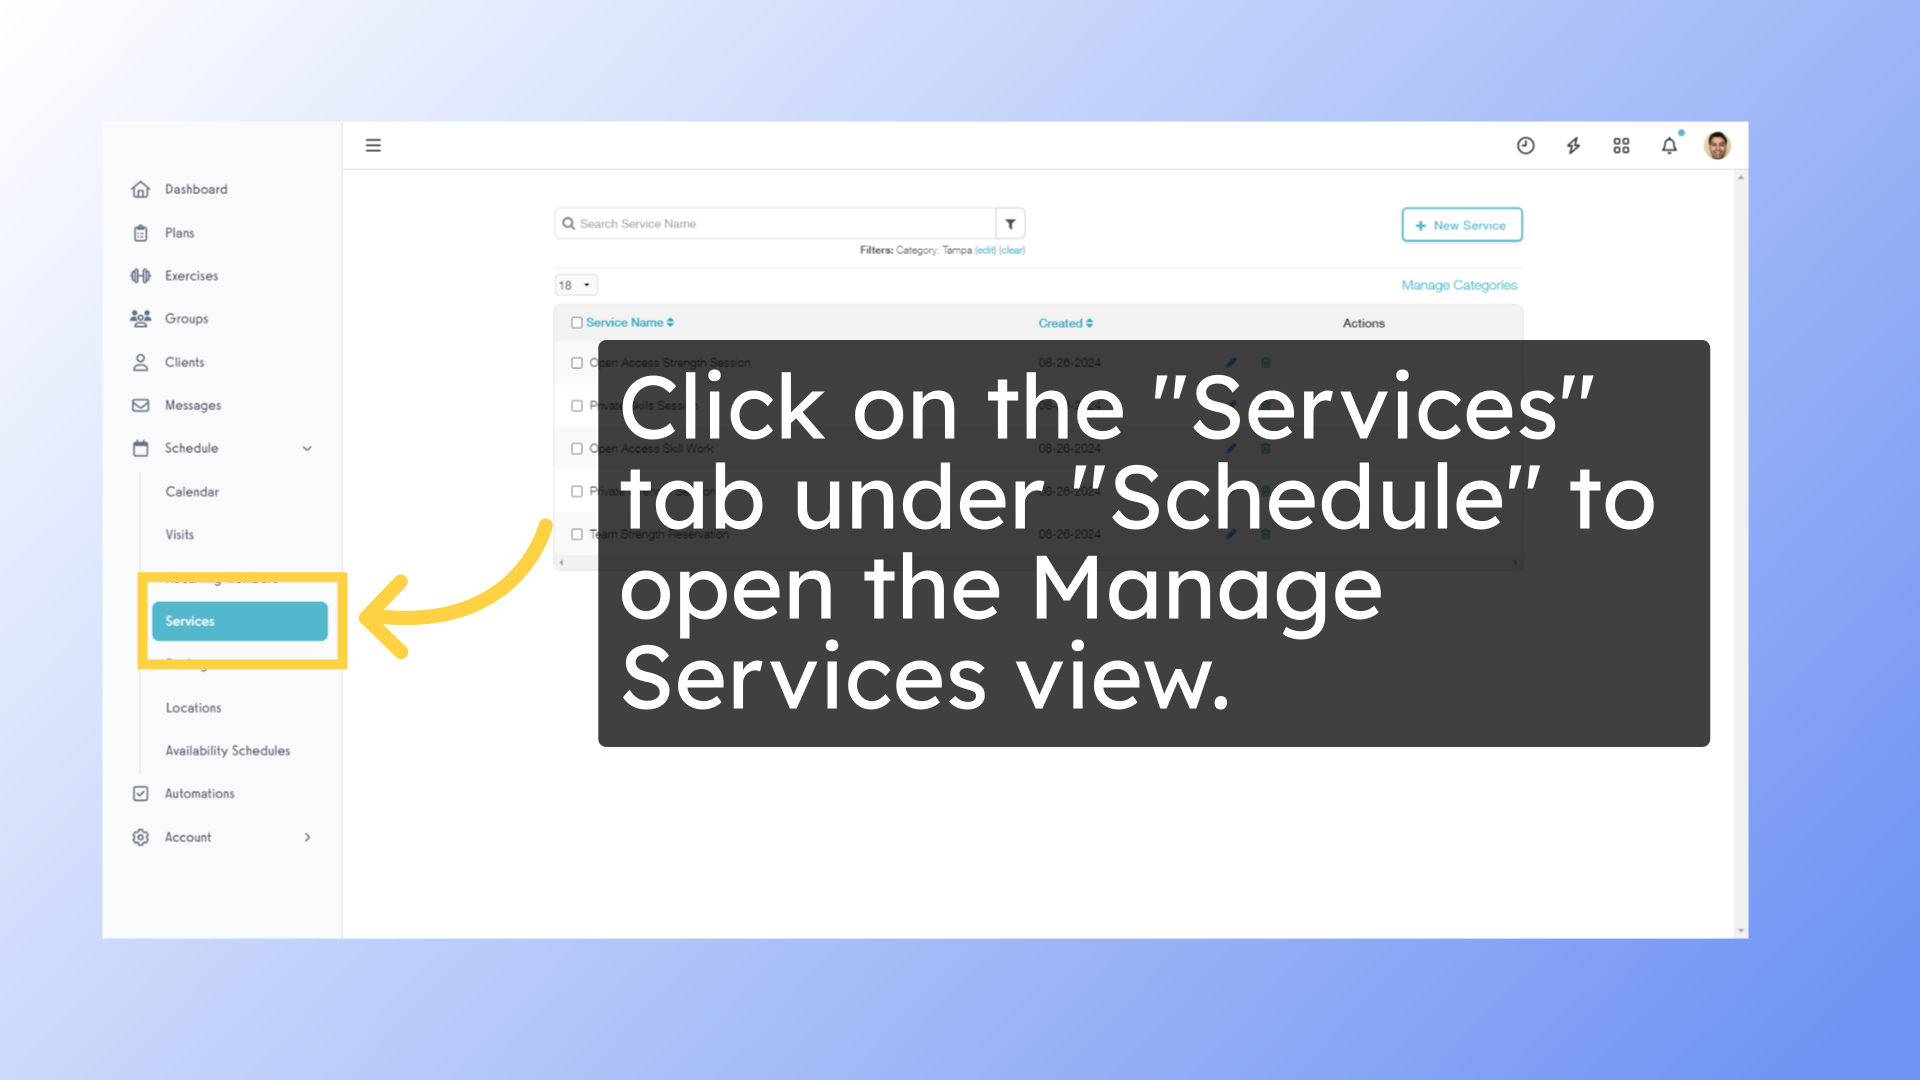
2. Click on the “Services” tab under “Schedule” to open the Manage Services view.
Once you’ve got your Assets ready, you can start adding them to your Services as defaults. Click on the “Services” tab under “Schedule” to open the Manage Services view.
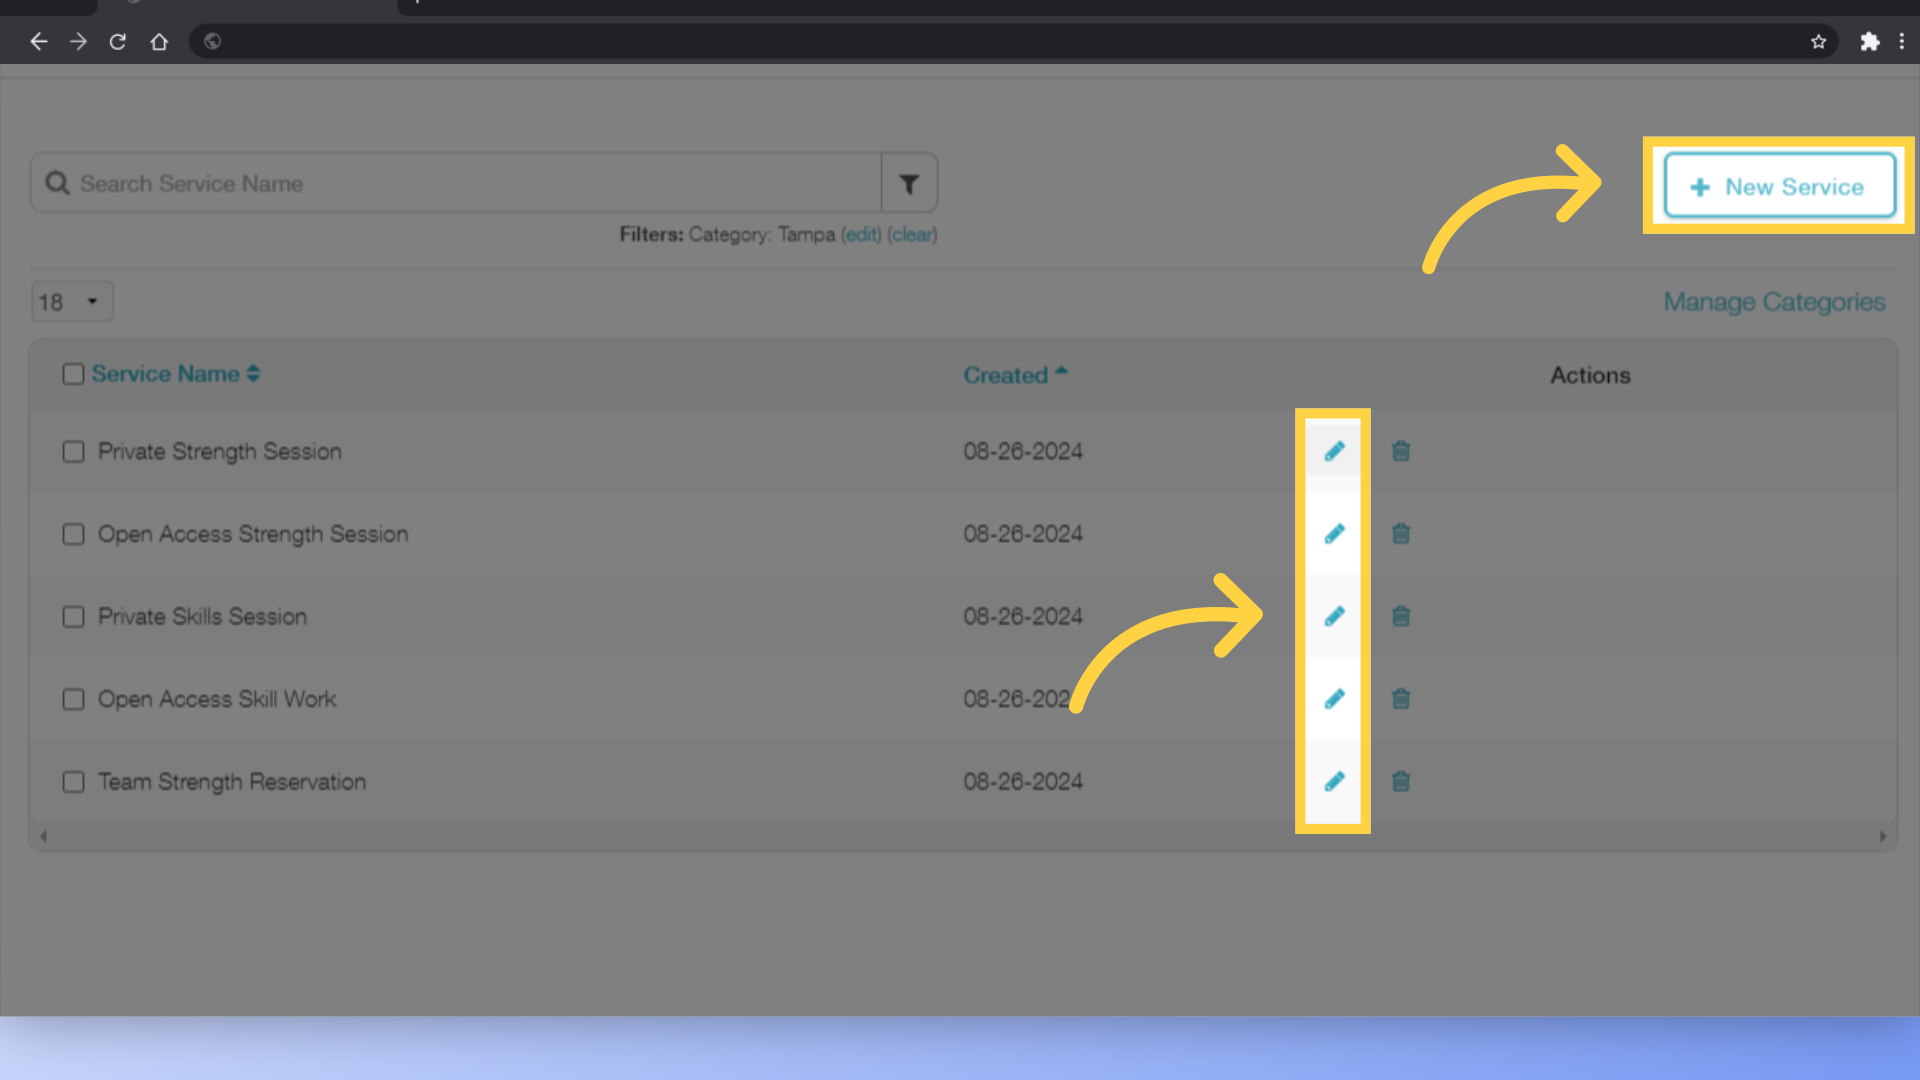
3. Edit or create new Services to assign the default Assets for each Service.
Now we can assign our Assets to the Services where they will be used for booking.
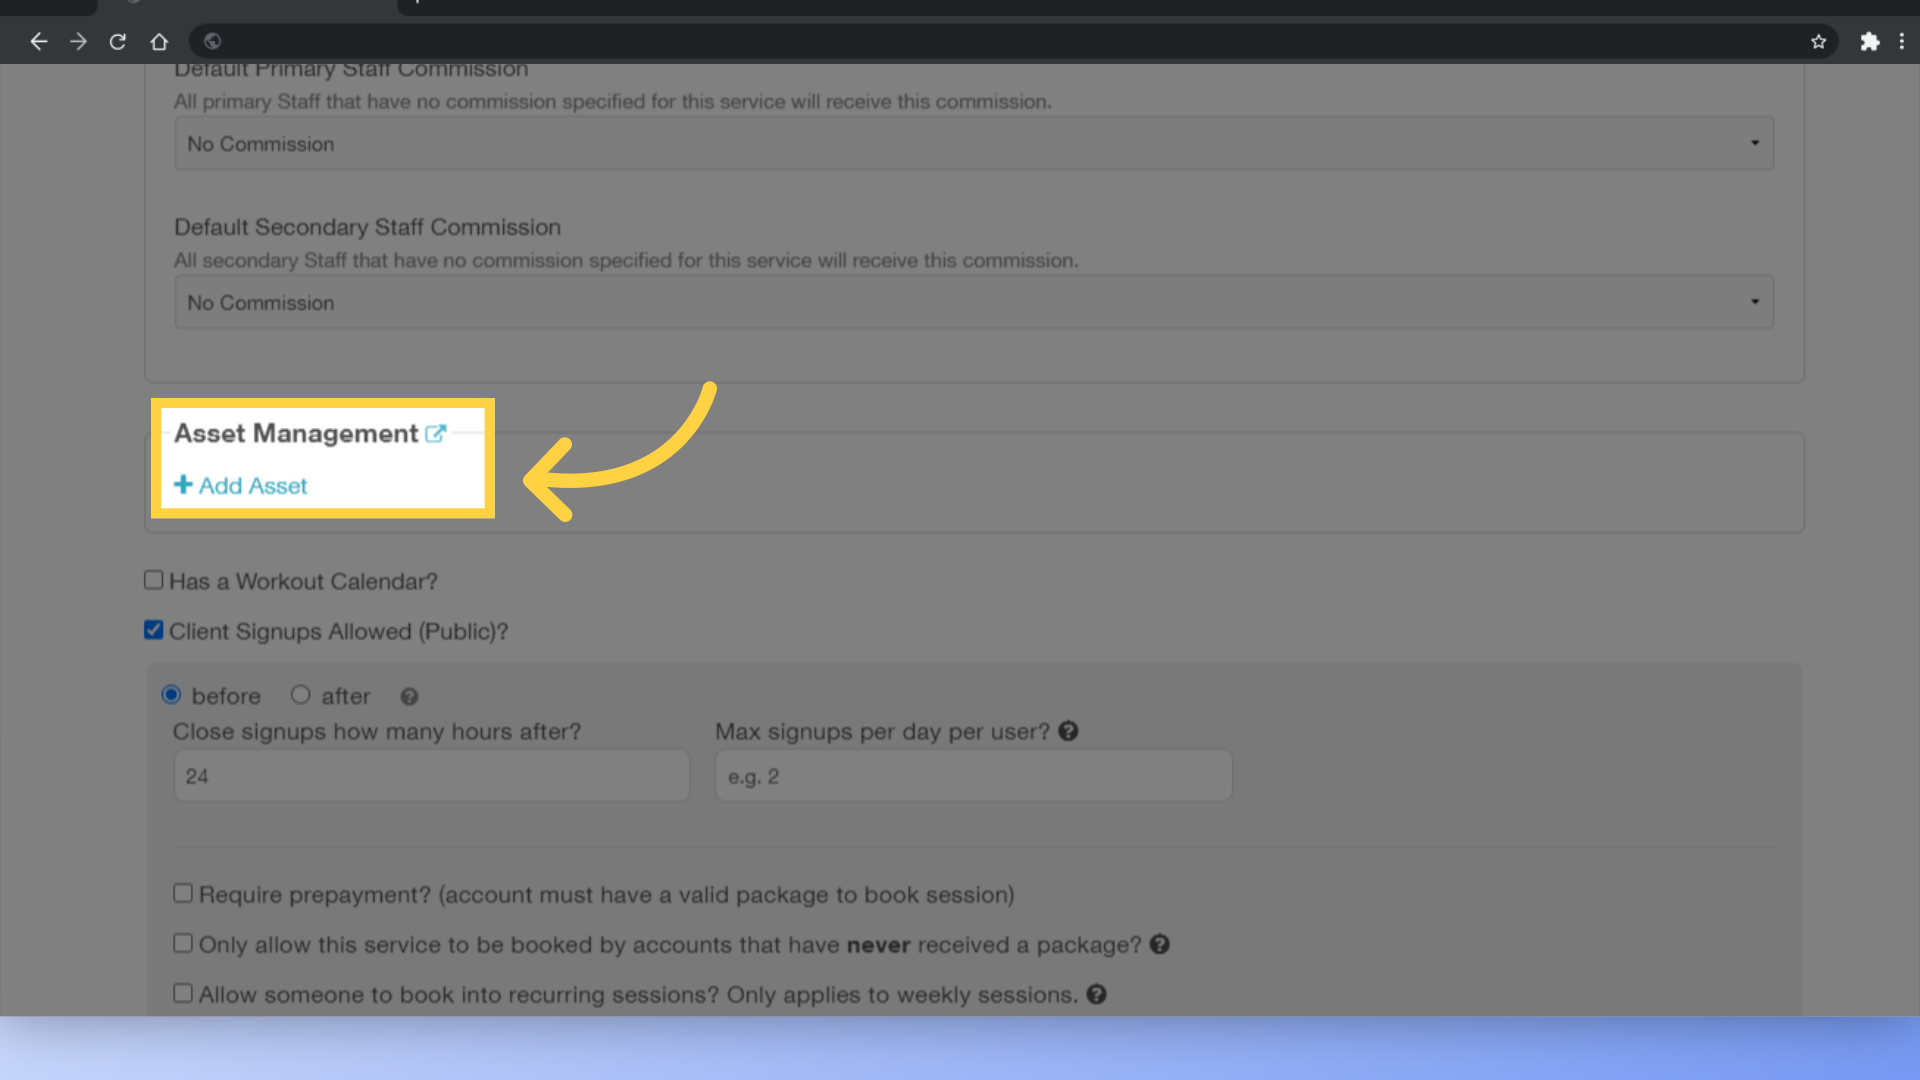
4. Click “Add Asset” on the Edit Service view to assign an Asset to this Service.
On the Service settings page, scroll down to the Asset Management header and click the “Add Asset” link.
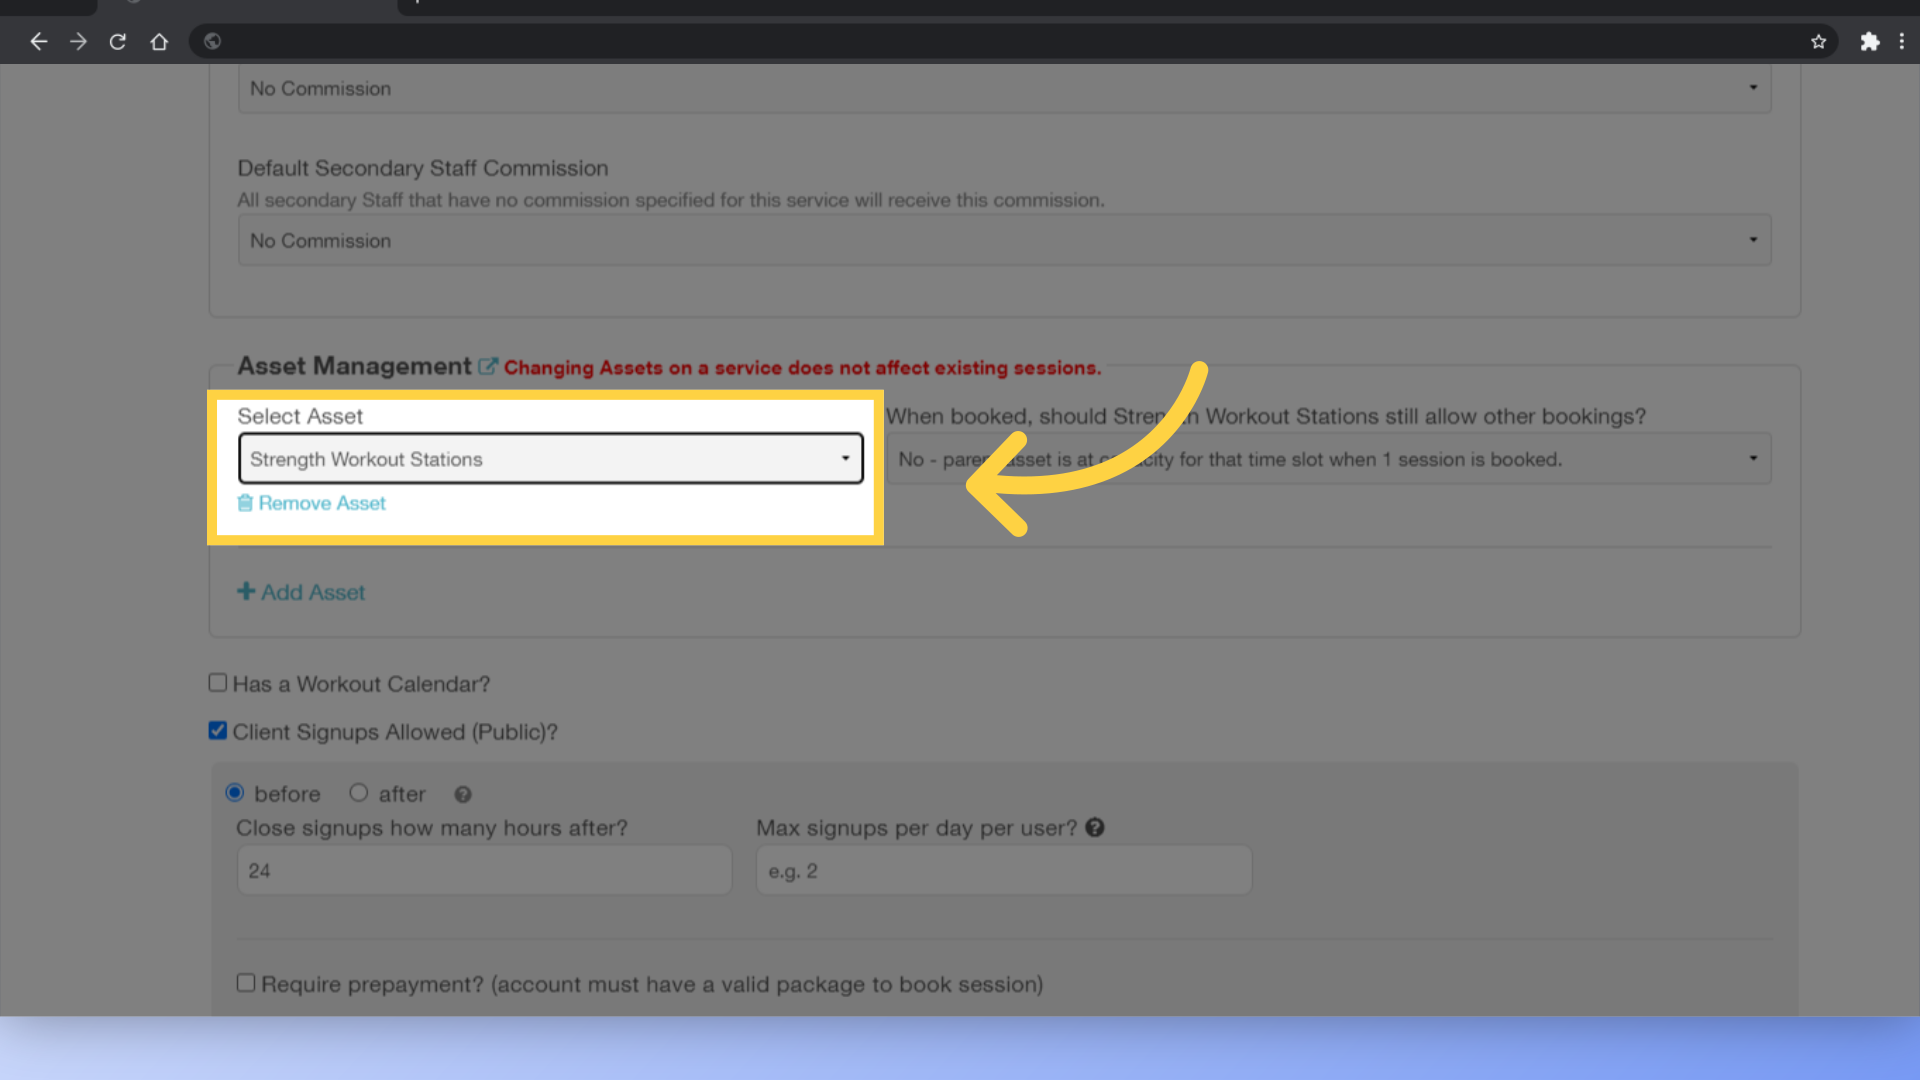
5. Select the Asset that you want to link to this Service.
Select the Asset that you want to link to this Service. We’ll choose Strength Workout Stations for our example.
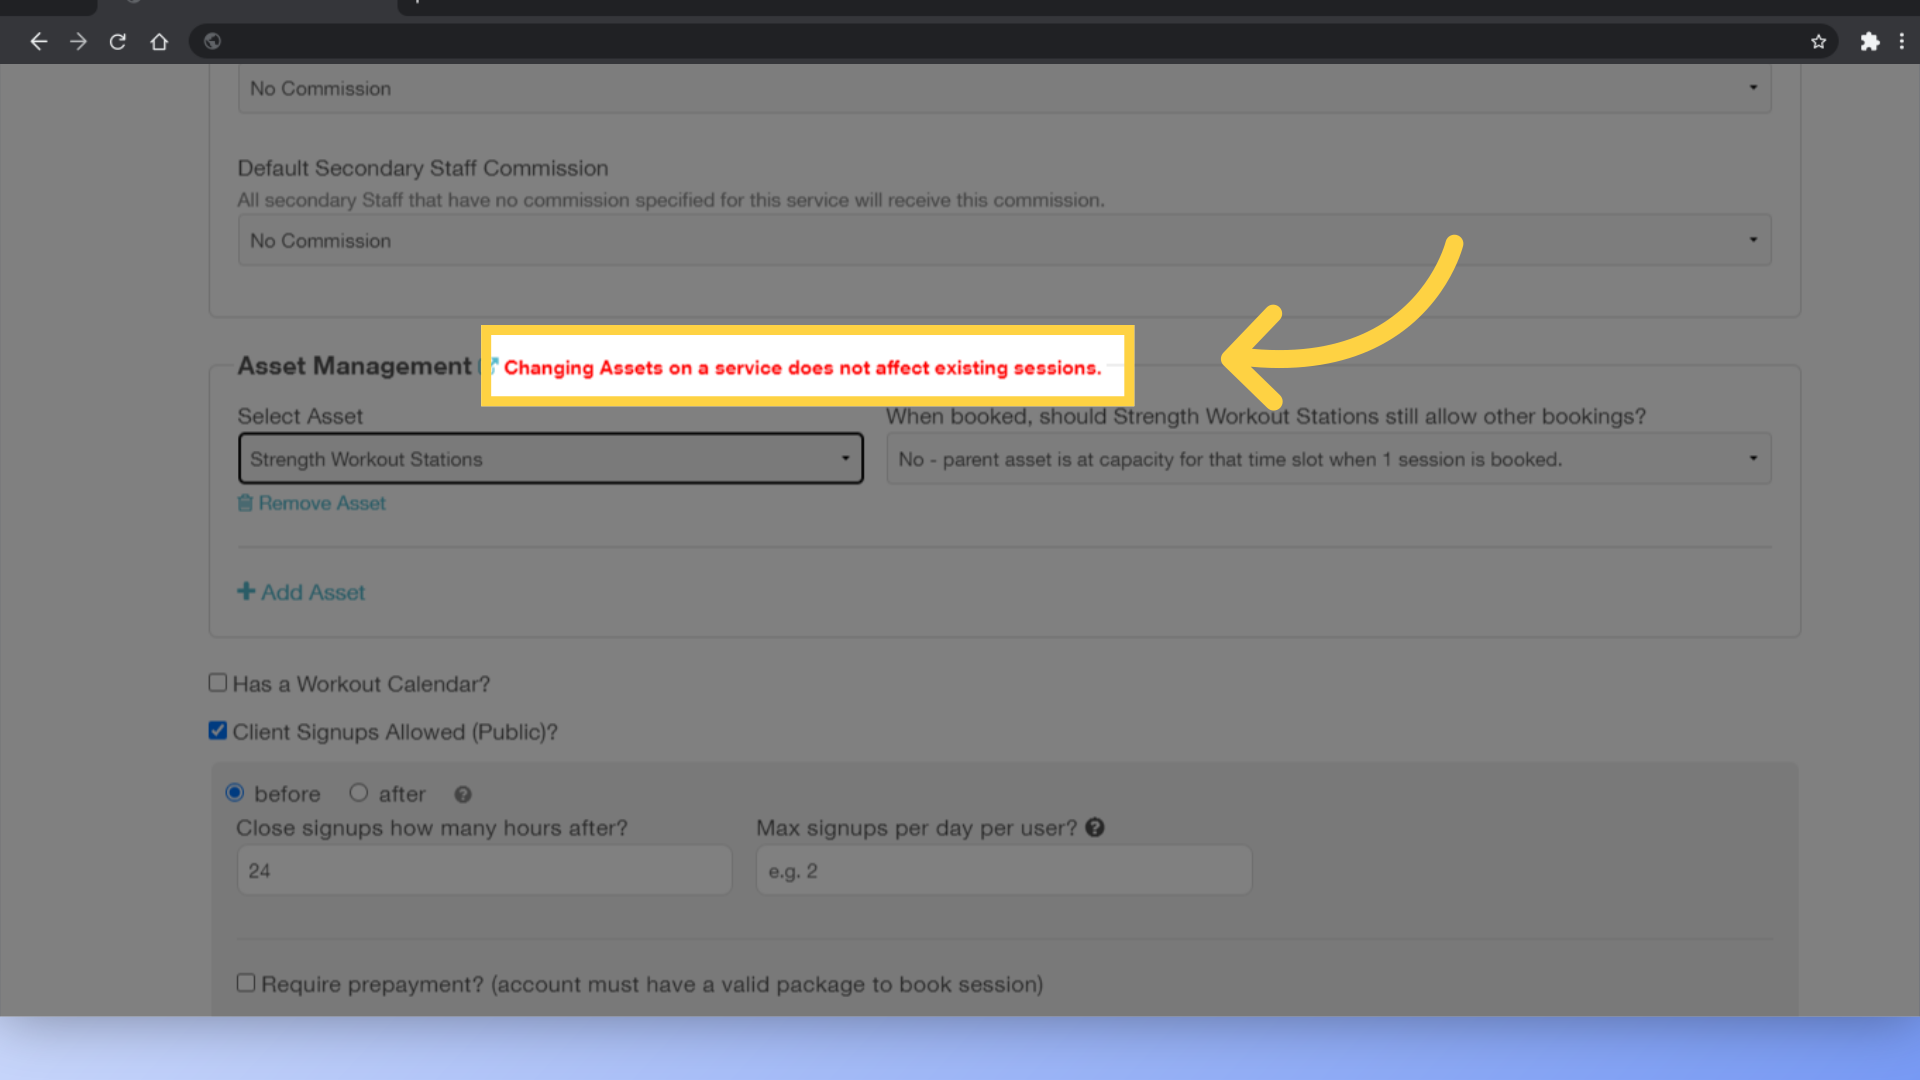
6. PLEASE NOTE: Adding Assets under Service settings will not affect existing sessions on your schedule.
If you already have an existing schedule set up, please note that adding Assets under Service settings will not affect existing sessions on your schedule.
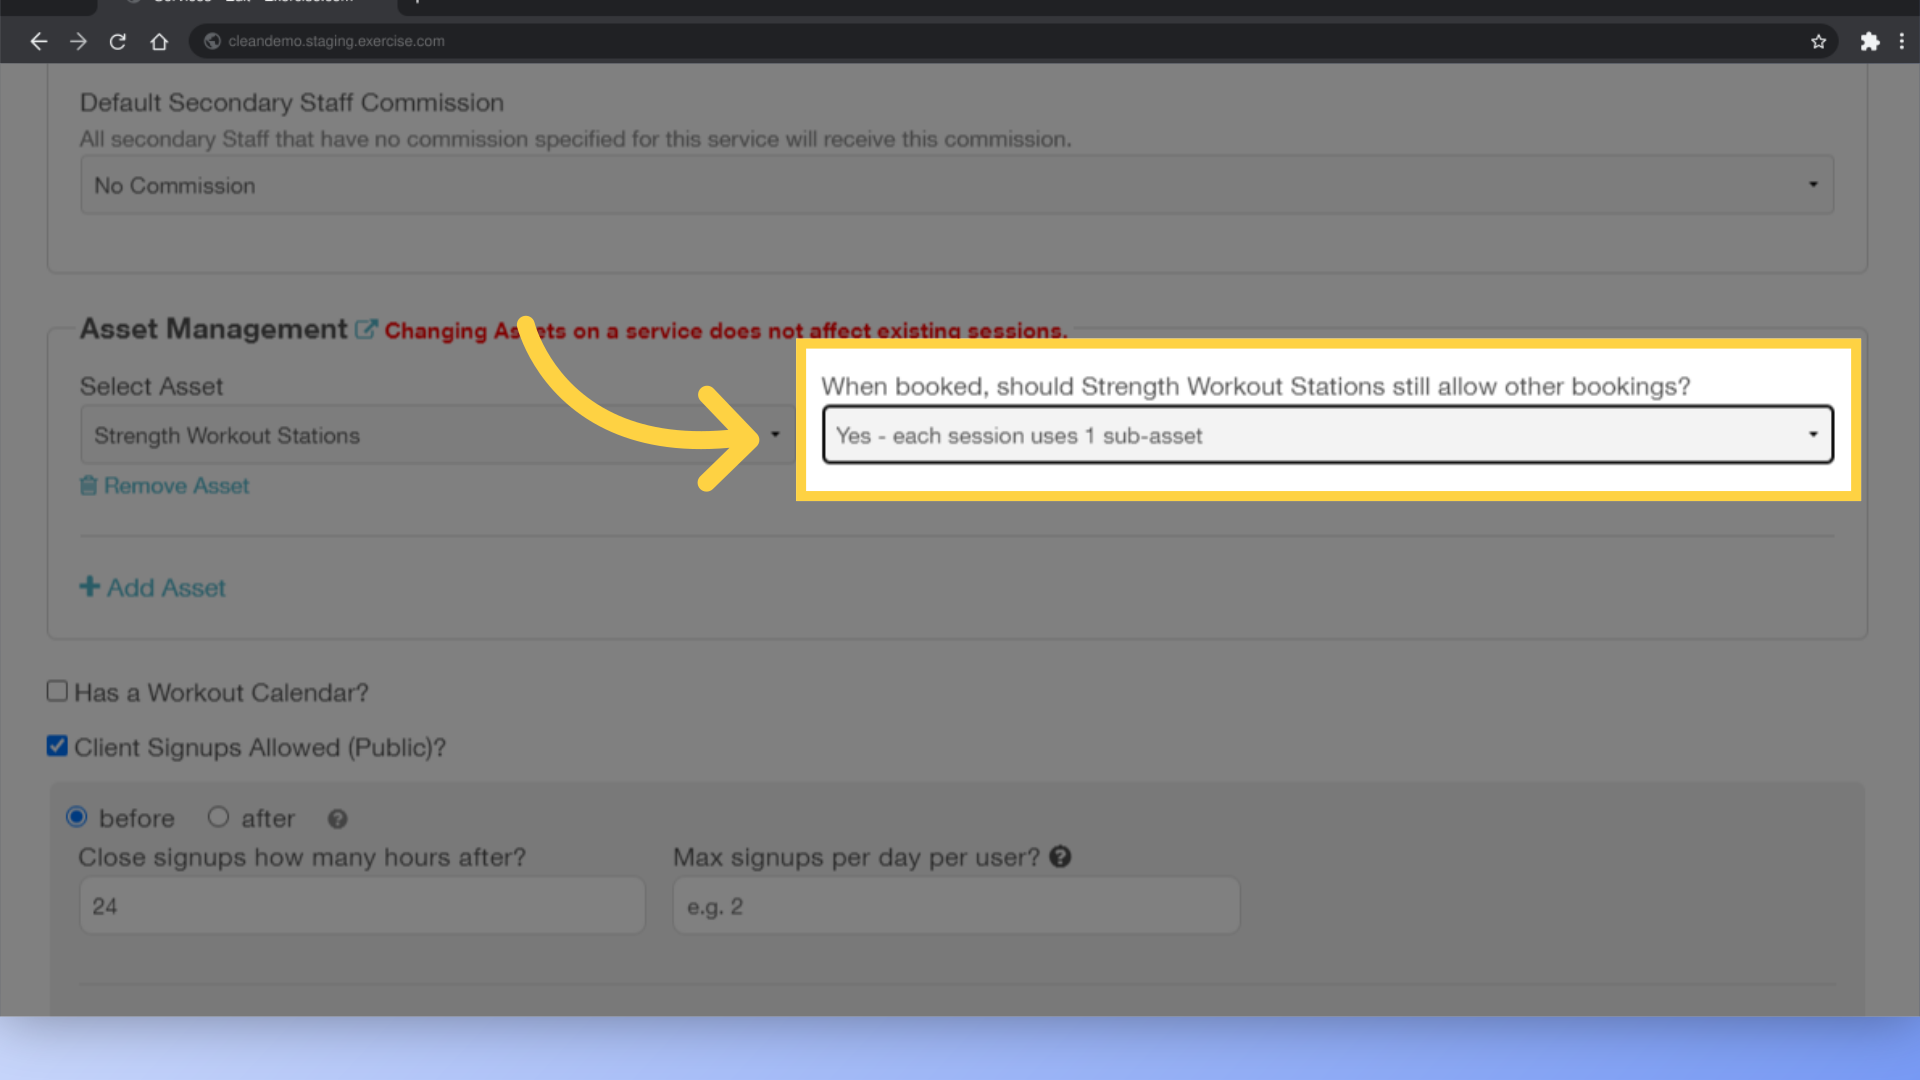
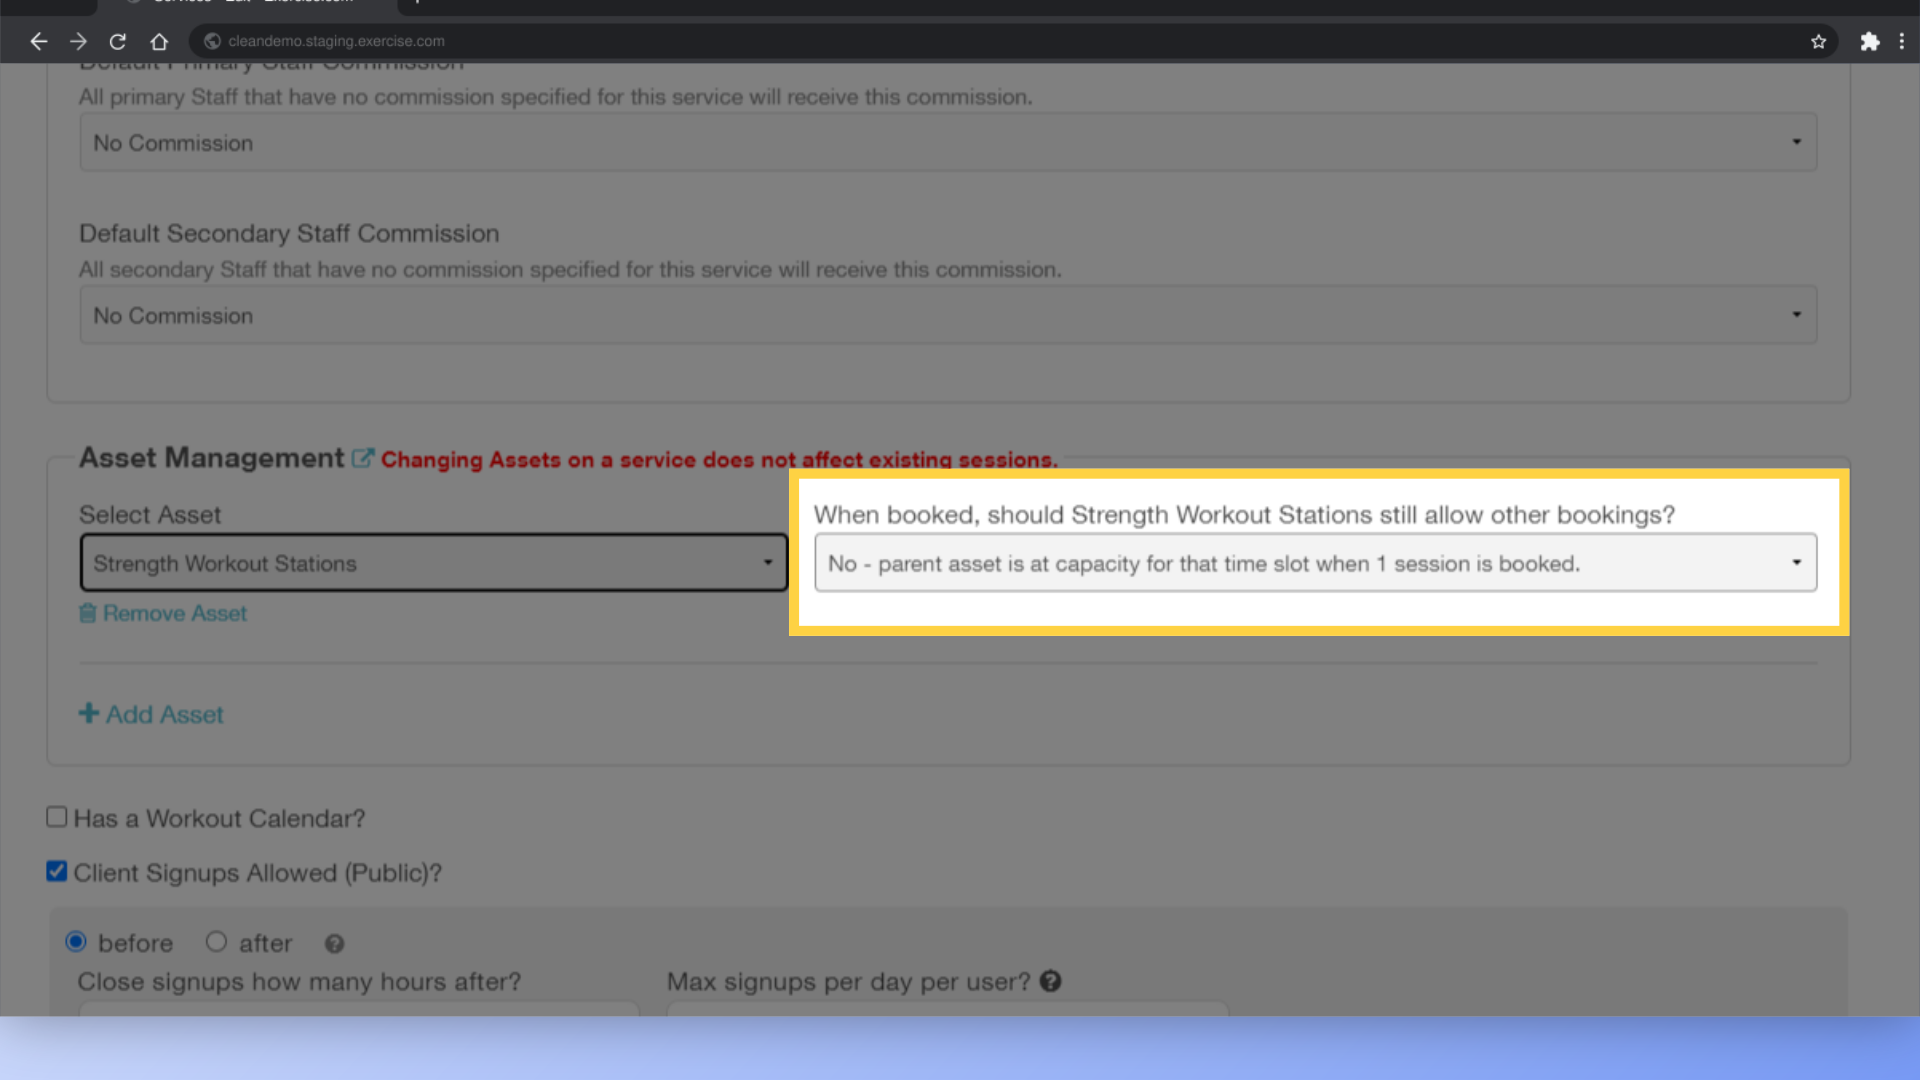
7. Choose whether or not to allow other bookings based on your Service.
Pay close attention to the options for allowing other bookings when setting up your Assets. Since the service we’re using here is a private, one-on-one session, we’ll set this up so each session uses 1 Sub-Asset. There are two other options here:
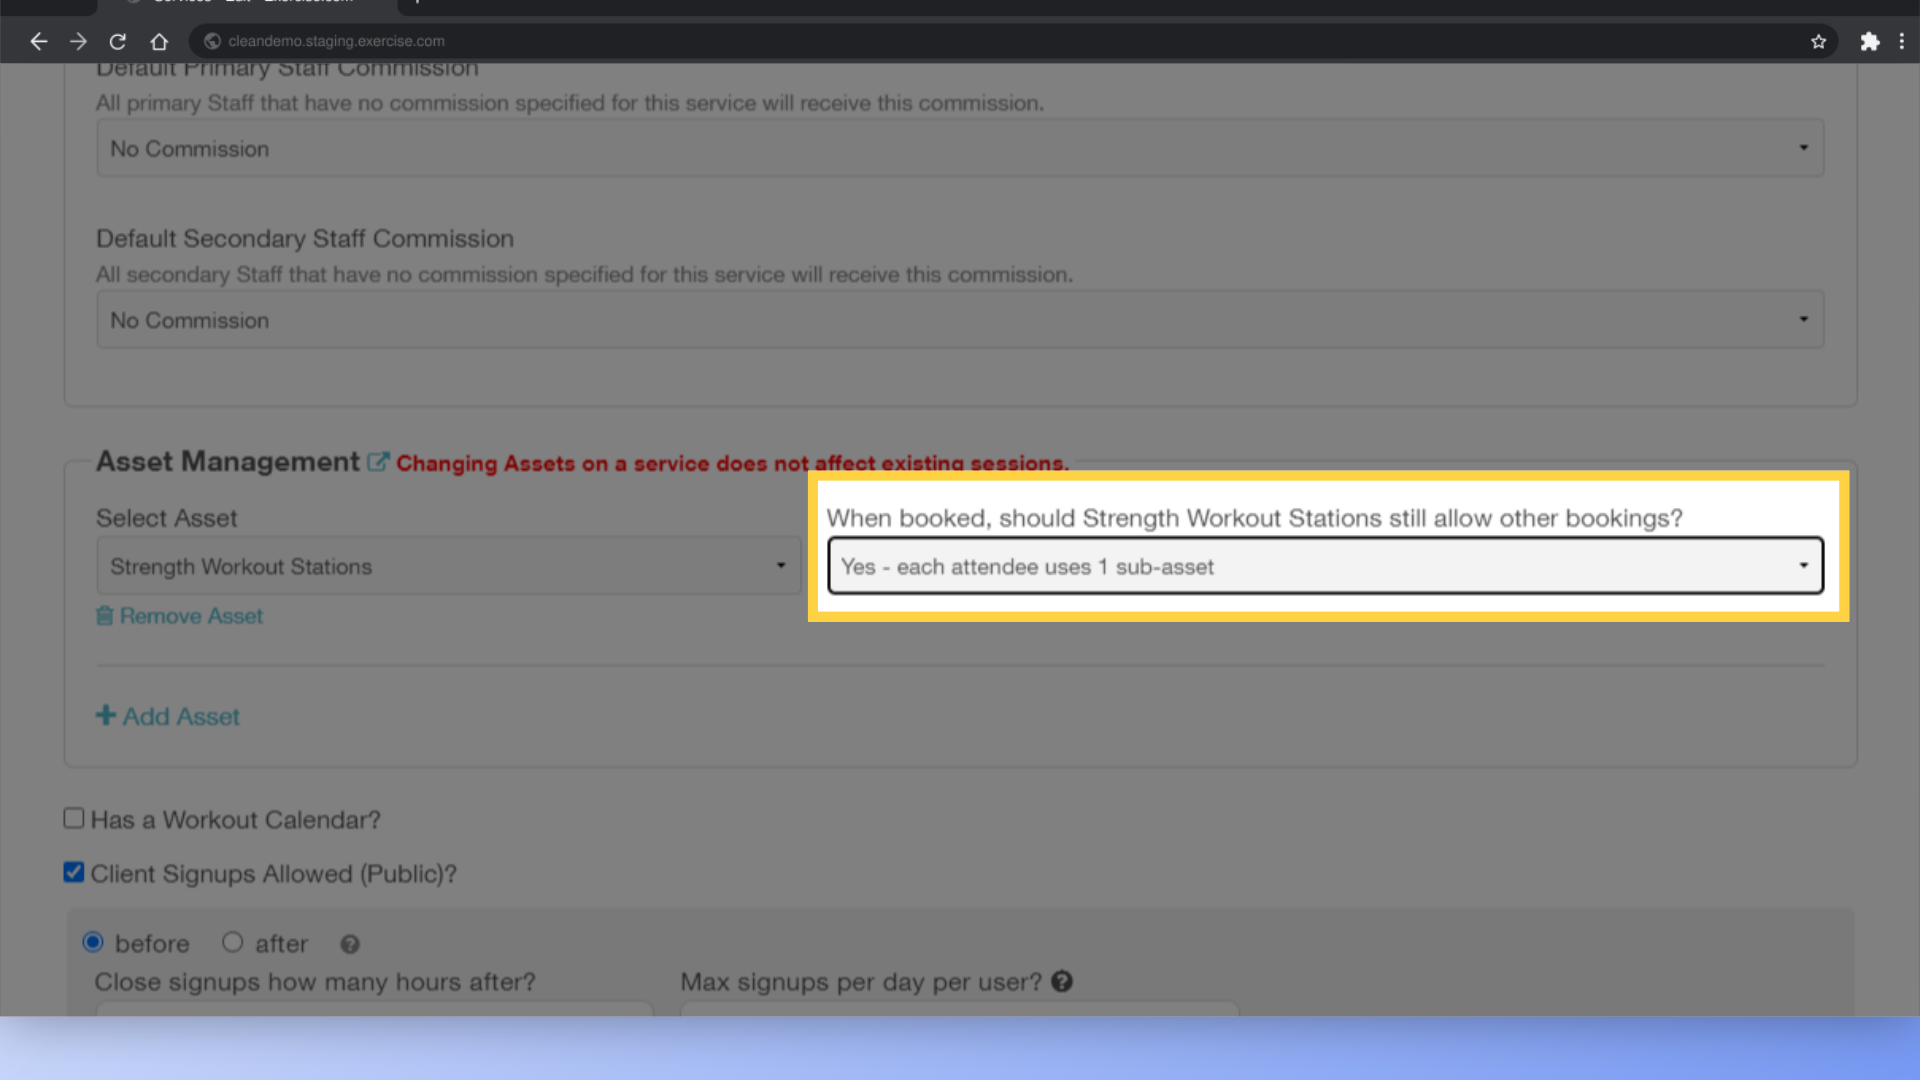
8. For a group class, we recommend setting it so each attendee uses 1 Sub-Asset.
You can set it up so each attendee in a group session uses 1 Sub-Asset. Choose this if you have a group class and want to be able to reserve equipment.
9. For room rentals, team sessions, and group events like camps and clinics, we recommend the option to set the Parent Asset at capacity when 1 session is booked.
If you want a single session to reserve ALL Sub-Assets and prevent other bookings, use the option to set the parent asset at capacity when 1 session is booked. This can be useful for team reservations, room rentals, and large group events like camps or clinics.
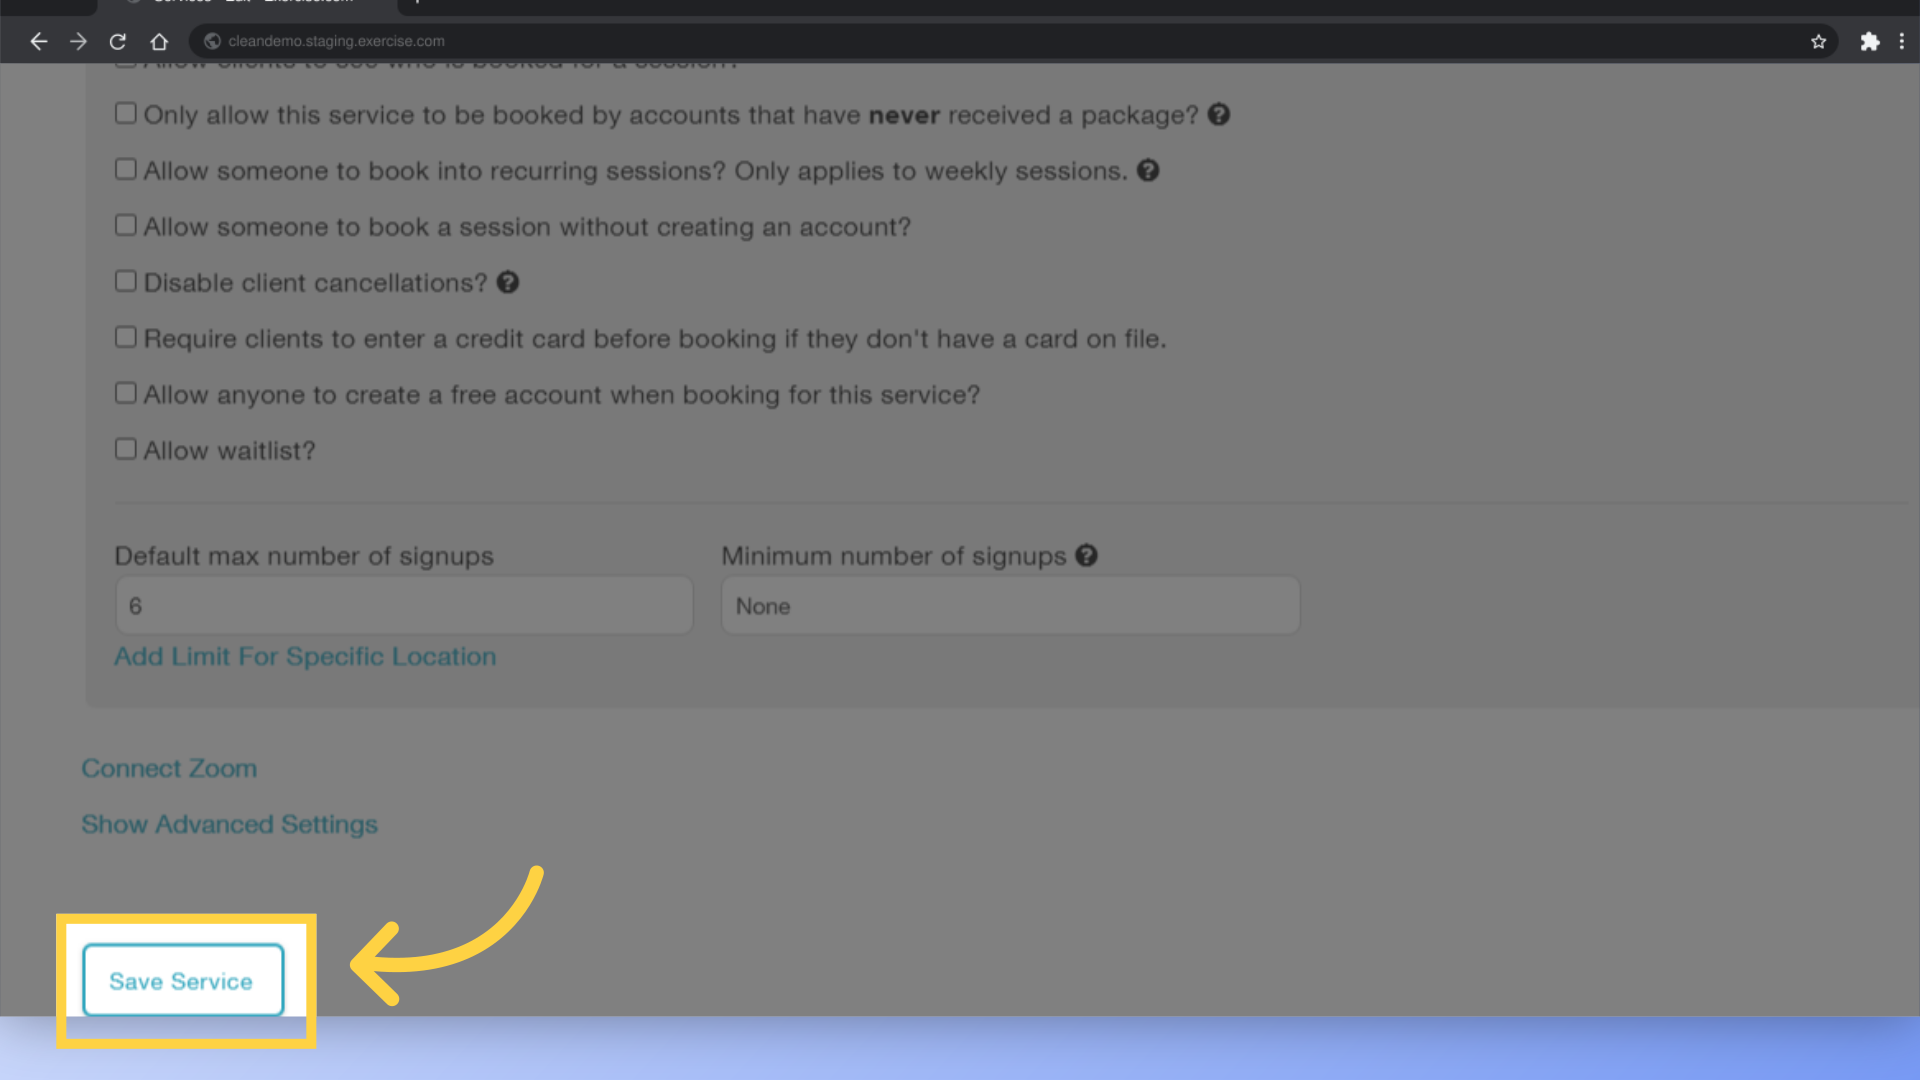
10. Click “Save Service” to save your changes and continue.
Once you’ve got your settings how you want them, click “Save Service” to save your changes and continue.
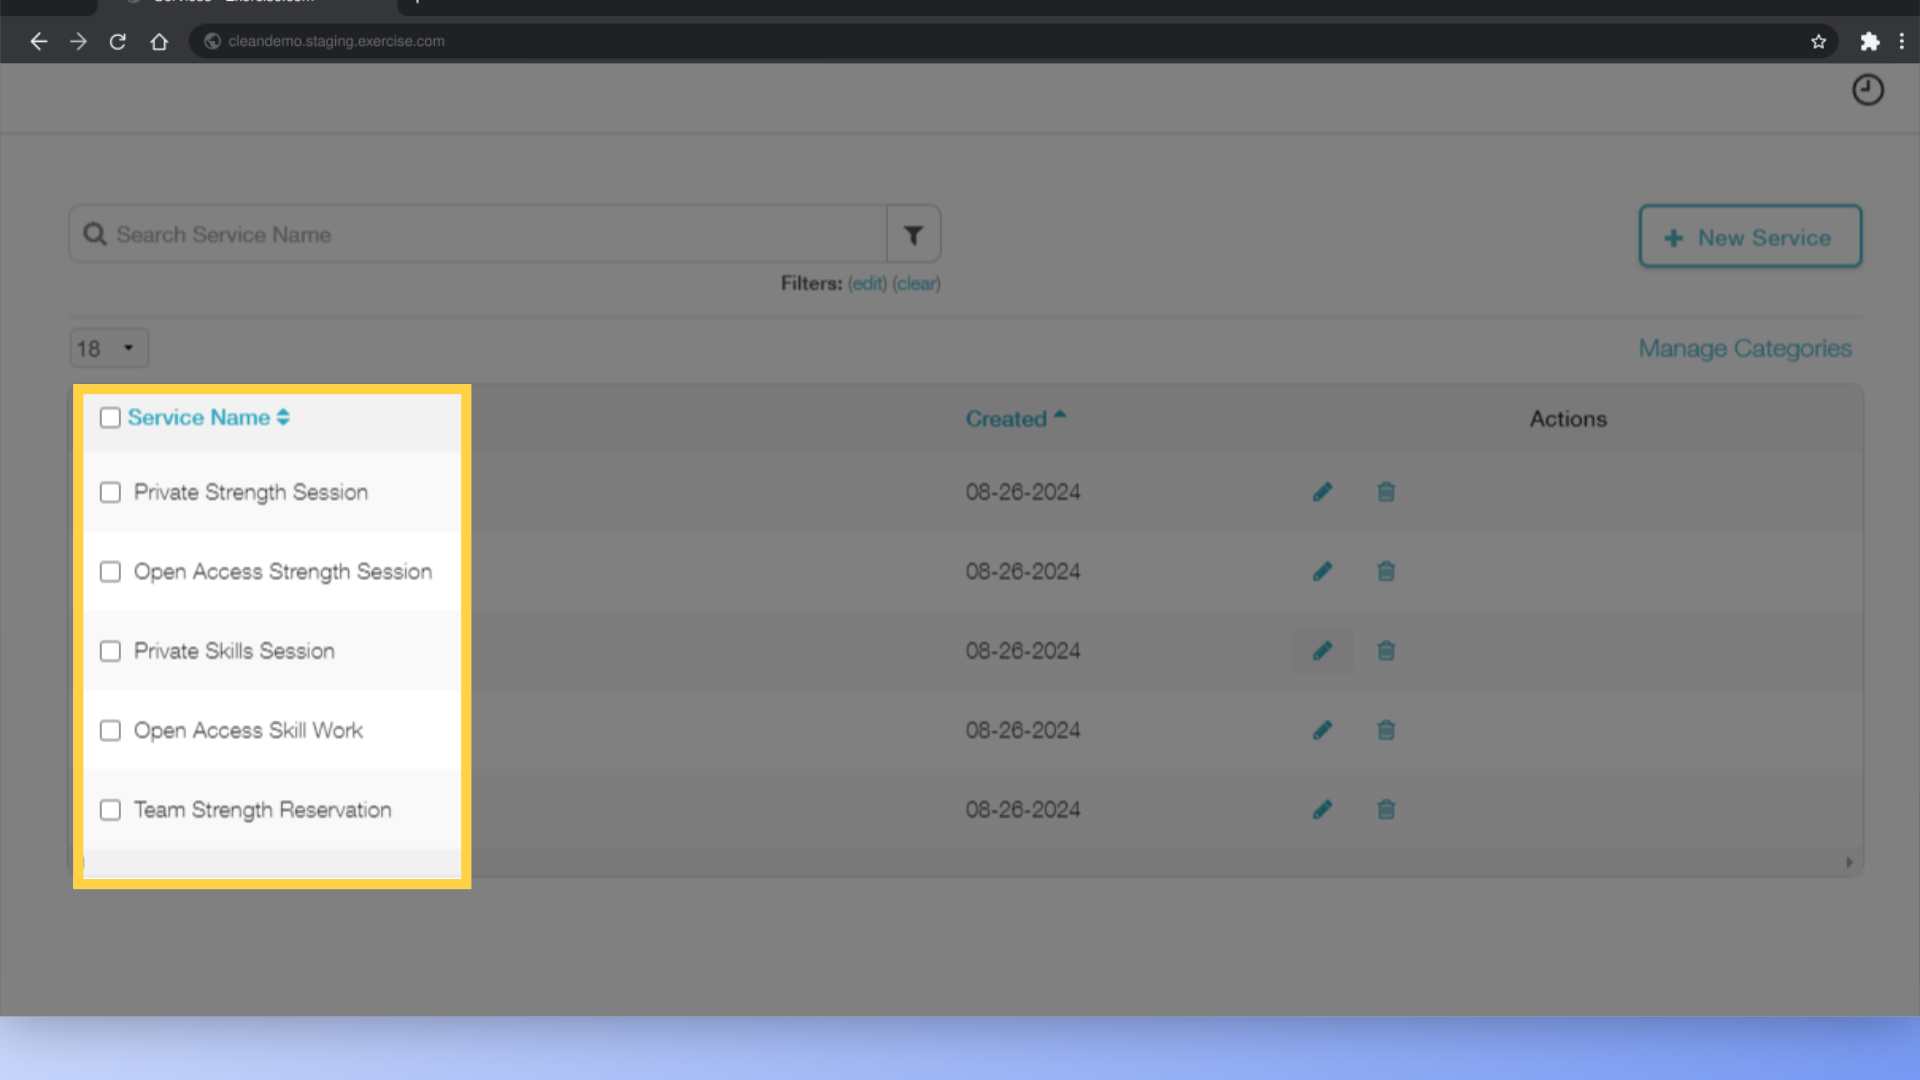
11. Private Session: 1 session uses 1 Sub-Asset. Open Access: 1 attendee uses 1 Sub-Asset. Team Session: 1 session uses ALL Sub-Assets.
For our example, we’ve set up the “Private” sessions so each session uses 1 Sub-Asset. For the Open Access sessions, each attendee in a group session uses 1 Sub-Asset. And the Team session will set all of our Workout Stations as unavailable when 1 session is booked.
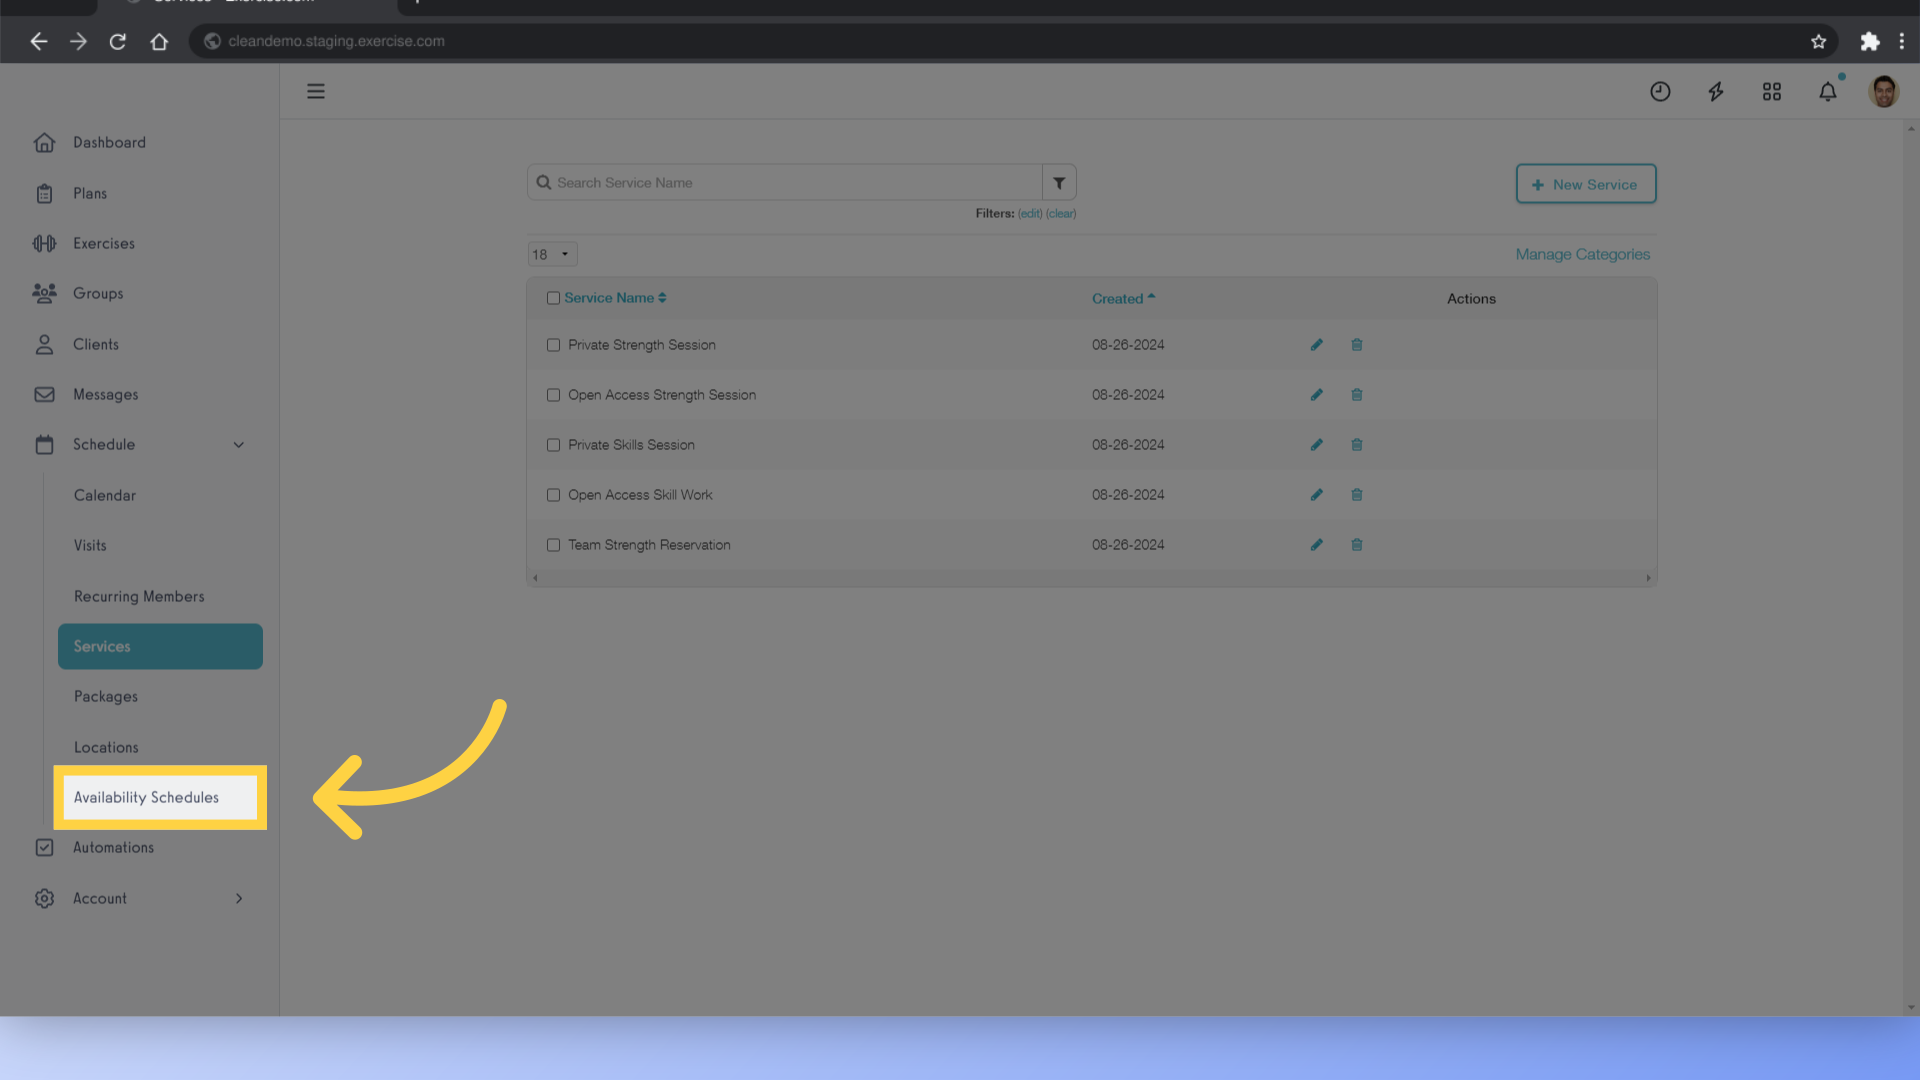
12. Go to the “Availability Schedules” page.
Now that we’ve got our Assets configured under our Services, let’s set up the Availability Schedule so that clients can start booking. Click on the Availability Schedules option under the Schedule menu item.
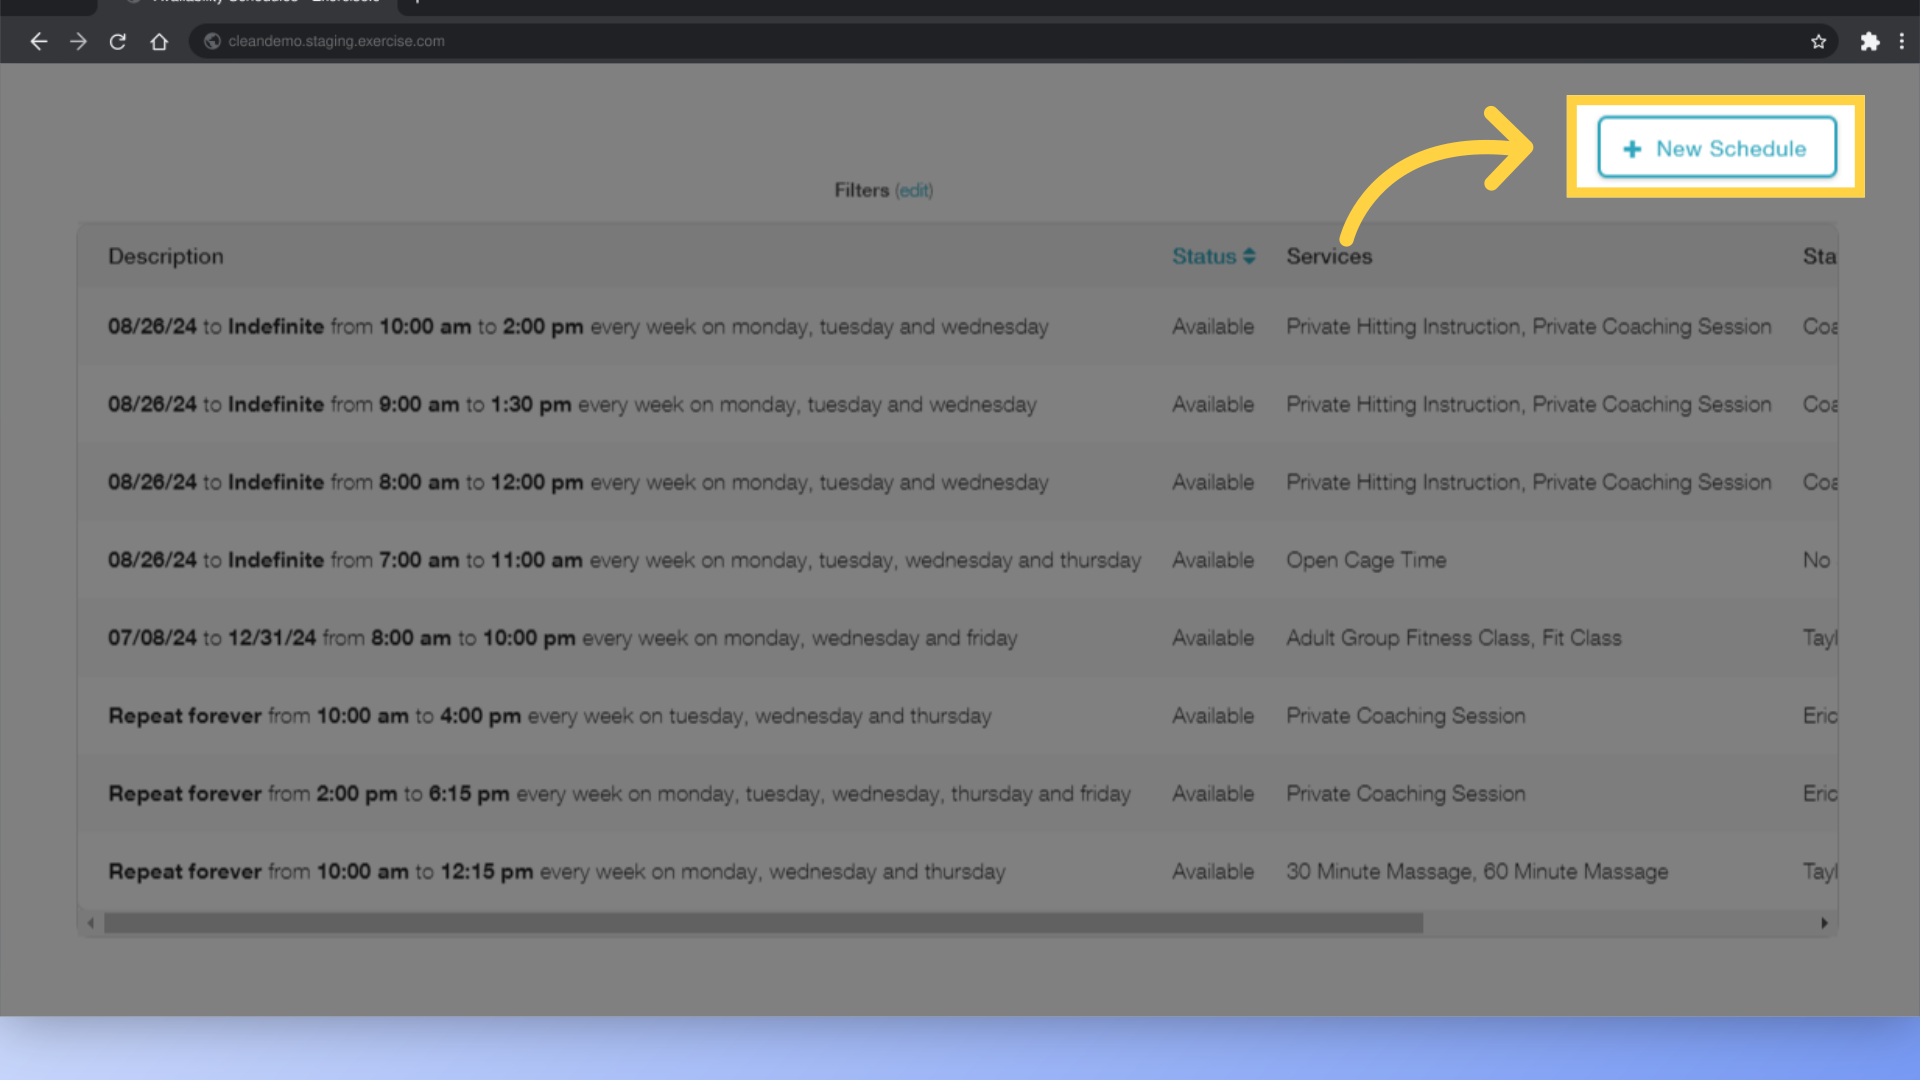
13. Click the “New Schedule” button or Edit an existing schedule.
Click the New Schedule button to set up a new Availability Schedule, or click to edit an existing schedule.
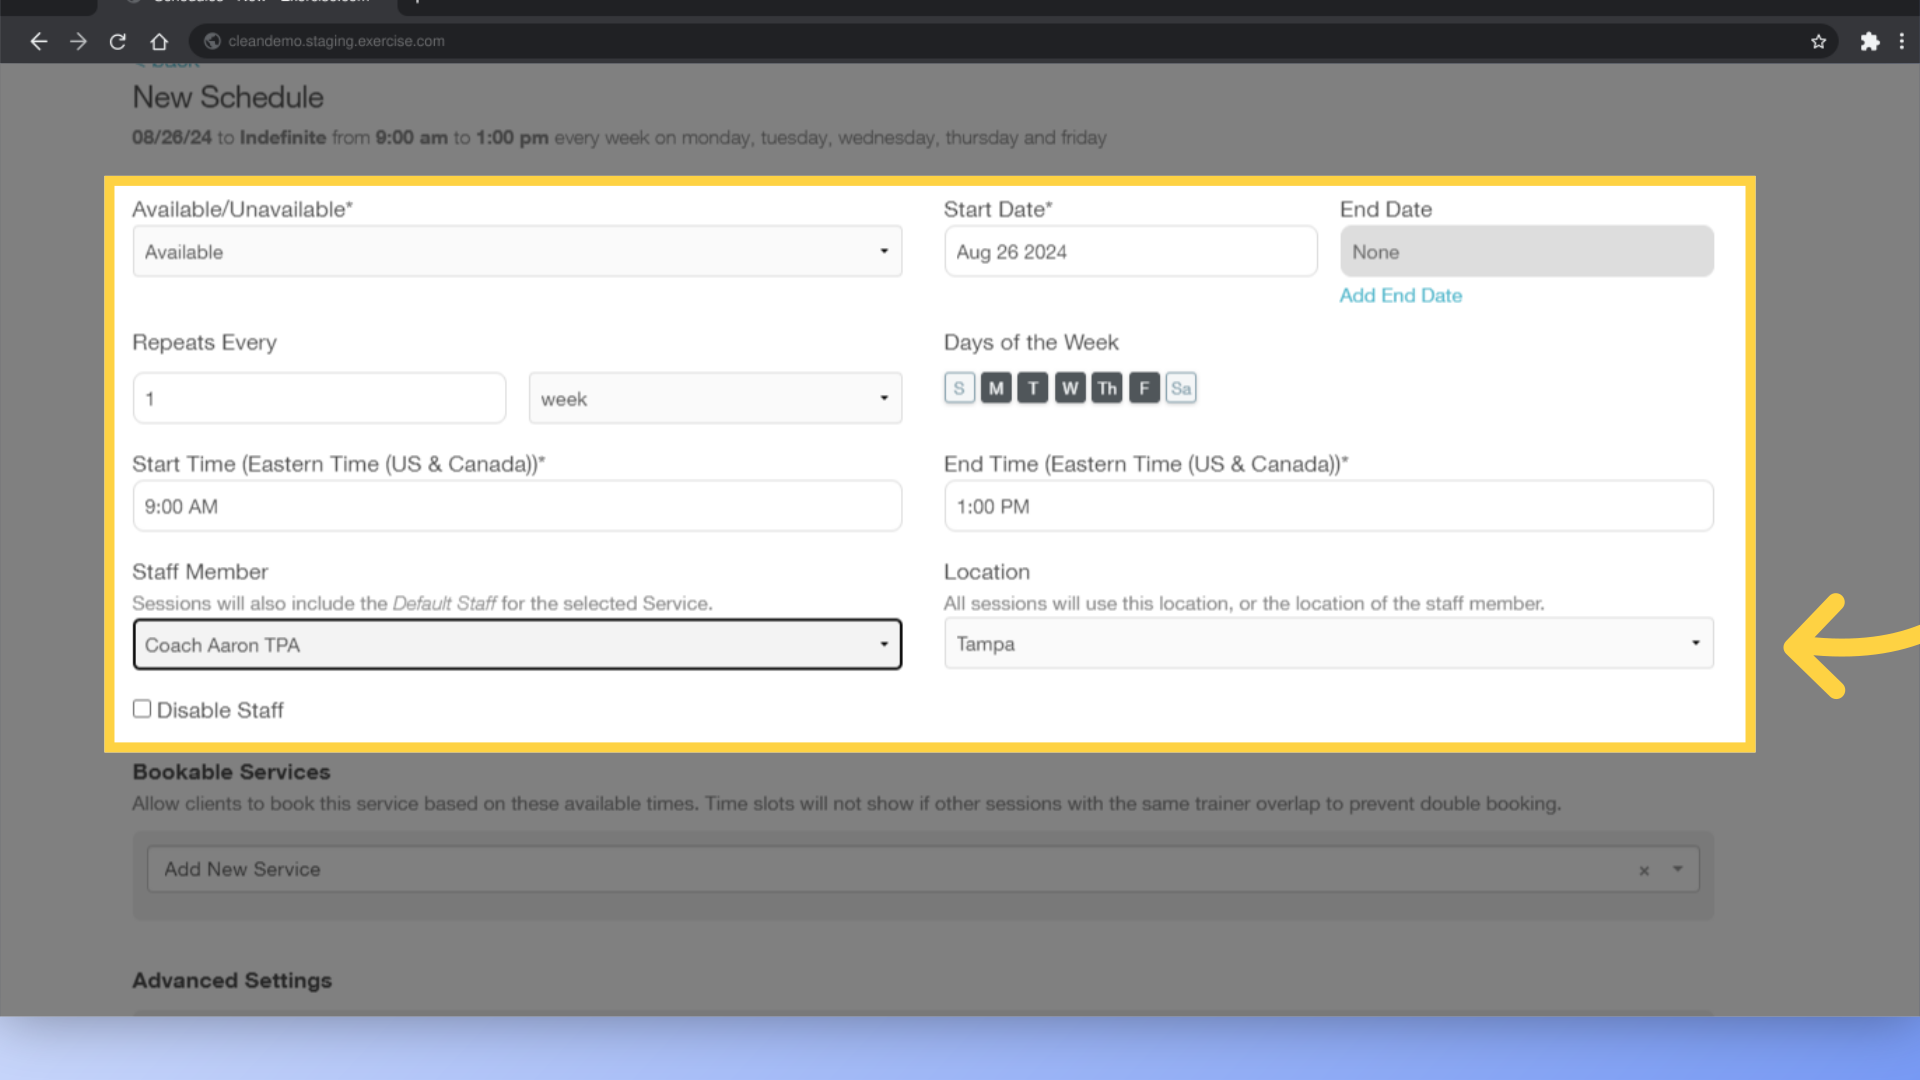
14. Set up the Availability settings, Staff, and Location.
Set up the Availability you want, making sure to choose the Location where you’ve set up your Assets.
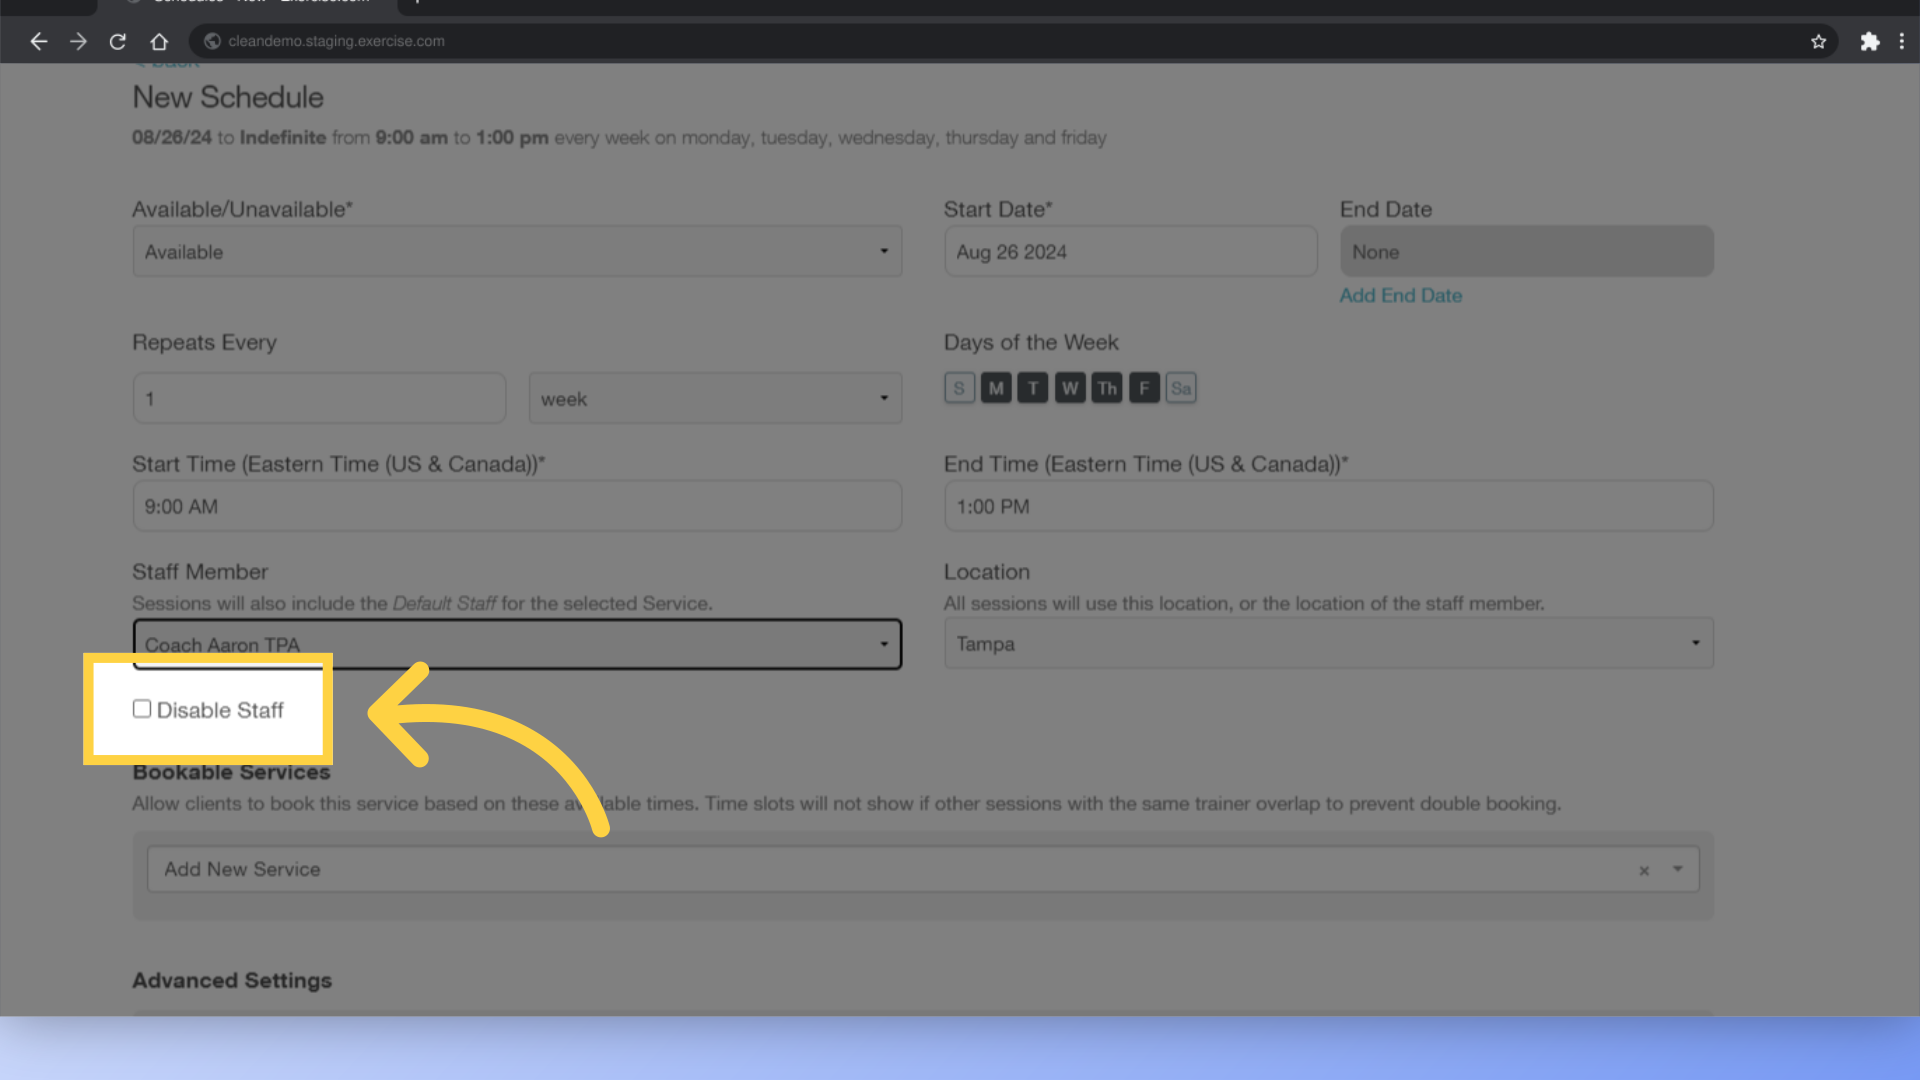
15. You can also choose to Disable Staff from this Availability Schedule if you don’t need a staff member to run the session.
If you don’t need a staff member to run the session, you can check the box to “Disable Staff” from this Availability Schedule. This can be helpful for open gym workouts or equipment rentals that don’t require a specific staff member to be involved.
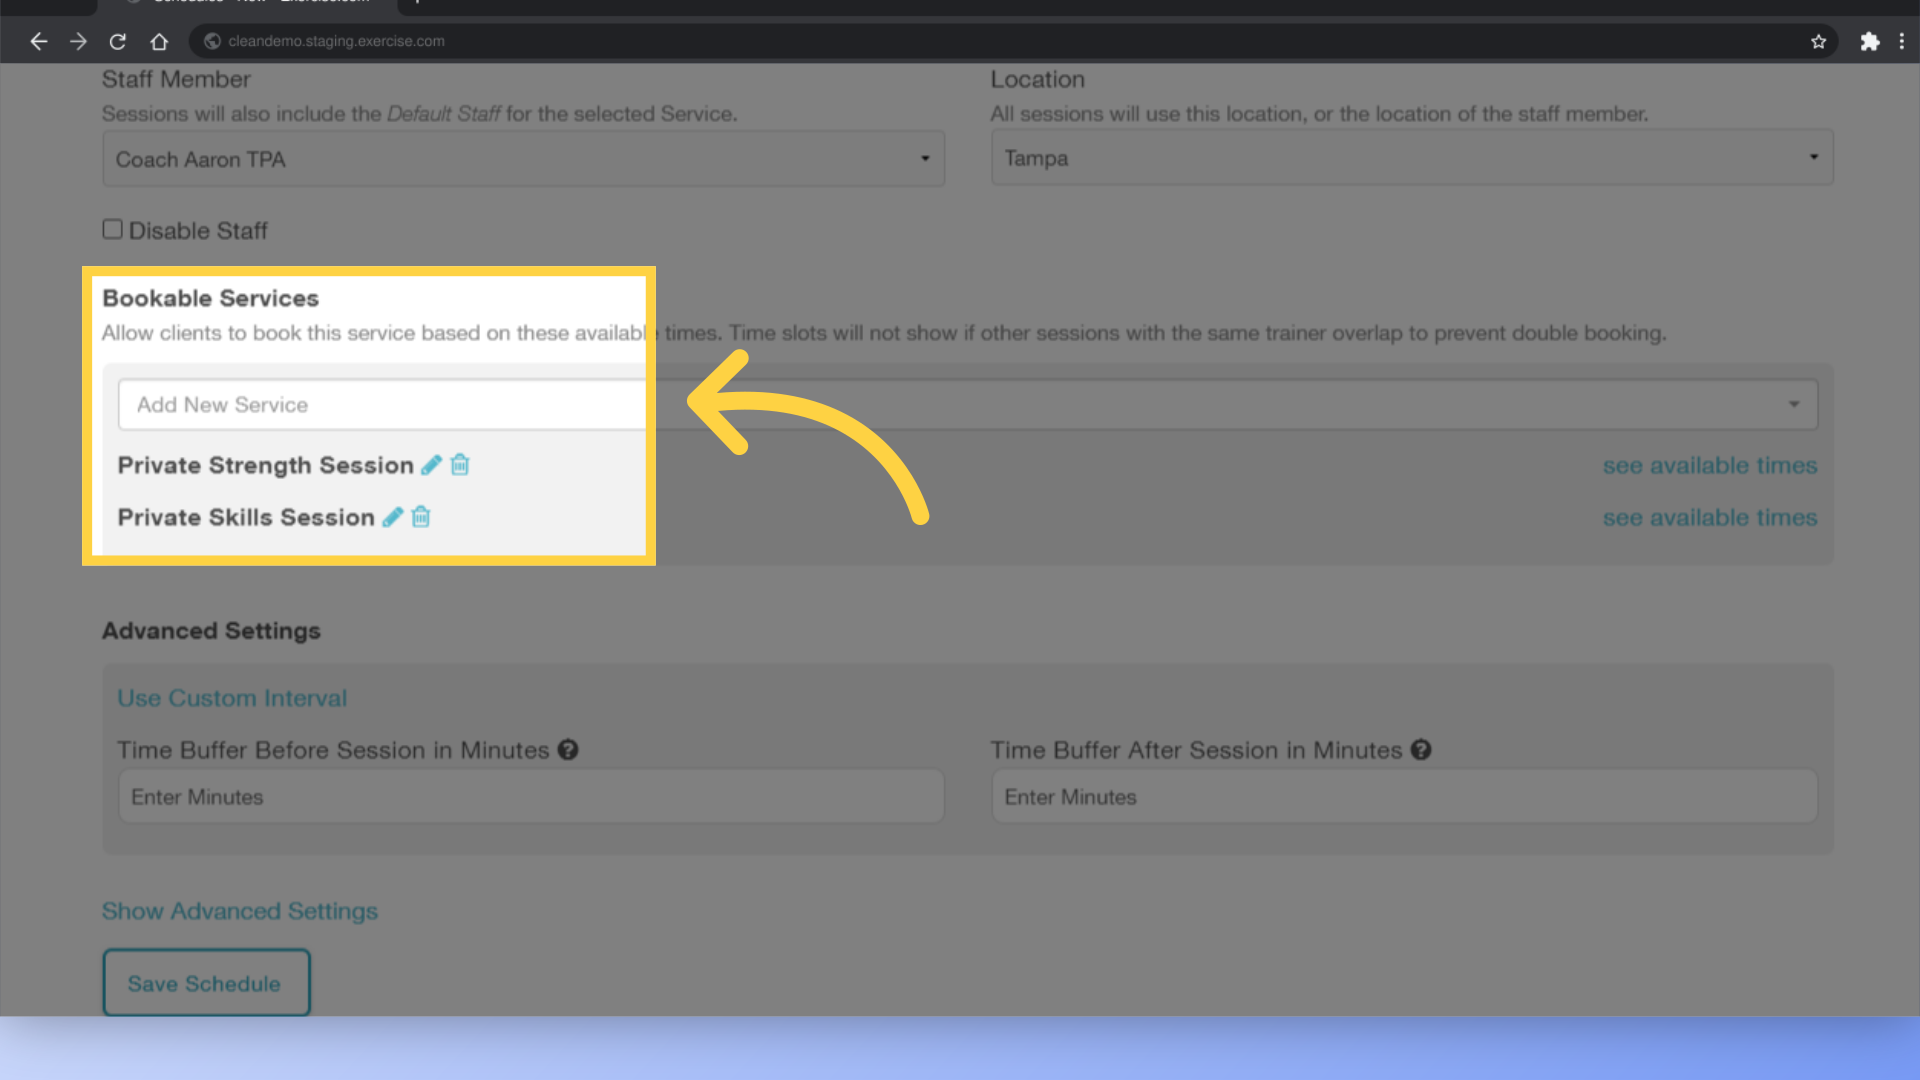
16. Select the Services you want to make available on this schedule.
Select the Services you want to make available on this schedule. For our example, we’ve added two private session options for Coach Aaron.
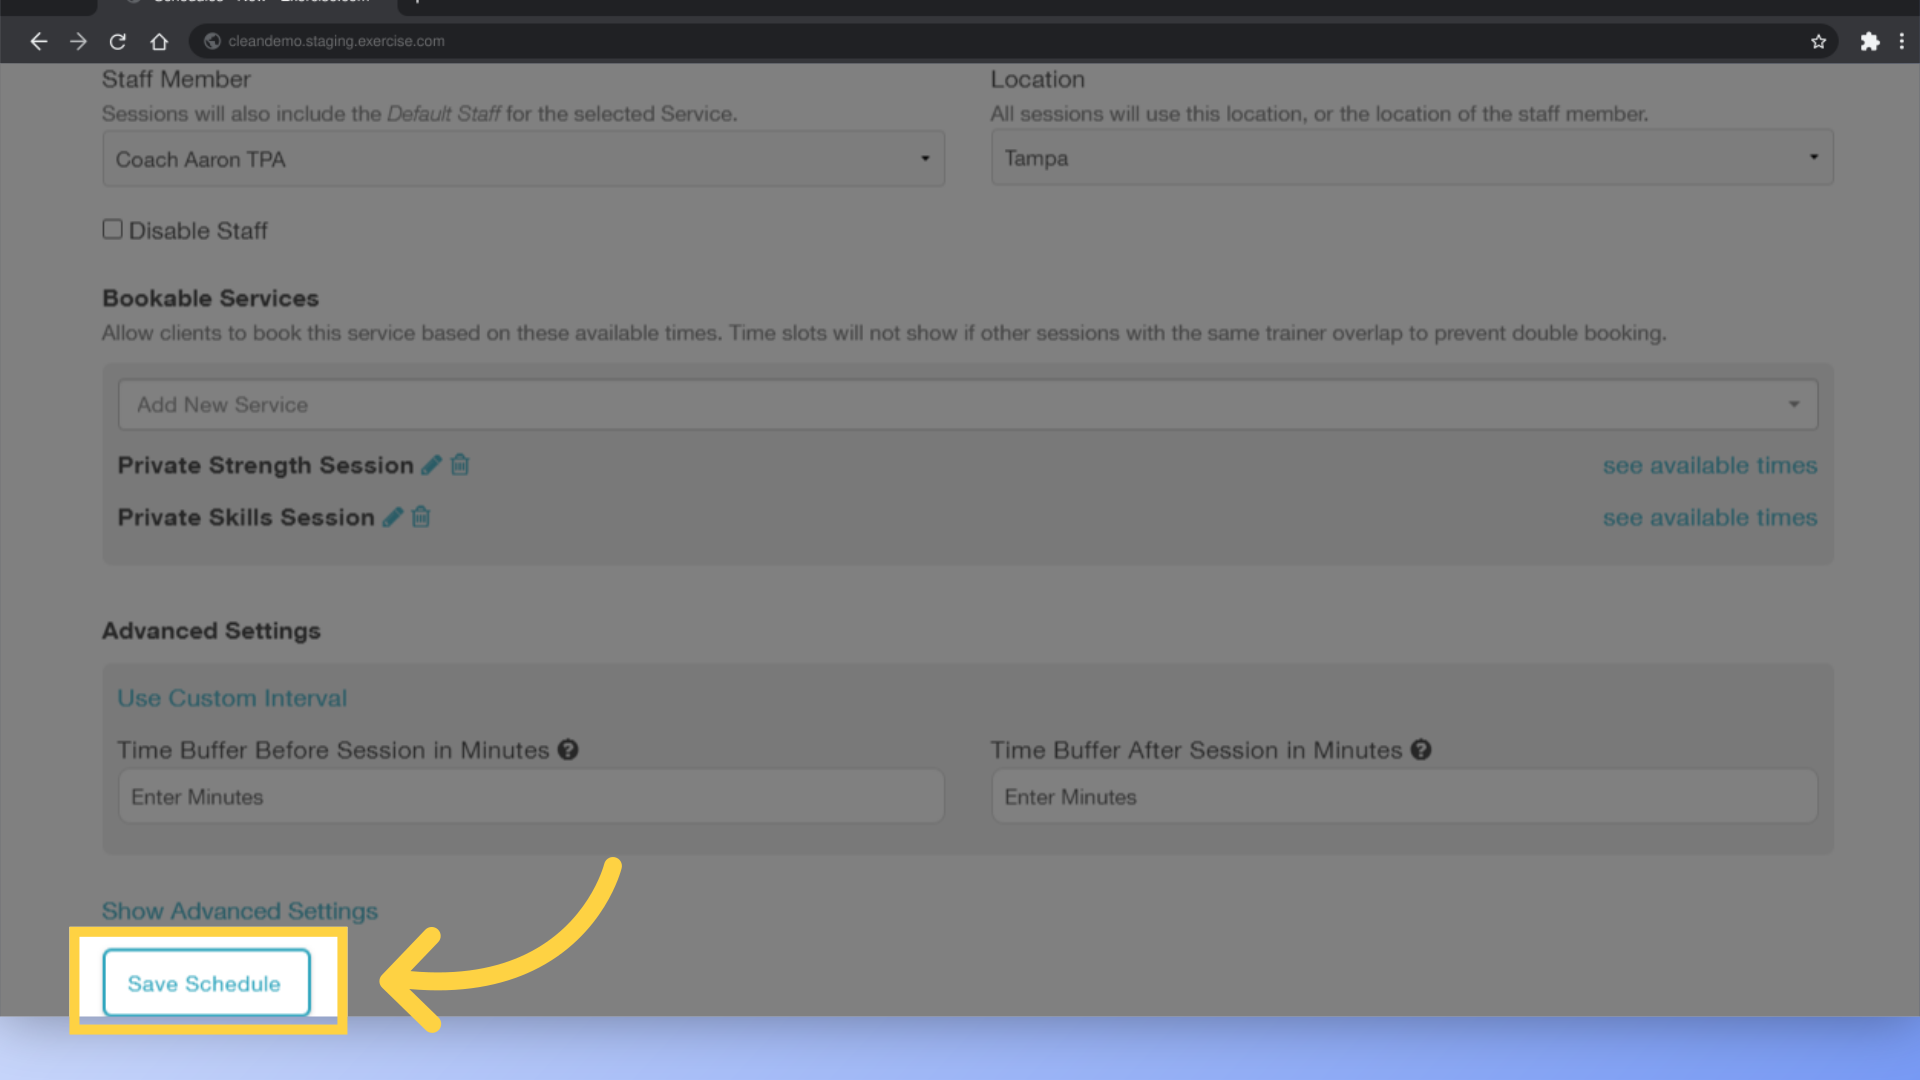
17. Click “Save Schedule” to save and continue.
Click the “Save Schedule” button to save and continue.
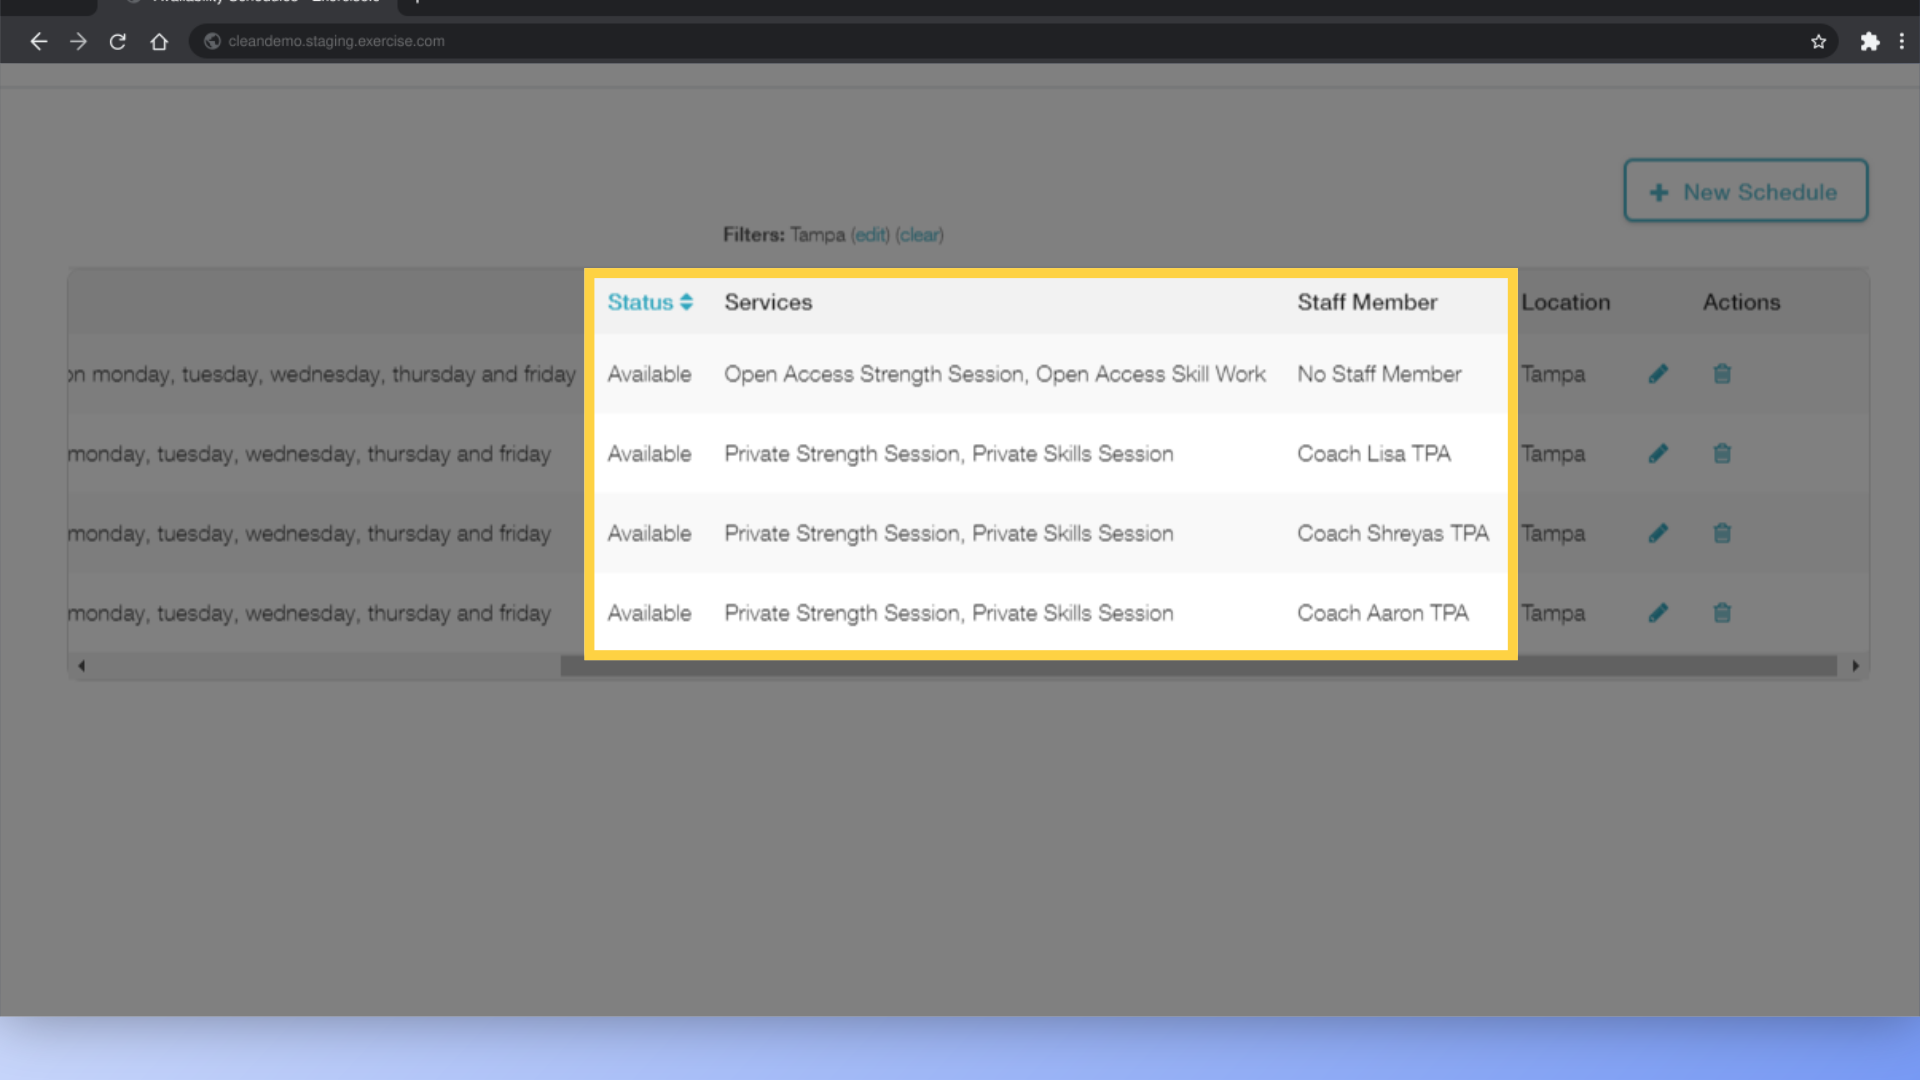
18. Review and confirm your Availability Schedules.
You can add more Availability Schedules – with or without staff – as needed. For our example, we’ve set up Open Access sessions that don’t require a staff member, as well as private sessions where a staff member runs the session.
This guide covered setting up your Assets in Service settings, so you can then add those Services to your Availability Schedules. Now you can allow your clients to book specific Assets based on an Availability Schedule – with or without staff members on the session!


